“Gertie Sews” Garments for Lauren

You may have noticed I’ve been posting a lot the last couple of weeks. I’ve finished a lot of projects recently and am trying to catch up on writing my posts!

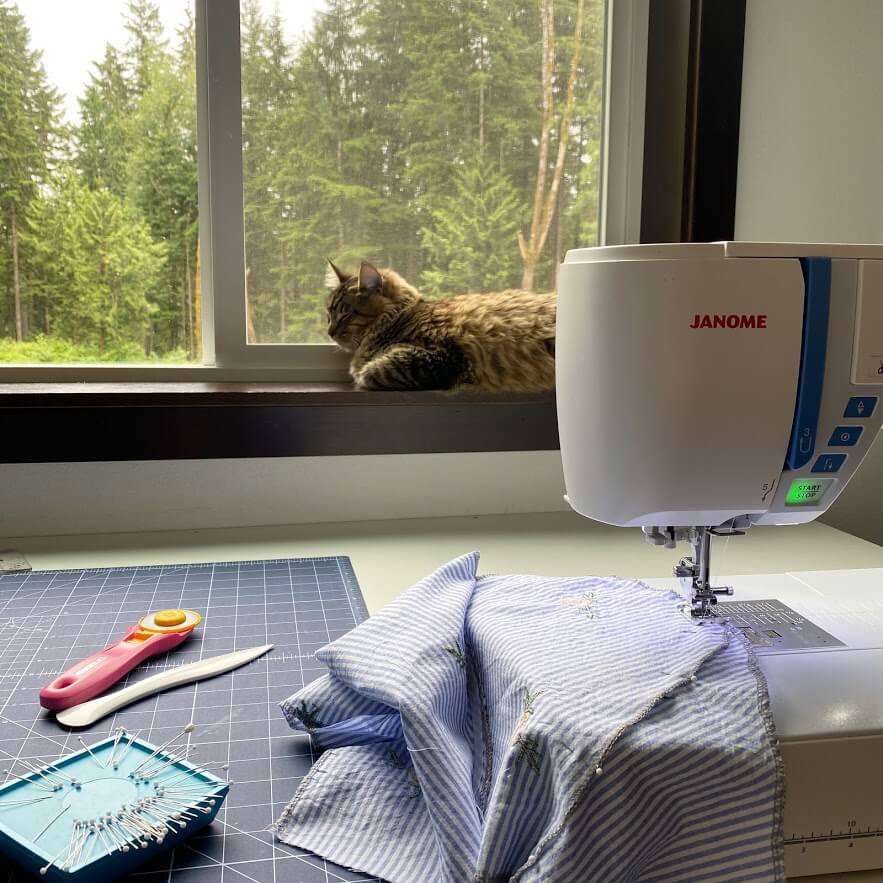
For years, I’ve been wanting to spend some focused time learning how to sew garments really well. I decided a great place to start would be sewing some cute vintage-style clothes for my daughter from the Gertie Sews Vintage Casual guidebook by Gretchen Hirsch.

I love how this book lays out so much information in a way that is totally understandable before giving you some amazing patterns that can be adapted and adjusted to fit your style.
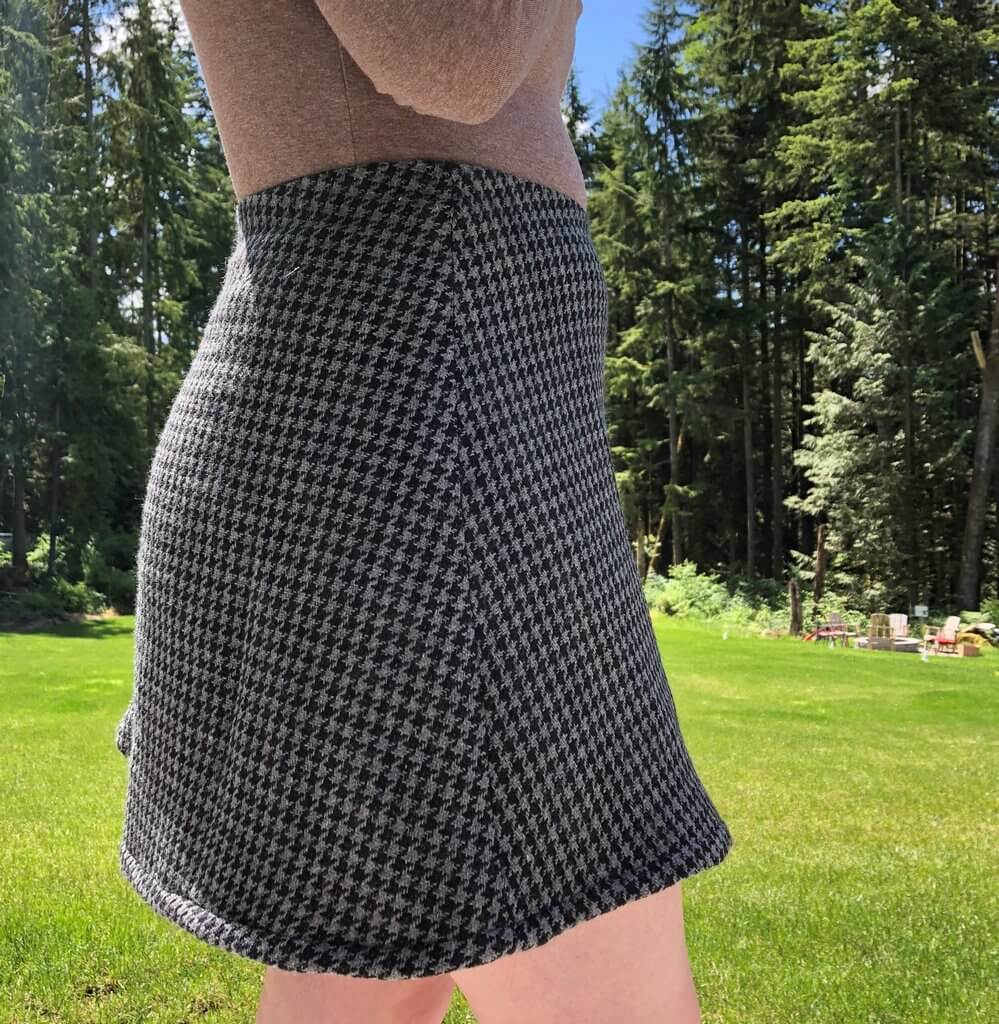
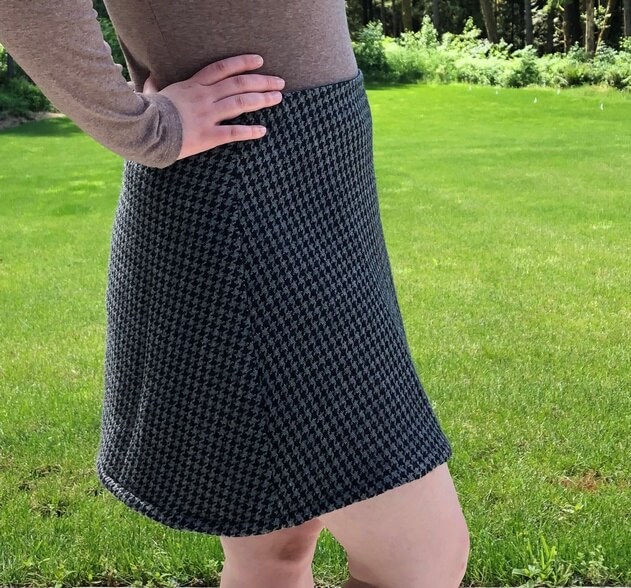
My first pattern from the book was the Short and Chic A-line skirt. Honestly, this one was really just about me getting to play with my serger settings! I had this fabric on hand, and although the heavy weight wouldn’t be my first pick for a short skirt, I think it’ll look really cute in fall with some dark tights.
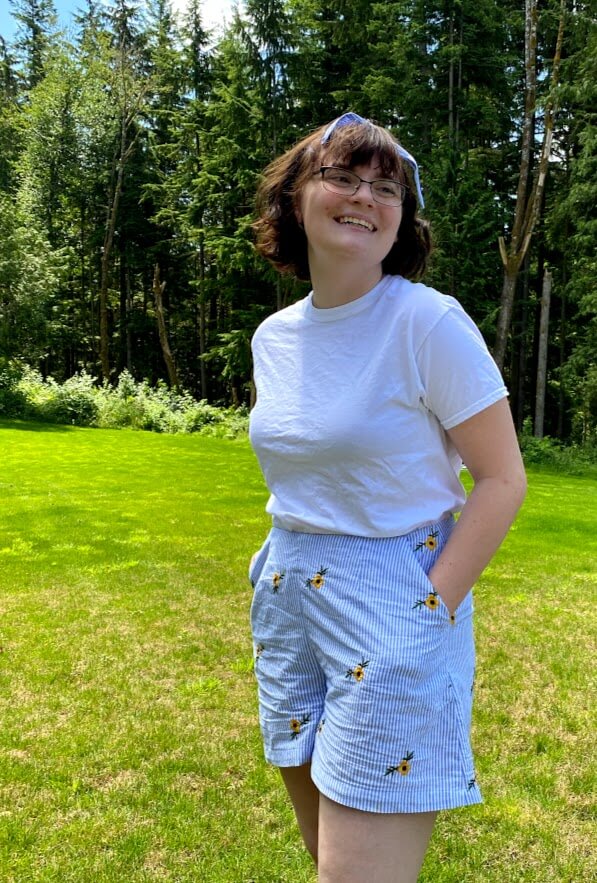
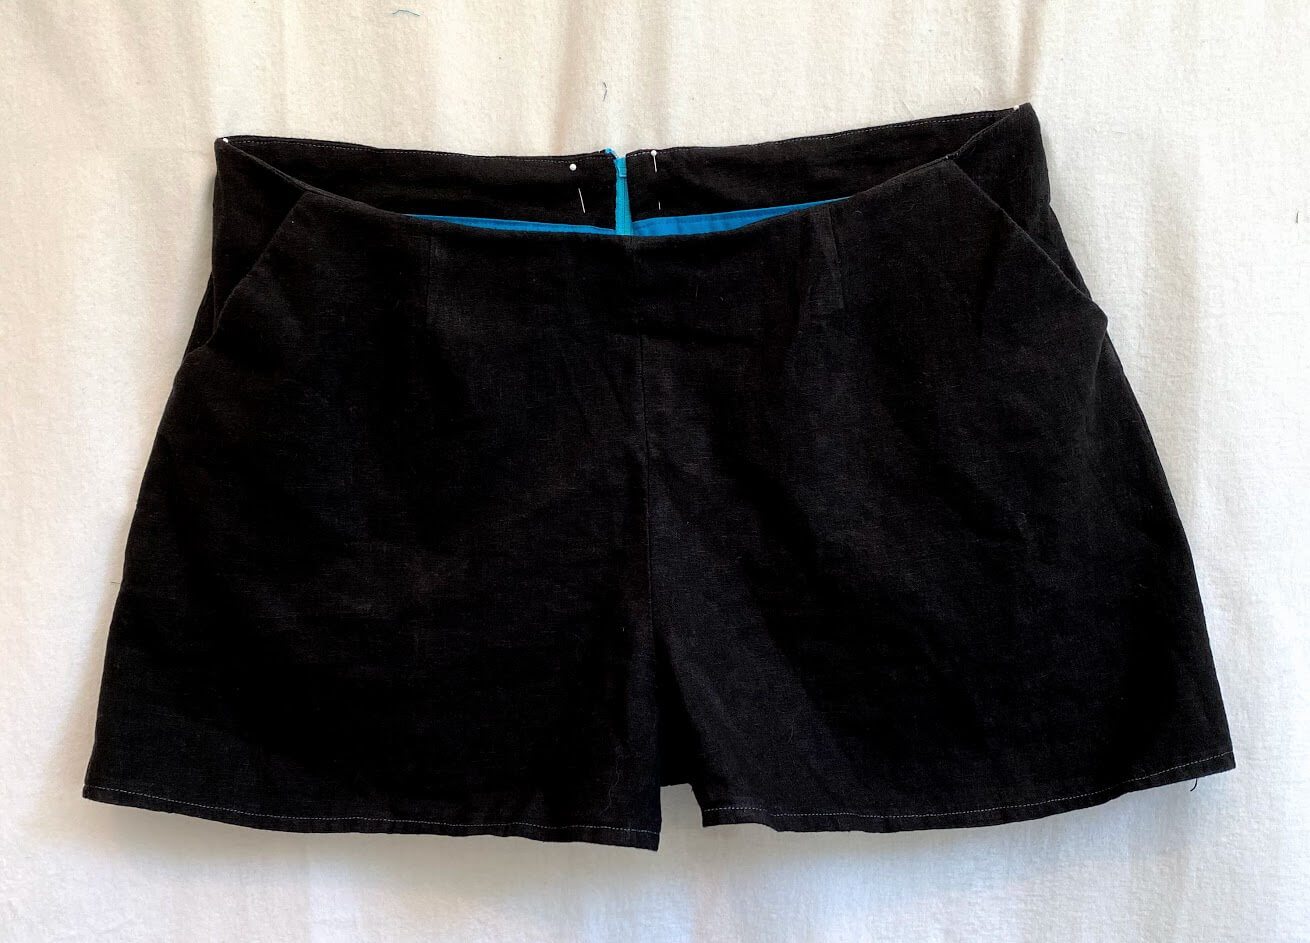
Next up was the Flared Shorts. I kept the pockets in the pattern because who doesn’t love pockets?! This black pair was my test run.
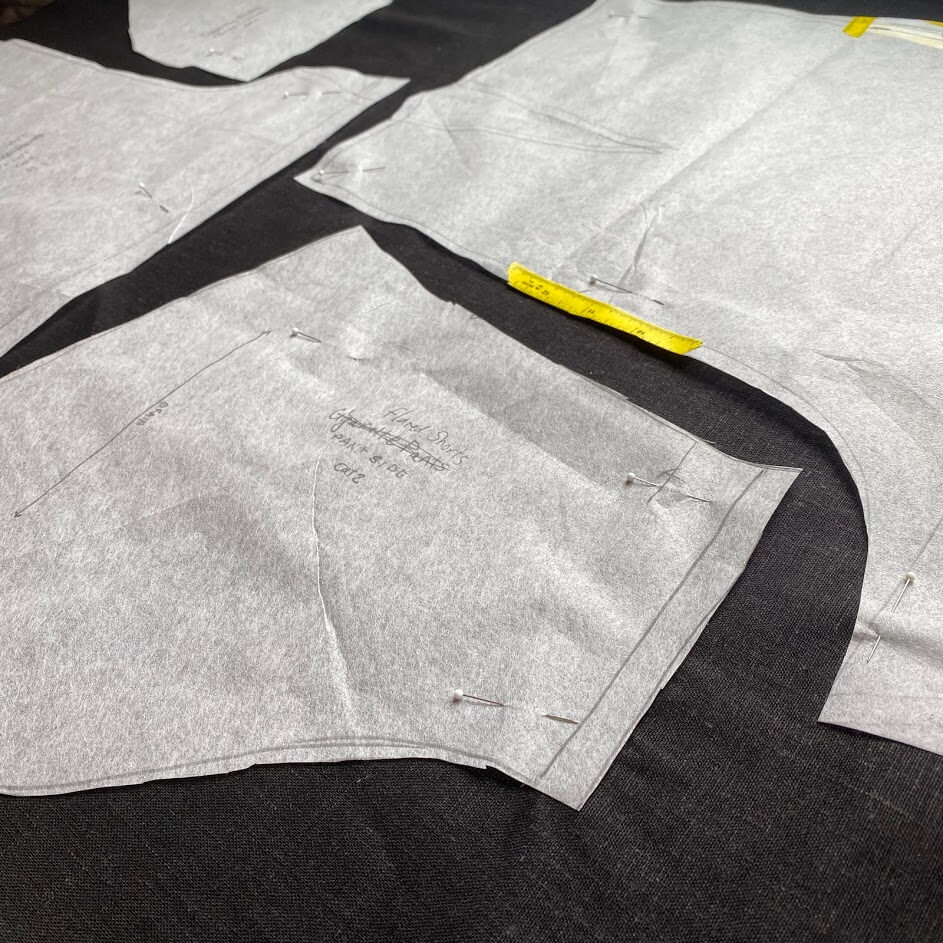
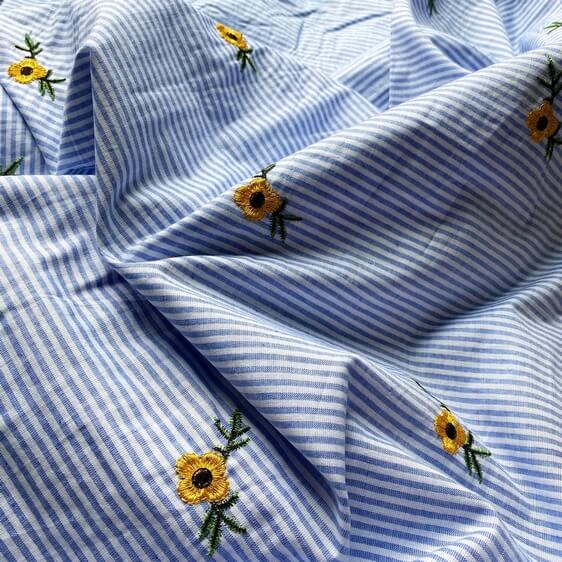
Once we had the pattern as we wanted it, I told my daughter the yardage she would need to buy if she found fabric she liked. Well, she works at a craft store that sells fabric, so it took her all of a day before she came home with this adorable blue and white stripe with embroidered flowers.
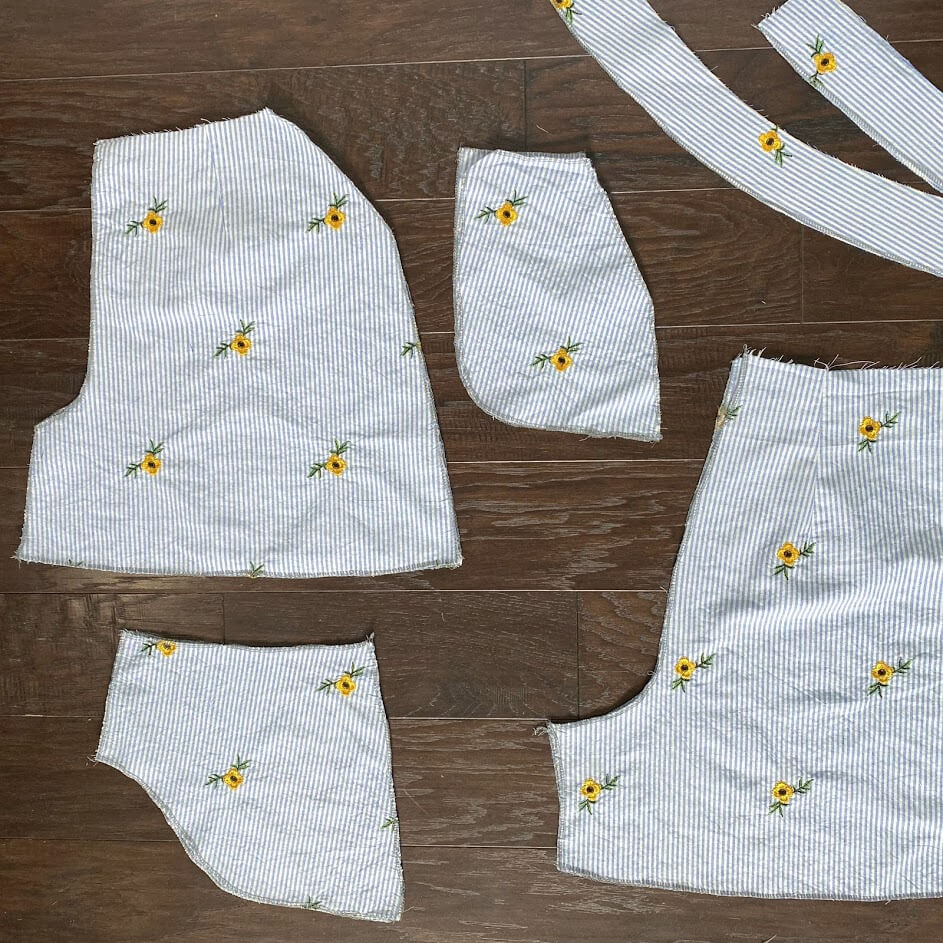
I really love this book and now that I’ve made a few garments for my daughter, I think I’ll venture into making some things for myself. My goal is to get a pattern drafted for a perfect-fit cigarette pant. My husband is also already asking for dress shirts, so I’ll have lots of things to keep me busy!

Happy Sewing! ~Lorinda
May UFO Challenge

How can time simultaneously seem to be dragging and flying by? How is it possible that 2020 is half over? And will I ever catch up on my UFO challenge?

My arthritis was really flaring up in May/June, so I reduced my sewing time quite a bit and got WAAAAYYYYY behind on my sewing projects.

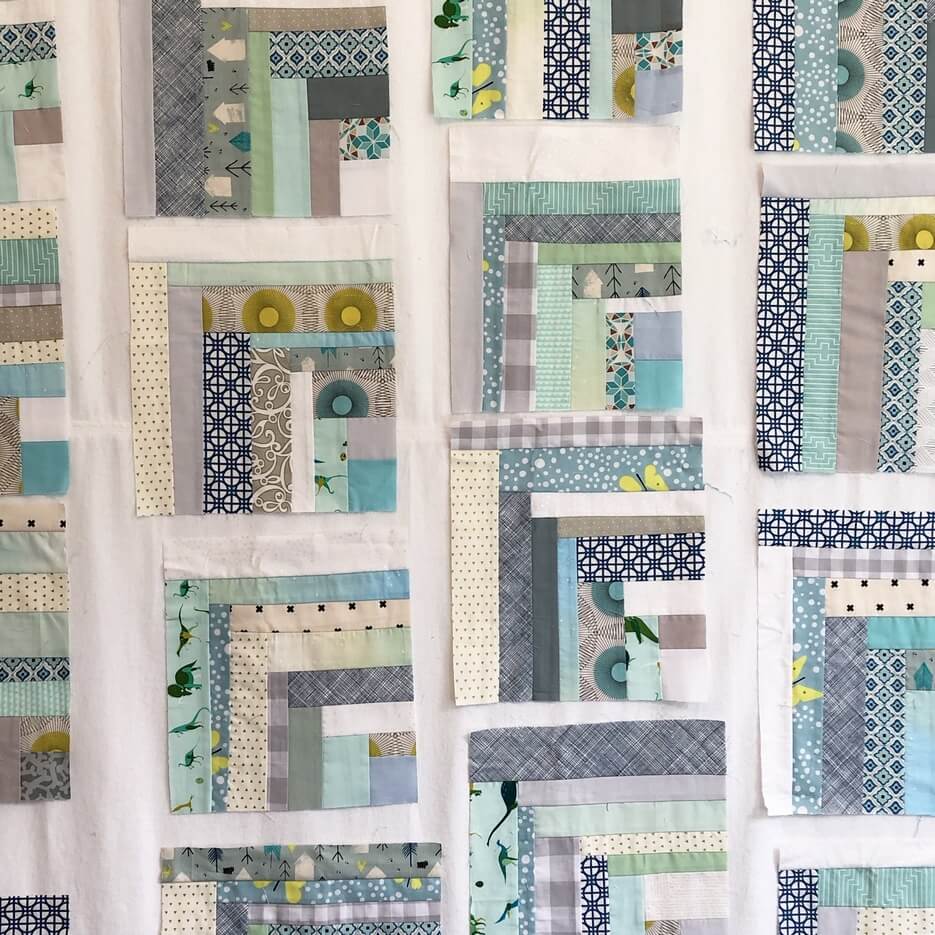
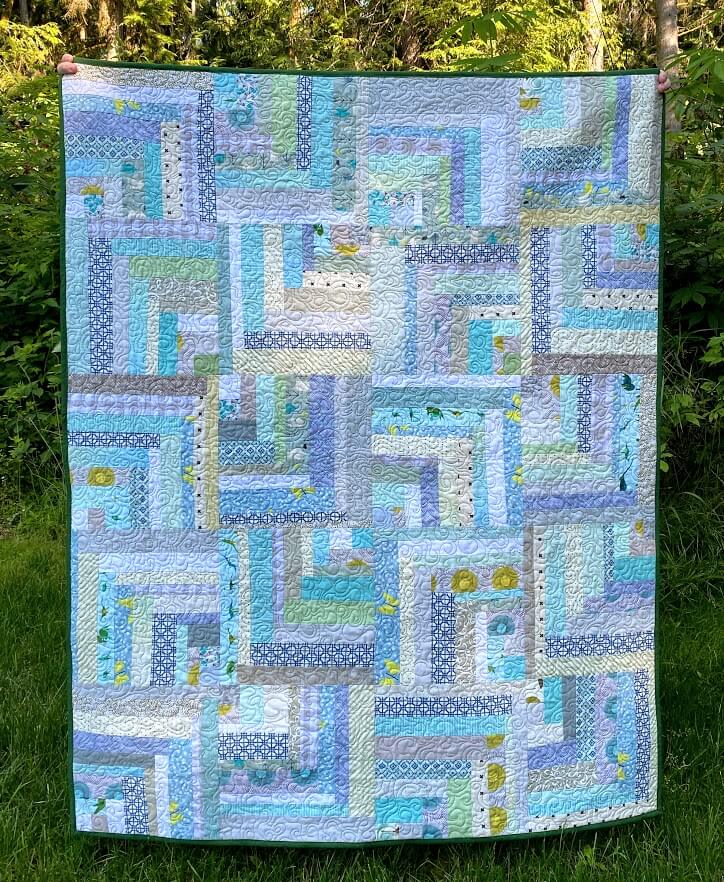
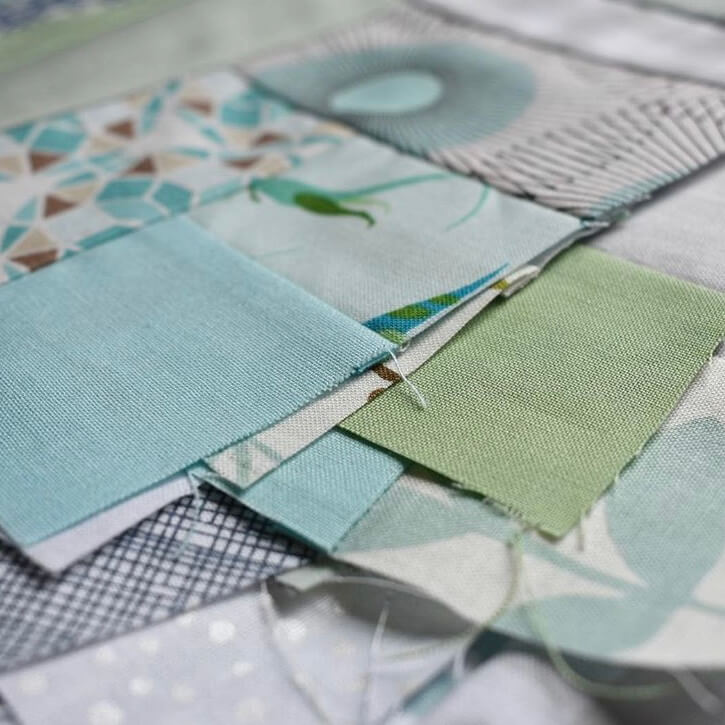
My May UFO challenge project was one that had been sitting around my studio for much too long. In fact, when I got it out and up on my design wall, my daughter reminded me that we worked on it together at our old house. That means this project has been sitting in limbo for almost THREE YEARS. Not the oldest of my UFO projects, but this one did sit untouched the longest. Time to get it done!

Here is what I had to say in January about this project:

“12- Low-Volume Blue log cabin- This is a charity quilt that has been lingering for much too long. The blocks are mostly done and it just needs to get finished and get out into the world. I would like to have it completely finished by the end of its month.”

Because I hadn’t touched it in so long, I had to look at what I had in the project bag and make a guess at the layout I had planned. There were 20 unfinished blocks; some of them measured up to 12.5″ on one side. Knowing that, and remembering the charity quilt size requirements for my guild at the time, my assumption was that I was making 12.5″ blocks in a 4 x 5 layout. This would make a 50″ x 62.5″ quilt top.

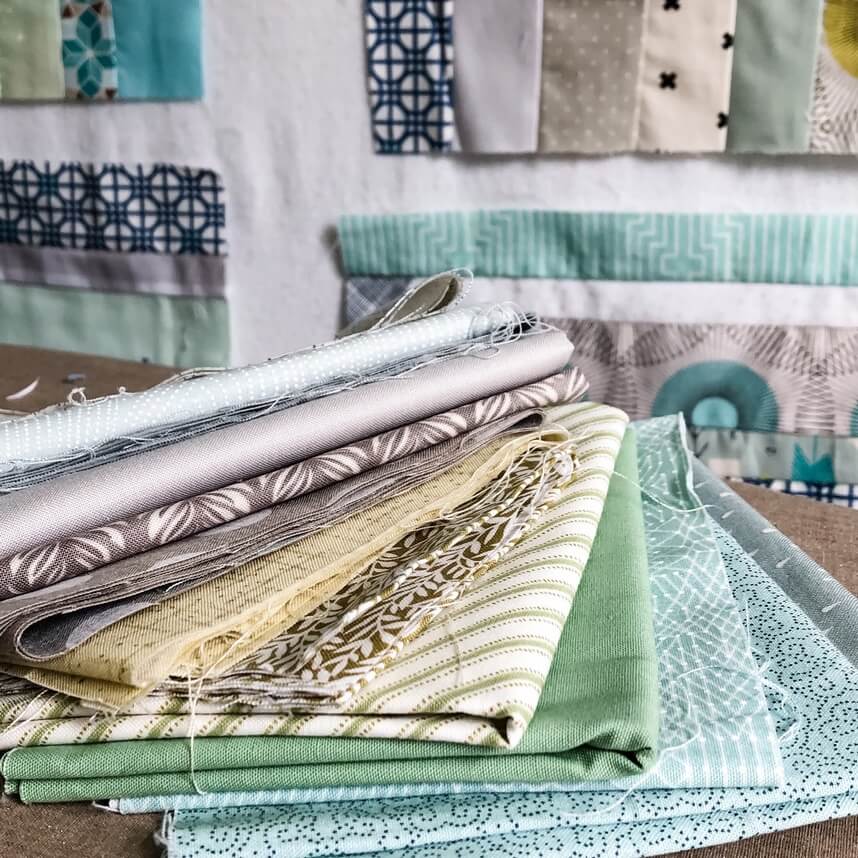
I had some remaining fabric set aside to finish this, but I also wanted to add some newer things from my stash for variety.

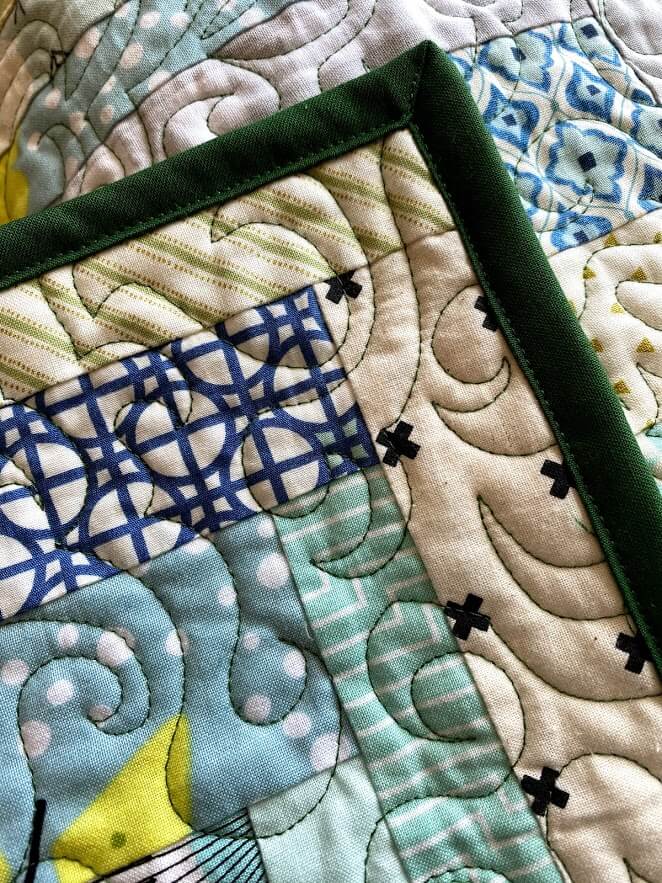
After finishing the top, it sat for a while longer before I started quilting it. I decided on Aurifil 2890. It was in my stash and coordinated great with the Kona Basil I had used for the majority of the backing and for the binding. My husband really like the density of the quilting on this, so I think our next bed quilt will be similar. It looks full, but there are plenty of open spaces where the quilt can pouf up and move around.

I’ve been doing a lot of machine binding this year. Hand sewing has gotten harder, and I feel like machine binding gives a really strong finish. This is especially important for baby/toddler quilts that get a lot of washings!

Happy Sewing! ~Lorinda
Vintage Princess Peggy Day Dress

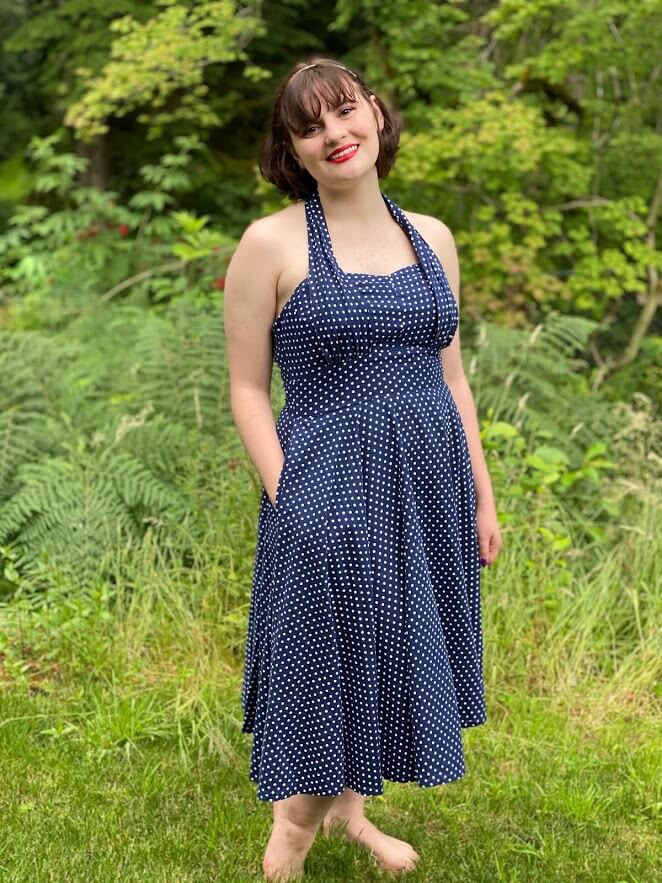
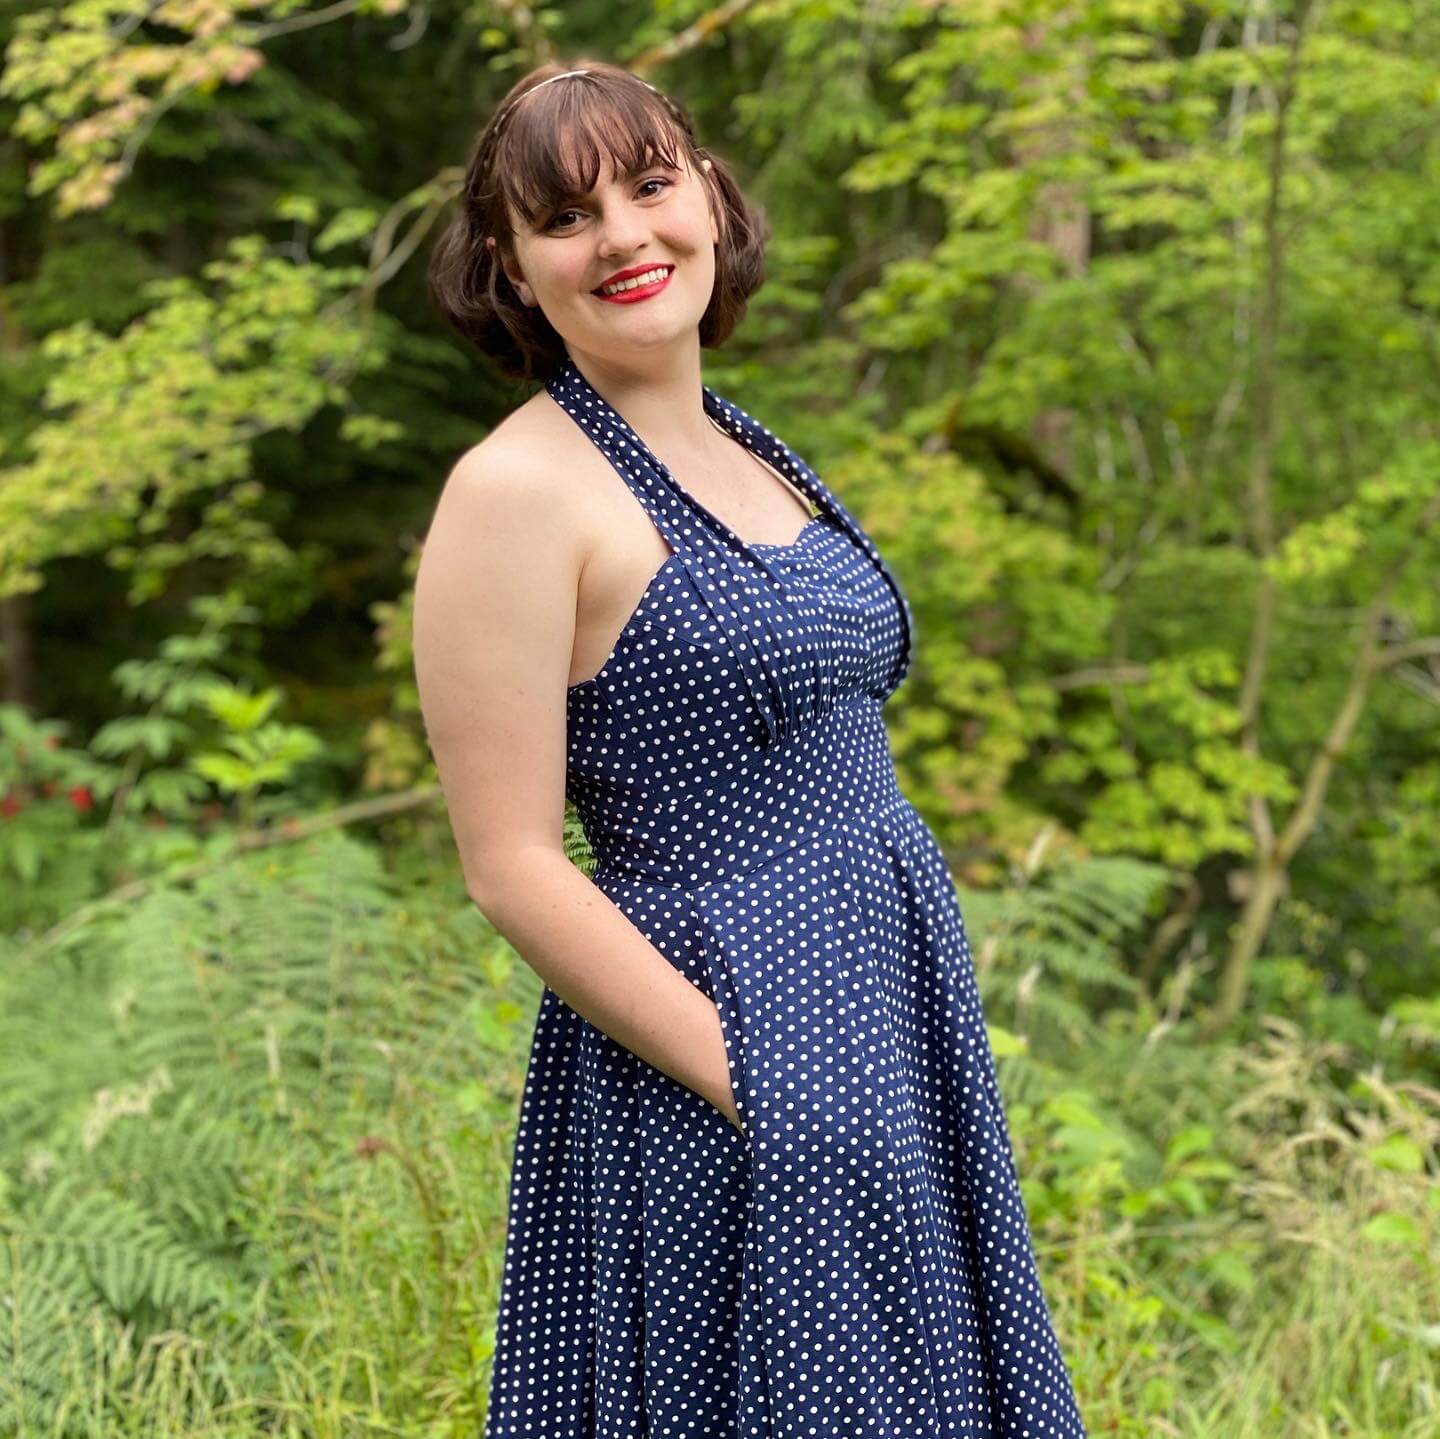
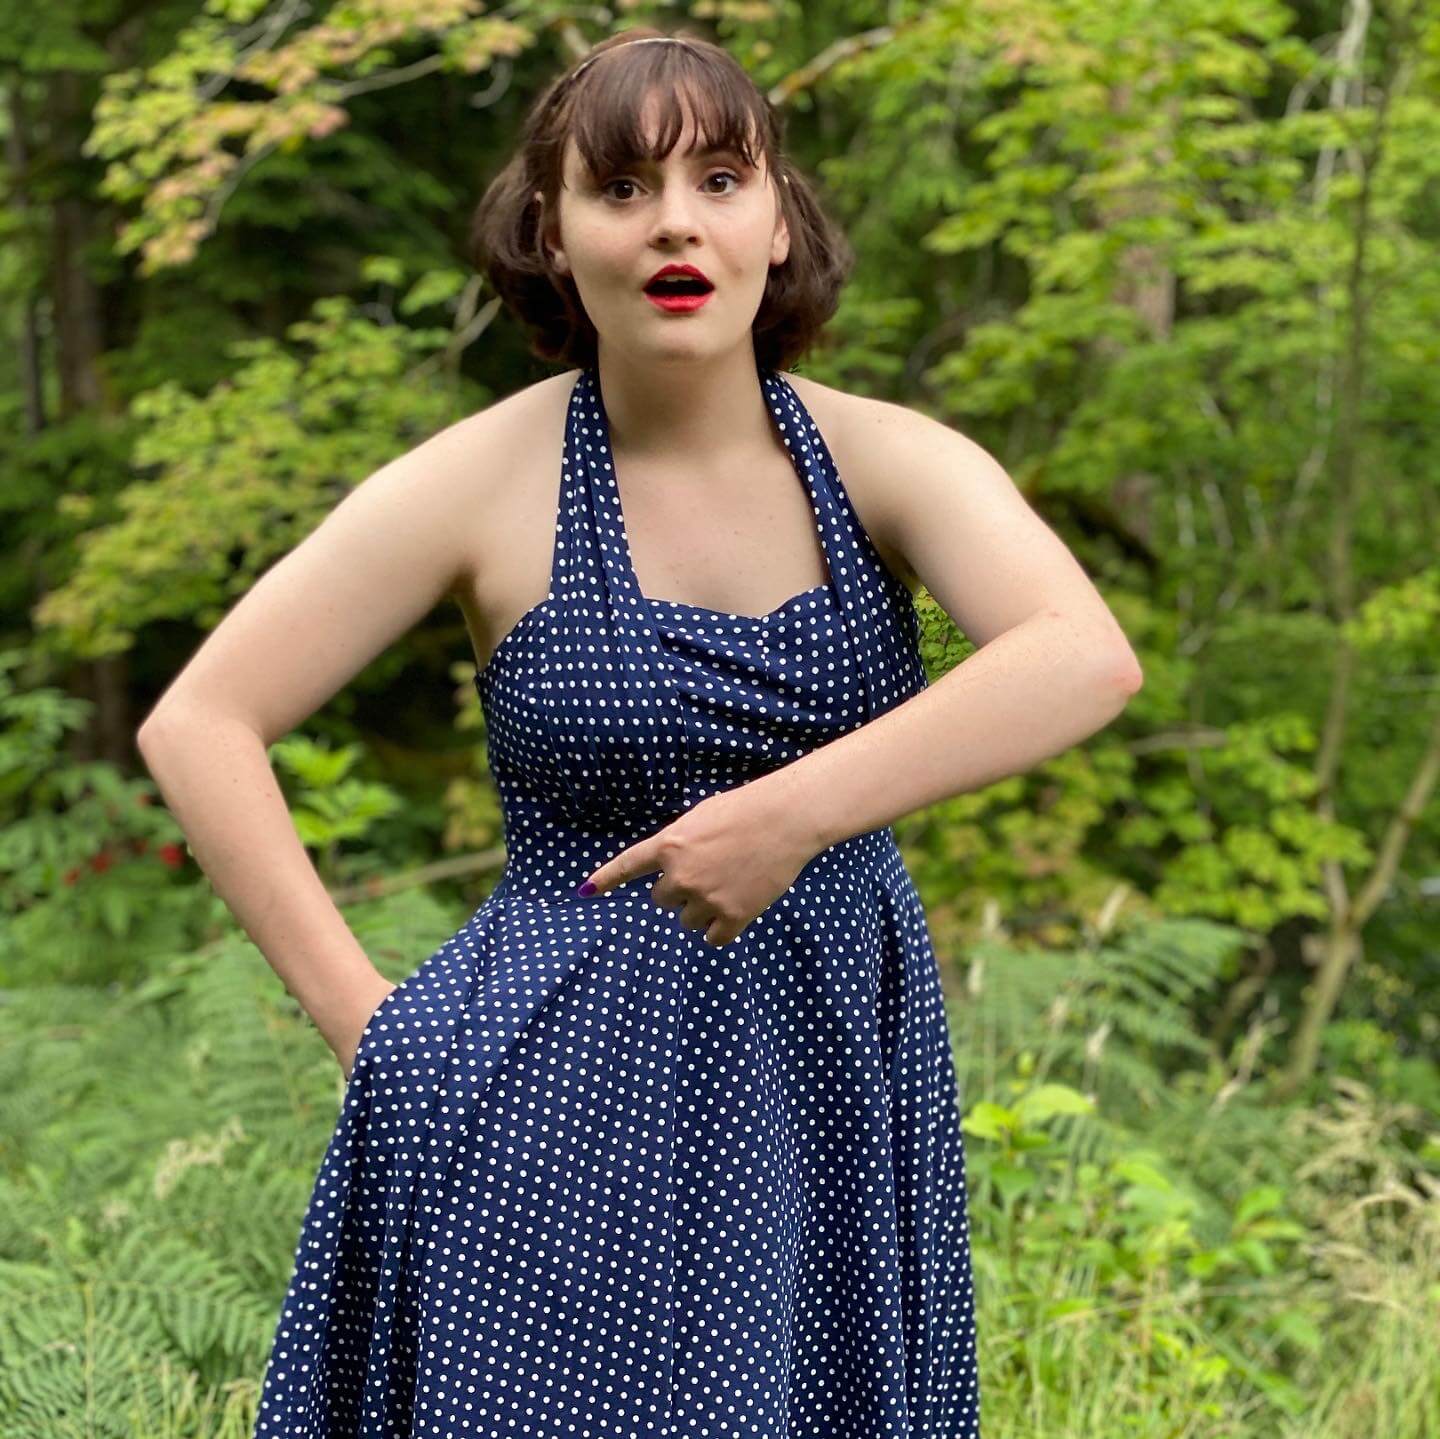
About a year ago, my mom brought me this dress for my daughter. It was my grandma’s, is in great condition, and she thought Lauren may like to wear it.

From my research, it was produced in the late ‘40s or 50s, and I could only find one other like it online…. an amazing treasure. But, in order for Lauren to be able to wear it, I had to size it down quite a bit. Scary! I really waffled back and forth about altering this dress, but ultimately, it was either going to keep sitting in the closet untouched, or I was going to adjust it and let it out into the world again.

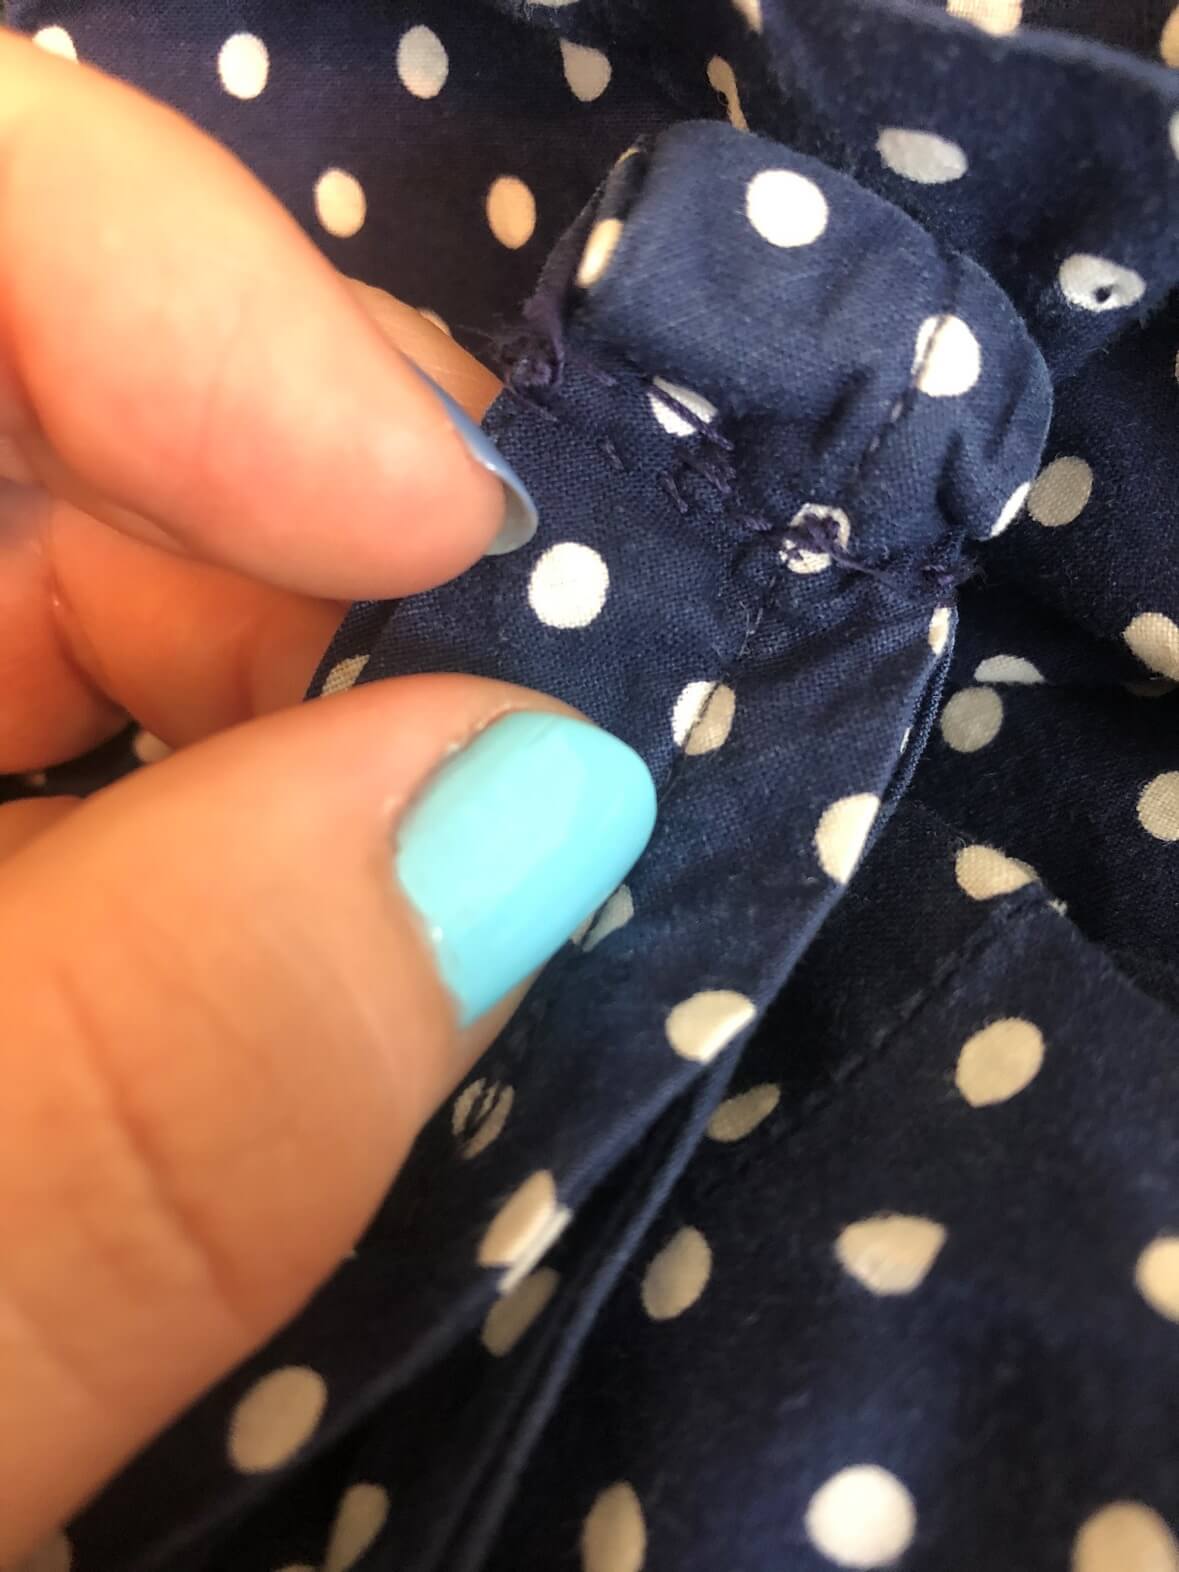
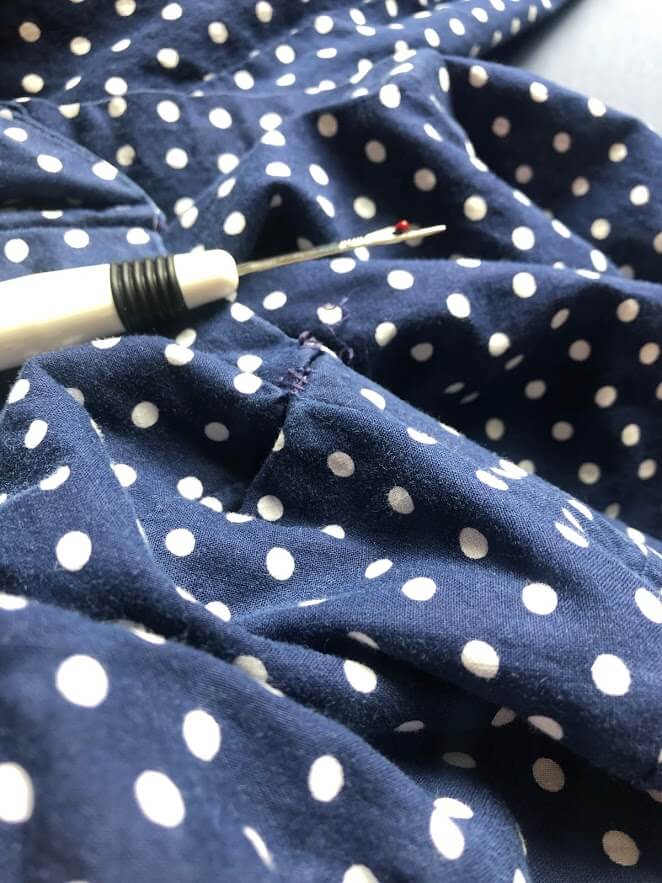
While examining the structure of it, I found these little hand stitches that were made to adjust the fit around the bust and neck strap. Presumably, they are my grandma’s stitches, and most likely 50-65 years old. I didn’t know my grandma well, as we lived across the country from each other and she died when I was in elementary school. But seeing these stitches really made me feel a connection through the years. I imagined her sewing this all those years ago. She was obviously in a rush, maybe trying to finish this task between chasing around her kids… she never would have dreamt that a future granddaughter would be admiring and then taking those stitches out 50+ years later. It makes me wonder what of my sewing will be left after I’m gone and who is coming after me to take up what I leave behind. And it reminds me of how thankful I am for this craft that ties generations together.

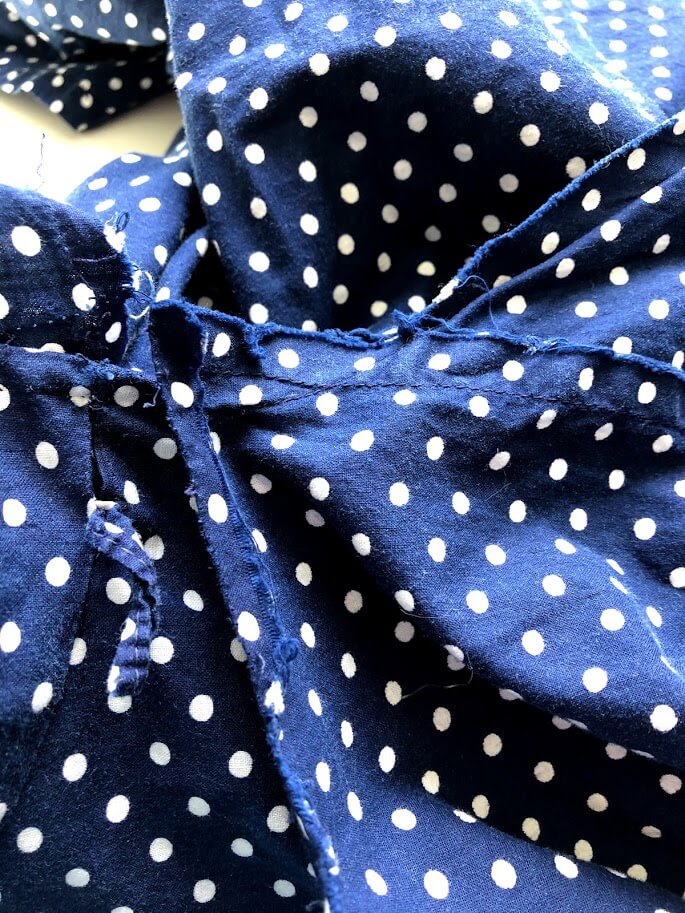
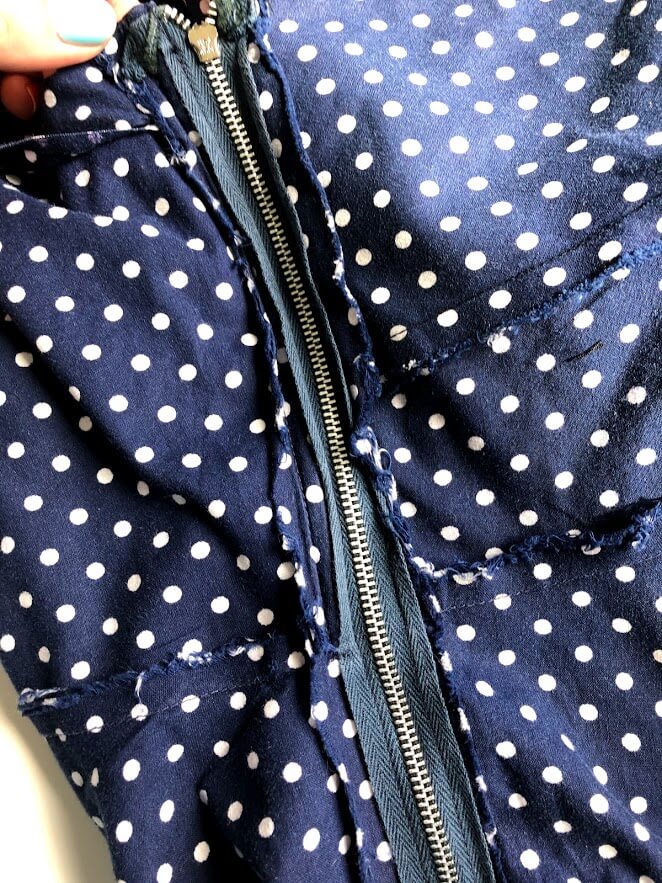
I sized the bodice and skirt down about two inches each, taking lots of pictures as I went to refer to later and leaving all the original fabric in the seam allowances. That way, the dress can be sized back up in the future. I chose to leave out the bodice boning for comfort and removed the belt loops that were on the sides as there was no belt with it. Those are both saved for the future if needed. I am so glad to have this lovely piece of wearable history for my daughter. And Lauren is super happy to finally get to wear it! Scroll down for her ‘It has a pocket!” pose.

Happy sewing, friends! ~Lorinda

Ava’s Quilt

Hi friends!

Just a quick little post to share a quilt I recently finished. This one is for a very special little baby in my life named Ava.

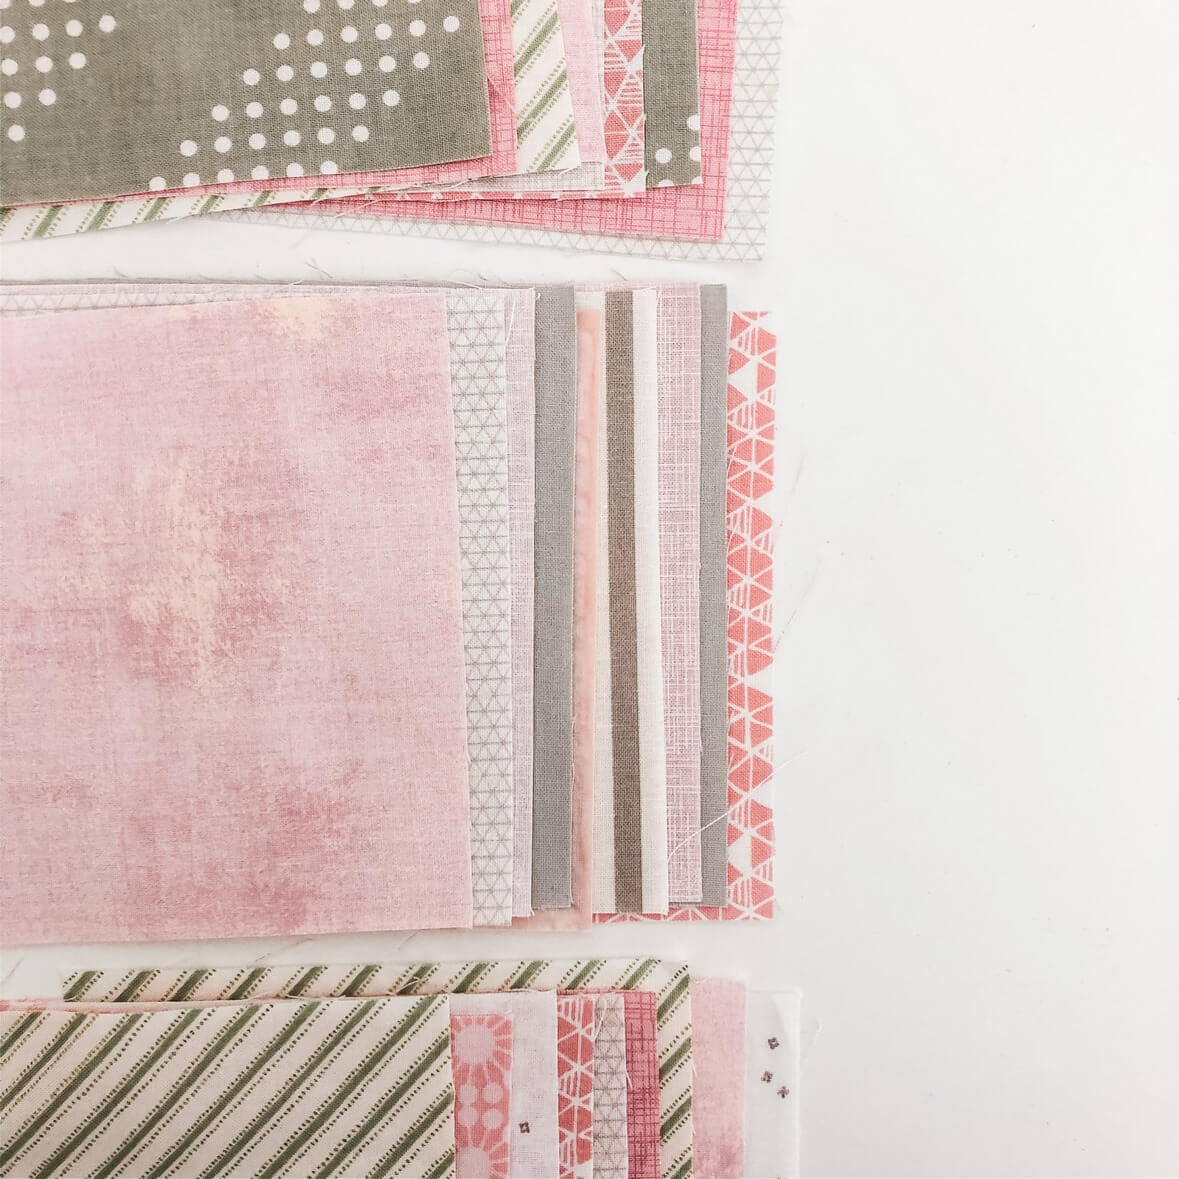
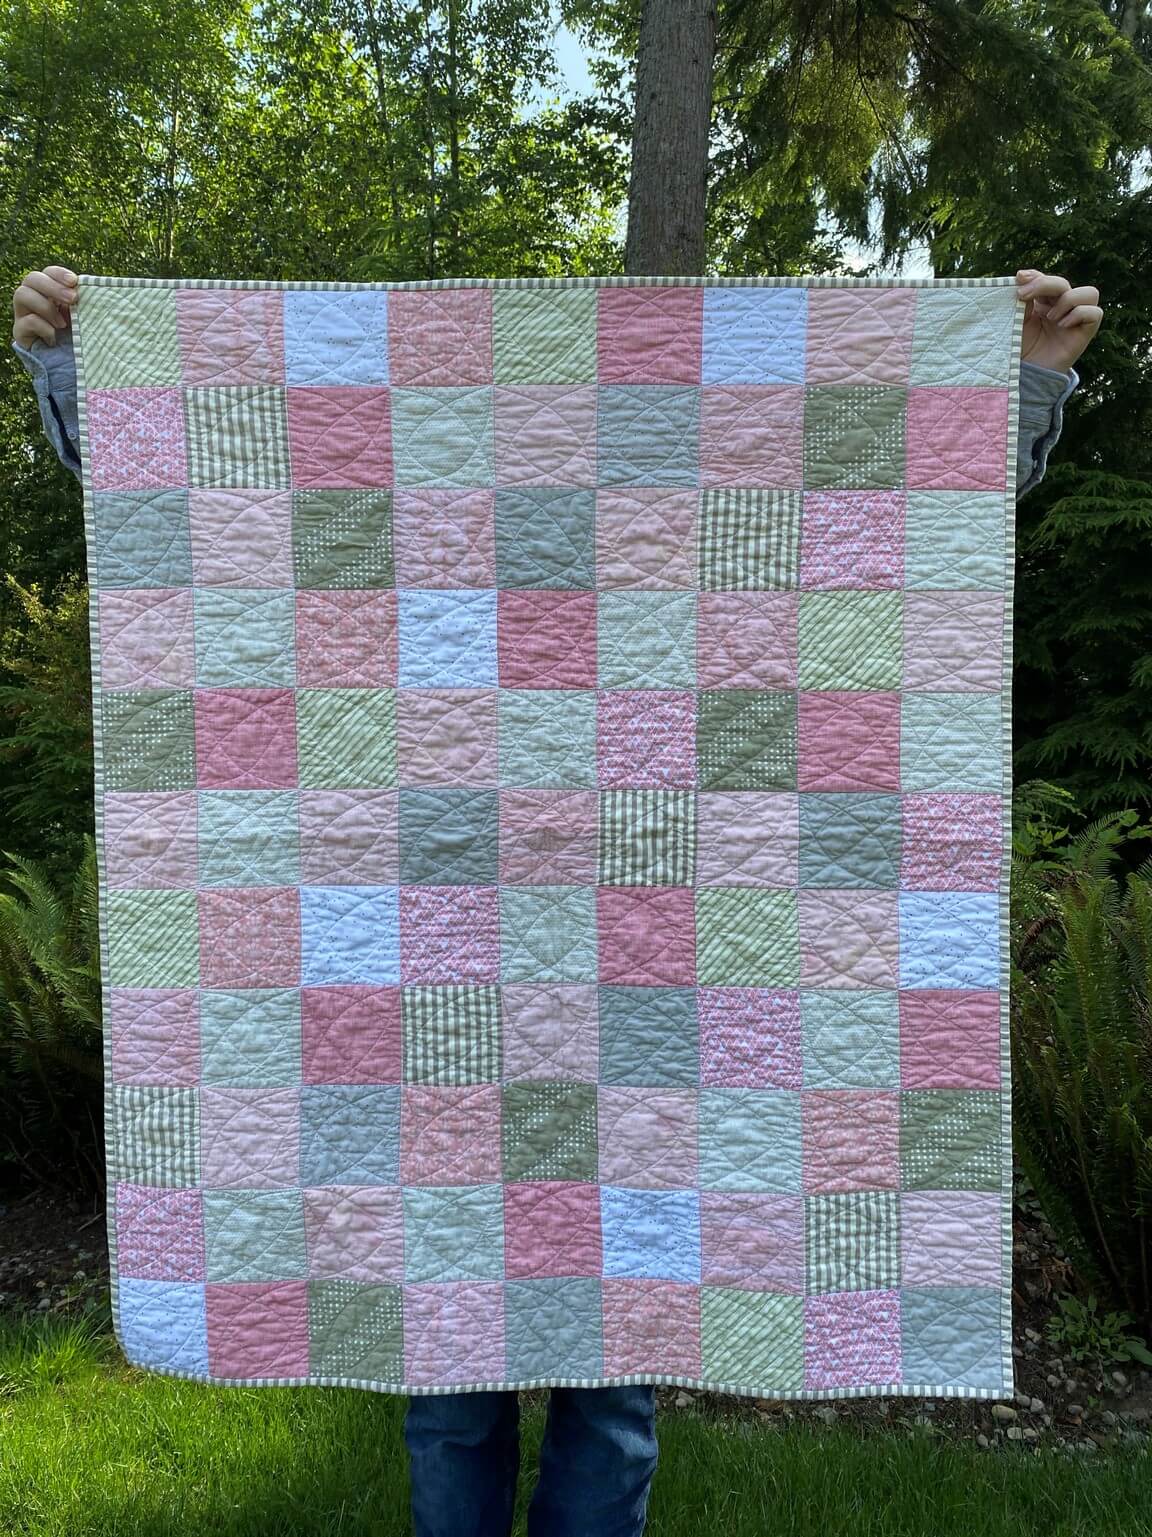
I chose the color palette to coordinate with her room based on the pictures her mom showed me while they were still expecting. It’s all very soft and floral and pretty. I don’t usually work with subdued colors, so this was a nice change for me!

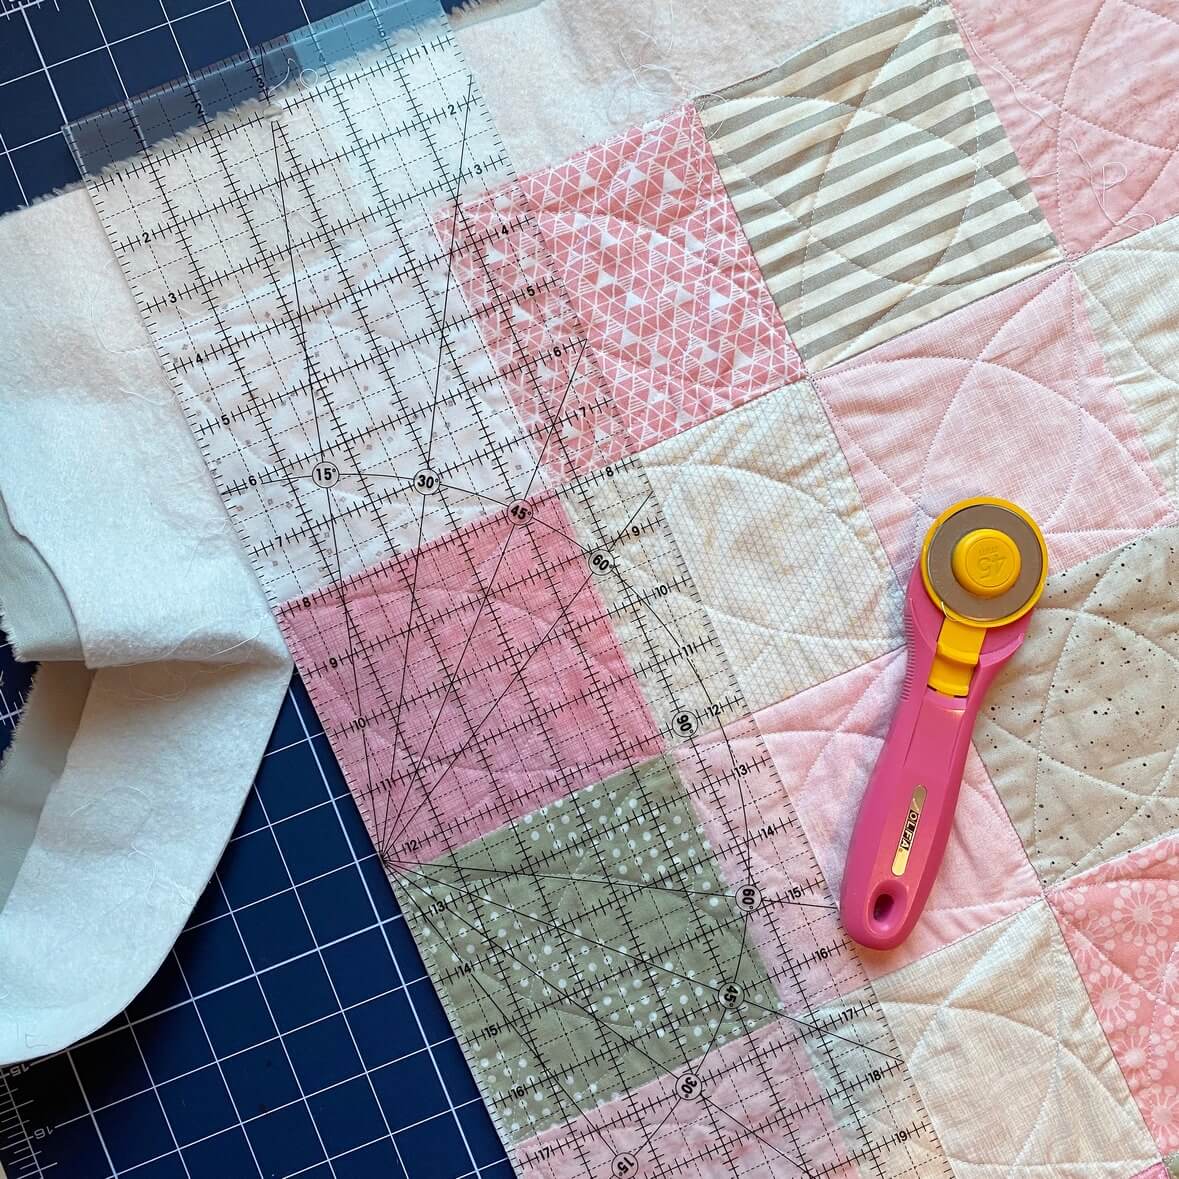
When I was trying to decide on the pattern to use, I just kept coming back to a super simple, classic, checkerboard patchwork. I wanted that old-fashioned, ‘grandma’s quilt’ feeling.

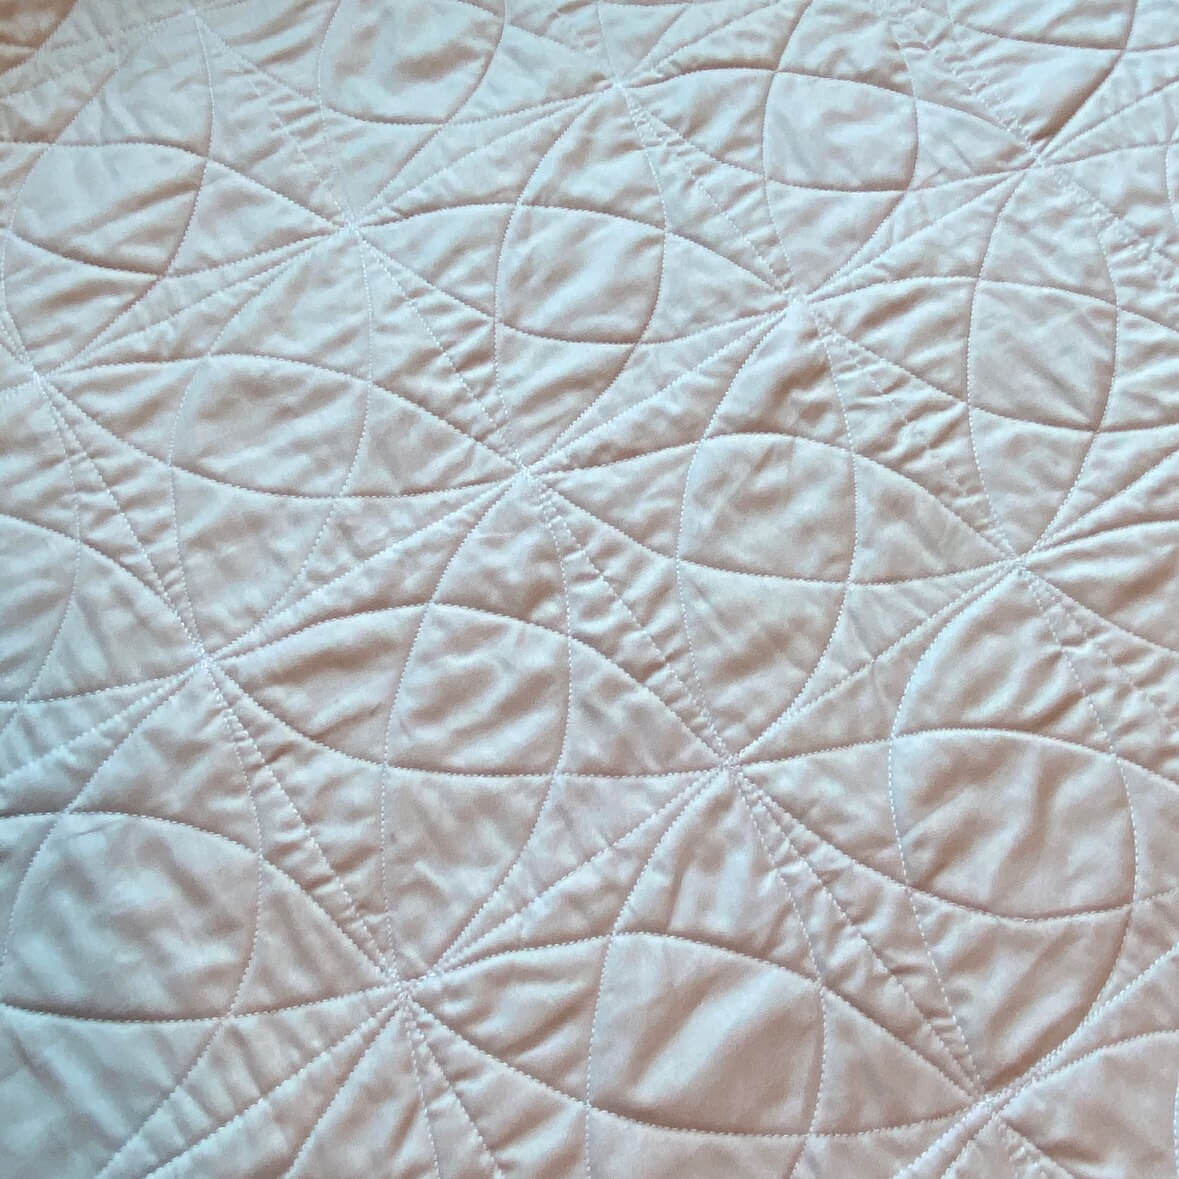
The double almond shape in the quilting design also helps give it that classic feeling.

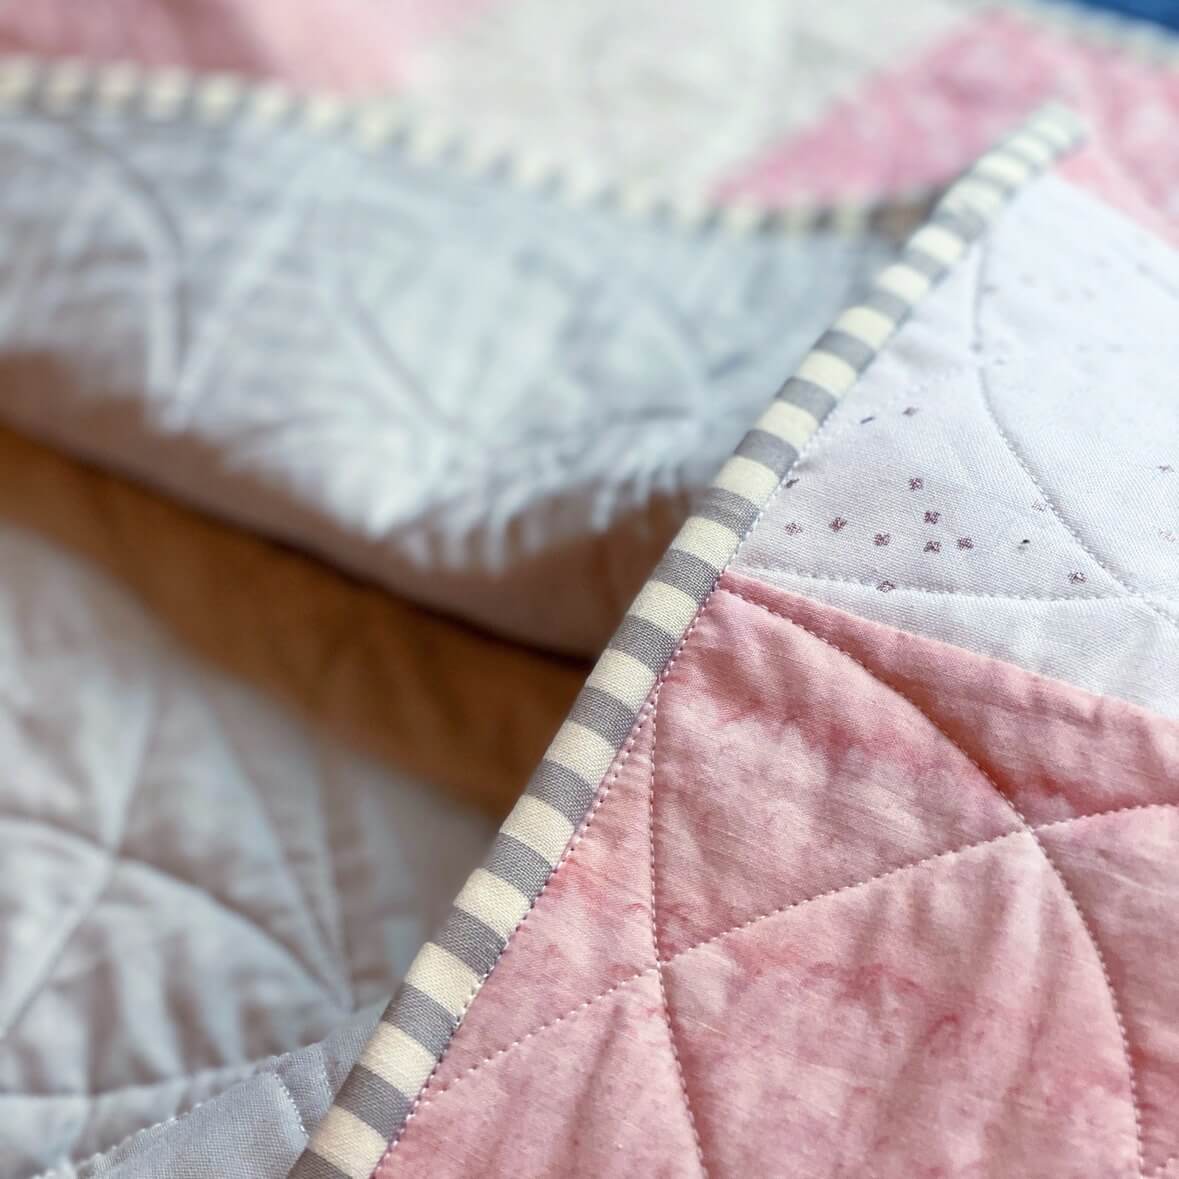
And of course, I chose a striped binding!

Sweet Ava’s big brother happened to be at my house when I took this quilt out of it’s first washing, so I made him be the one to hold it up for photos. My kids were happy to get a break from quilt-holding!

I hope she will get lots and lots of years of soft snuggles out of this quilt!

And I also hope you all are doing well. It’s been a long time since I’ve checked in! My arthritis has really slowed down my sewing, but I do have a few more finished projects to show you soon.

Happy sewing! ~Lorinda
March/April UFO Follow-up

Hello, friends!

You may have noticed that I never wrote in early April about finishing my March UFO project. There’s a really good reason for that- I did not actually finish my March project in March! I was a bit caught up in the Corona fog, supporting my kids and trying to settle in to some of our new routines.
April brought some new structure, the realization that my kids would not be going back to school, and lots of productivity. I was able to catch up on my UFO challenge, develop and present (via Zoom) a new workshop, and like most of you- make lots of fabric masks for my friends, family and community.

Here’s a look back to what I said at the beginning of the year about March’s project:

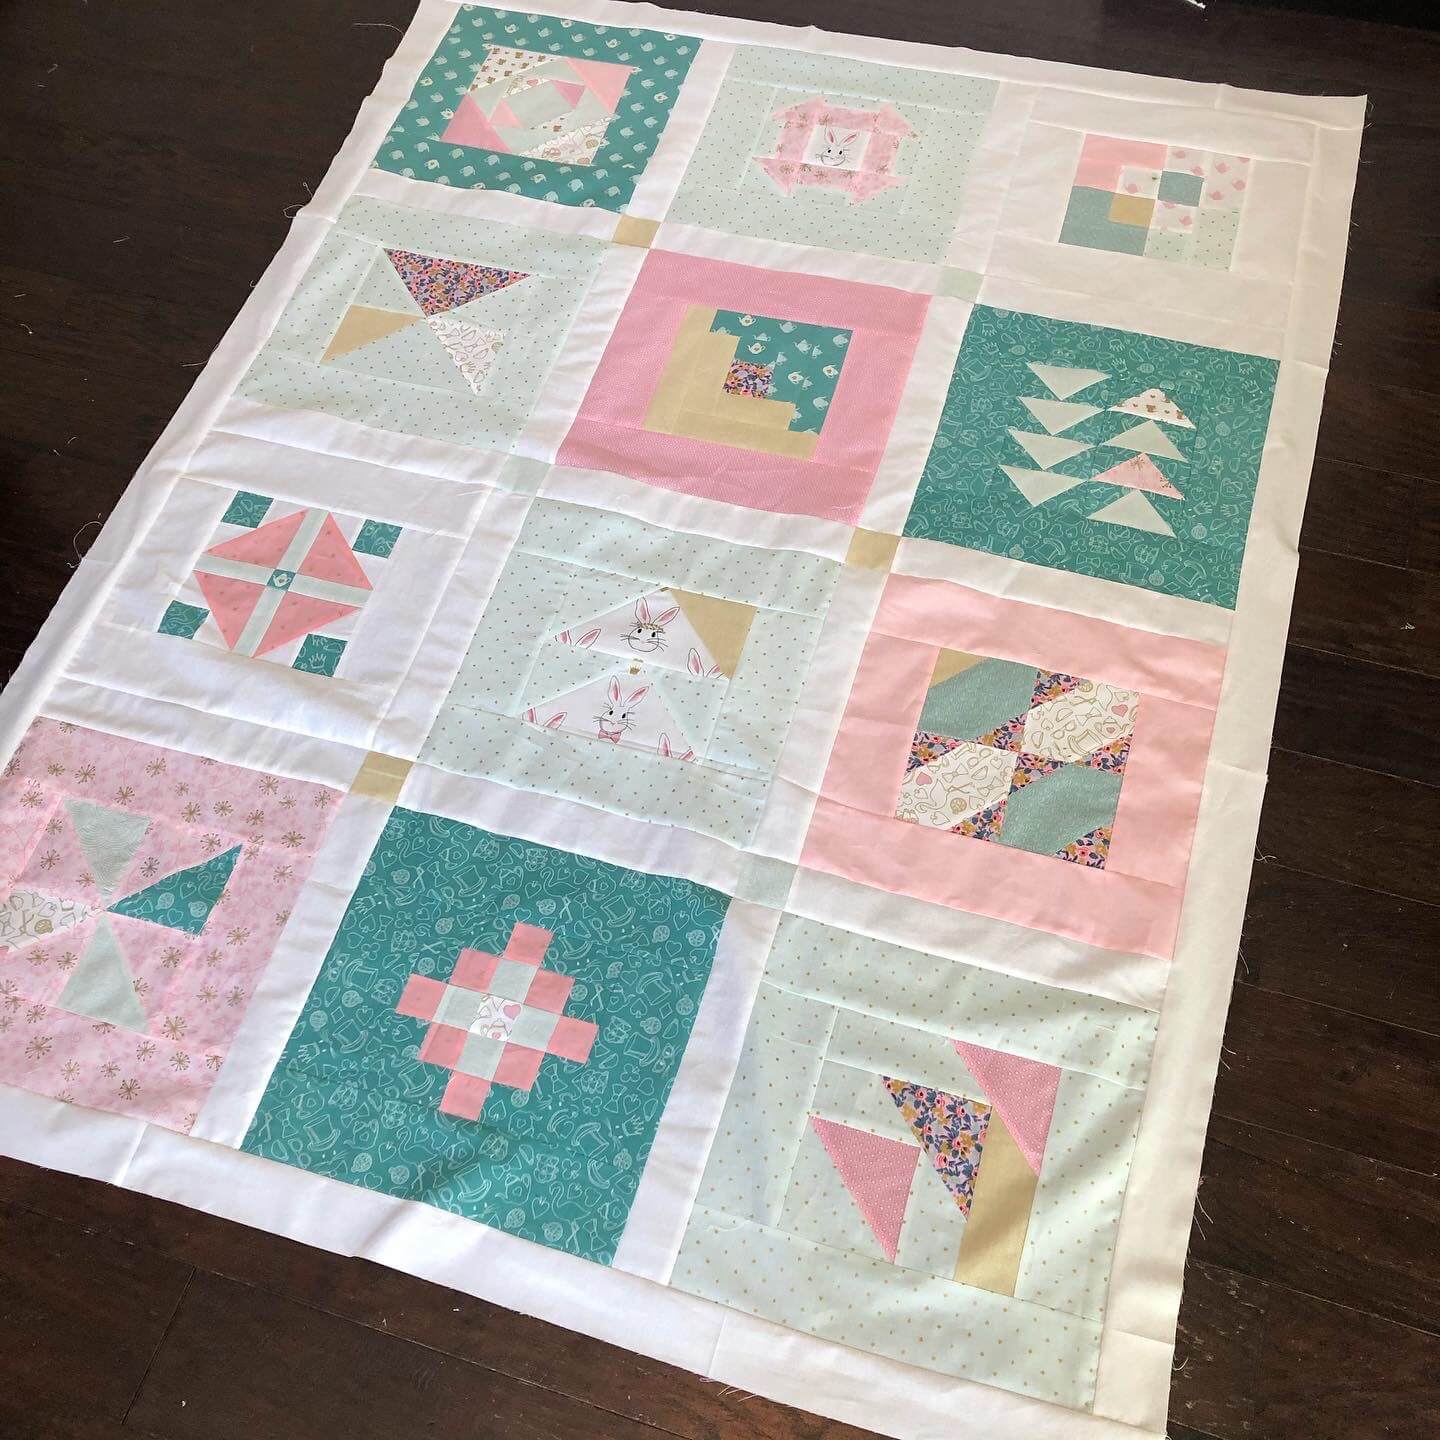
“7- Riley Blake Alice quilt: Another Alice quilt with only two blocks made. I’m using the 2020 Quilter’s Planner Sampler pattern for this one and a bundle built around the Wonderland fabric collection from Riley Blake.”

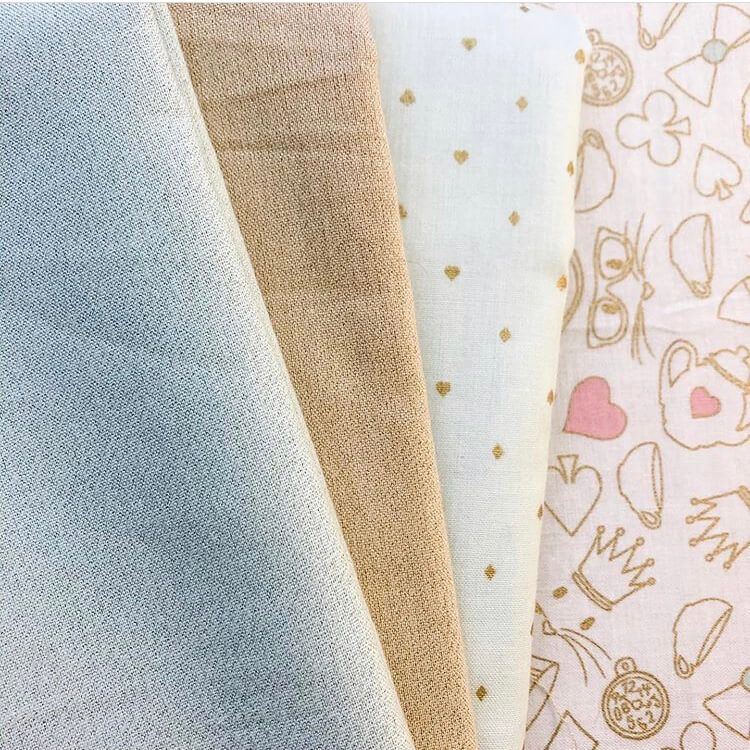
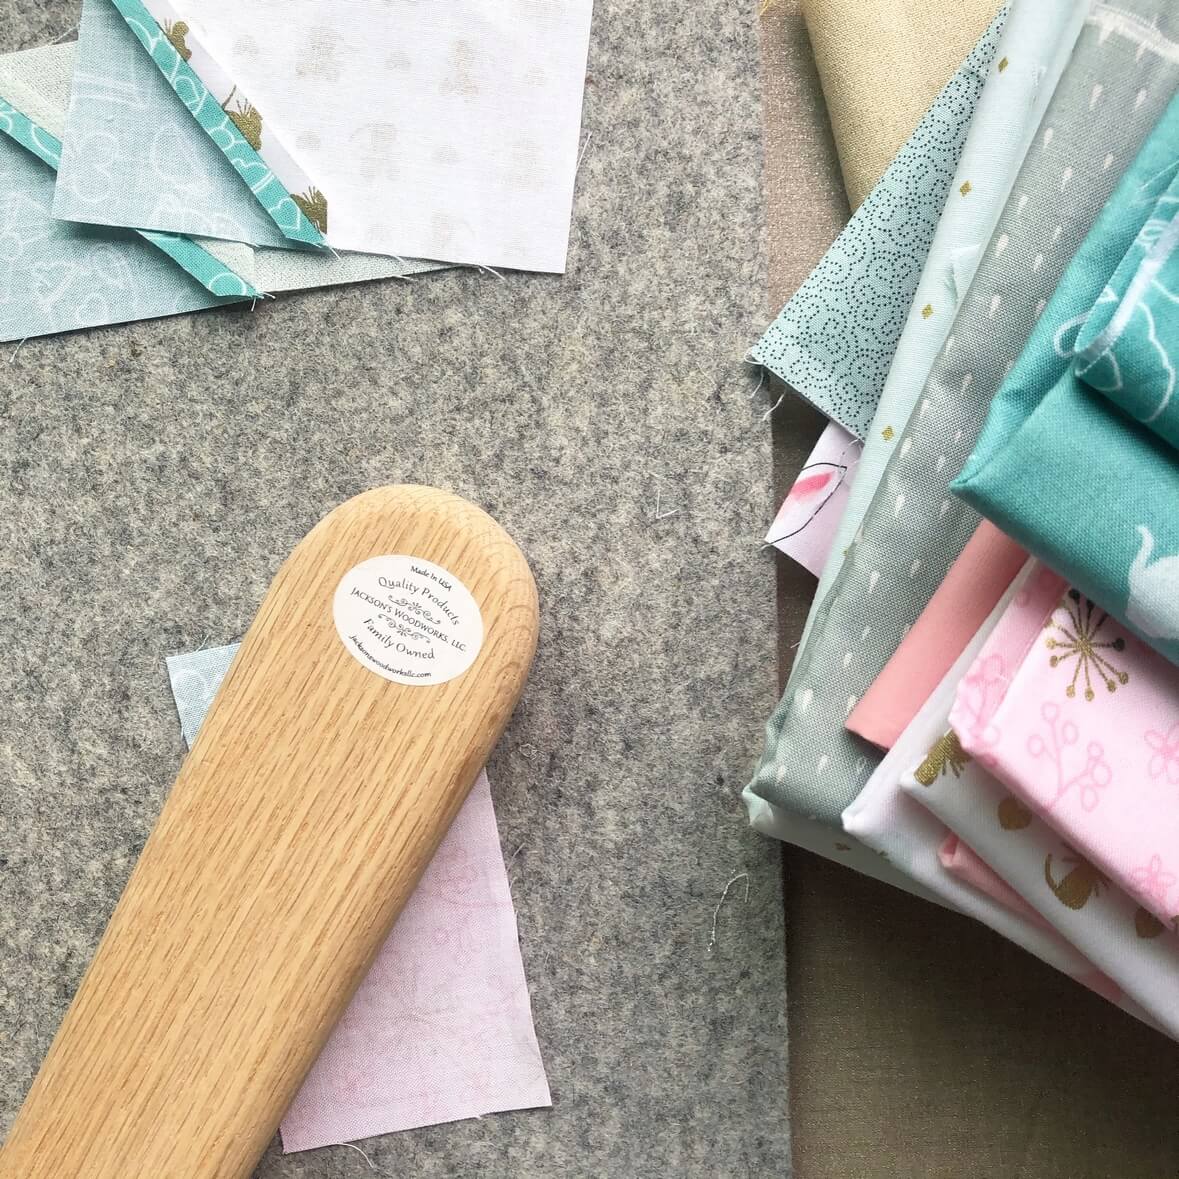
So my task was to finish out the remaining 10 blocks and assemble the quilt top. It was fun working with the pastels and rabbit-themed fabrics leading into Easter, but after Easter passed it took me another week to assemble the top.

I’m looking forward to quilting this and having it ready to go in my living room next spring!

I love the Quilter’s Planner Sampler pattern this year- there’s a lot of interesting elements that move your eye around the quilt top.

Catching up on March’s project put me a bit behind starting April’s. Here are the details about April’s project from my UFO post in January:

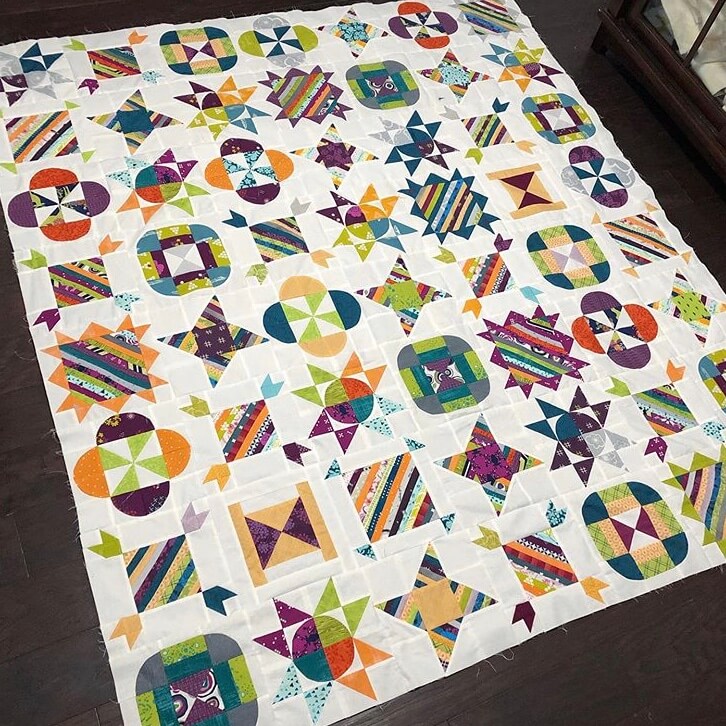
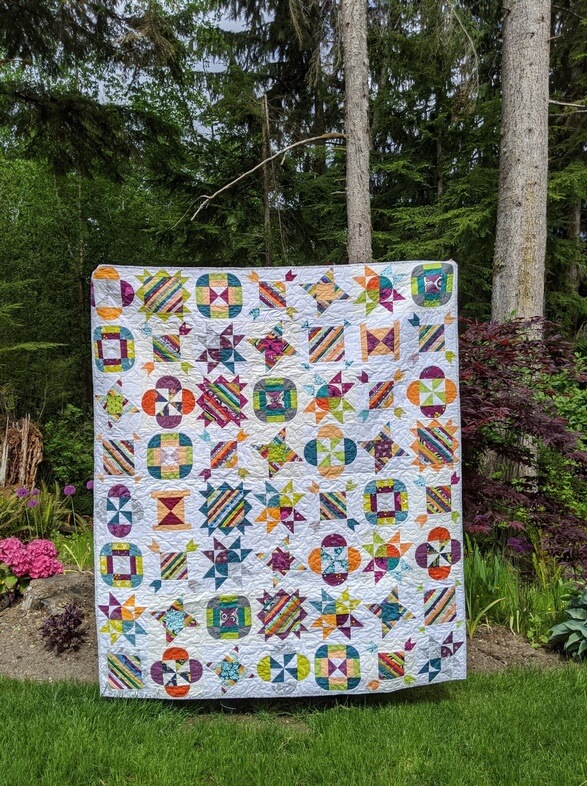
“1- Sister Sampler Quilt: This is a quilt top waiting to be quilted, bound, and gifted. I want to gift it in September, so if this number doesn’t come up before then, I’ll have to finish it early.”

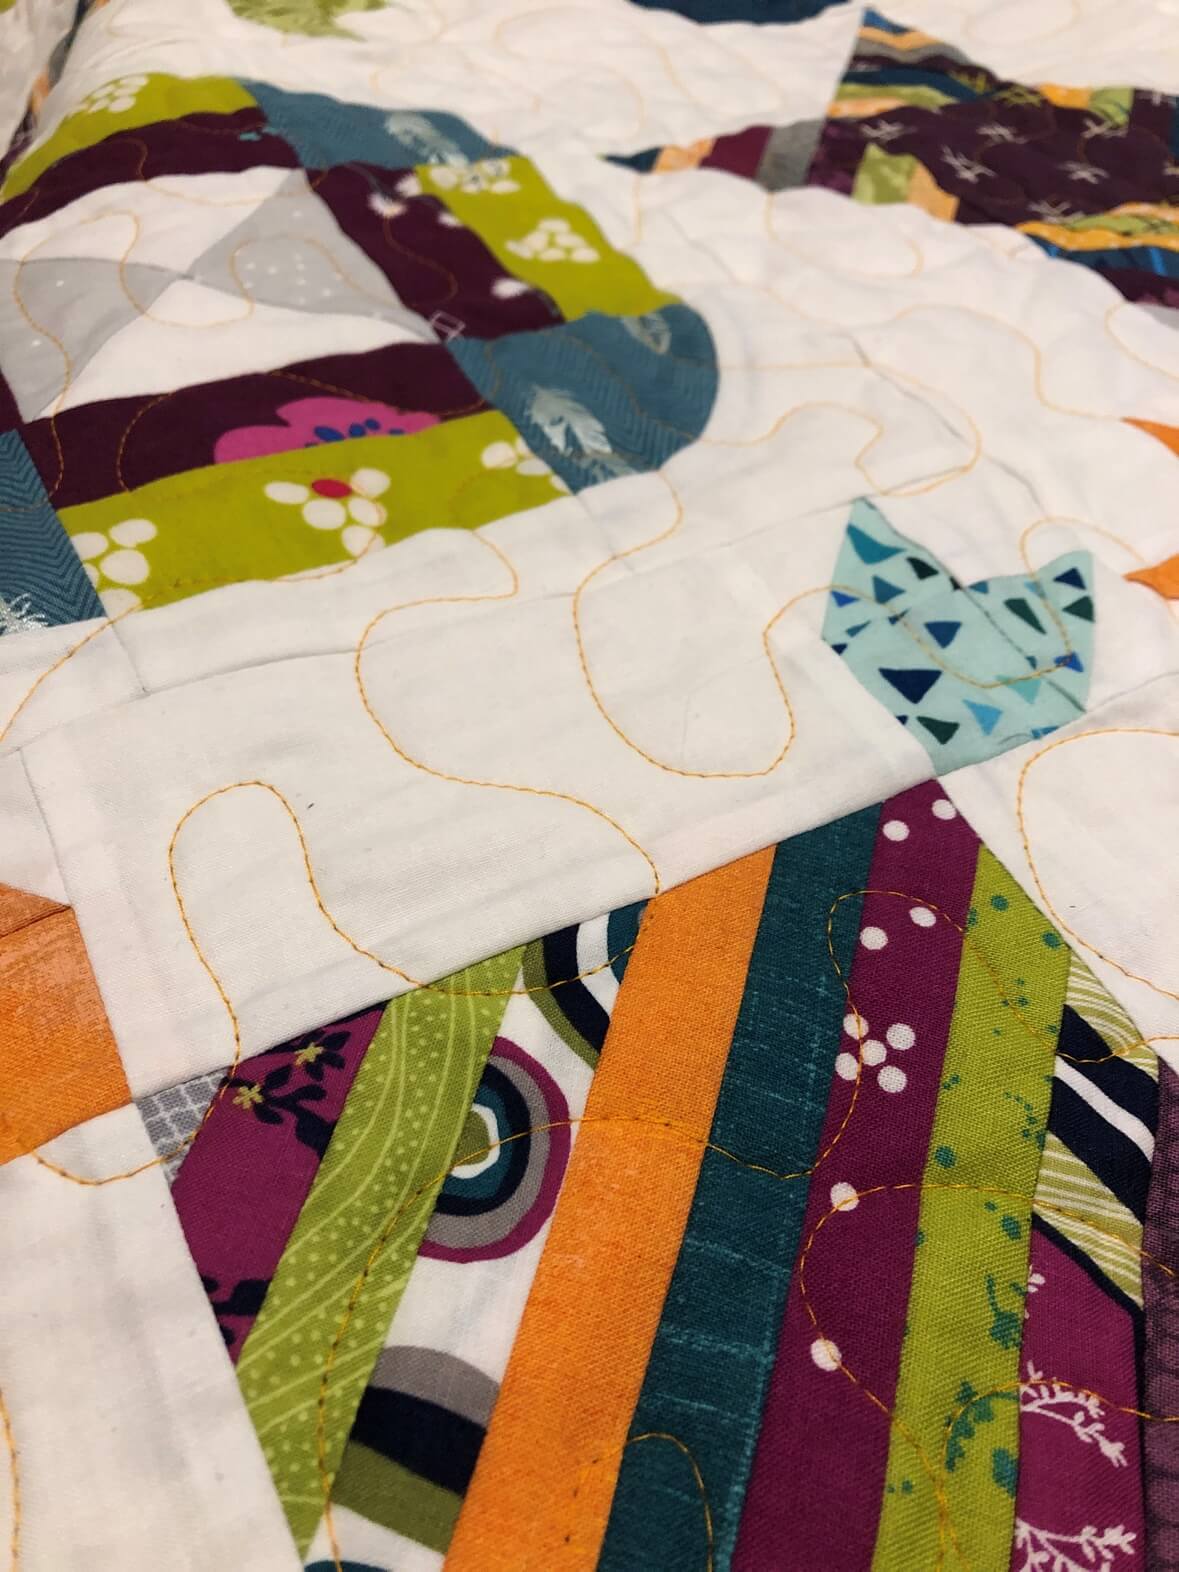
Because I was feeling behind schedule, I was glad to only have to finish a top instead of piece an entire quilt. Unfortunately, I can’t rent the long arm at my LQS right now so I was going to have to quilt this at home.

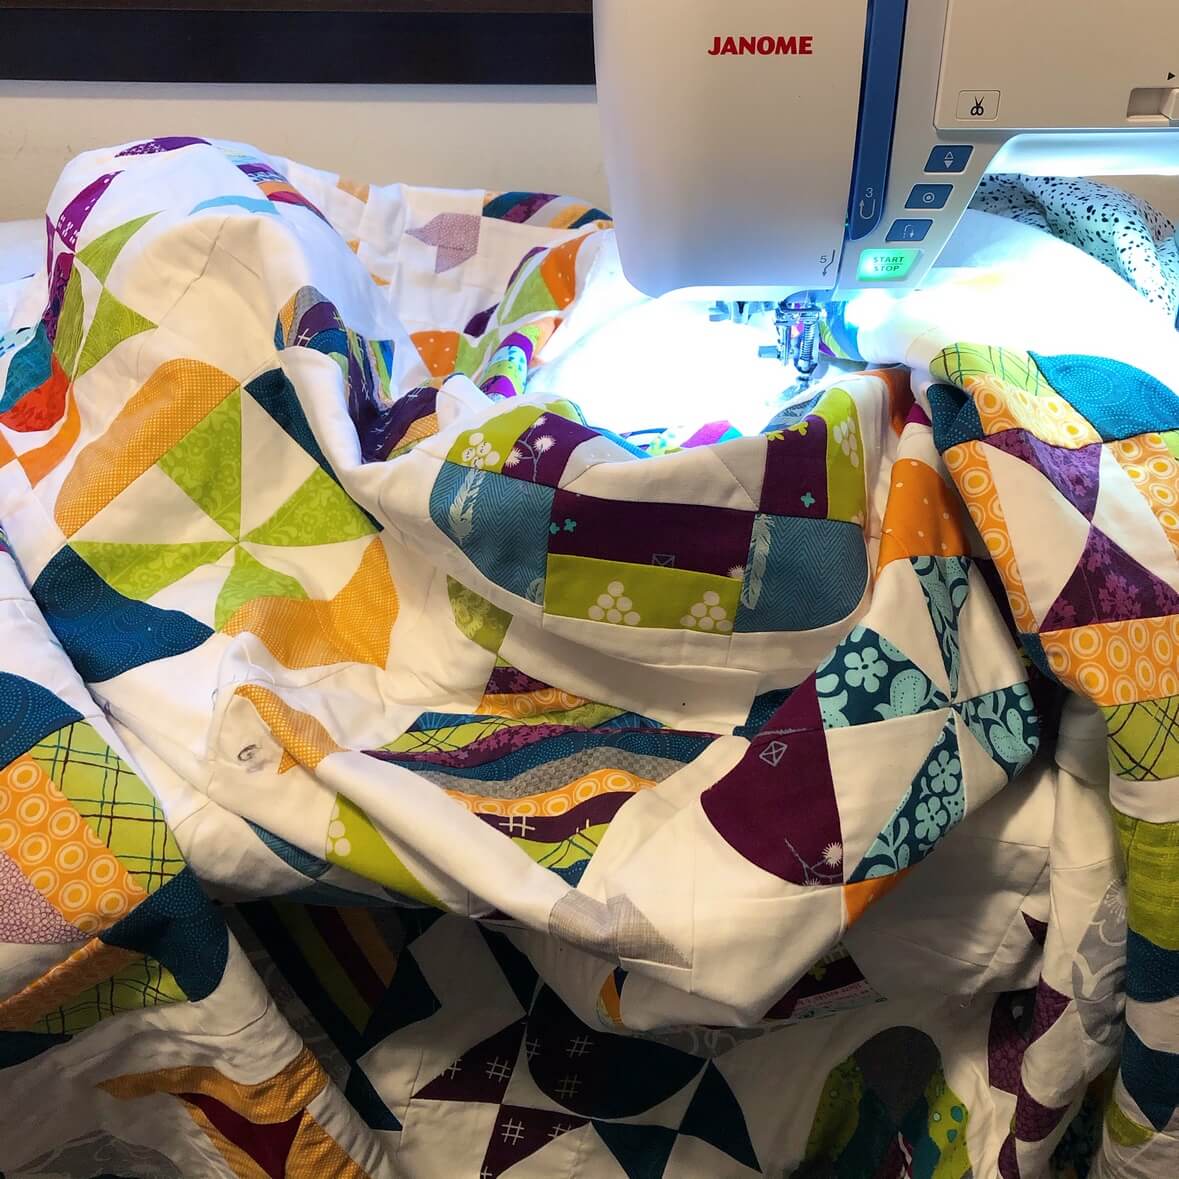
I had a few options for quilting thread, but this light orange was the clear winner…. it just popped against that quilt top!

The free motion quilting went a lot quicker than I expected which was good because I really was down to the wire on this one. I finished it at like 5 pm on April 30th!

This challenge has been so good for me. After having a month like March where I barely sewed anything fun, this really helped me to get the motivation to get out of my rut and take pleasure in making beautiful things for my home and the homes of people I love.

May’s project is underway, and I look forward to sharing more about it soon.

In the meantime, Happy Sewing! ~L


Show me Something Rainbow Follow-up

So here we are at the end of March…. what just happened?! What a crazy month. How are we doing- are you all ok out there? Can we all agree that April Fool’s jokes would just be too much at this point, and just ignore the holiday all together?!

At the beginning of the month (which seems like forever ago), I was hoping to complete something rainbow-themed for Sarah’s linkup. Here was my plan:

“Besides just showing past projects, I wanted to set myself a goal this month to make something based on the theme. As I said earlier, I would like to finish the scrappy rainbow By Your Side quilt this month. I also would like to play with rainbows using some curved piecing blocks from Modern Curves and Bold Stripes. Or maybe more mini blocks from the Sew Tiny Sampler!  I’ll check in at the end of the month to let you know how I did.”

Little did I know what March had in store!

I won’t bore you with the details- I think we’re all navigating lots of crazy changes and uncertainty right now. My time has been occupied elsewhere, and besides some mask covers, I just haven’t been able to sew much!

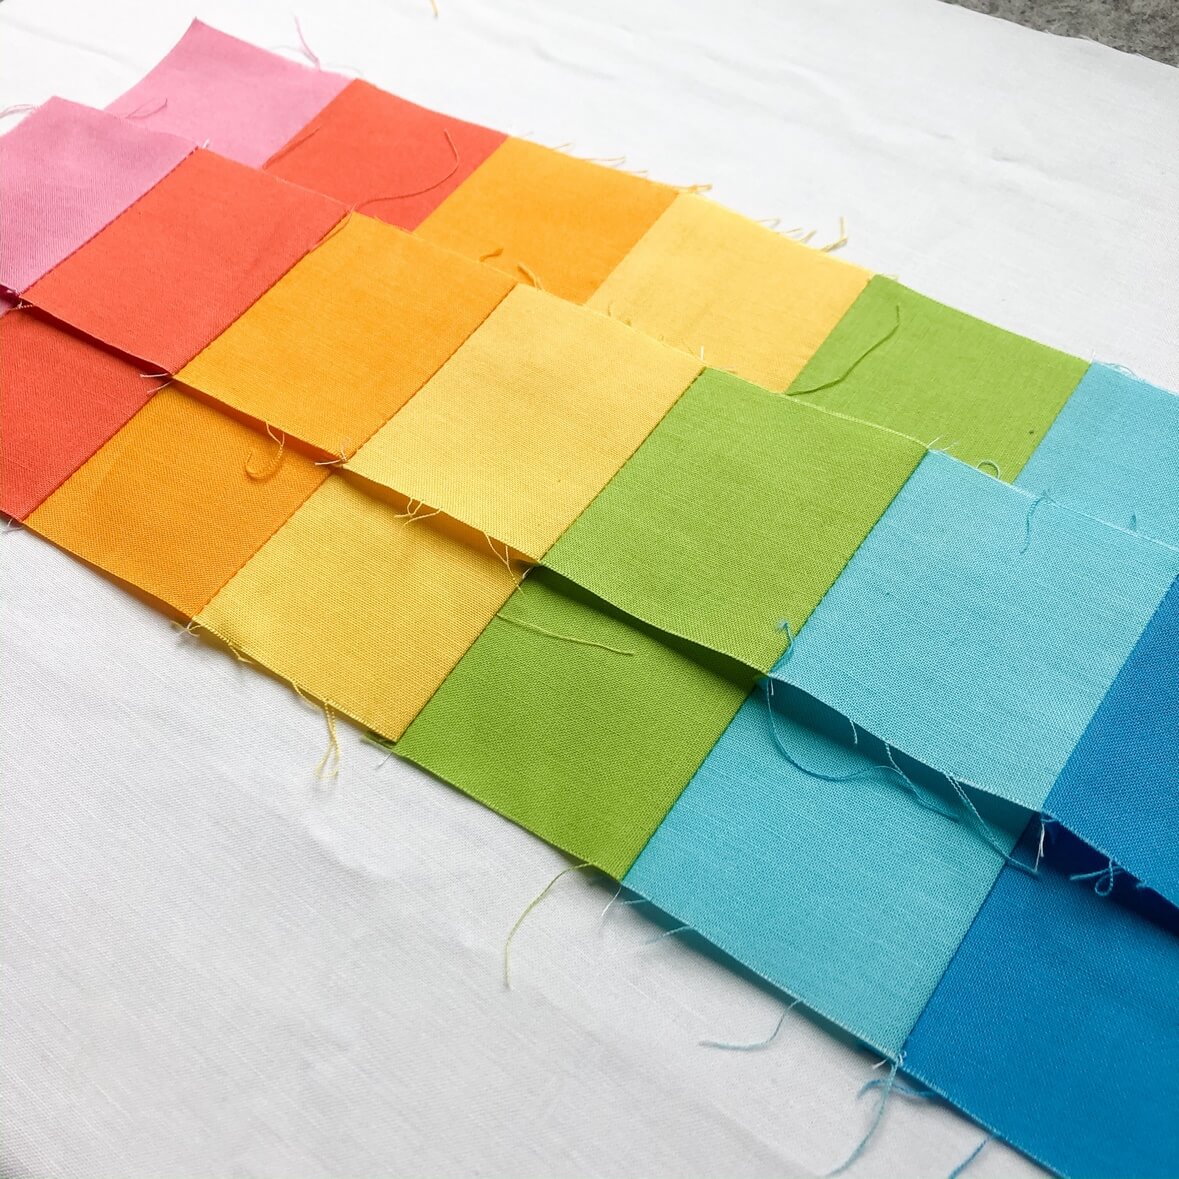
I did end up choosing a project, though! I have had these little rainbow strips in my cabinet for quite some time. Early in the month, I was getting something else out and came across them. The colors made me so happy, and I knew I just needed to make something with them to brighten up my month.

img_3876

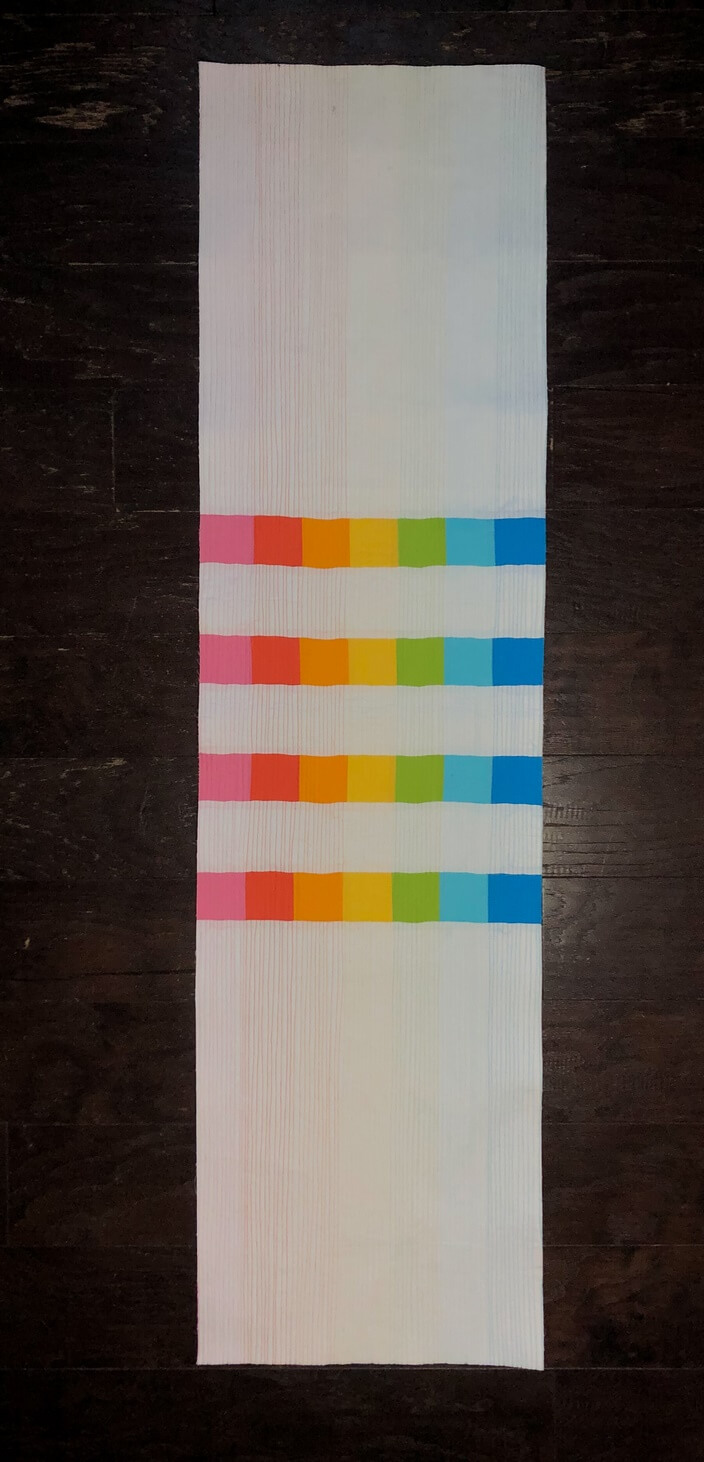
I originally planned on it being a table runner, but I was making the background white and I didn’t want it to get ruined. I have a tall, narrow spot on my studio wall that is blank so I decided a wall hanging was better.

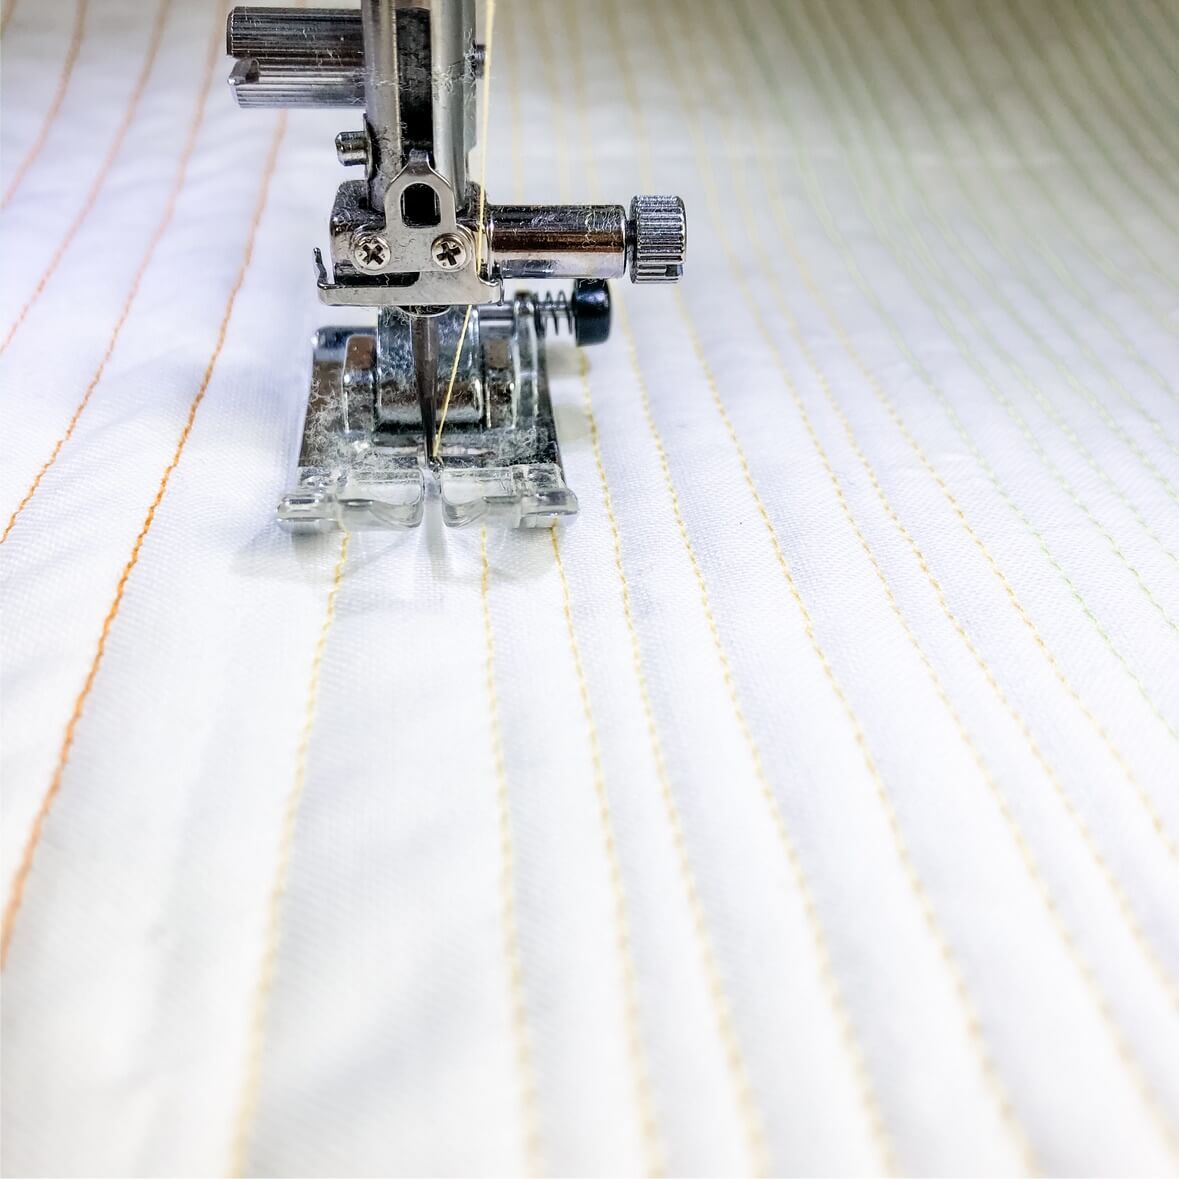
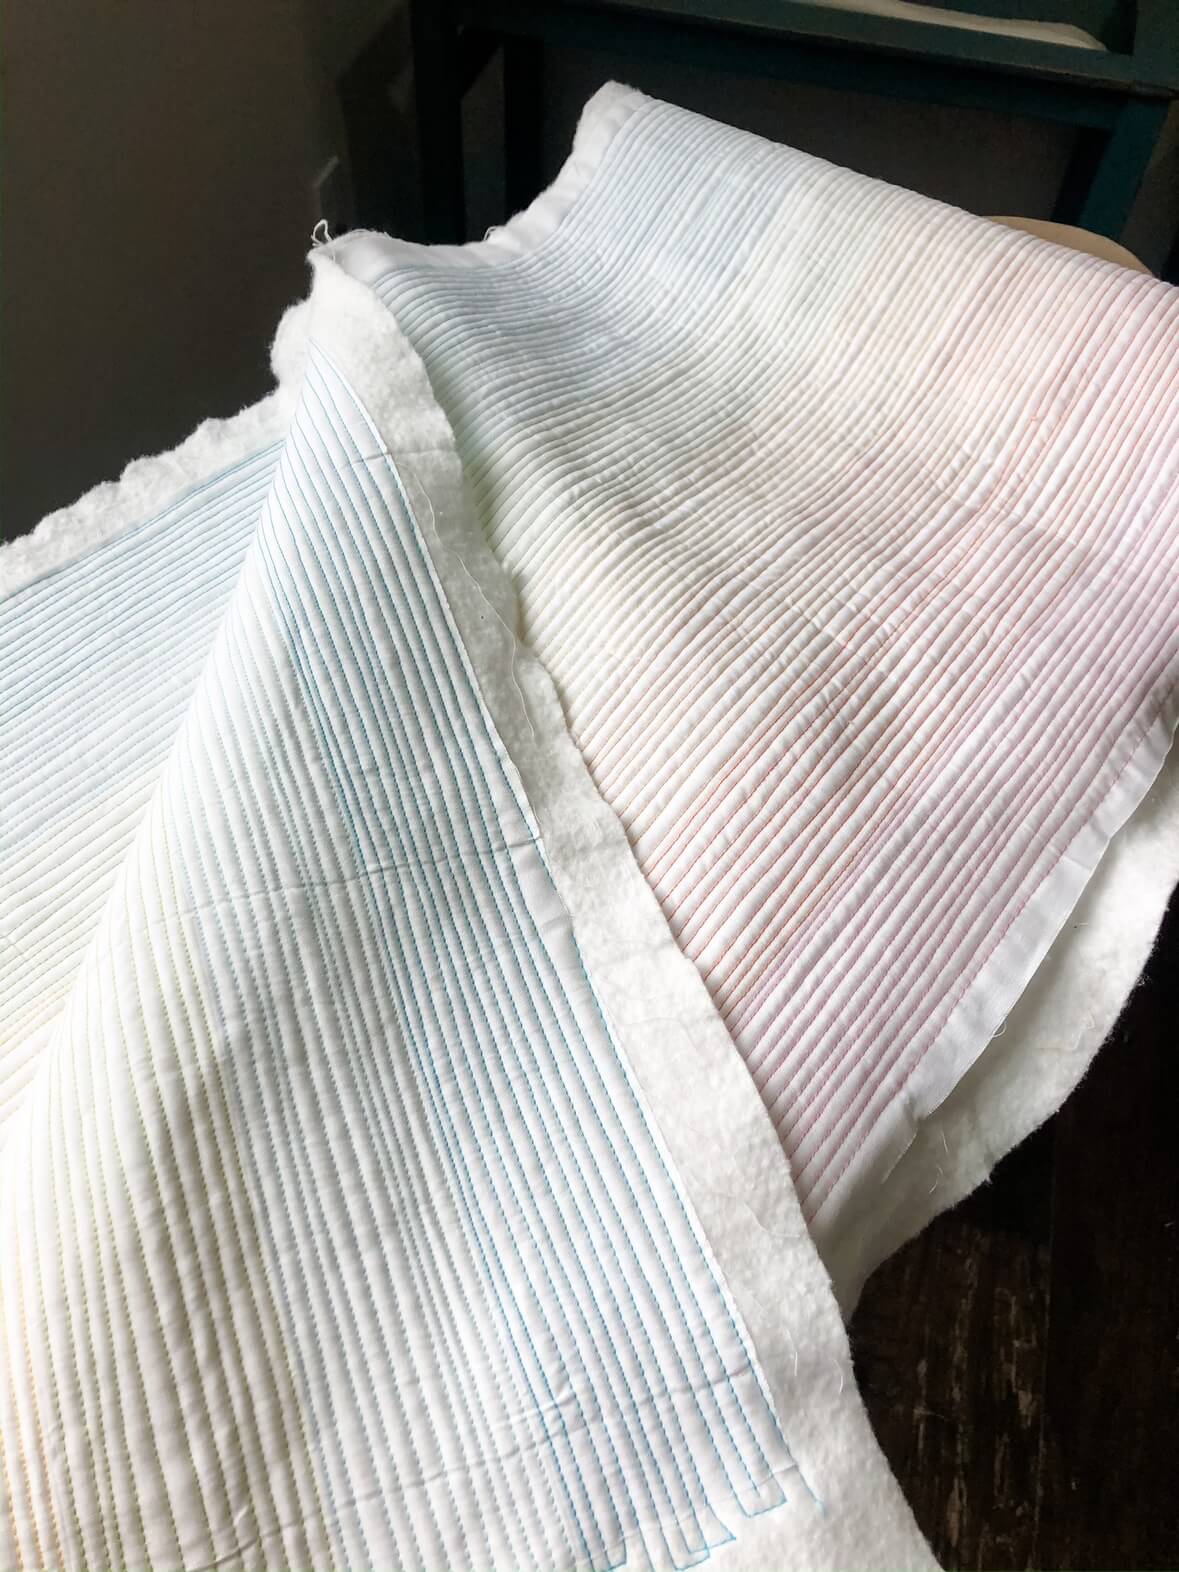
I quilted each section by color, and I love the effect on the white!

img_3987

I got so close to finishing. The binding is all that’s left, but I changed my mind on the binding fabric at the last minute and don’t have what I need. I’ll be using Kona white, which I usually have on hand. But I used it up making mask ties and although I reoredered some last week, it’s still on it’s way to me. But I am counting this one a success because I WOULD have had it done tonight if I had the fabric I need!

img_4021

Make sure to visit Sarah’s Linkup page for this month to see all the other rainbow projects!

And here’s hoping that next months brings more time for happy sewing! ~L

Show Me Something Rainbow Linkup with Sarah Goer

Every month, my friend Sarah Goer hosts a link-up around a different theme. I was so happy this month when I saw the theme was Rainbow! I am a sucker for a great spectrum, so I couldn’t wait to share my past rainbow projects.


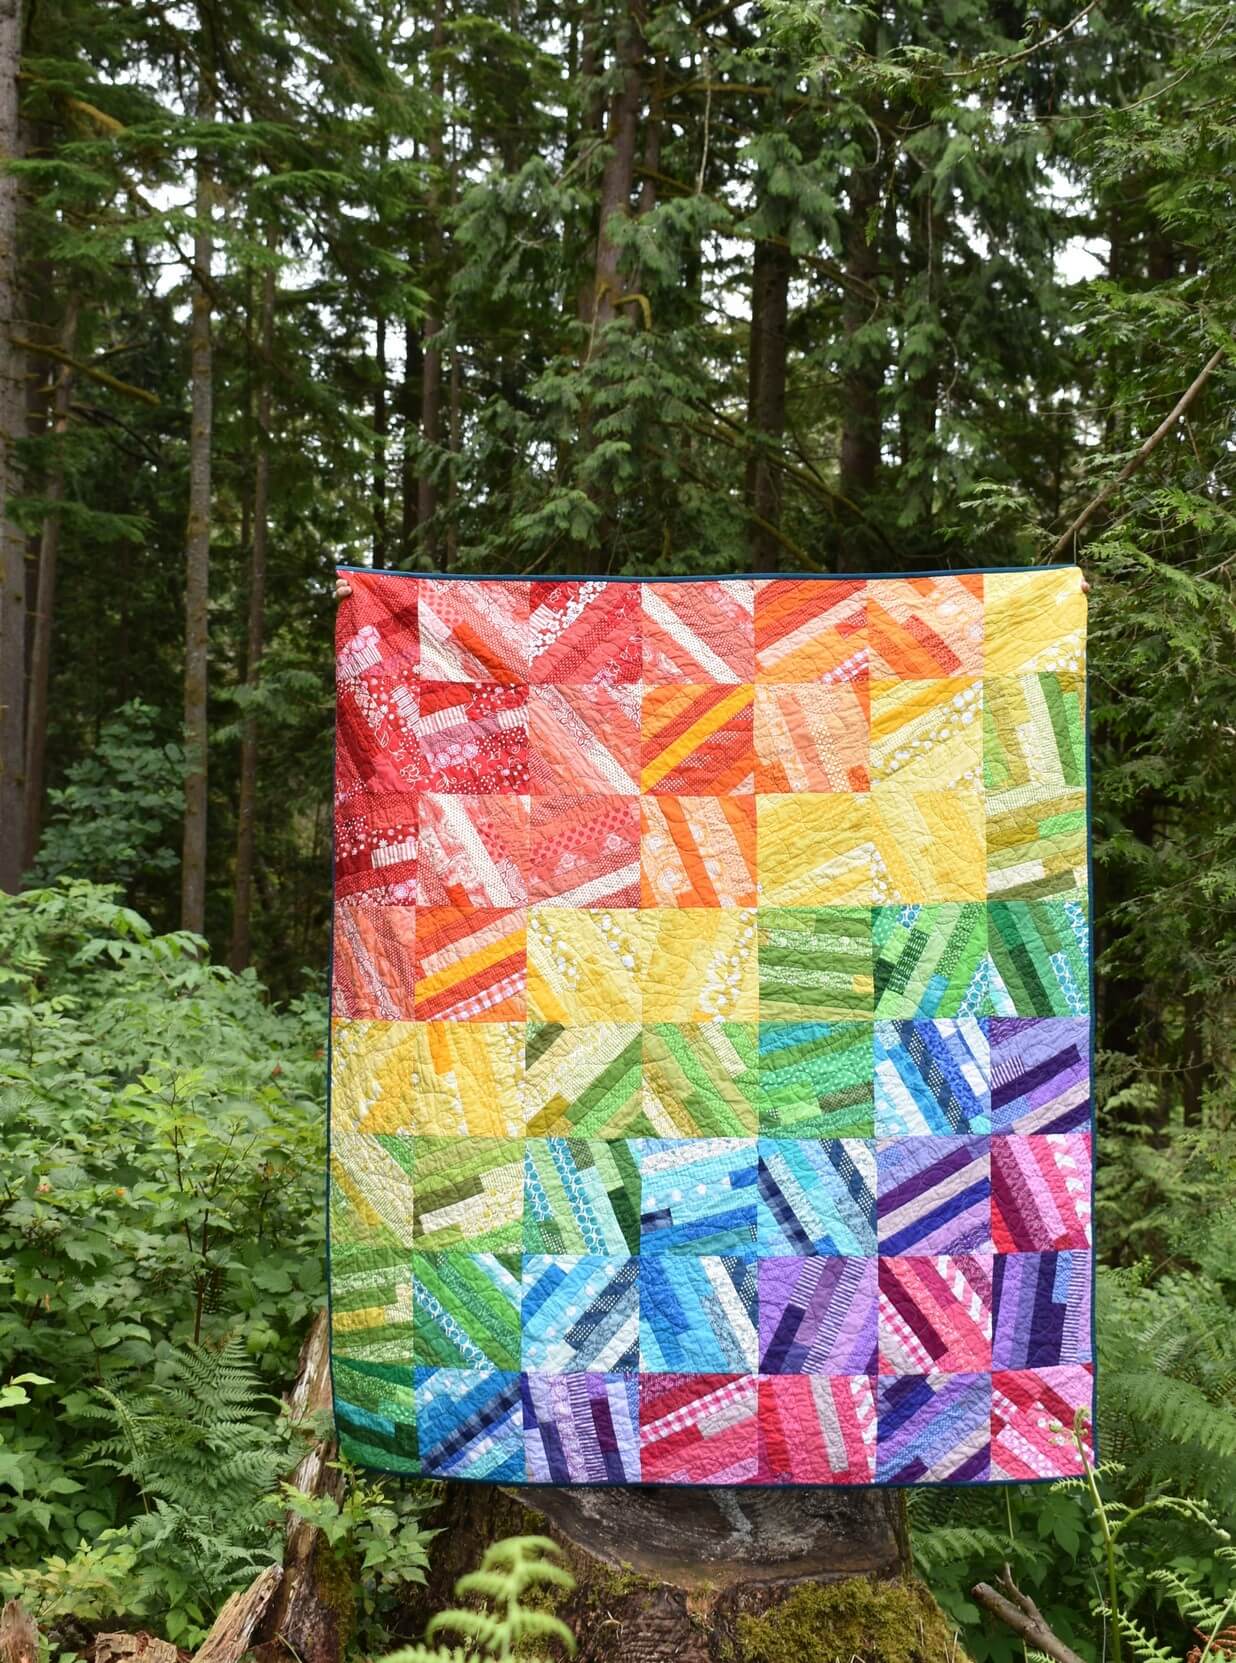
My scrappy rainbow quilt was probably my favorite finish of last year.

It currently hangs in my studio keeping things bright and happy.


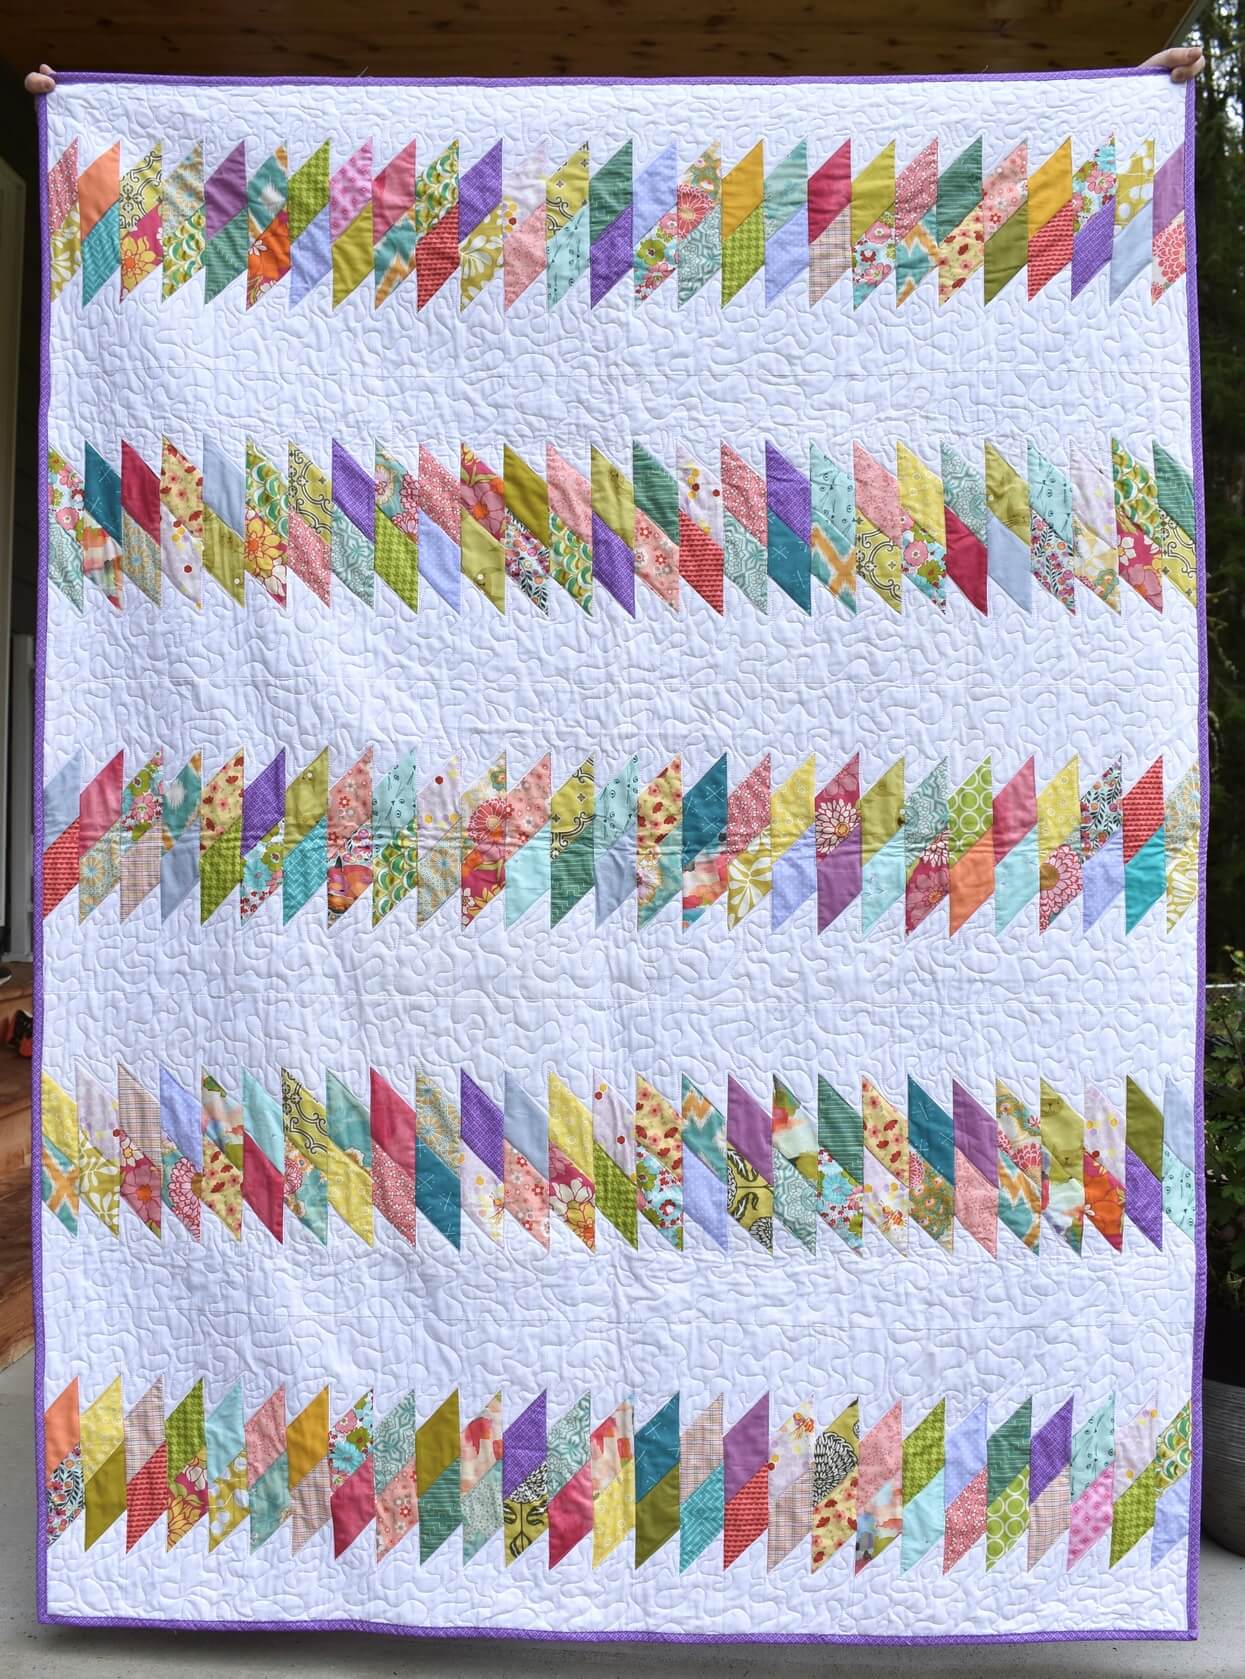
This sweet rainbow bundle eventually got all mixed up and turned into a Kayak Point quilt for my niece.


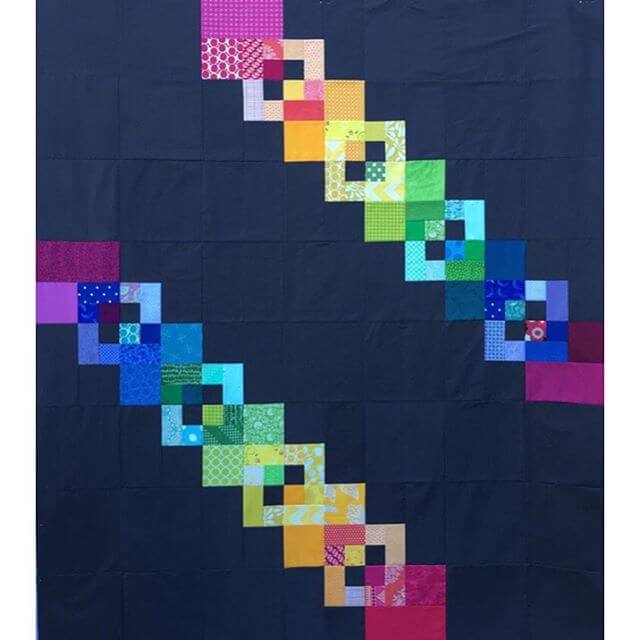
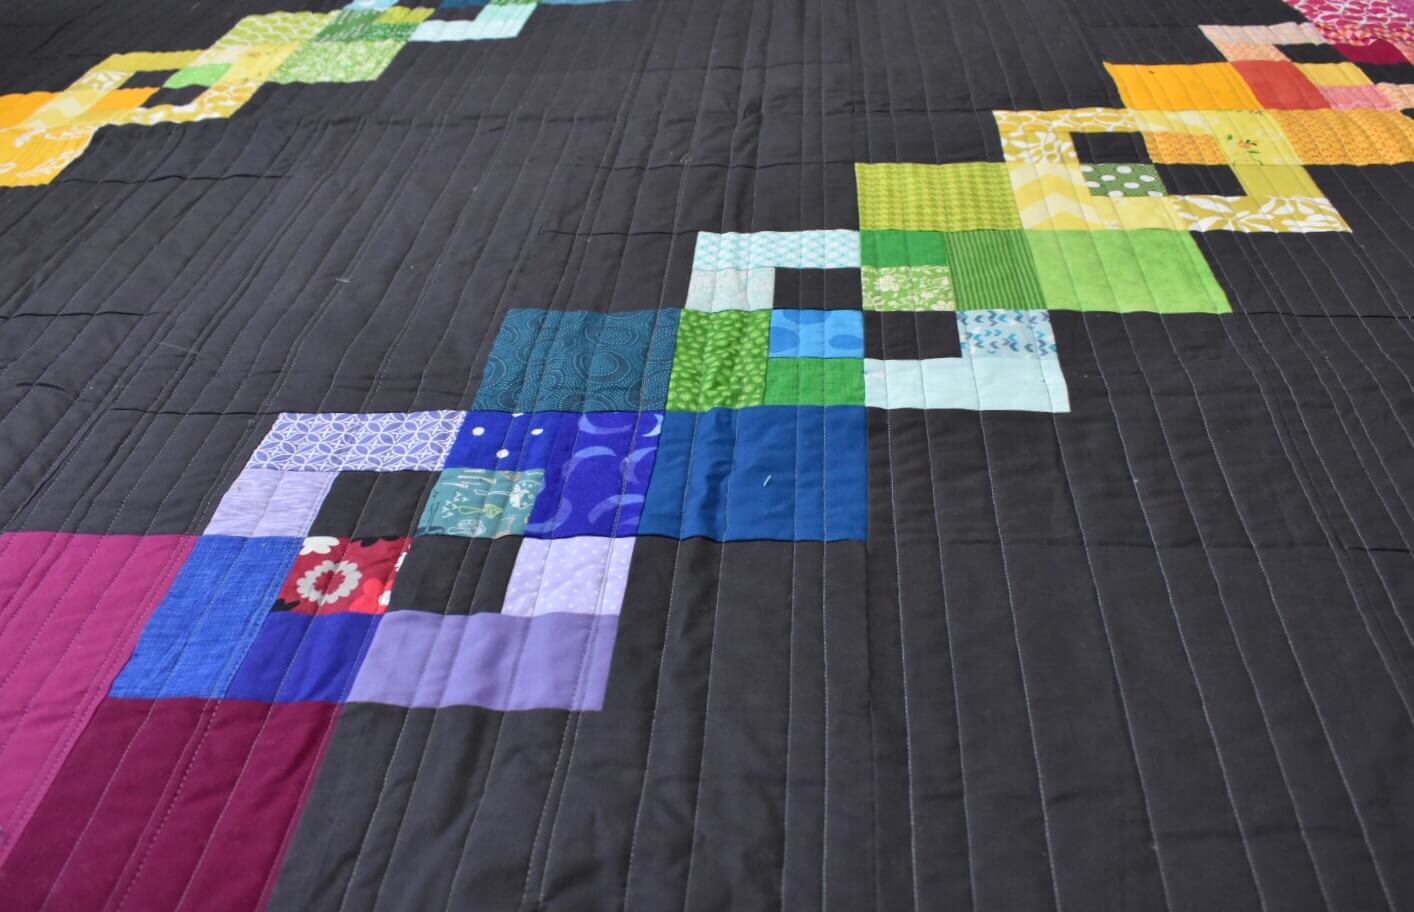
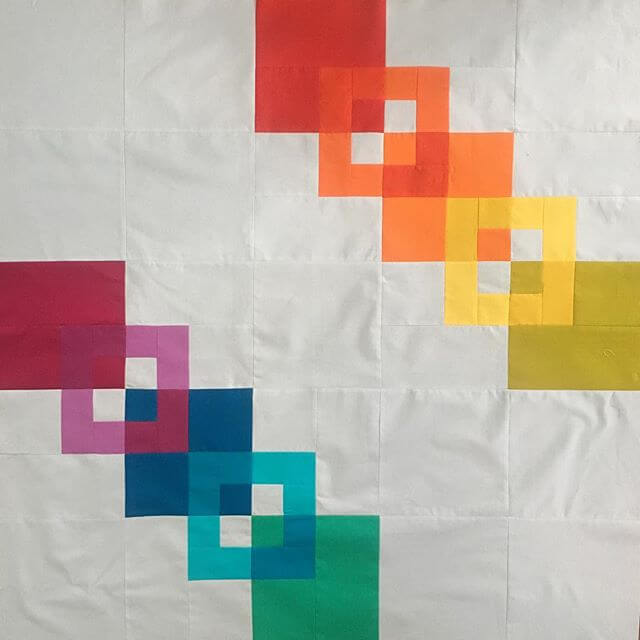
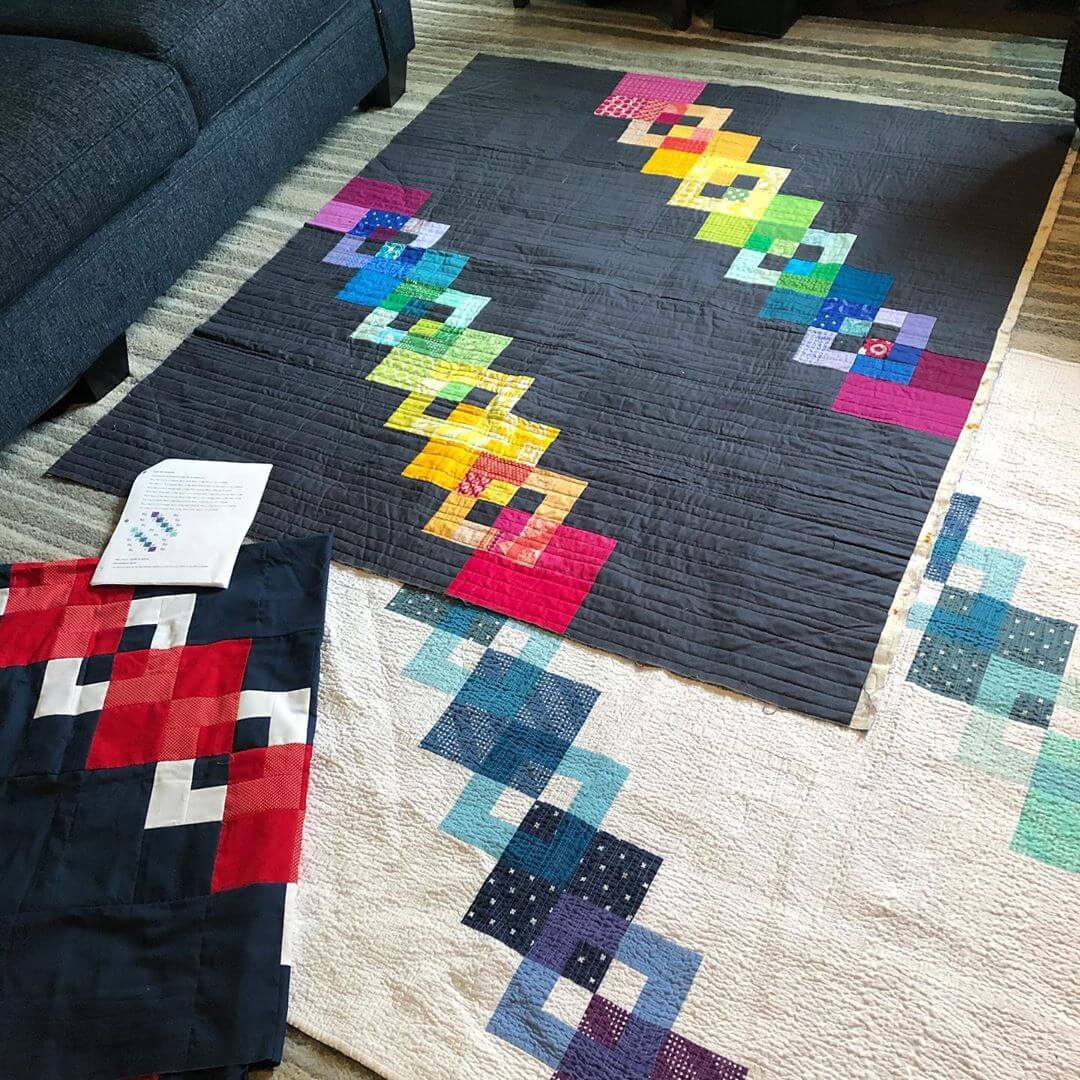
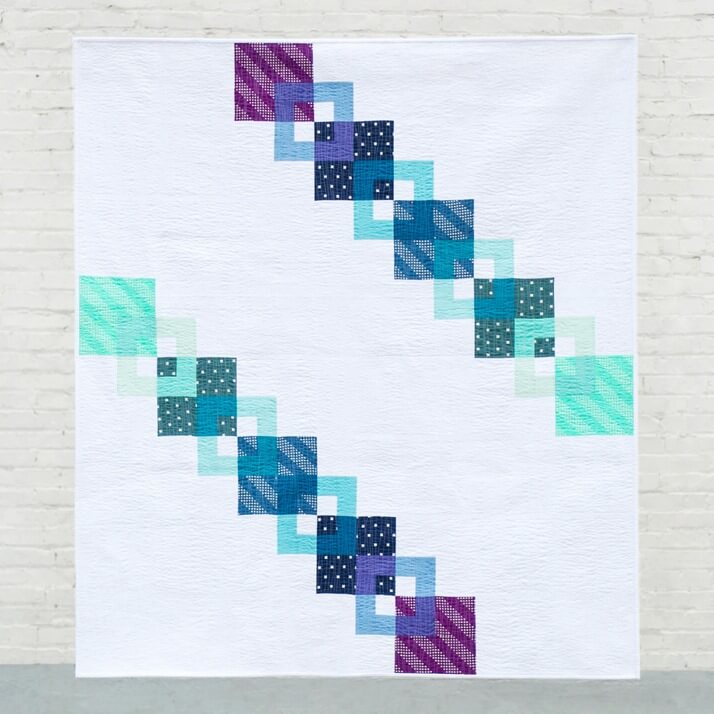
Lastly, my By Your Side pattern lends itself really well to playing with rainbows. The scrappy rainbow version is so close to being done! Maybe this month’s theme was exactly the sort of inspiration I needed to get it finished!


In case you missed it, I’ll be teaching this pattern at Quilting Mayhem in April.


And last but not least there is this little-seen version of the By Your Side rainbow baby quilt. I honestly don’t think I ever took photos of this quilt finished and I can’t even remember who it ended up going to! I hope to make another one of these By Your Side baby quilts very soon.


Besides just showing past projects, I wanted to set myself a goal this month to make something based on the theme. As I said earlier, I would like to finish the scrappy rainbow By Your Side quilt this month. I also would like to play with rainbows using some curved piecing blocks from Modern Curves and Bold Stripes. Or maybe more mini blocks from the Sew Tiny Sampler!  I’ll check in at the end of the month to let you know how I did.


Make sure to visit Sarah’s Linkup page for this month and share your own rainbow projects.


Happy Sewing!

~L

UFO Challenge Progress- February

This year, I’ve been participating in the All People Quilt UFO Challenge. It’s been a really good experience so far!

I shared all my projects at the beginning of the year and where I was at on each of them.

The number selected for February was 9. Here is what I wrote for that project:

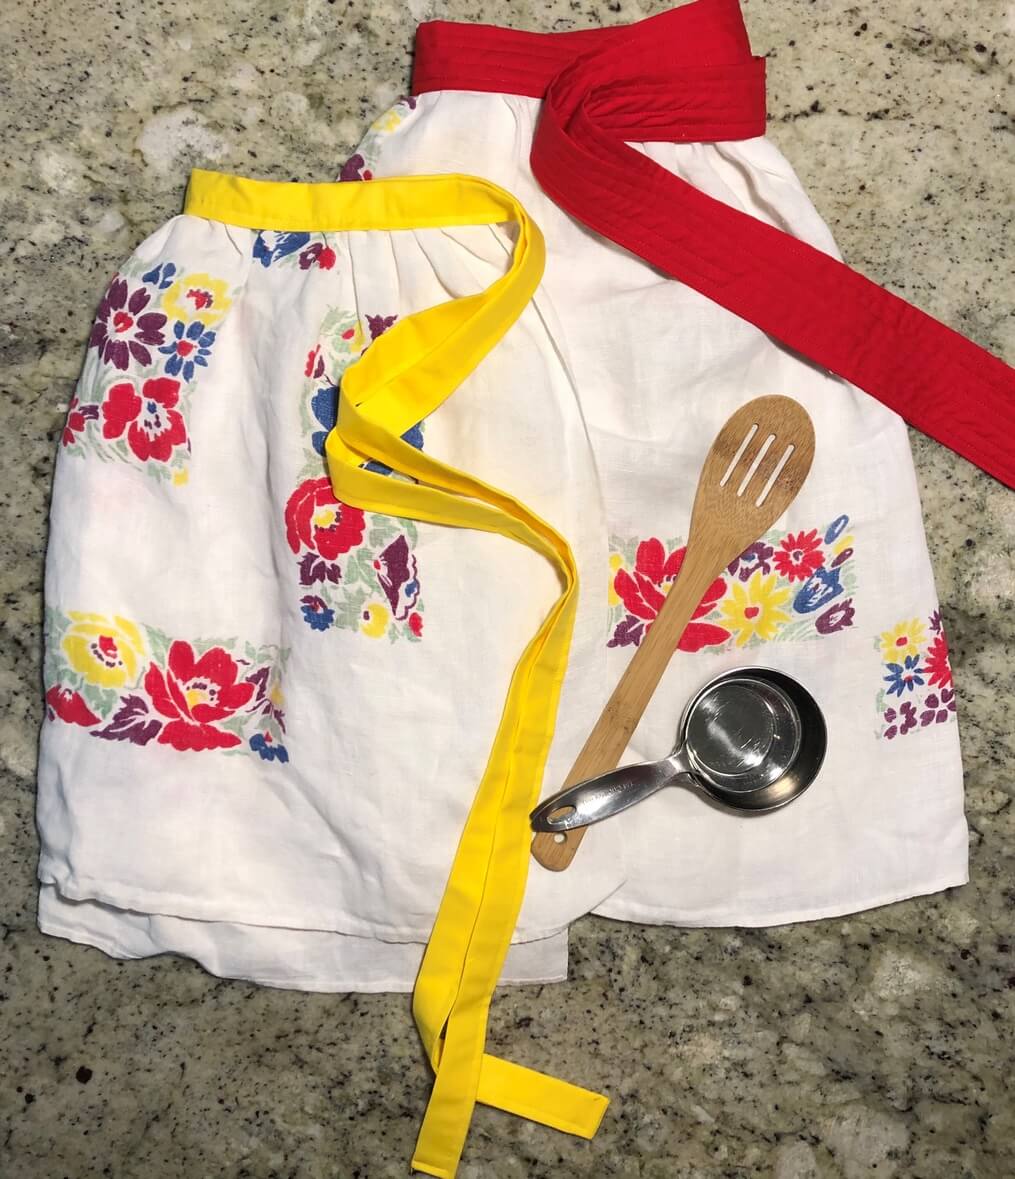
9- Mom Vintage Apron: Not a quilt, but a project my mom asked me to do years ago. Making an apron out of a vintage table cloth that belonged to my grandmother. I think I’ve been avoiding this one because I’m scared to mess it up. 

I had an idea in mind for the apron I wanted to make, using the center floral print of the tablecloth into the bib section of a full apron. But as I looked at the apron design, I realized that it wasn’t really going to look as nice as I had hoped. In order to make the apron well, it would have needed some darts. And darts would have messed with the floral design of the tablecloth more than I was willing. So, I decided instead to make my mom two half aprons. One with a smaller yellow strap and one in red. I did save the center section of the tablecloth and am going to try and incorporate it into another kitchen project for her at a later date.

The number selected for March is #7. I’ll share my progress at the end of the month!

Happy Sewing! ~L

By Your Side Class at Quilting Mayhem

I am pleased to announce that I’ll be teaching my By Your Side Pattern at Quilting Mayhem in Snohomish, WA! I’ve been updating the pattern and adding some content to it to create some color variations as well as a baby quilt size and am looking forward to giving my students the first glimpse of the updated content!

The class will be held on April 11. Yep, that’s the day before Easter! You can bet there will be Easter candy involved.


So, if you are a local follower or just happen to be in the area Easter weekend, visit the Quilting Mayhem website to sign up!

Come sew with me! ~L

New Logo!

Happy Friday night, friends!

Tonight I get to share my new logo with the world!

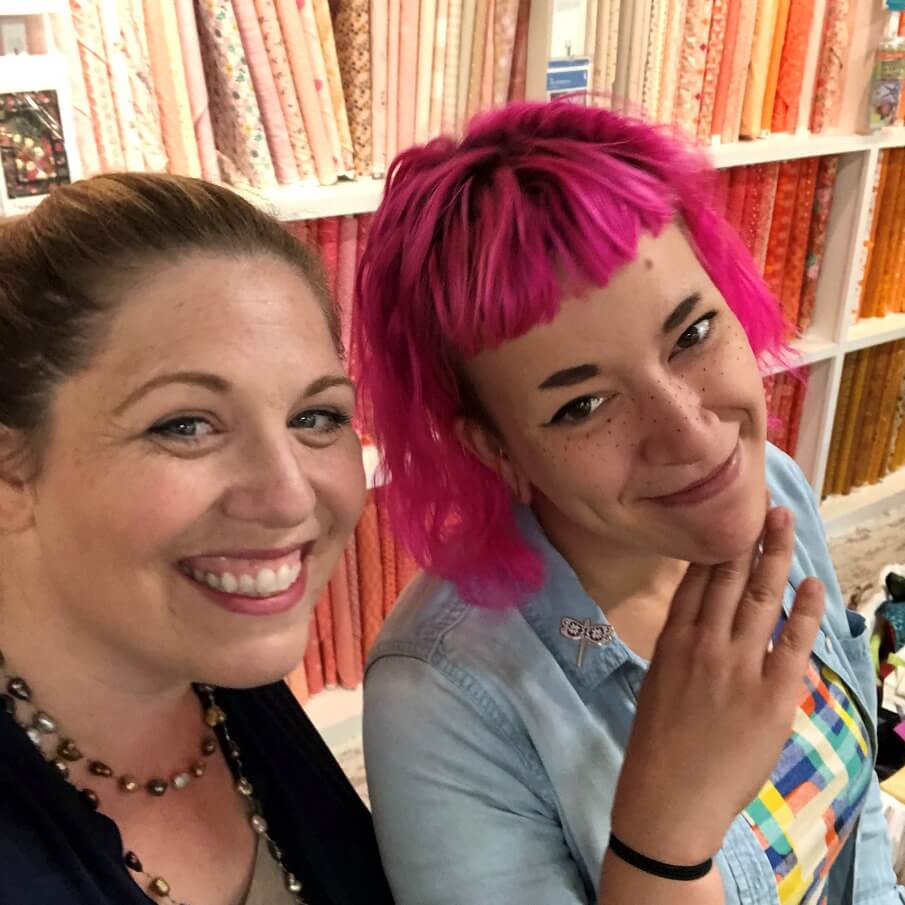
I’ve been meaning to design myself a new logo for the longest time, but I never seemed to get around to doing it. So, a couple of months ago I hired my amazing friend Anastasia. I had seen some of her other logo designs, and I knew she understood who I am and the vision I have for my company. Besides being a great artist and designer, Anastasia is also a quilter and was one of my coworkers at Quilting Mayhem. Here is a picture of us in the shop last summer.

We started with me making a Pinterest board of logos and artwork I liked and sharing a bit with her about what I had in mind. Once she had a clear idea of my vision, she created some artwork for me and we started refining a logo design. She did such a great job accommodating all my little edits and shifts during the design process. To see some of Anastasia’s work, you can visit her Instagram here.

So here it is!

I’m so in love with the drawings of the laurel and pine sprigs and the lovely poppy flower. And the hexie outline is a fun little nod to the quilting world. I hope you all like it as much as I do.

I’ve ordered new business cards and some fun stuff with my new logo on it, and cannot wait til they arrive!

Happy Sewing, ~L