Earlier this year, I took a class on using the long arm machine at my work. It’s been something I’ve wanted to try for years, but being in the shop regularly, I find it easier now to get down there for a day to work on a quilt.
I realized right from the start that it was going to take several quilts (I’m thinking ten?) before I feel like the long arm and I are buddies. And I am totally ok with that. I want to take my time, troubleshoot every problem and really learn the ins and outs of quilting on a long arm. Here is the rundown of what I’ve done so far:
My first quilt was my Scrappy Rainbow and it went beautifully. This project was all about me just getting used to loading and threading the machine… no real expectations. And because it’s such a busy quilt, I knew mistakes would be harder to see! I used a loop design, which is one of my favorites when free motion quilting on my domestic. I was surprised at how natural it felt switching from my domestic to the long arm, but I think it was because it’s an easy motif that I knew really well.

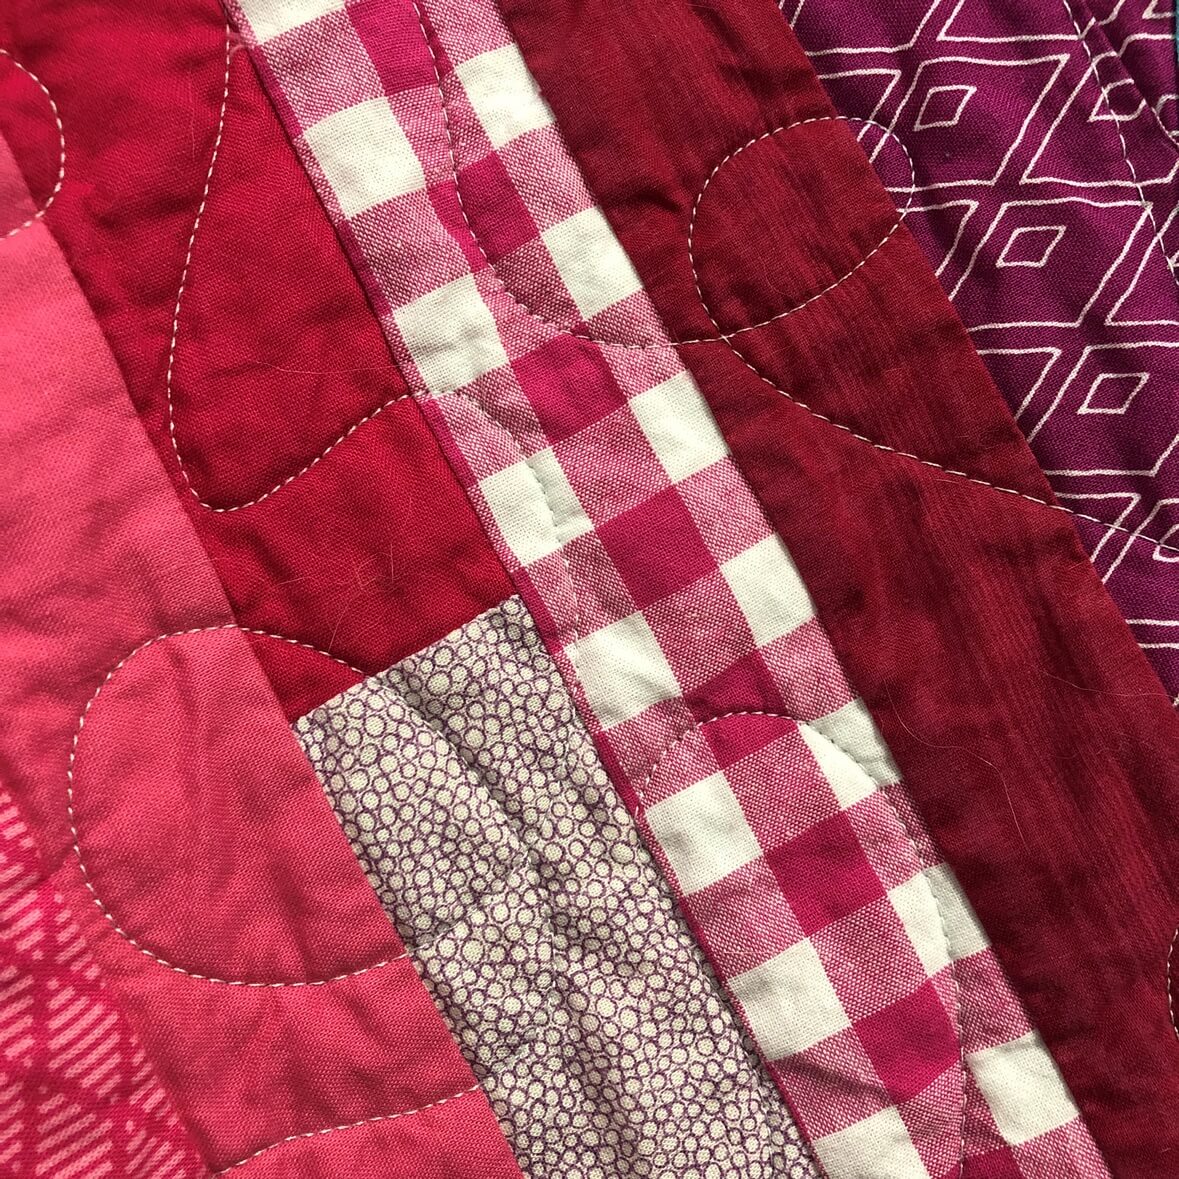
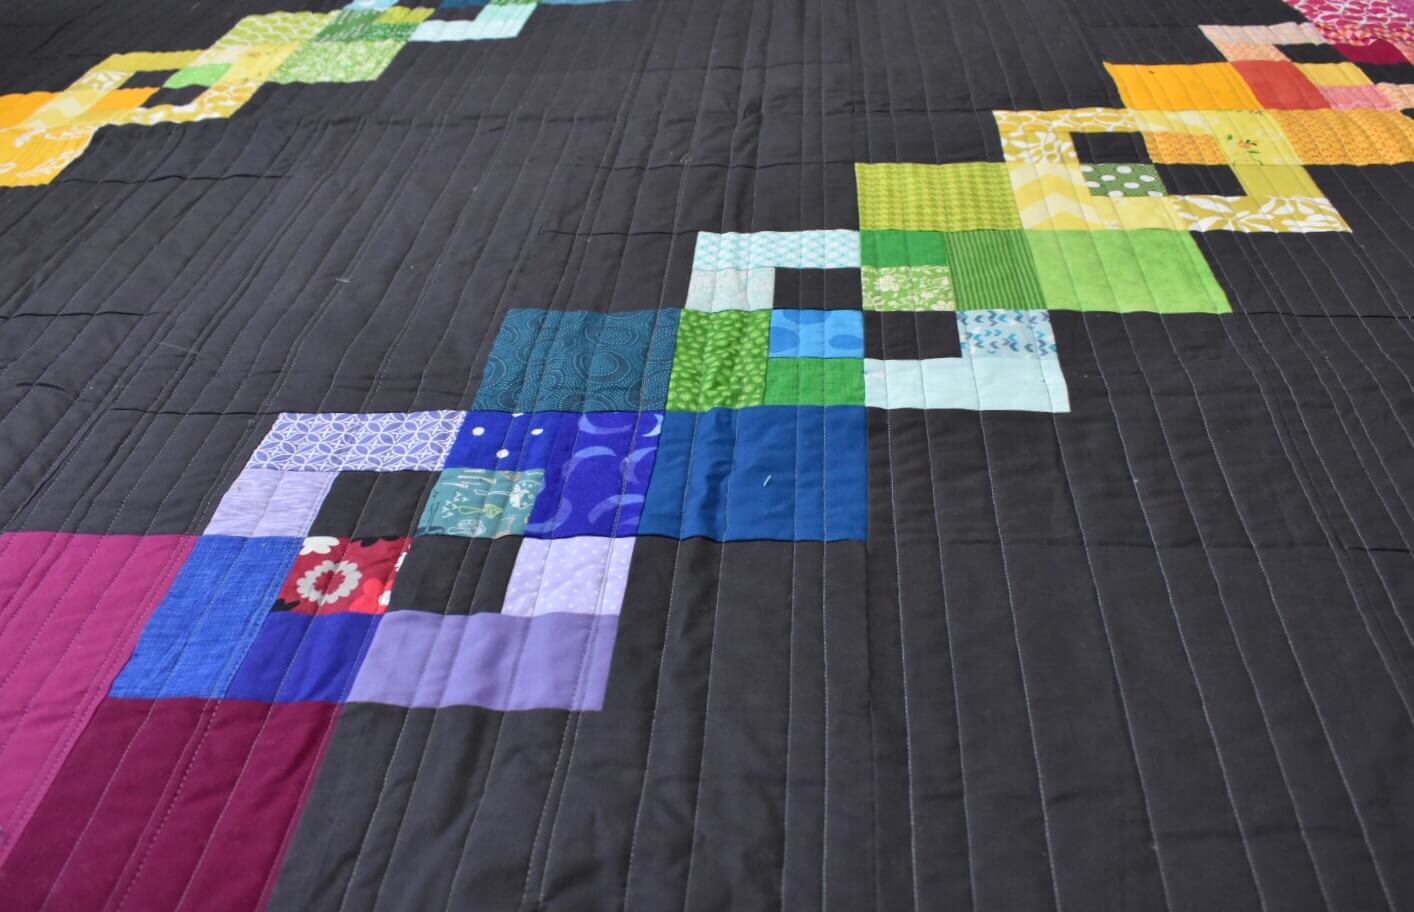
Next up was my scrappy version of the By Your Side quilt. I decided I wanted straight horizontal lines at random intervals about 1-2 inches apart.
I had a particularly hard time with this quilt. I kept having issues with thread tension, looping and breakage. And then I ran out of time and had to take it off the machine to leave for the day… I was so frustrated. Like, crying in front of my co-workers frustrated. So embarrassing.
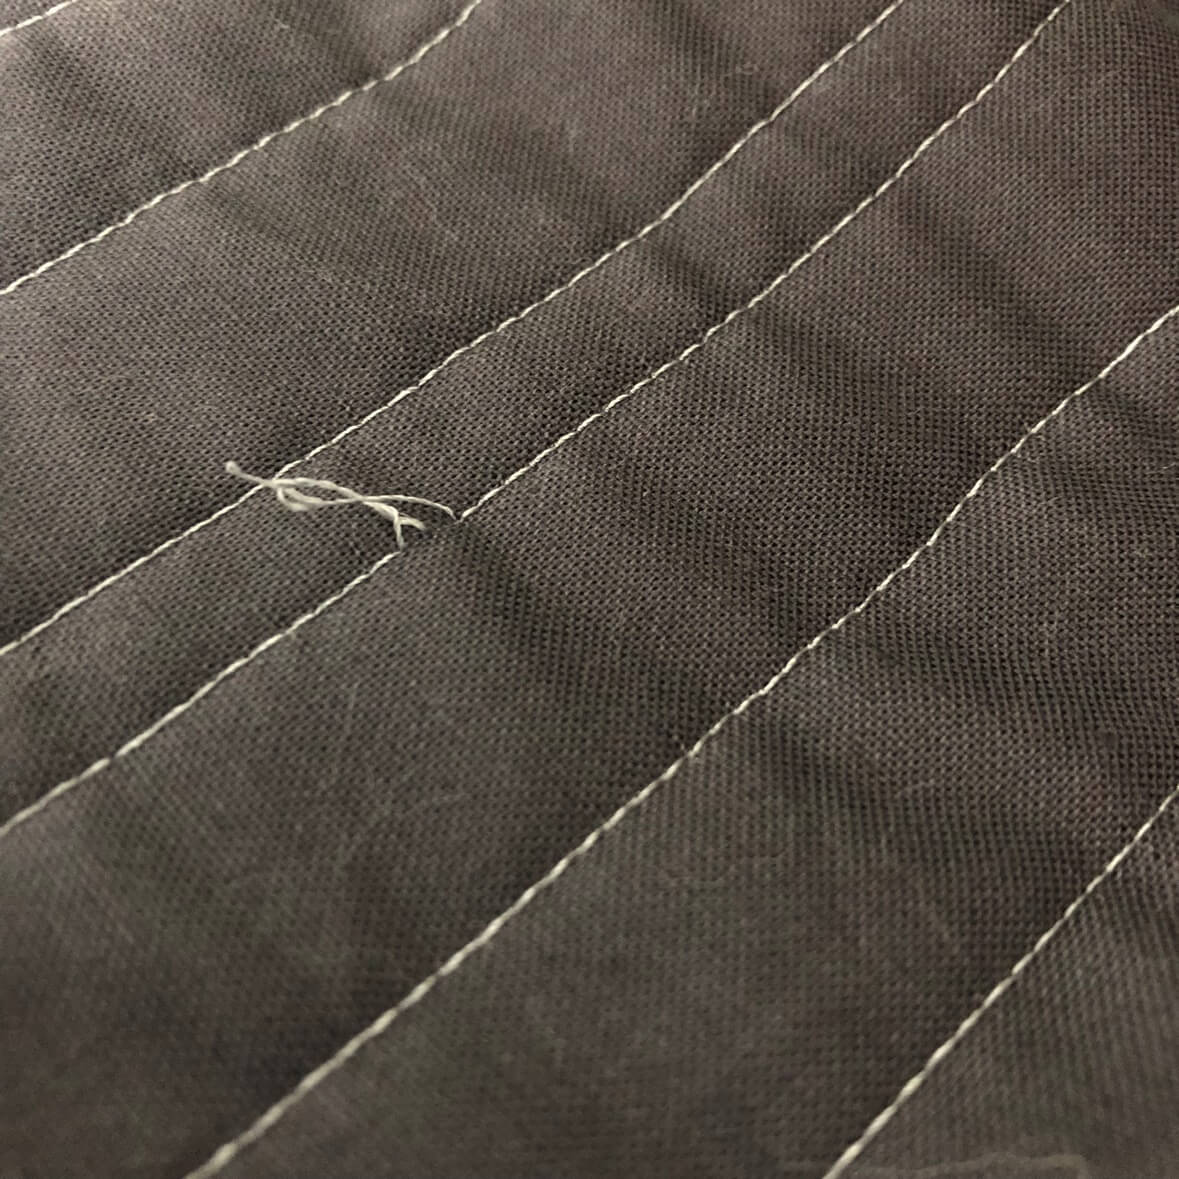
Being hungry and in a rush did not help either. I have since learned to EAT before starting and not set unrealistic time expectations on myself! Nevertheless, that quilt had to go into time out.
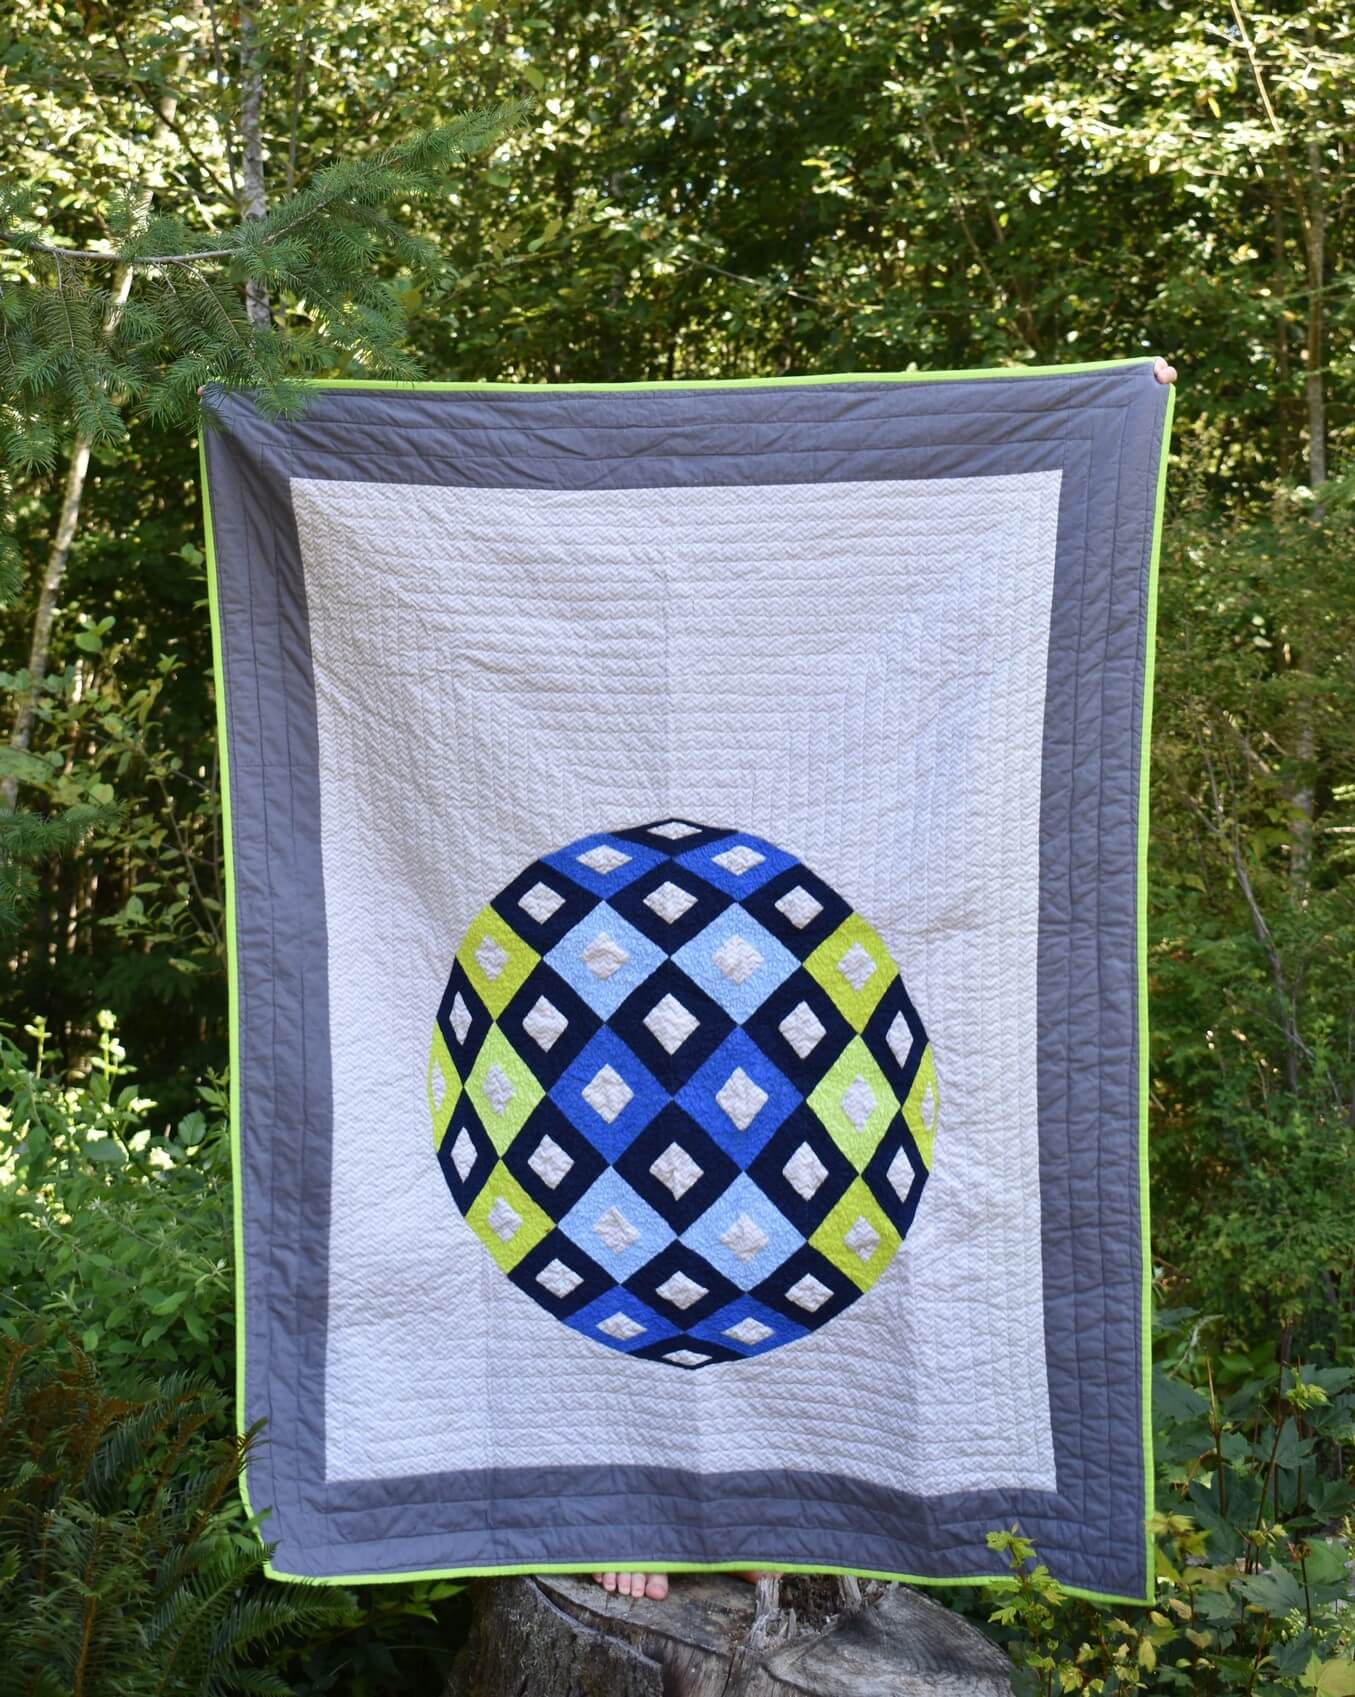
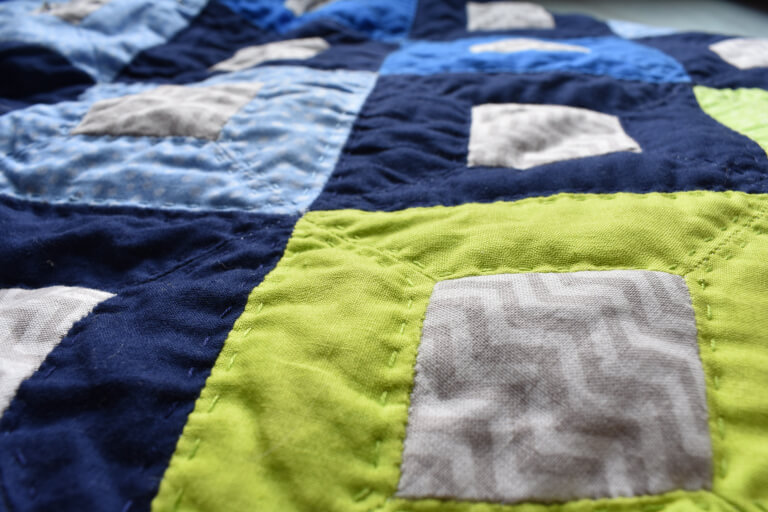
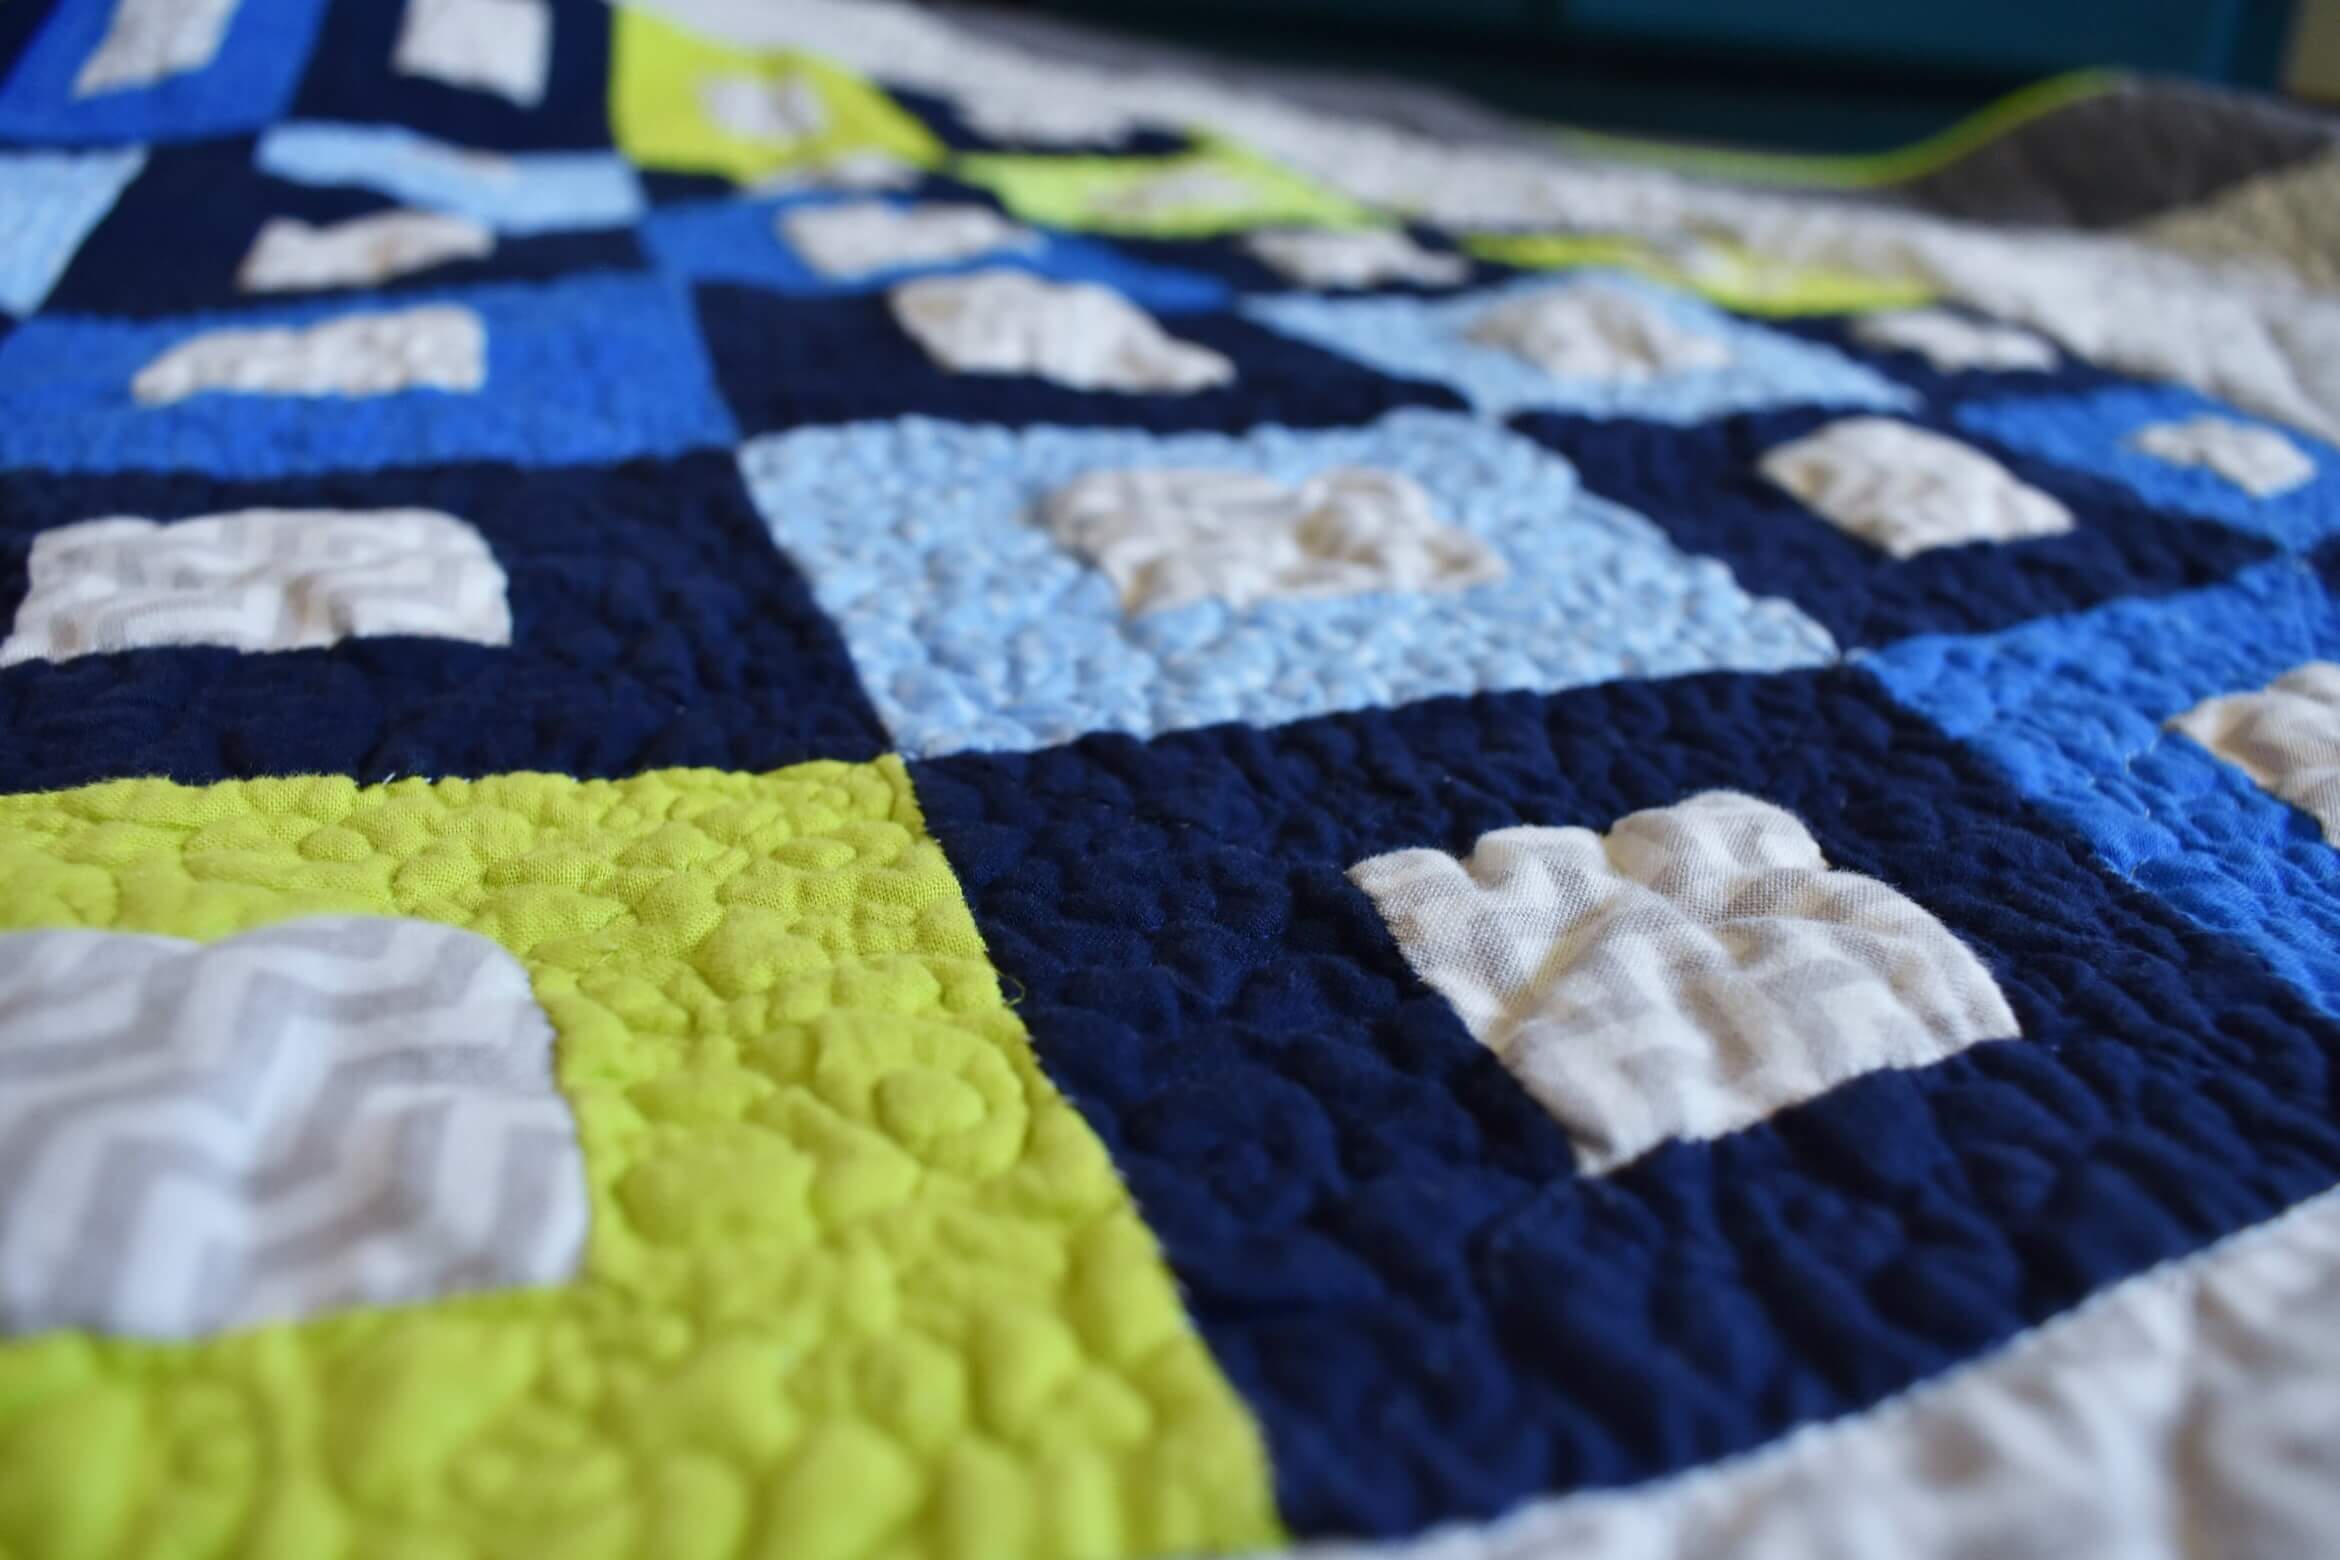
My next project to quilt was the Arrowhead baby quilt. Again, I had relatively few problems with this one. Just little bit of of looping once or twice in the quilt. I’ve since added a thread net to help alleviate that in the future.
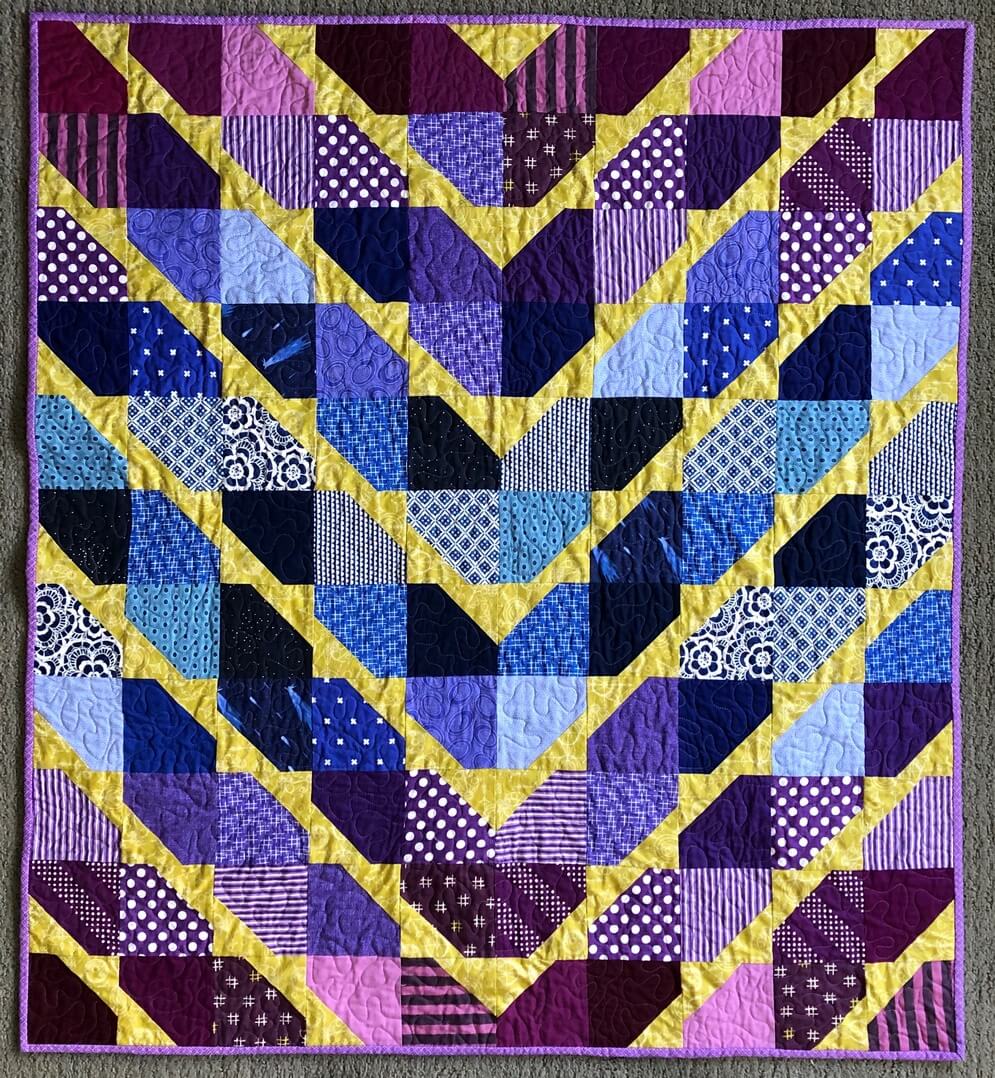
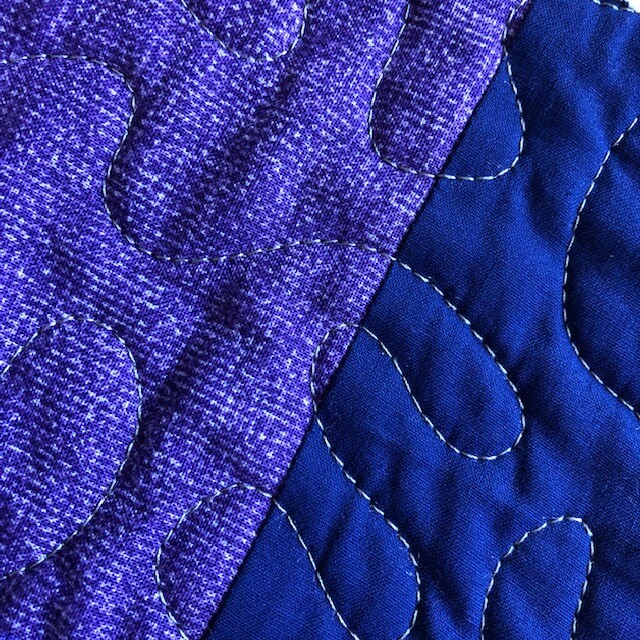
With my palate cleansed, I went back to the Scrappy By Your Side quilt. This time with a full tummy, no time constraints, and a positive attitude.
Unfortunately, none of those things helped my issues! My coworkers and I tried everything- thread net, change needle position, new bobbin, adjusting tension, changing spools of thread, on and on…. nothing helped. Or, I would get one good pass and think, “Awesome! We fixed it!” Only to have the same thing happen again on the following pass. Thank goodness I DID go in with a positive attitude, because the thing was trying my patience. I kept trying to think what was different about this quilt from the two I has done that quilted up beautifully. Why was this one giving me so much trouble? And then it hit me… my batting was wrong side up. DARN!
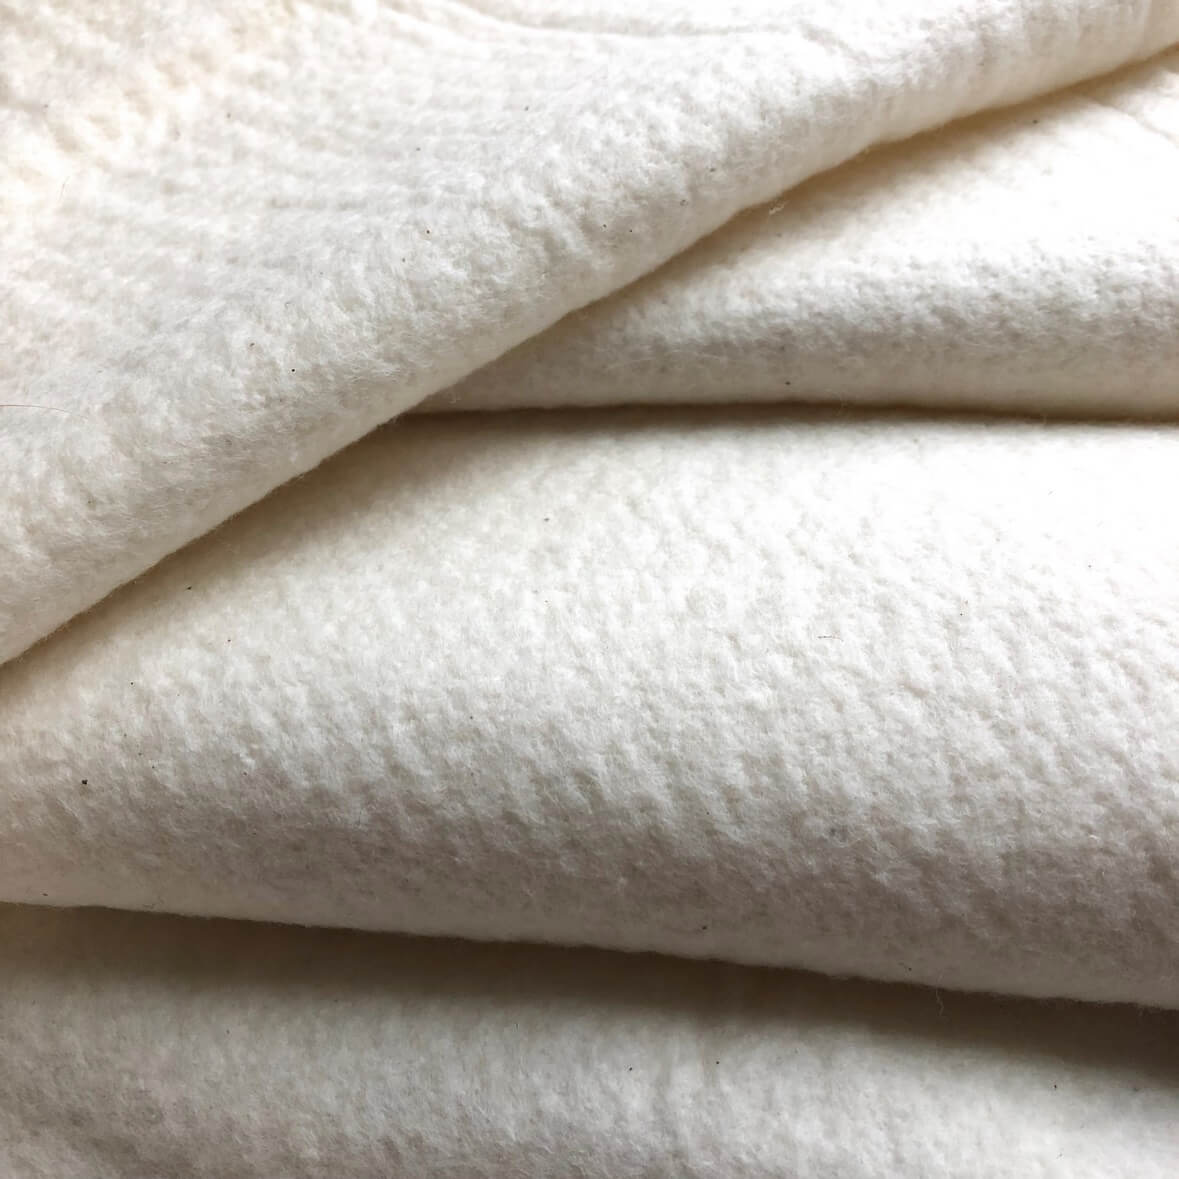
Oh my goodness…. all that trouble, just from the batting? YES! In fact, I went to a co-worker who hadn’t been involved in trouble shooting with me and told her I accidentally had my batting backwards, and she described every single problem that I had been struggling with. Well, how’s that for a learning experience?? Certainly won’t make that mistake again! And if you want more information on finding the right side of batting, Suzy Quilts has a fabulous post on the subject!
So, this quilt was mostly quilted by the time I figured out the underlying problem. My best option was to baby it along and fix problems as they arose (and they sure did!). In the next month or so, I will unpick the lines of quilting where the looping was the worst.
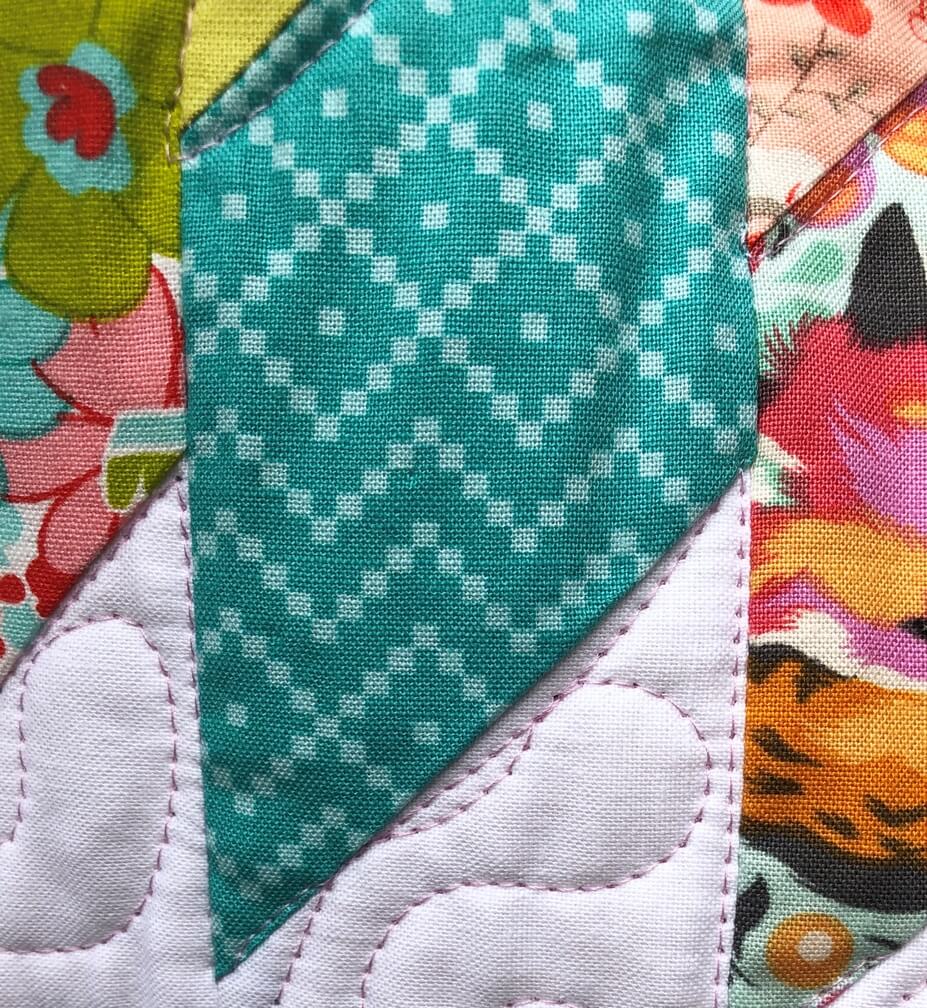
The most recent quilt I finished was my scrappy Kayak Point quilt. This quilt top was originally made (quite a long time ago!) to test my Kayak Point pattern for Quilt Theory. I love the look of this one- subdued colors, but still bright and happy. My first instinct was to quilt this with white thread since there is so much white in the thing. But, I had almost a full spool of a purpley/pink Aurifil and I was wanting to try Aurifil on the long arm anyway, so I figured “why not?” I’m really happy with that choice, as it adds a lot of personality to this quilt!
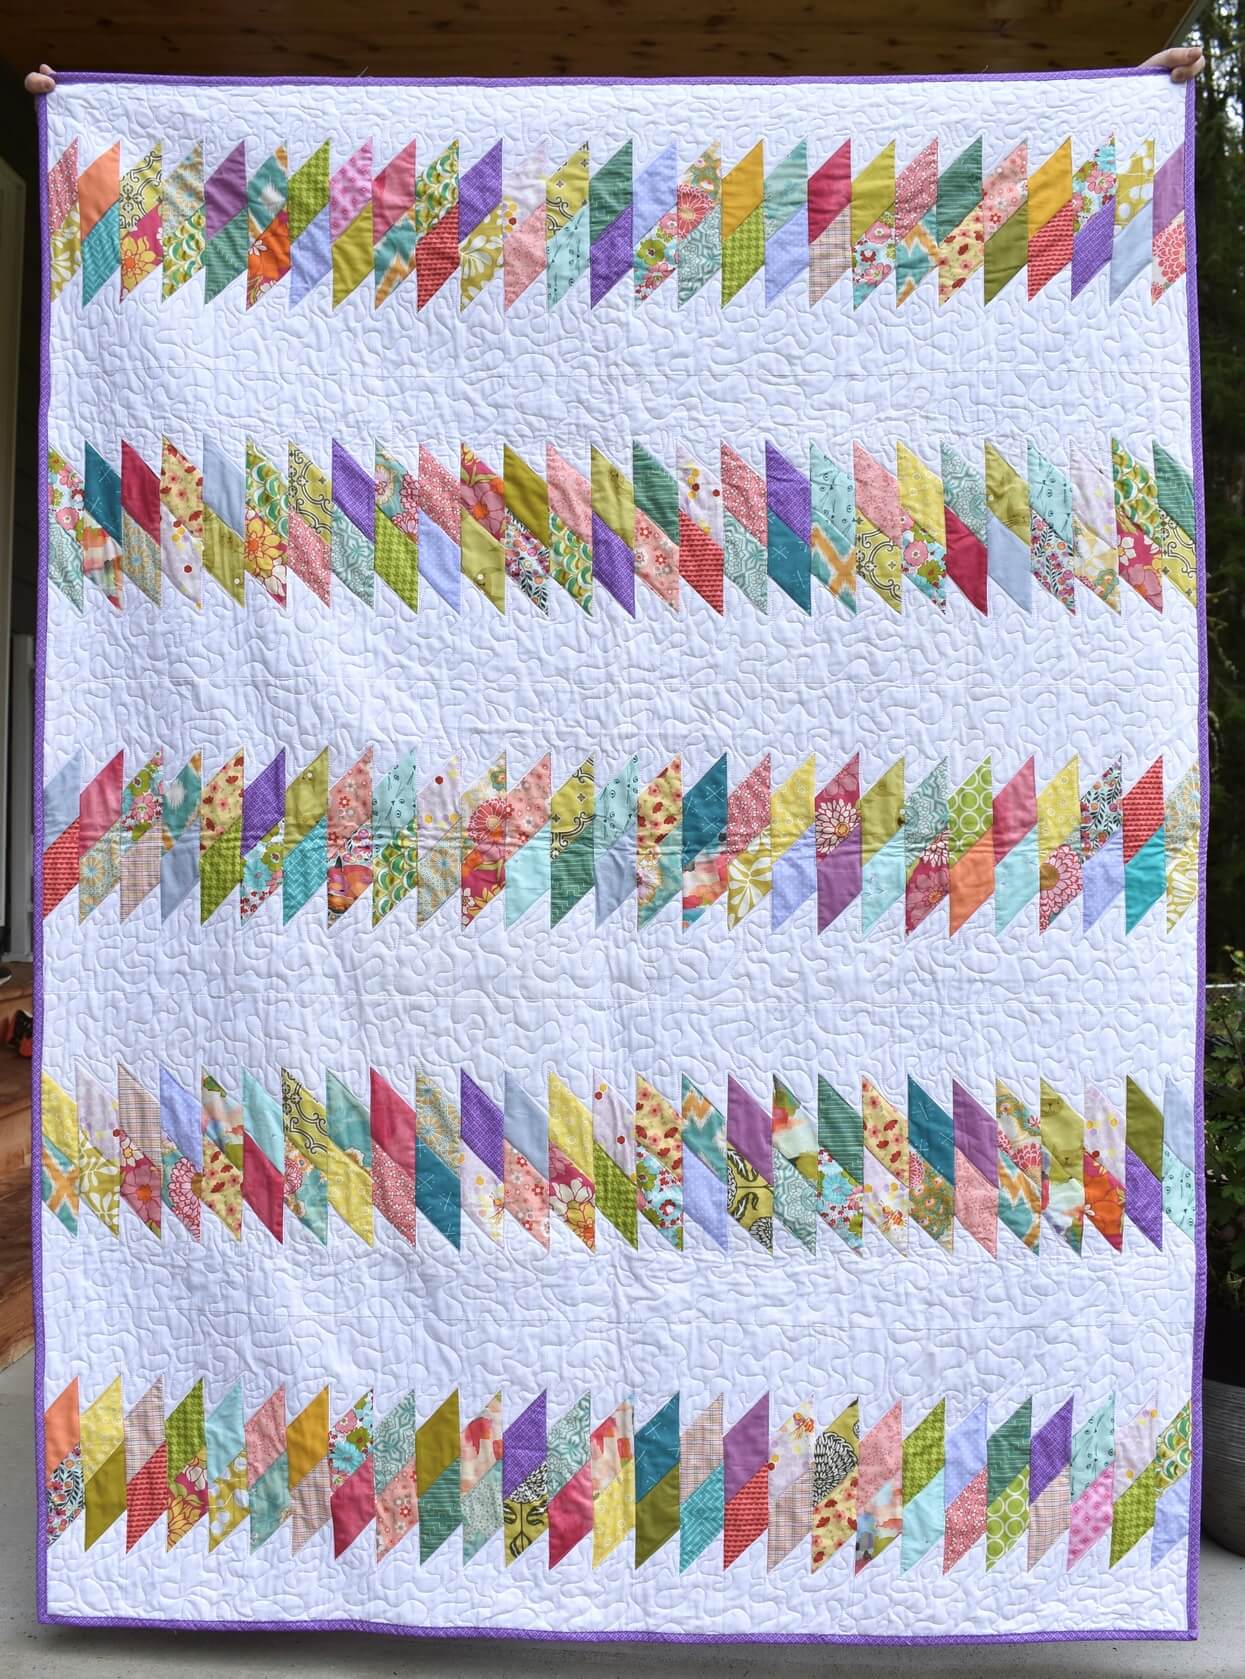
I didn’t really have any technical issues with this quilt, which was WONDERFUL! I feel like the long arm and I are becoming friends. I did struggle a bit with accuracy on the straight diagonal lines I was trying to quilt, but I know those are skills that come with time and practice so I was ok with the job I did.
The whole process of learning this new skill has really reminded me how important it is to be willing to be new at something, to not be perfect, and to not be afraid to ask questions. I relied heavily on the expertise of several of my amazing co-workers. They helped me troubleshoot various problems, offered bits of advice that came in handy, and above all encouraged me that it’s ok to struggle. I’m learning to love the struggle because I know it’ll help me get better!
I have several more quilts to finish up before Christmas, so I’m hoping after those, I’ll feel fairly comfortable on the long arm. Definitely worth the time and effort to learn!
Happy quilting!
~L
Like this:
Like Loading...
