quilting

Scrappy Rainbow BYS Quilt

I am so happy to FINALLY be sharing this By Your Side quilt with you! I feel like I have been making this quilt forever, and just finished working on it last week.

I finished the top years ago and then it lingered in my studio closet waiting to be quilted.

The quilting stage gave me some trouble, as I had my batting flipped and was getting all sorts of looping and thread breakage. For more about batting ‘sides’, visit  Suzy Quilts for a fabulous post on the subject!

It sat in my closet again for months waiting for me to remove all the bad lines of quilting.

Finally, last week, I sat out in the beautiful sunshine and finished the job!

It was nice to finally see it done and Phin gave his kitty seal of approval!

Happy quilting! ~L

May UFO Challenge

How can time simultaneously seem to be dragging and flying by? How is it possible that 2020 is half over? And will I ever catch up on my UFO challenge?

My arthritis was really flaring up in May/June, so I reduced my sewing time quite a bit and got WAAAAYYYYY behind on my sewing projects.

My May UFO challenge project was one that had been sitting around my studio for much too long. In fact, when I got it out and up on my design wall, my daughter reminded me that we worked on it together at our old house. That means this project has been sitting in limbo for almost THREE YEARS. Not the oldest of my UFO projects, but this one did sit untouched the longest. Time to get it done!

Here is what I had to say in January about this project:

“12- Low-Volume Blue log cabin- This is a charity quilt that has been lingering for much too long. The blocks are mostly done and it just needs to get finished and get out into the world. I would like to have it completely finished by the end of its month.”

Because I hadn’t touched it in so long, I had to look at what I had in the project bag and make a guess at the layout I had planned. There were 20 unfinished blocks; some of them measured up to 12.5″ on one side. Knowing that, and remembering the charity quilt size requirements for my guild at the time, my assumption was that I was making 12.5″ blocks in a 4 x 5 layout. This would make a 50″ x 62.5″ quilt top.

I had some remaining fabric set aside to finish this, but I also wanted to add some newer things from my stash for variety.

After finishing the top, it sat for a while longer before I started quilting it. I decided on Aurifil 2890. It was in my stash and coordinated great with the Kona Basil I had used for the majority of the backing and for the binding. My husband really like the density of the quilting on this, so I think our next bed quilt will be similar. It looks full, but there are plenty of open spaces where the quilt can pouf up and move around.

I’ve been doing a lot of machine binding this year. Hand sewing has gotten harder, and I feel like machine binding gives a really strong finish. This is especially important for baby/toddler quilts that get a lot of washings!

Happy Sewing! ~Lorinda

Finished Quilt Orange HST Sampler

Last week, I shared some of the quilts I gifted for Christmas. And I have another fun one to show you today!

This quilt uses some of the blocks I made for the Modern HST Sampler QAL hosted by Blossom Heart Quilts waaaaayyyy back in 2016.


Yep, this one was a LONG time in the making. The blocks were easy enough, but then they kept getting continually set aside so I could work on other things.

Finally, I pulled the blocks out and created a rectangular, non-gridded layout on my design wall. But something wasn’t sitting right. And it lingered there for another couple of months!

I decided I needed to simplify and put a selection of the blocks in a square grid layout with a simple, straightforward white background. And boy was a pleased with the result! It has such a nice, clean look to it.

Once the top was done, it was only a matter of time before I got it onto the long arm. I did a simple stipple to let the design of the fabrics and quilt blocks shine.

I chose a wide binding for this. It’s a fun technique to really (literally) bring the design of that gorgeous backing fabric (from Mister Domestic) to the front of the quilt.

Thankfully, in the years that it took me to finish this quilt, my recipient has not changed her favorite color! I honestly was a little worried about that. I’m happy to have it out in the world being loved by a special young lady.

You an read past posts about this quilt here, here, here, and here.

That was the last of the ‘secret sewing’ Christmas quilts I’ve been waiting to show! Later this week, I’ll start sharing a bit of the quilts I have planned for 2020.

Happy Sewing, ~L

Finished Quilt: Blue and Purple Hidden Wells

The second quilt I have to show you this week is this my Purple and Blue Hidden Wells quilt.

I wanted a simple and easy block with big pieces for two reasons: First, Christmas was fast approaching and I needed to get it done quickly! Second, I wanted all those amazing fabric patterns to really show. The Hidden Wells block was a great solution. It looks more complicated than it is and I could easily adapt the blocks I was seeing online to make some large quilt blocks.

I had to show my hand a bit to my recipient by asking what their favorite colors were. It is was for my nephew and his new wife and I honestly had no idea what their style is! He told me blue and purple so I went to work pulling fabrics from my stash.


It was then that inspiration hit. I remembered that my Arrowhead baby quilt was still waiting for a recipient. It’s blue and purple with chartruse. Oh, and did I mention my nephew’s wife is expecting?! Serendipity! I decided to coordinate the Hidden Wells and Arrowhead quilts and send them both to this sweet little family for Christmas.


The long arm schedule at my LQS was completely full in December, so for this quilt I went back to free motion quilting on my domestic machine. Oh boy! I didn’t realize how spoiled I had gotten with using the long arm. I did an easy stipple design- navy in the blue sections and lavender in the purple ones. The quilting looks amazing from the back (although I didn’t get any good photos before I sent it off…. you’ll have to trust me!) Phineas the cat decided to help me by sitting on the quilt as I was working. This is becoming a bad habit for him!

The quilt is bound in solids that also appear in the quilt top.

 I was really happy with how beautiful this one turned out. It was quick to make, but with these gorgeous fabrics, the visual impact was so great!

I have one more finish to share with you next week before moving on to showing you what I have for 2020!

Happy sewing! ~L


Edit: I’ll be linking this project up to The Show Me Something Purple Linkup at Sarah Goer Quilts


Finished Quilt: The Quilter’s Planner 2019 BOM Pyramid

How in the world are we already halfway through the month of January?! The last month has been a whirlwind of activity with some big changes for me. Besides the usual holiday stuff, at the end of the year I left my job to more fully focus on teaching. It was a hard choice, but my passion truly is in guiding people to the joy of handmade, so this was a good move for me! I am developing some fun classes and now have time to bring on more one-on-one sewing students.

Now that Christmas gift-giving is done and I’ve finally settled into the new year and my new routine, I can share about some of my recent finishes and move onto talking about my 2020 projects. Over the next week or so, I will be showing off some of the things that I sent off as Christmas gifts. After that, I’ll share my ‘to-sew’ list for 2020. In short, you’re going to see a lot of posts from me in the next few weeks!

So, to get started, I’d like to share one of my quilts from The Quilter’s Planner 2019 BOM Sampler!

I started working for The Quilter’s Planner in early 2019 writing blog posts each month sharing tips and tricks for the 2019 Sampler blocks. Helping BOM participants work through their blocks each month has been so much fun. As I said before, teaching sewing is my passion… this was a perfect fit for me! And the bonus was that it kept me on track with finishing not one but TWO sampler quilt tops.

About halfway through the year, I decided that my pyramid layout quilt needed to go to my sister-in-law. The colors are perfect for her, and since she was planning to move across the entire country to Maine, she was going to need some love from home at Christmas!

The fabric collection for the 2019 Sampler was Smitten by Bonnie and Camille. I backed it in Kona Poppy and quilted a free motion swirl design using Aurifil 2250. Right before it was time for me to quilt it, we got the new Bonnie and Camille collection (Early Bird) into the shop I worked at. There was a perfect little red and white polka dot in the collection that I chose for the binding. One thing I absolutely love about their fabric collections is how well they all work together!

Lately I’ve been working on perfecting my machine binding skills. There are a few reasons for that. First, I have arthritis. This is a new development (about a year), and honestly it really sucks. I was dealing with a lot of pain through fall and winter and hand binding was just not a good option. Second, I was pressed for time on several of my more recent quilts to get them out before Christmas. That being said, my machine bindings in the past have always looked pretty messy. So, I’ve learned to take my time and use my quarter inch foot to make a machine binding that looks really top notch! As a bonus- machine binding is very sturdy! I’ll still hand bind when I can, but for baby quilts and things that need finished quickly, this is my new go-to method!

As a bonus to this post, I thought I’d share a couple of pictures of my BOM Snowflake layout quilt top. The second picture is one of my favorite quilty photos I’ve ever taken. My husband was being so sweet trying to hold this top for me, but the wind kept making it billow. We were both laughing and yelling at the quilt to behave. The way the sun was hitting the quilt top creating the stained glass effect was so beautiful, I had to grab a photo! I love that it captures such a wonderful moment in time.

I’m in love with this top too, but it’s going to hide in the cabinet until it’s number gets called on my All People Quilt UFO challenge (more on that later!).

Happy sewing, ~L

What I’m up to: Long Arm

Earlier this year, I took a class on using the long arm machine at my work. It’s been something I’ve wanted to try for years, but being in the shop regularly, I find it easier now to get down there for a day to work on a quilt.

I realized right from the start that it was going to take several quilts (I’m thinking ten?) before I feel like the long arm and I are buddies. And I am totally ok with that. I want to take my time, troubleshoot every problem and really learn the ins and outs of quilting on a long arm. Here is the rundown of what I’ve done so far:

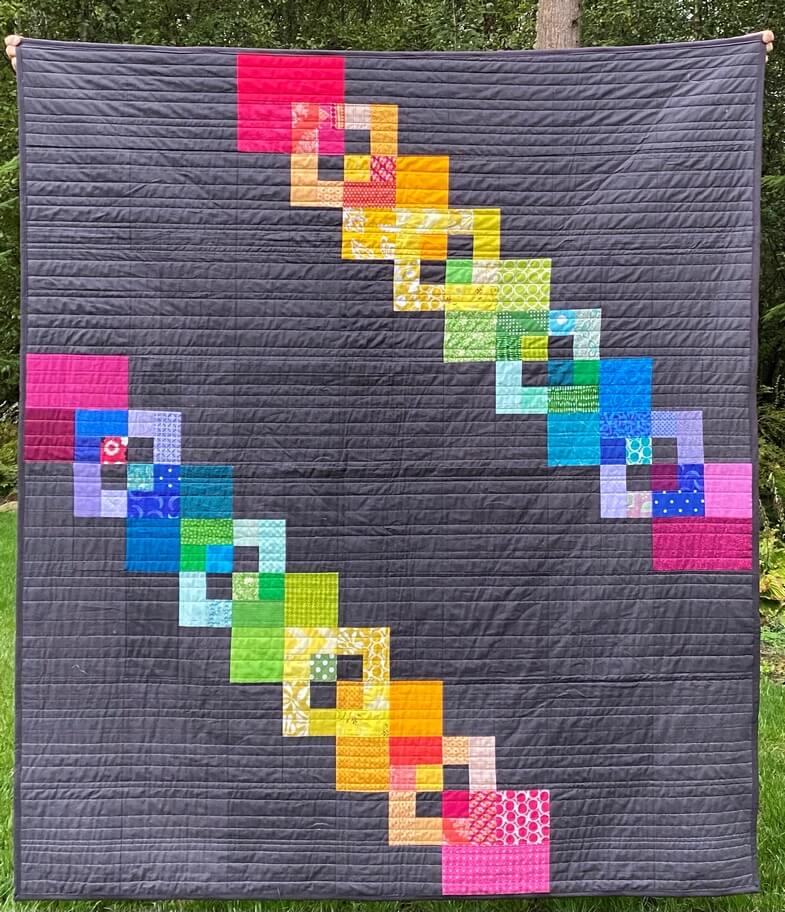
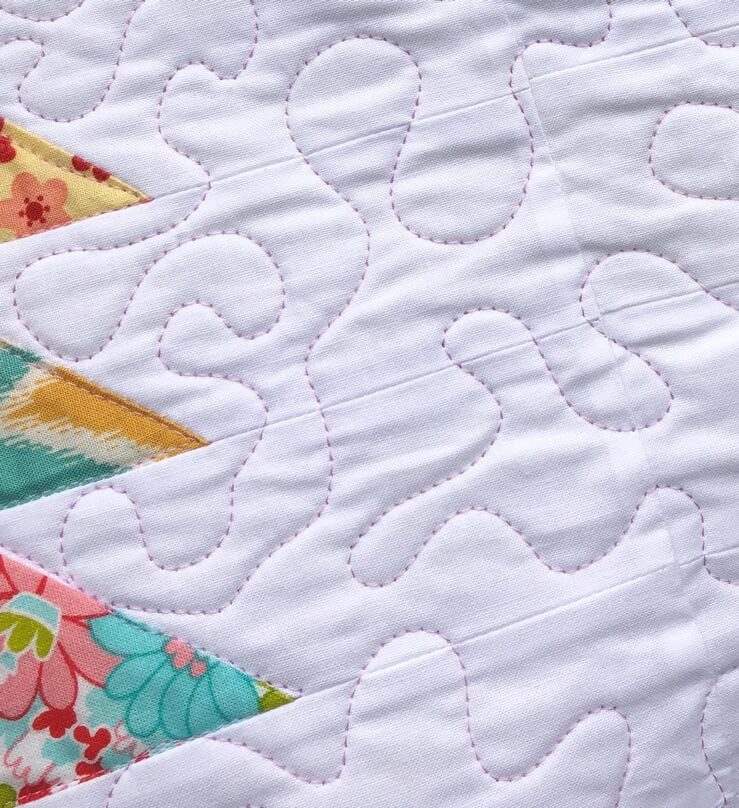
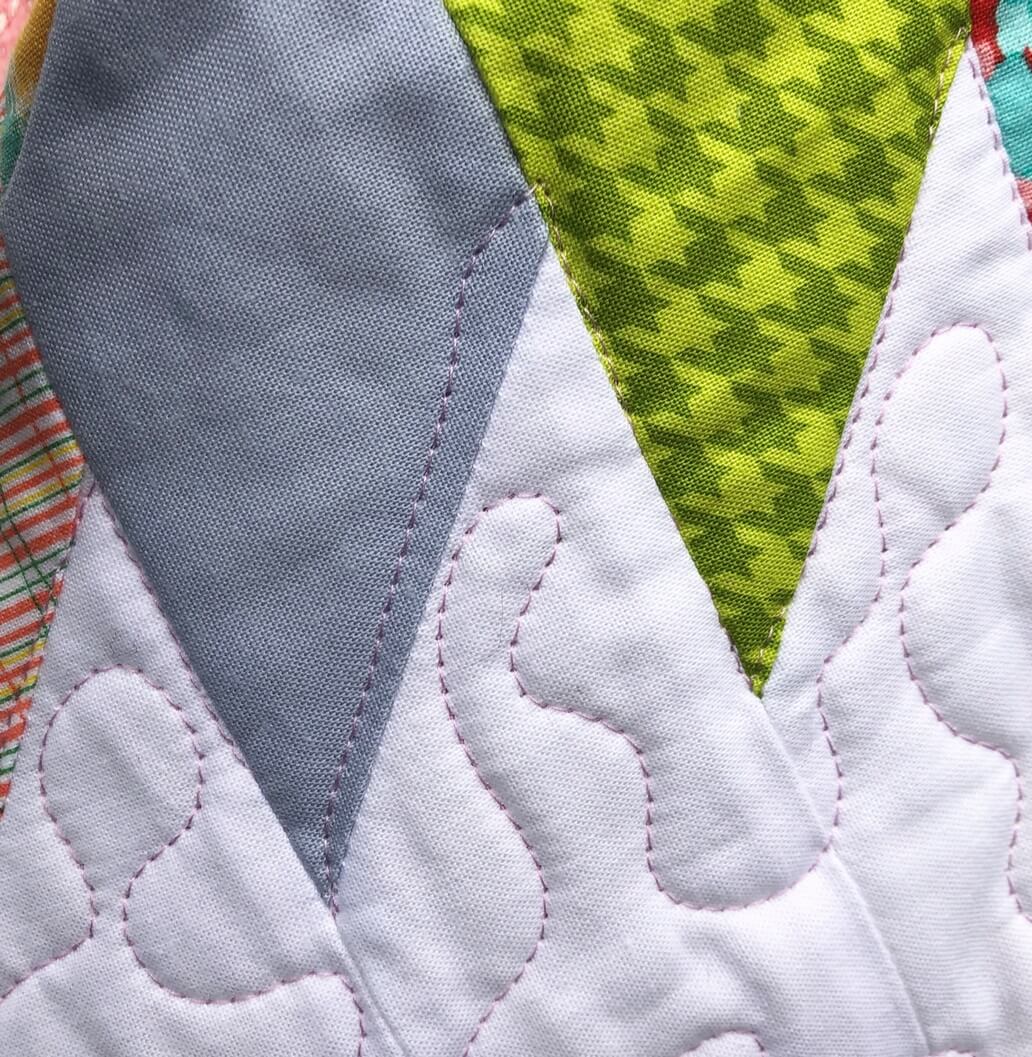
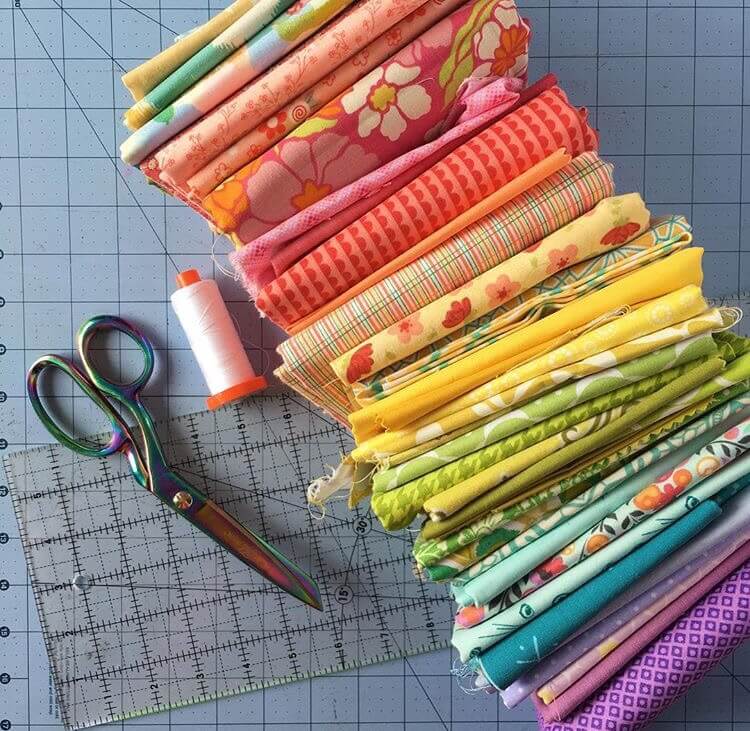
My first quilt was my Scrappy Rainbow and it went beautifully. This project was all about me just getting used to loading and threading the machine… no real expectations. And because it’s such a busy quilt, I knew mistakes would be harder to see! I used a loop design, which is one of my favorites when free motion quilting on my domestic. I was surprised at how natural it felt switching from my domestic to the long arm, but I think it was because it’s an easy motif that I knew really well.


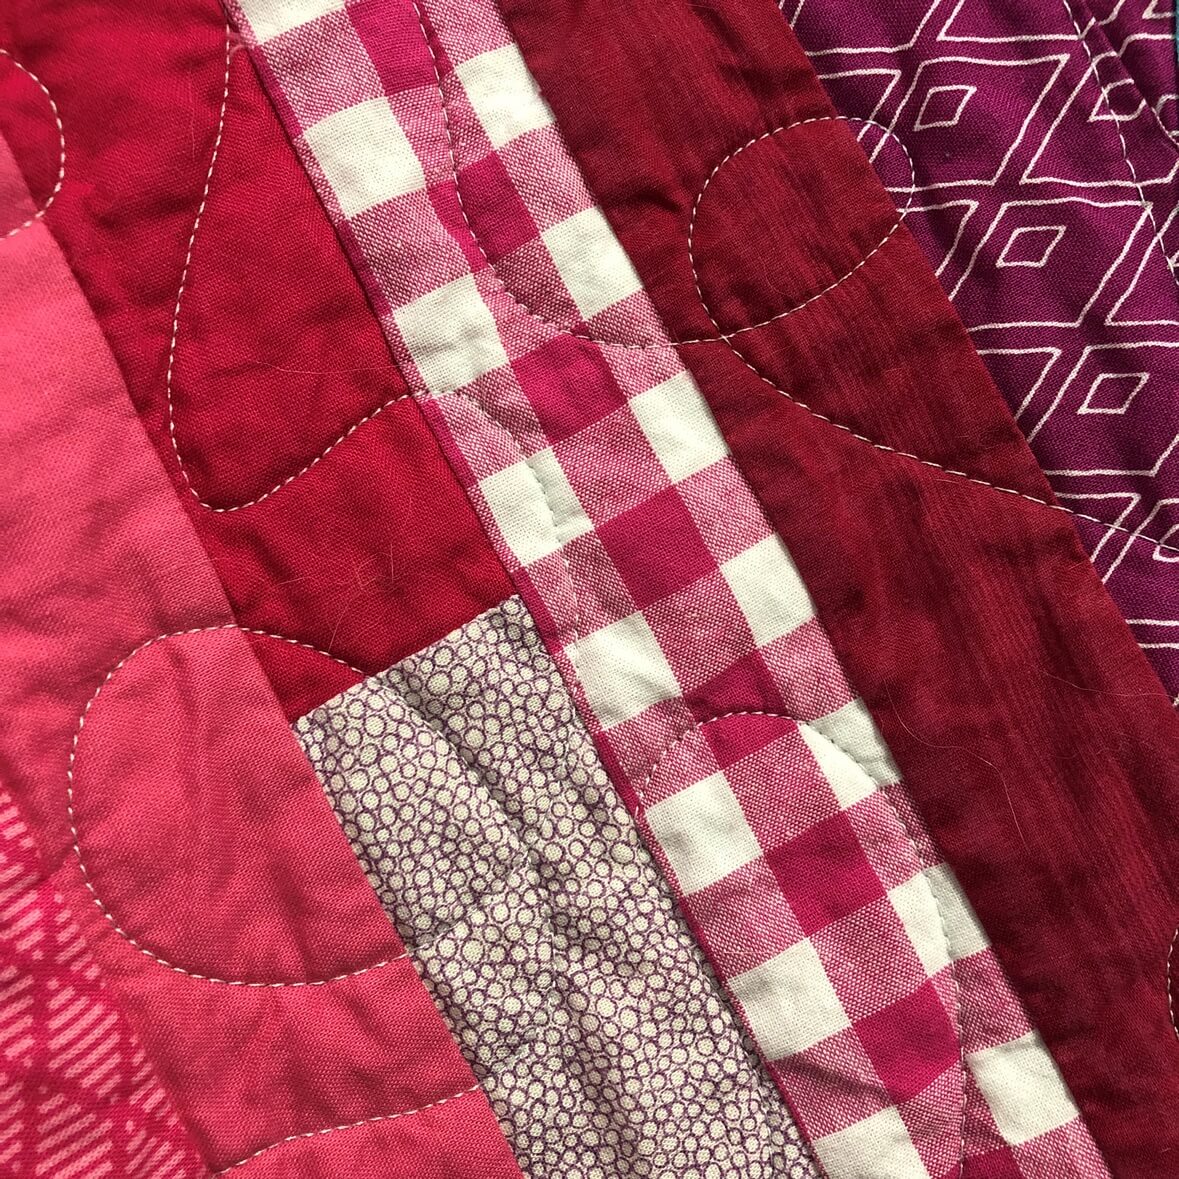
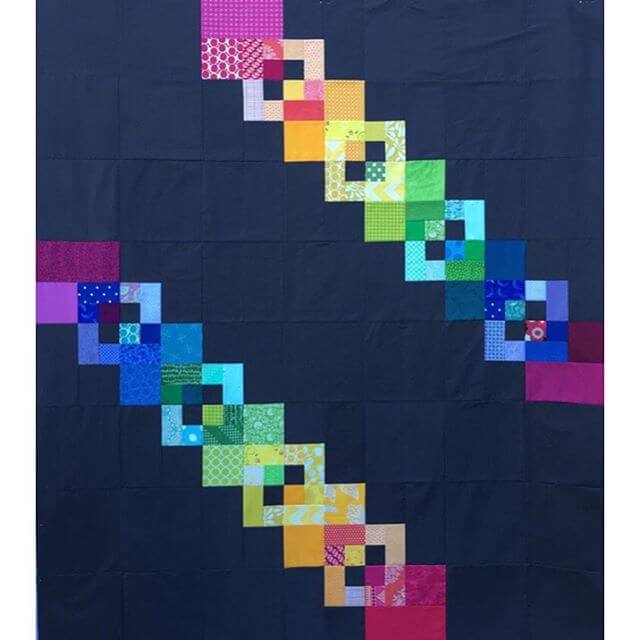
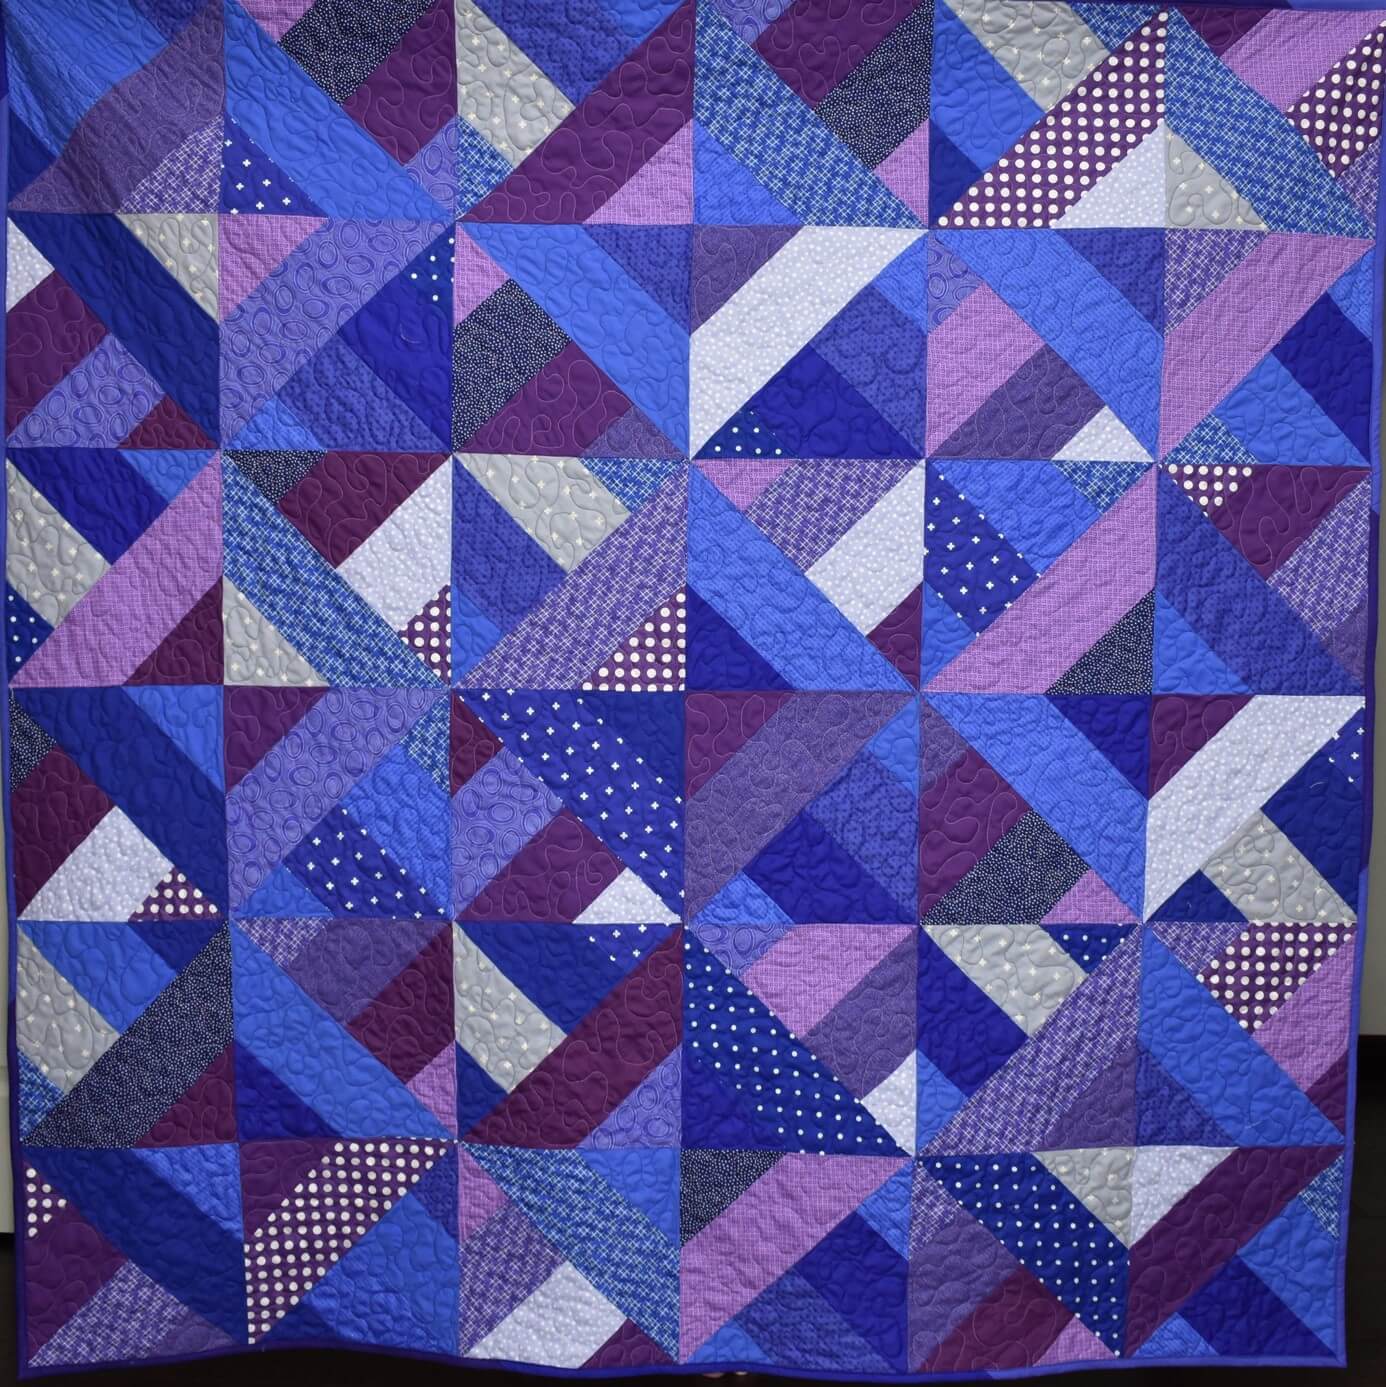
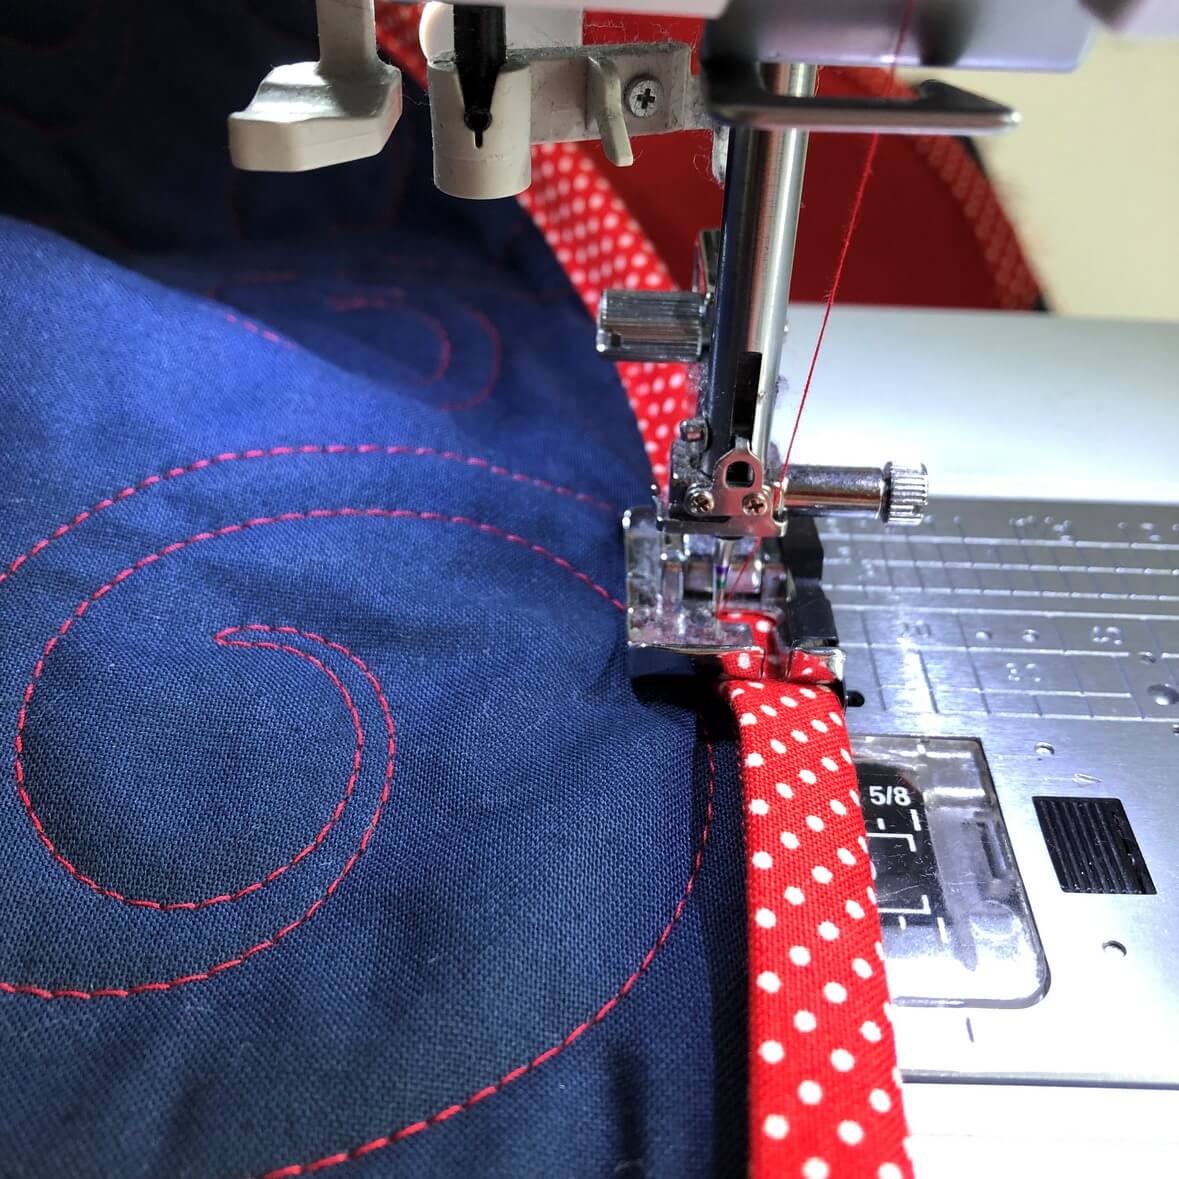
Next up was my scrappy version of the By Your Side quilt. I decided I wanted straight horizontal lines at random intervals about 1-2 inches apart.

I had a particularly hard time with this quilt. I kept having issues with thread tension, looping and breakage. And then I ran out of time and had to take it off the machine to leave for the day… I was so frustrated. Like, crying in front of my co-workers frustrated. So embarrassing.

Being hungry and in a rush did not help either. I have since learned to EAT before starting and not set unrealistic time expectations on myself! Nevertheless, that quilt had to go into time out.


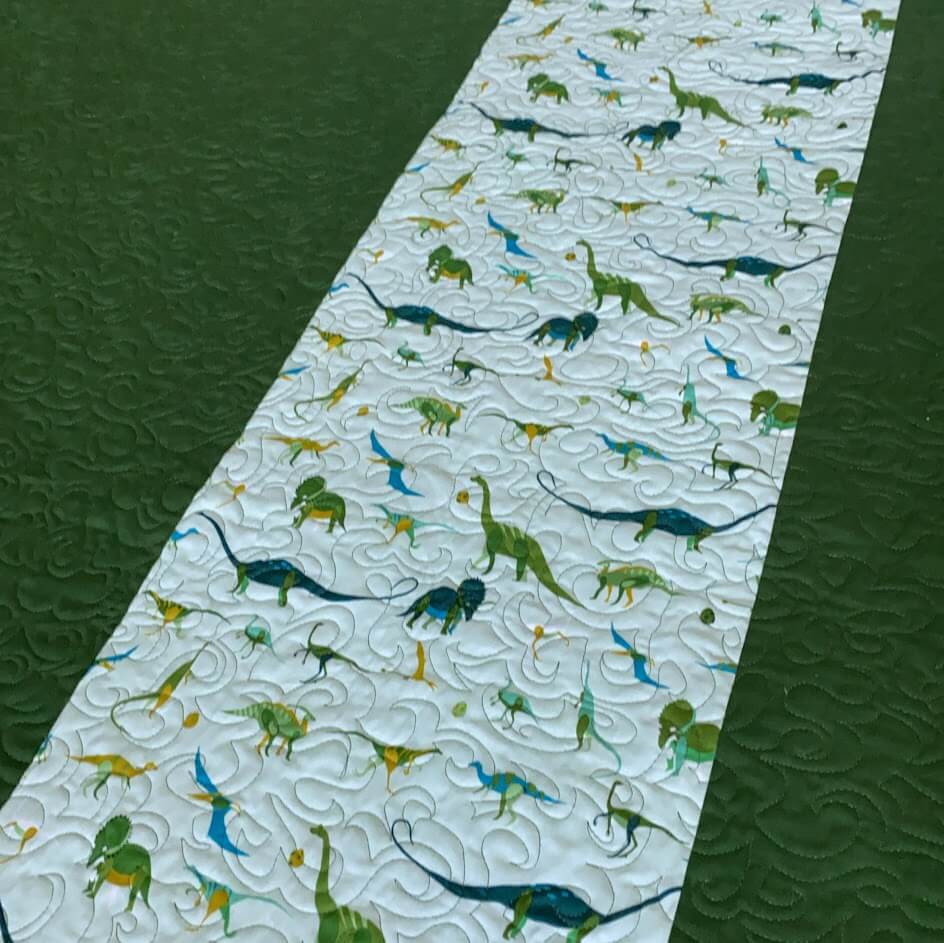
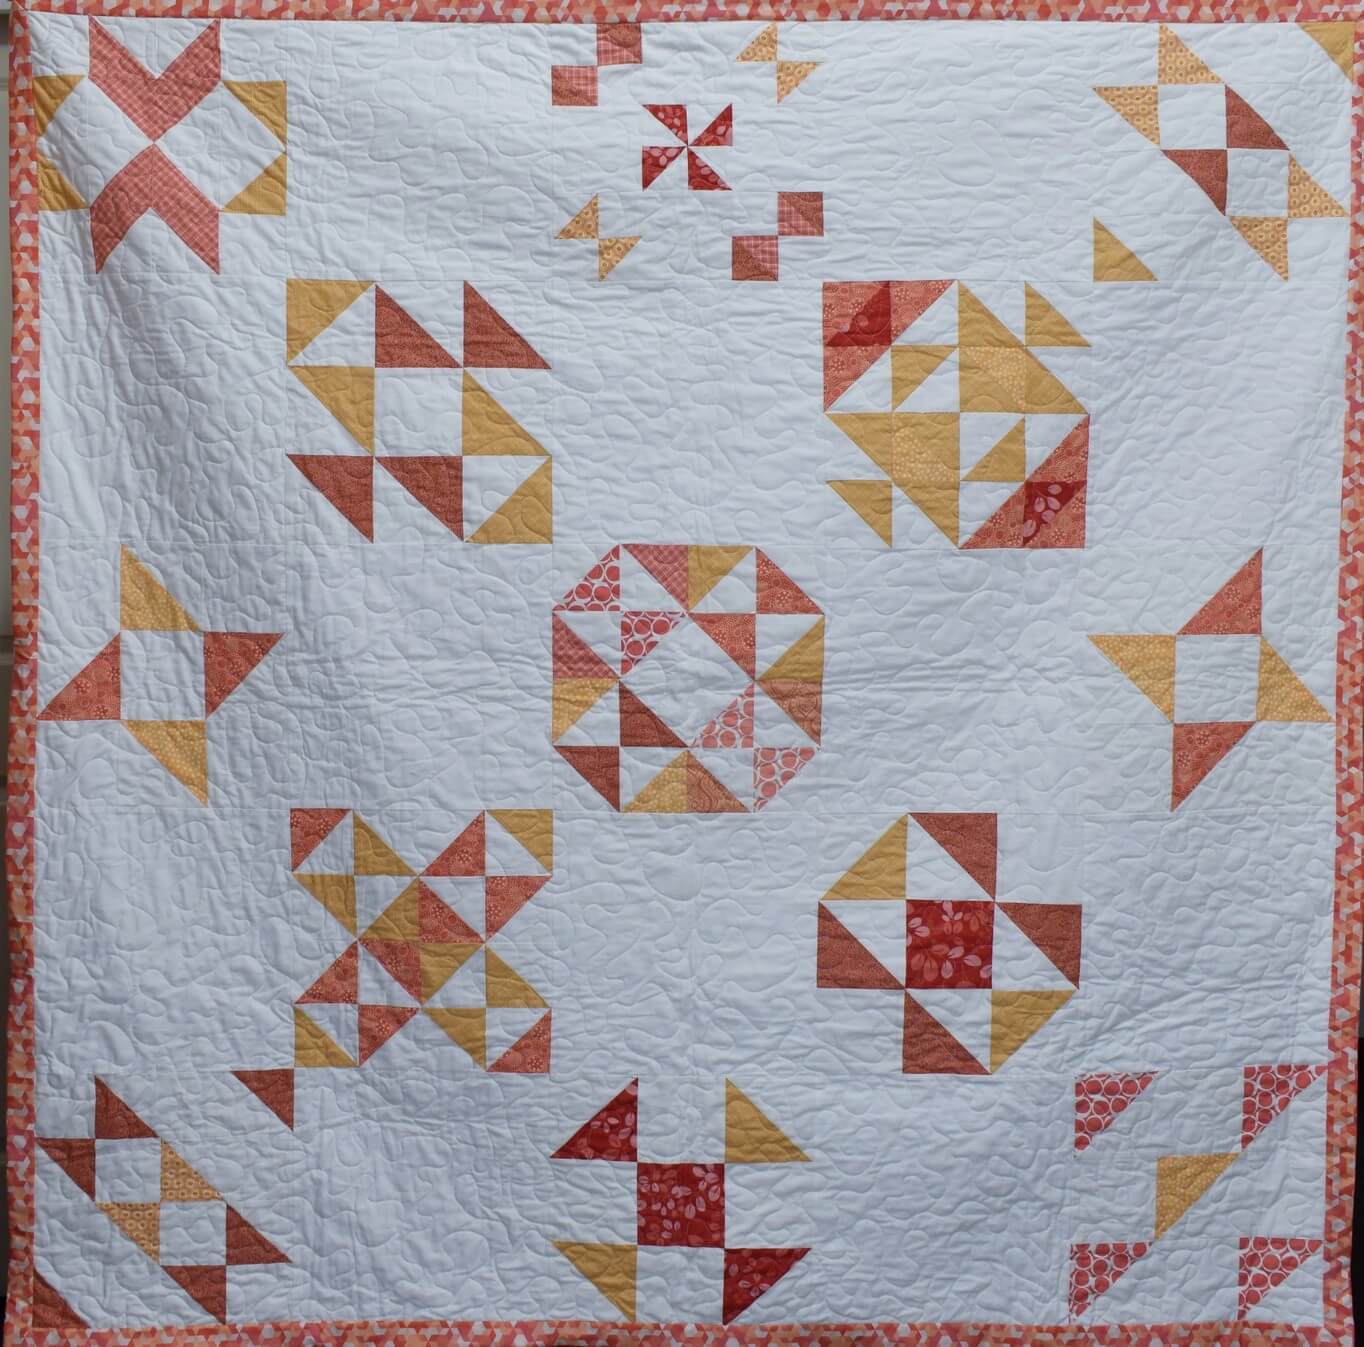
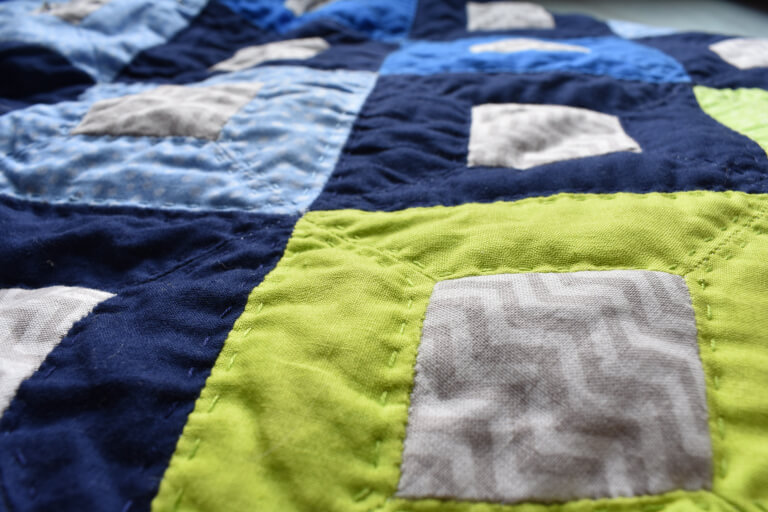
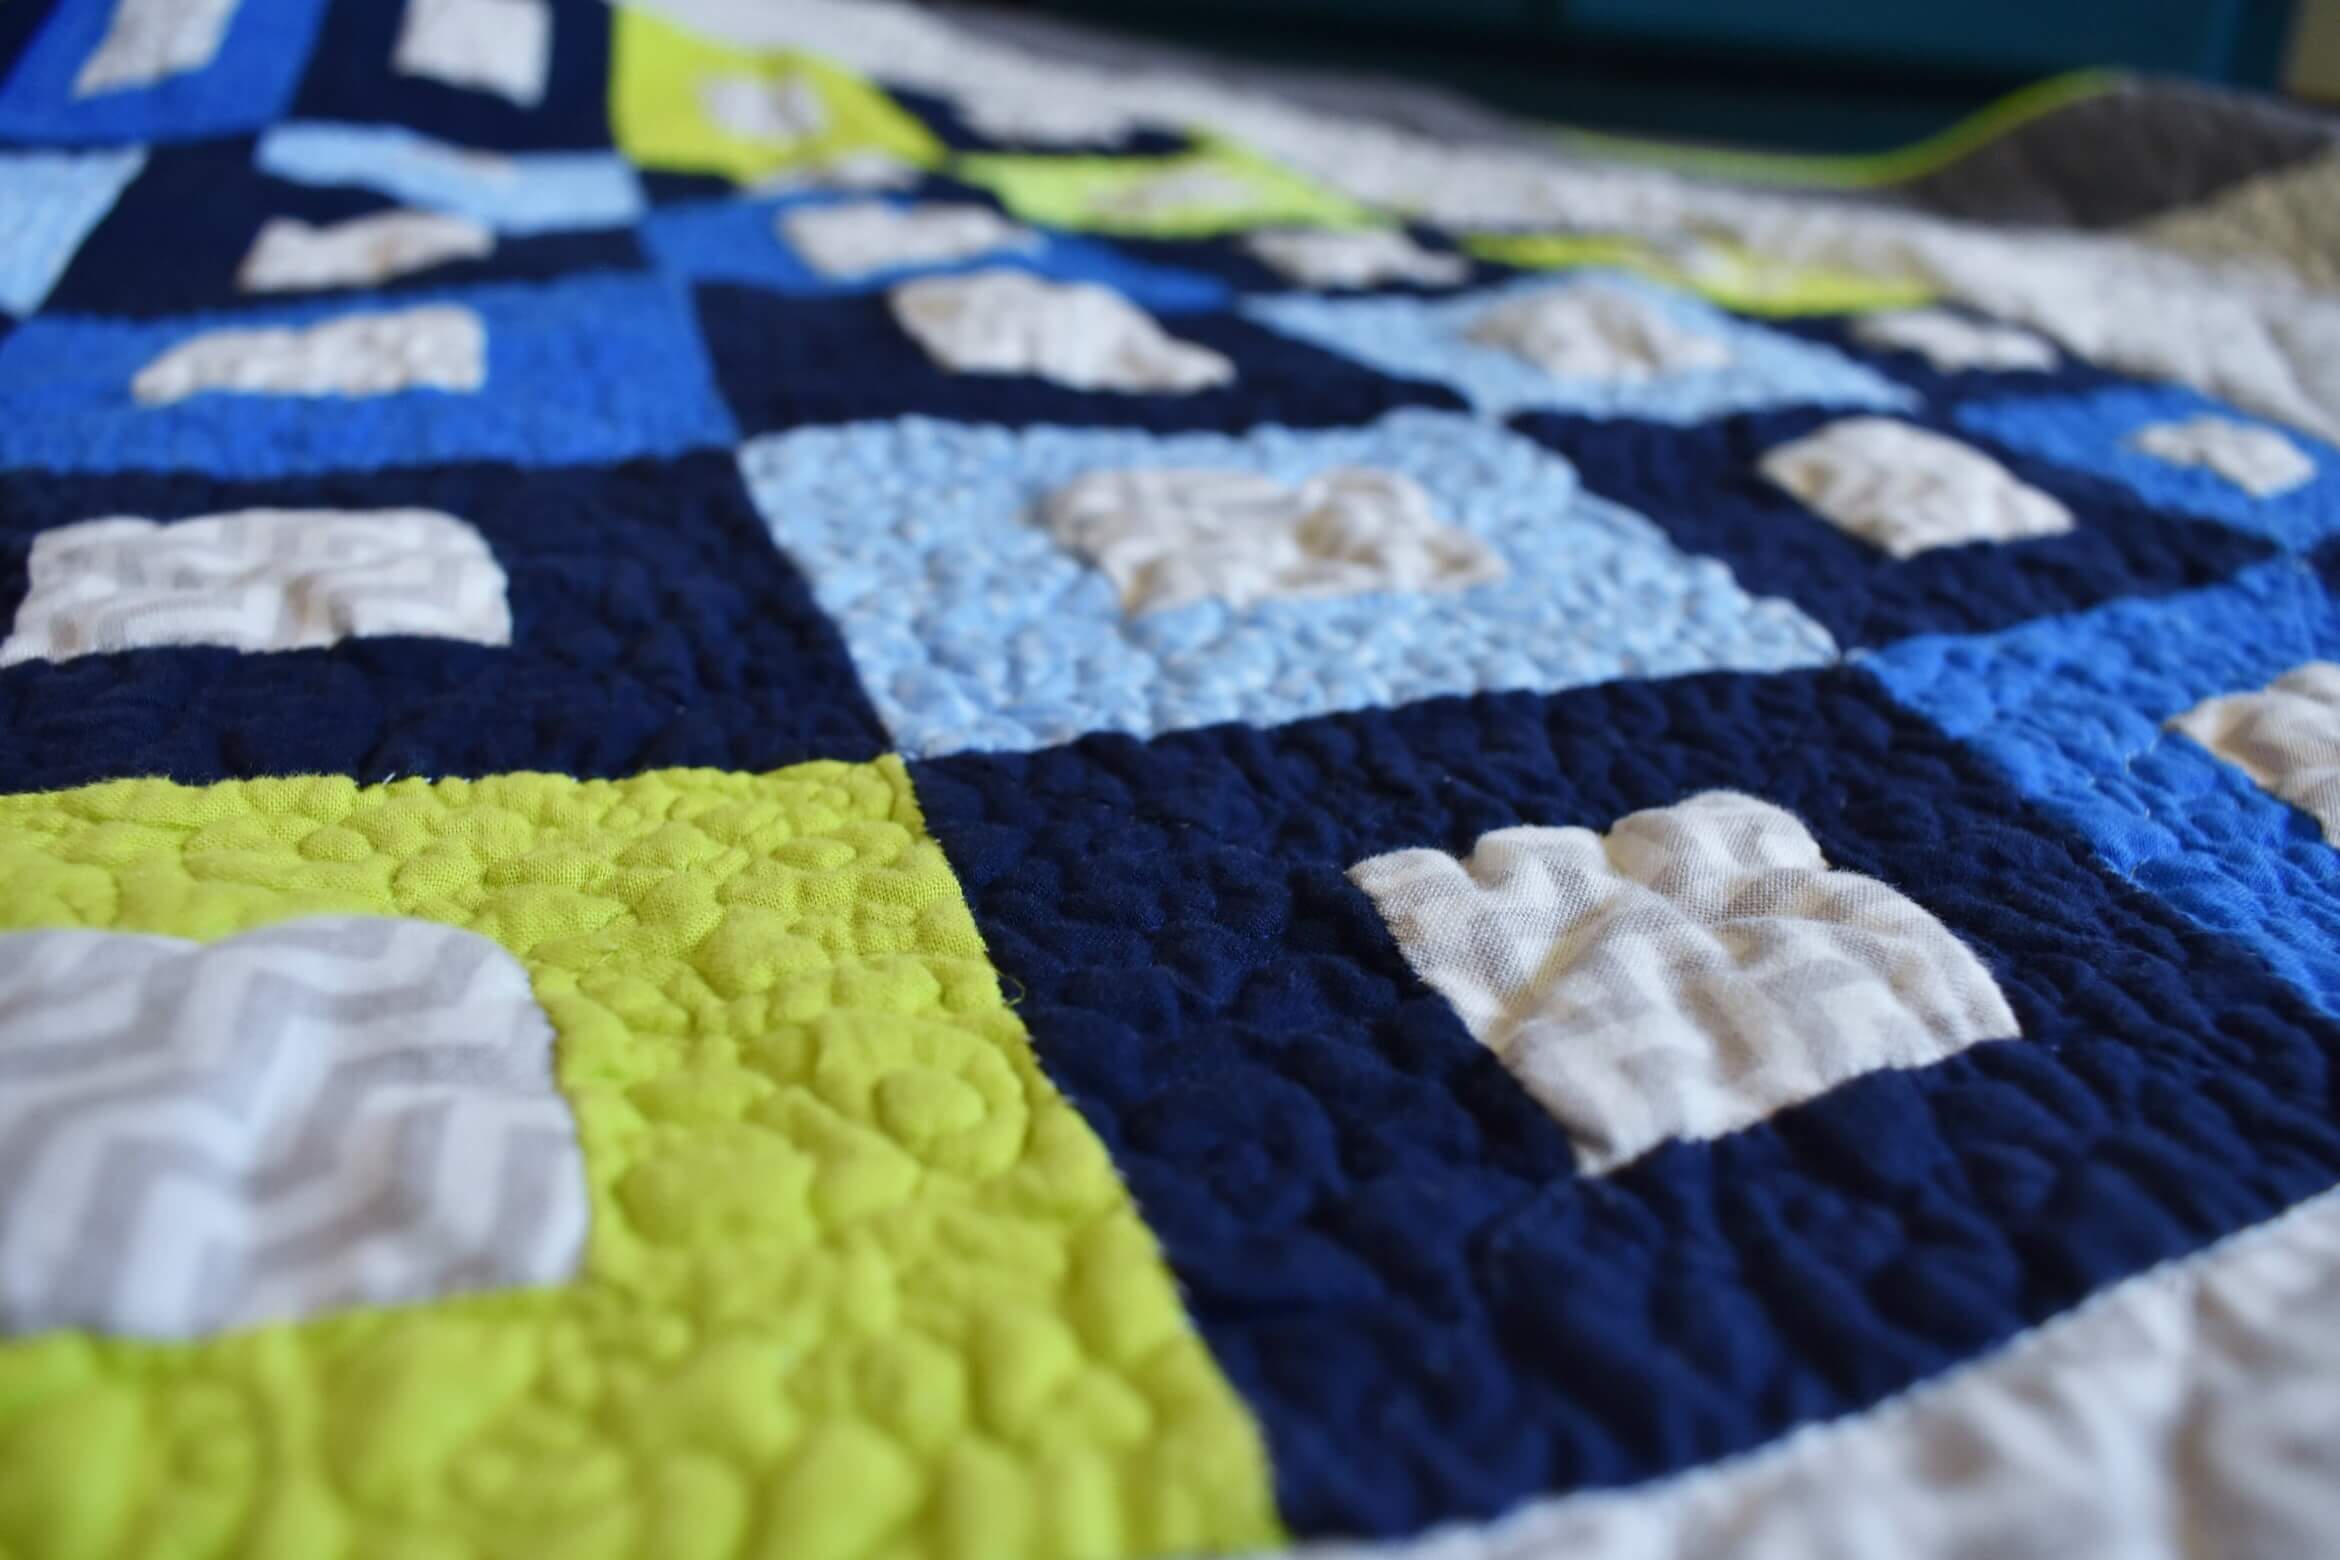
My next project to quilt was the Arrowhead baby quilt. Again, I had relatively few problems with this one. Just little bit of of looping once or twice in the quilt. I’ve since added a thread net to help alleviate that in the future.


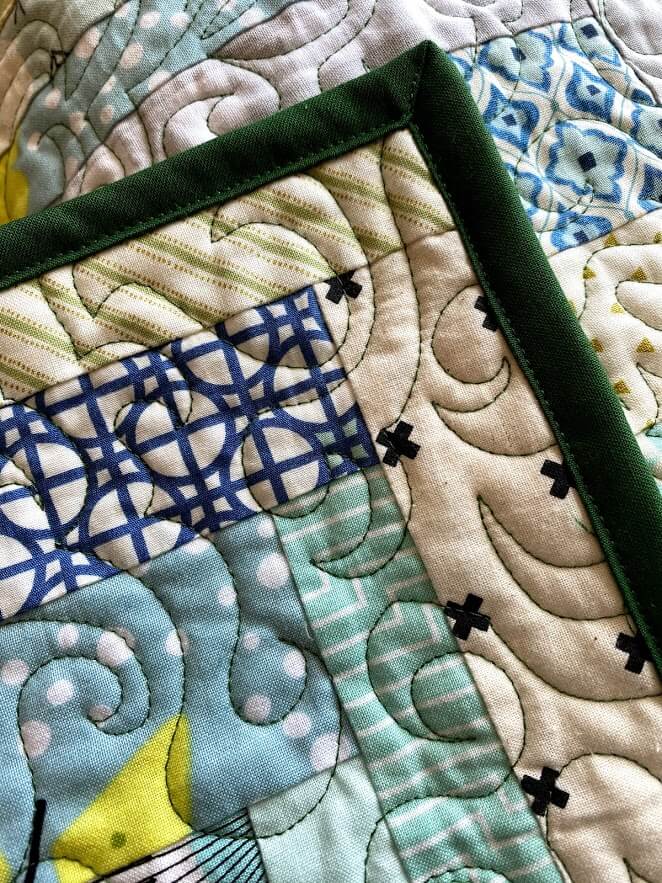
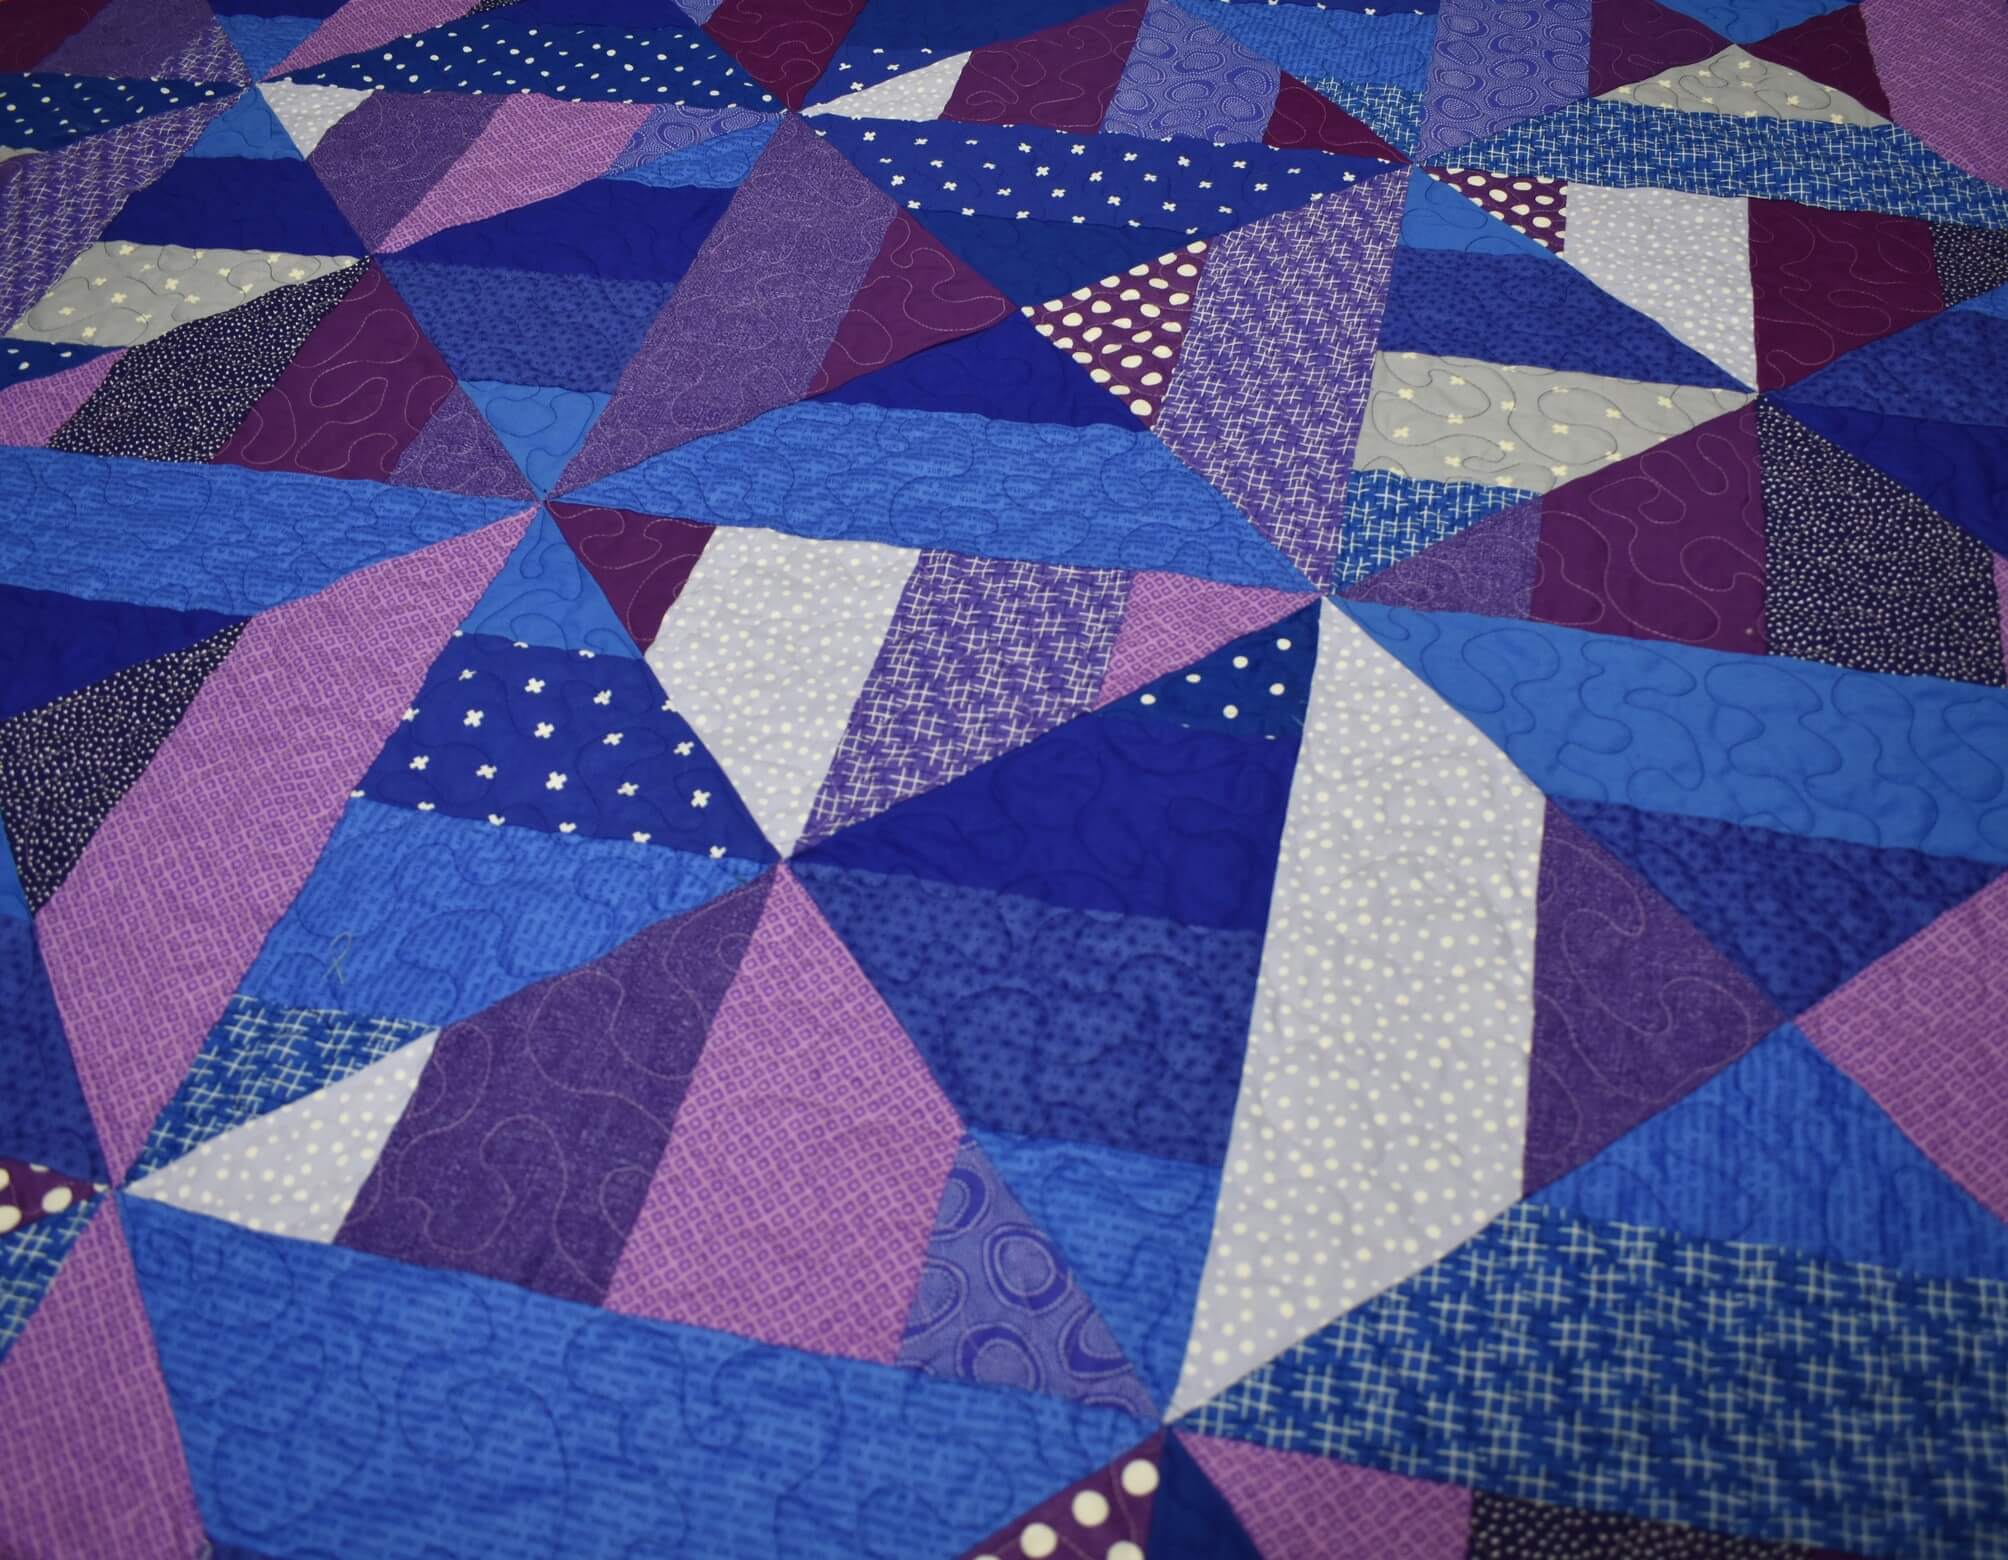
With my palate cleansed, I went back to the Scrappy By Your Side quilt. This time with a full tummy, no time constraints, and a positive attitude.

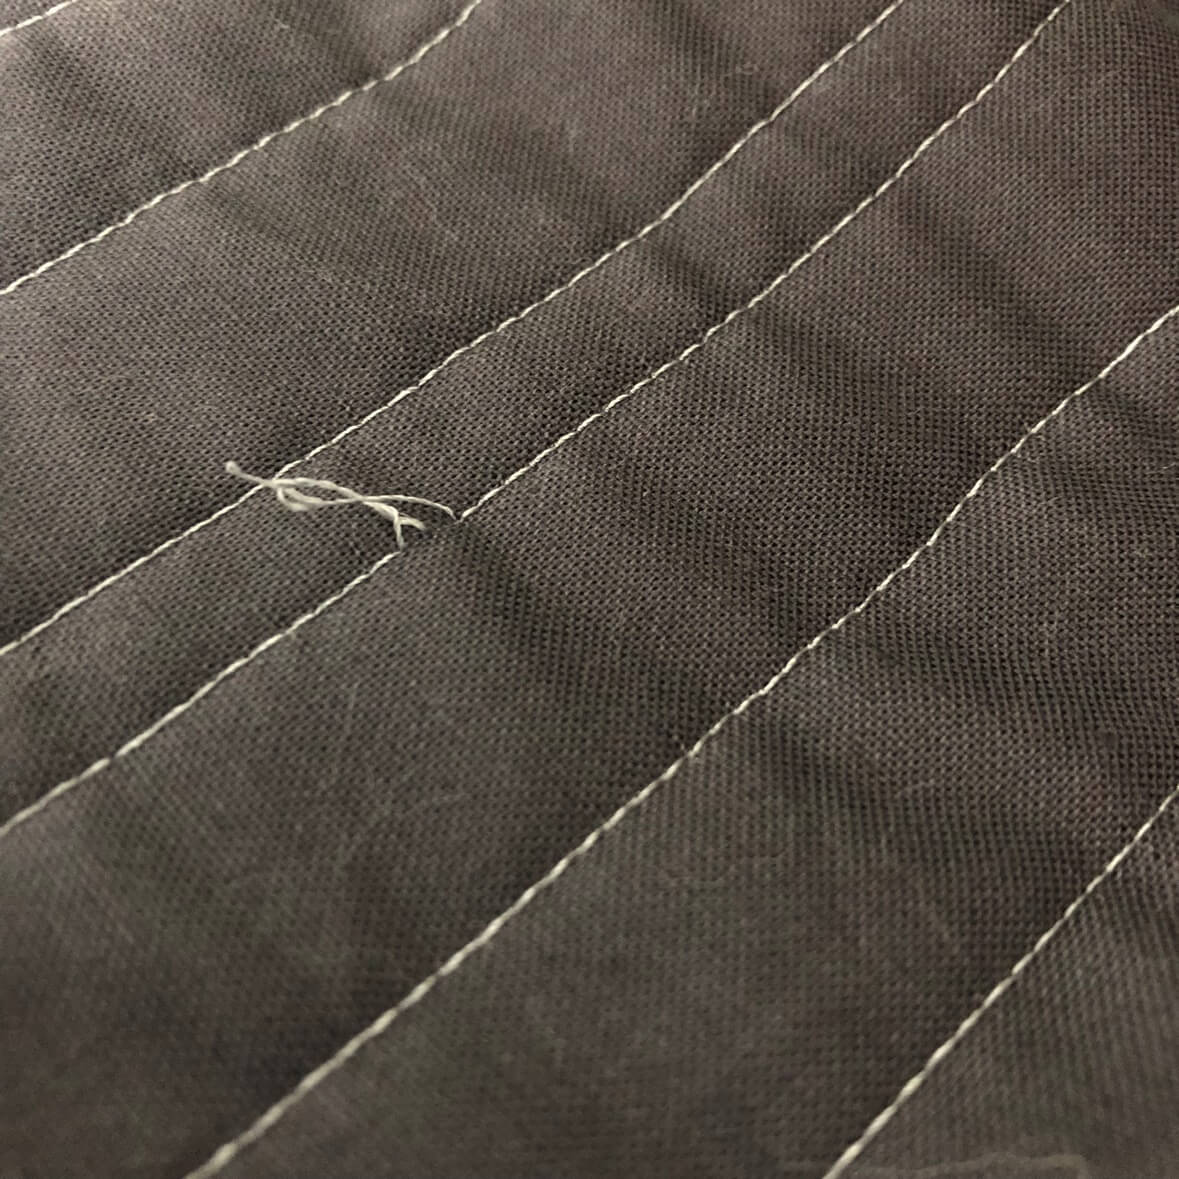
Unfortunately, none of those things helped my issues! My coworkers and I tried everything- thread net, change needle position, new bobbin, adjusting tension, changing spools of thread, on and on….  nothing helped. Or, I would get one good pass and think, “Awesome! We fixed it!” Only to have the same thing happen again on the following pass. Thank goodness I DID go in with a positive attitude, because the thing was trying my patience. I kept trying to think what was different about this quilt from the two I has done that quilted up beautifully. Why was this one giving me so much trouble?  And then it hit me… my batting was wrong side up. DARN!

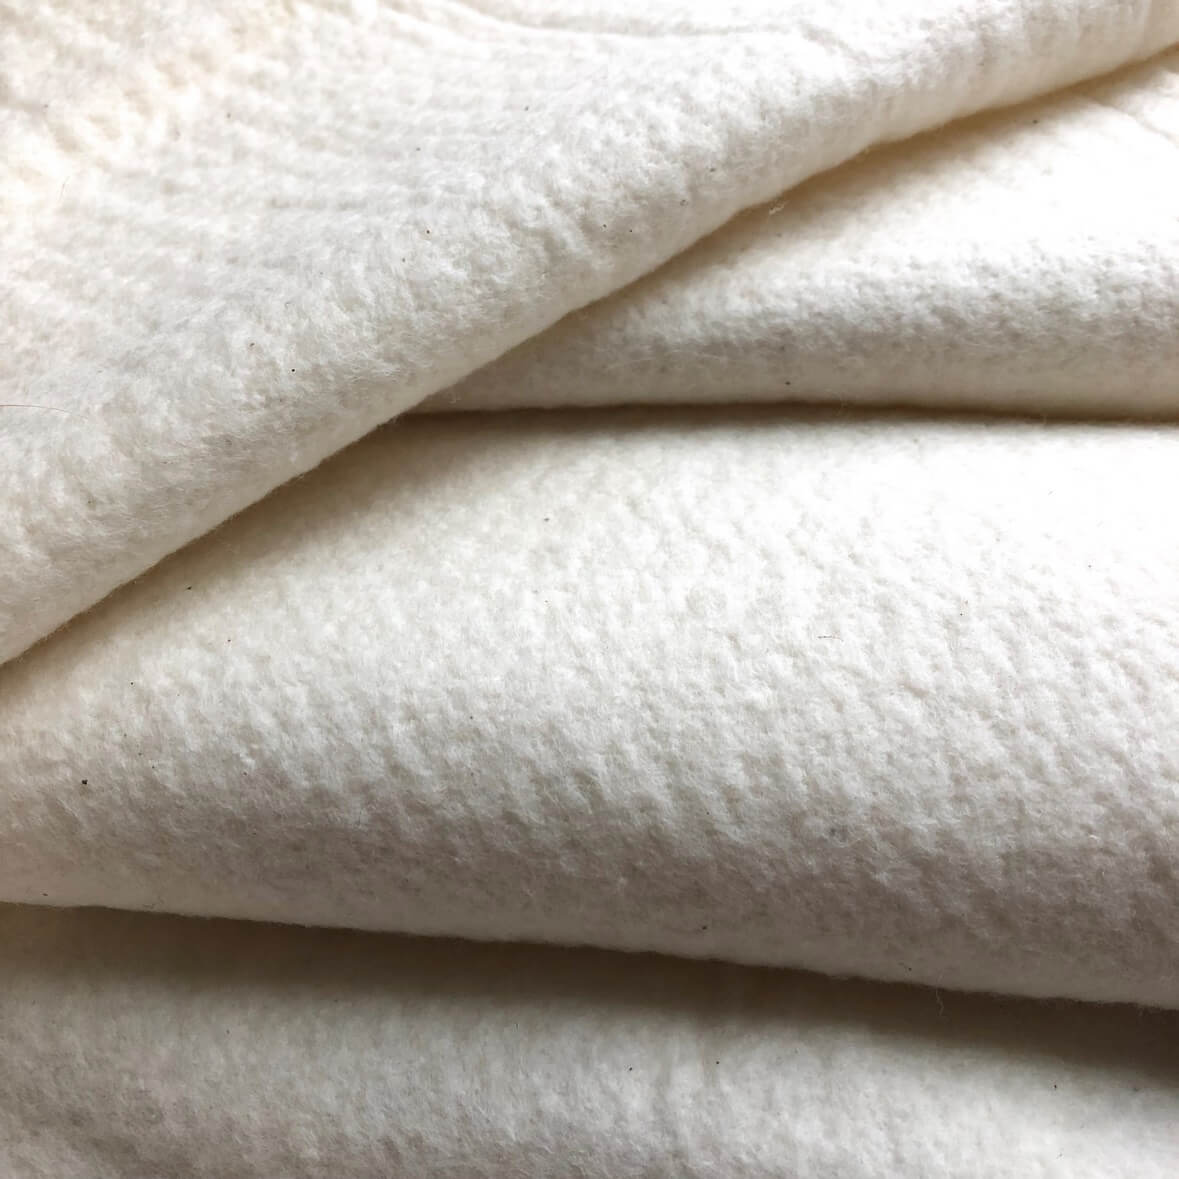
Oh my goodness…. all that trouble, just from the batting? YES! In fact, I went to a co-worker who hadn’t been involved in trouble shooting with me and told her I accidentally had my batting backwards, and she described every single problem that I had been struggling with. Well, how’s that for a learning experience?? Certainly won’t make that mistake again! And if you want more information on finding the right side of batting, Suzy Quilts has a fabulous post on the subject!

So, this quilt was mostly quilted by the time I figured out the underlying problem. My best option was to baby it along and fix problems as they arose (and they sure did!). In the next month or so, I will unpick the lines of quilting where the looping was the worst.


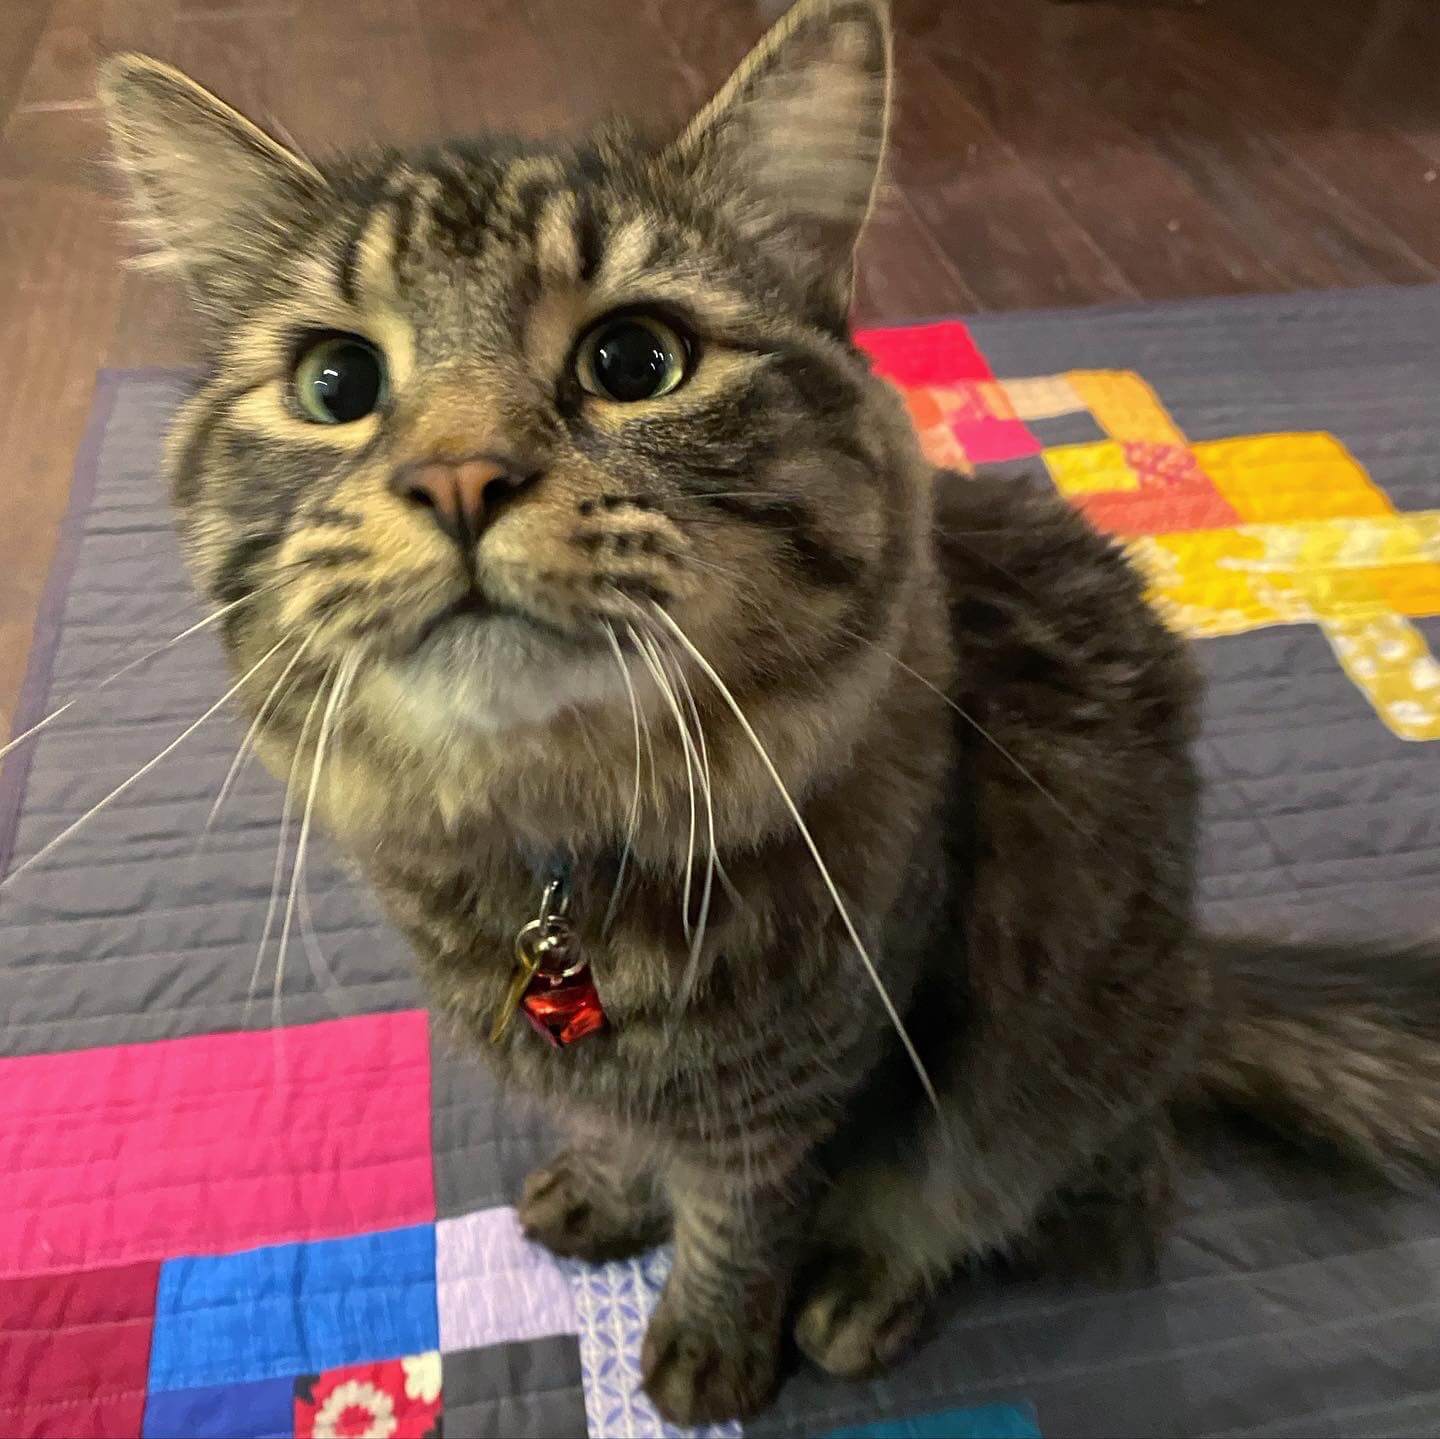
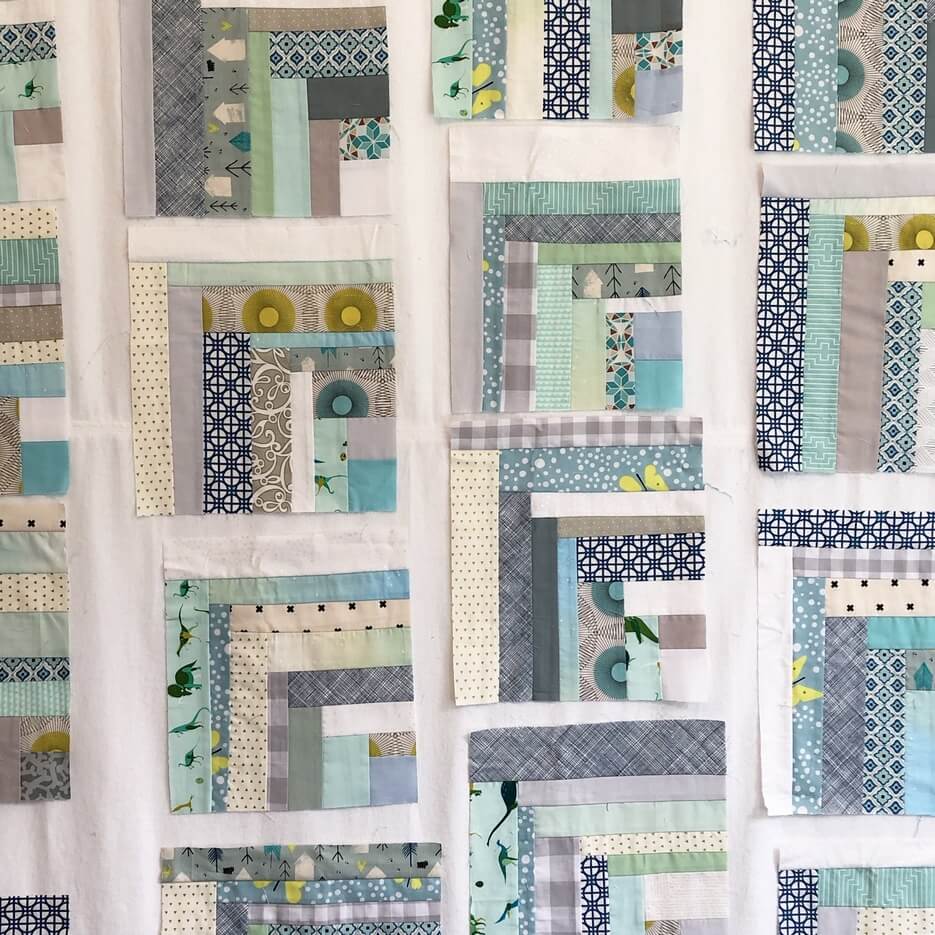
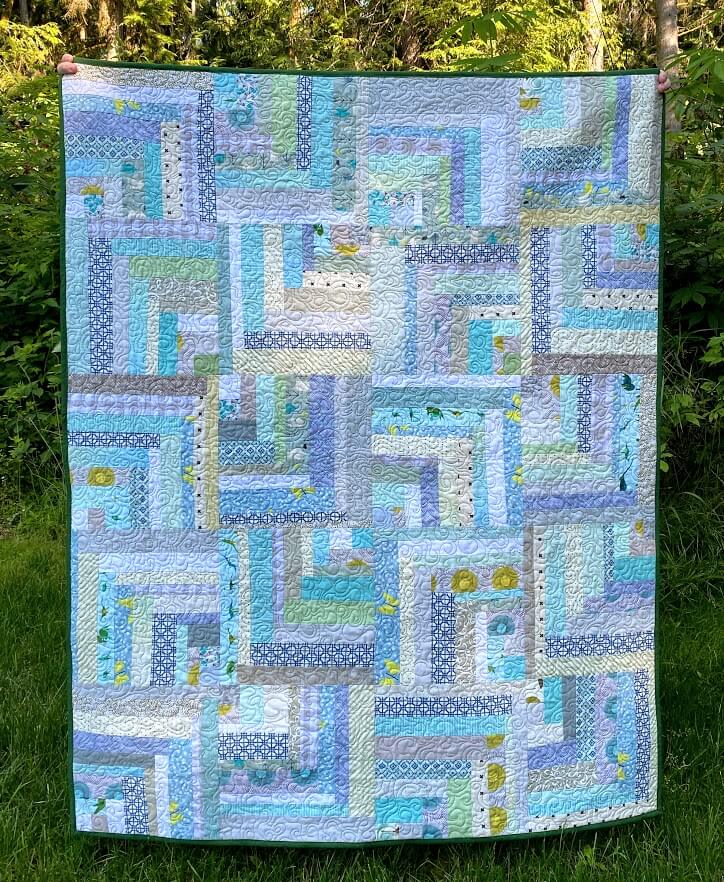
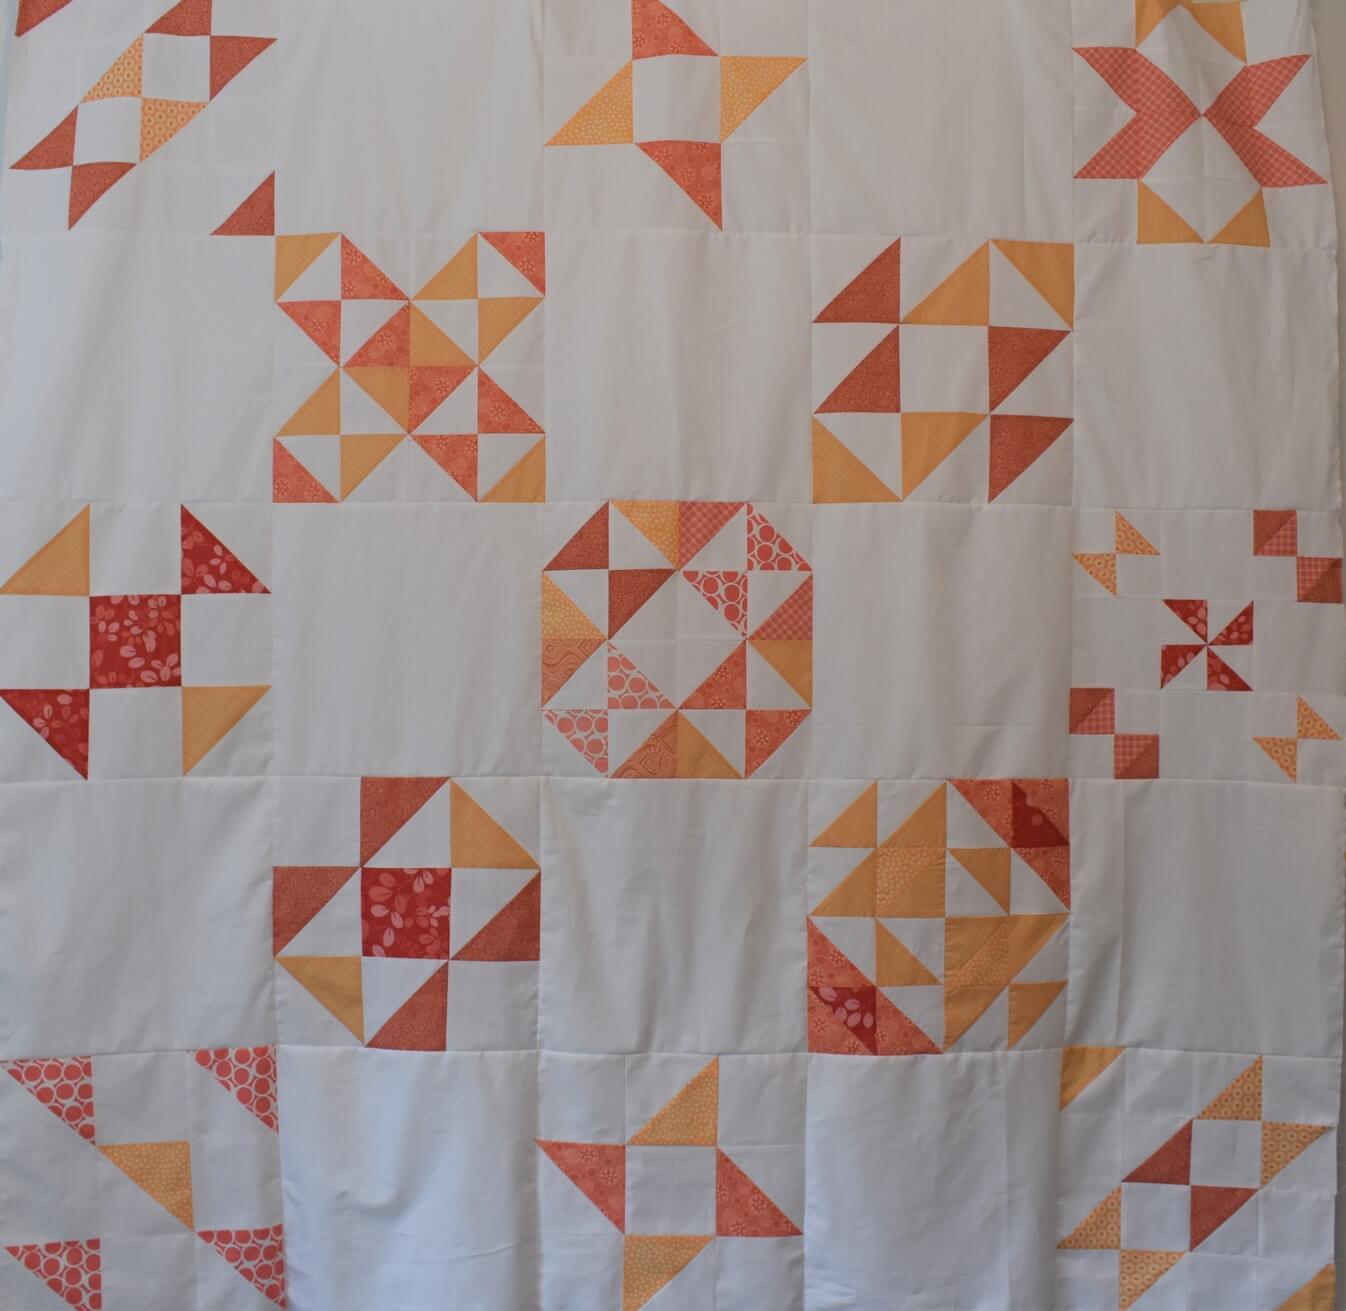
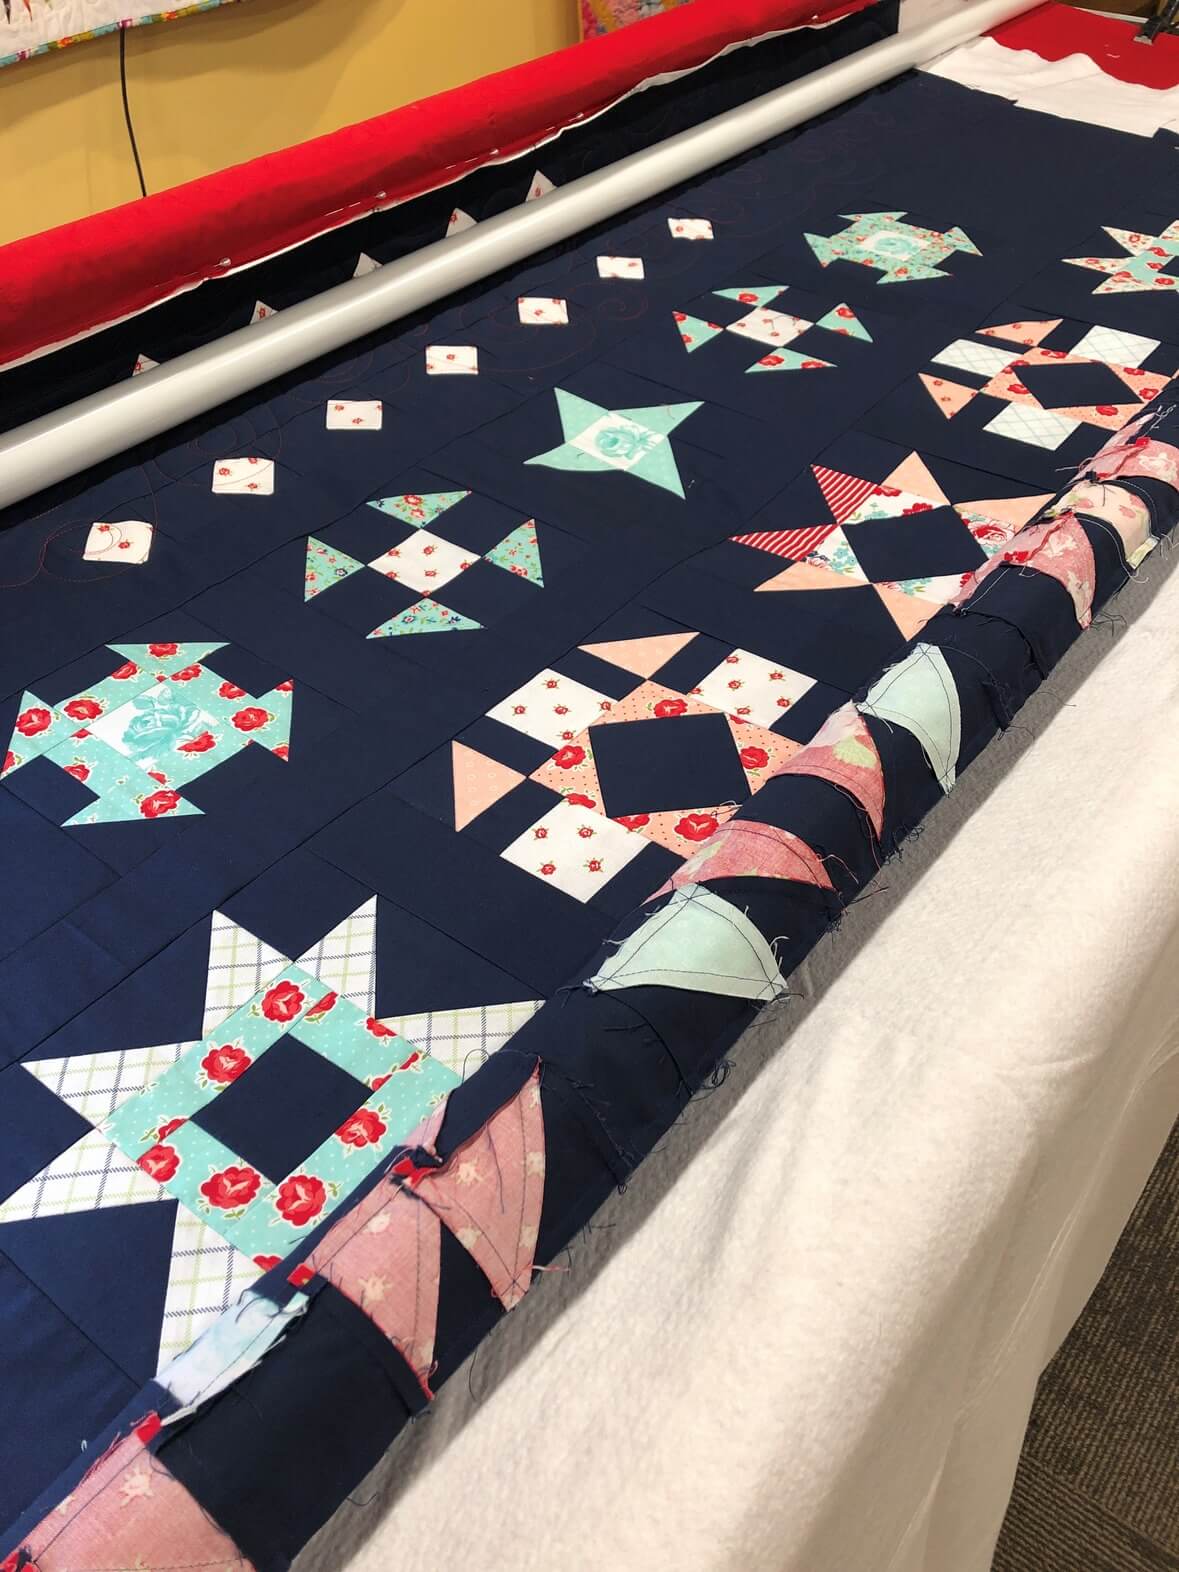
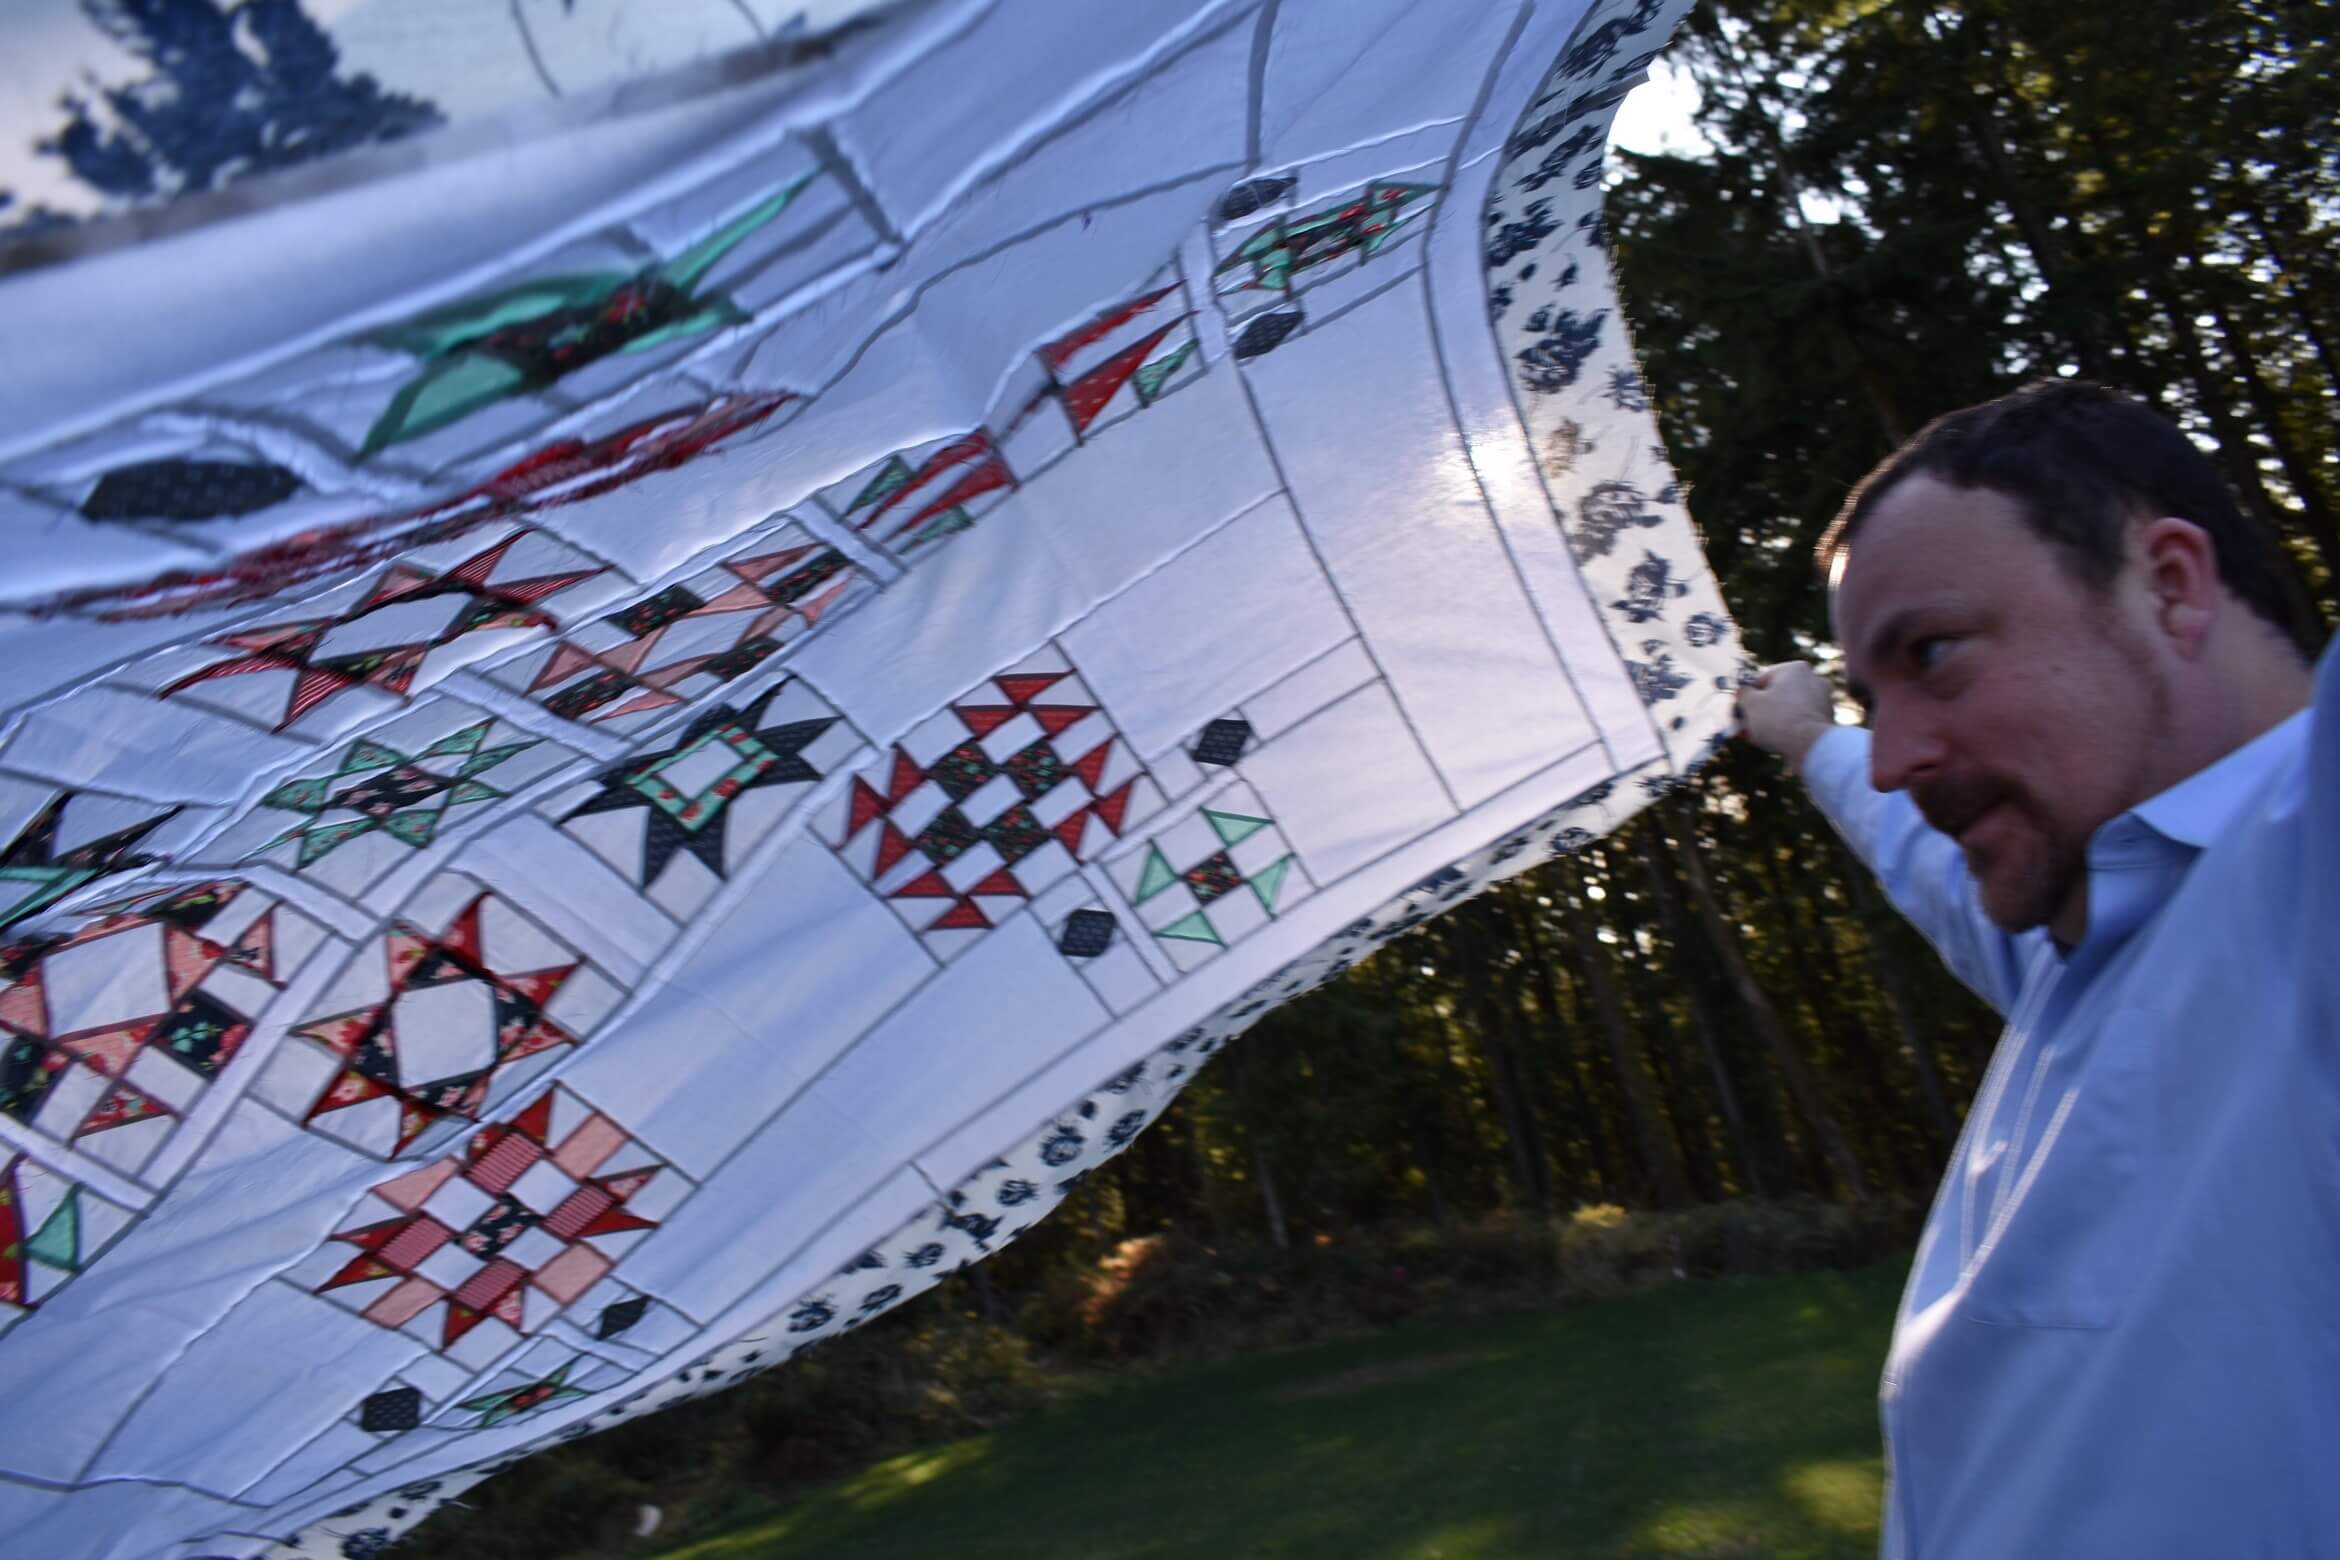
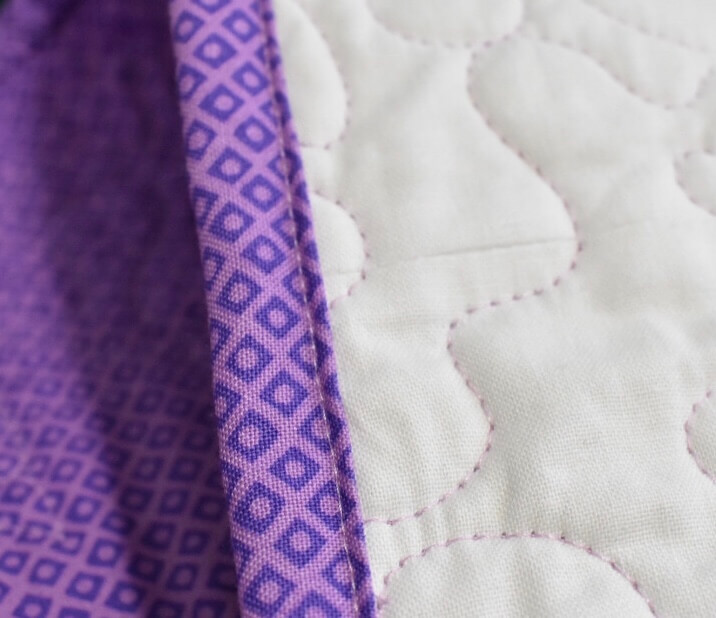
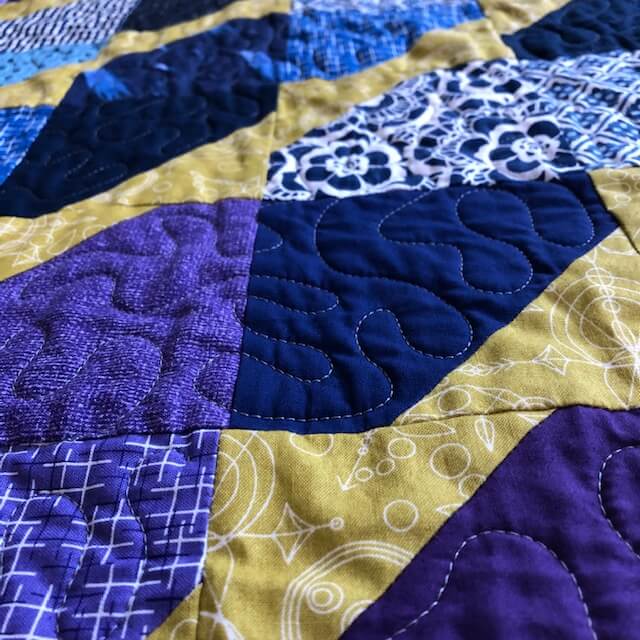
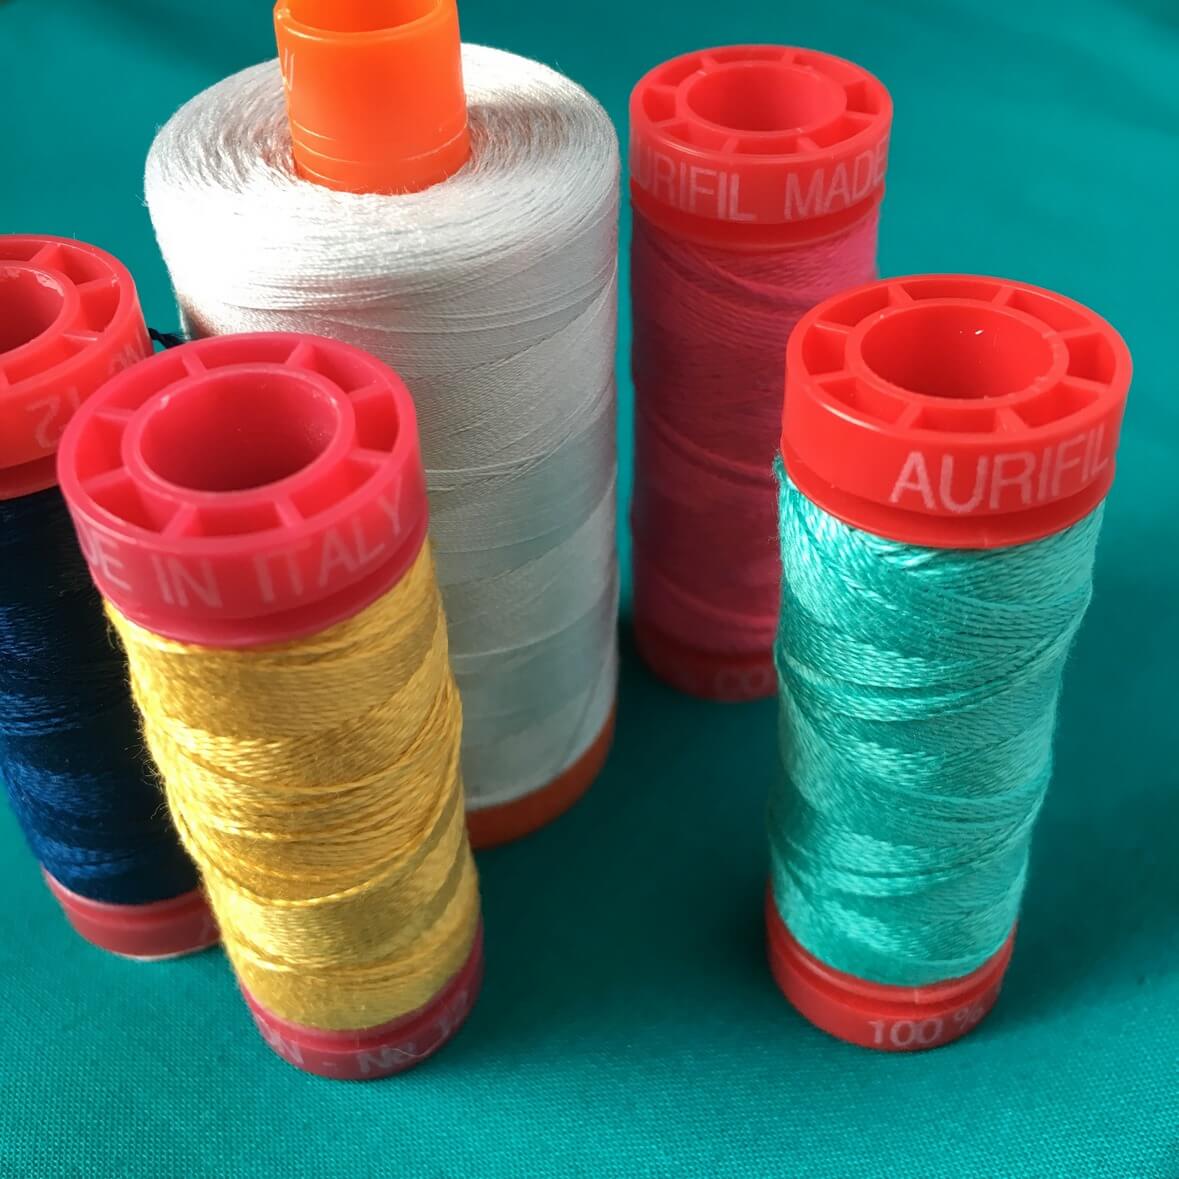
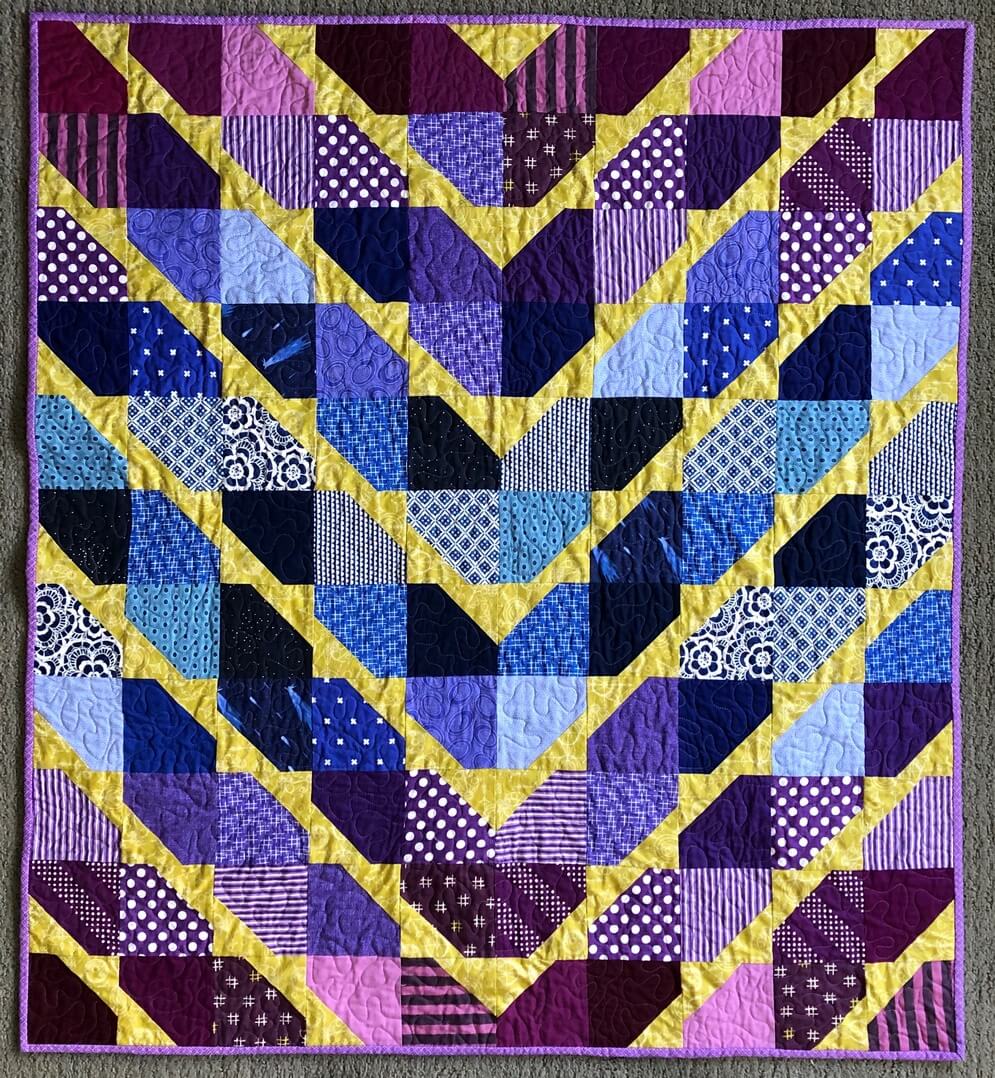
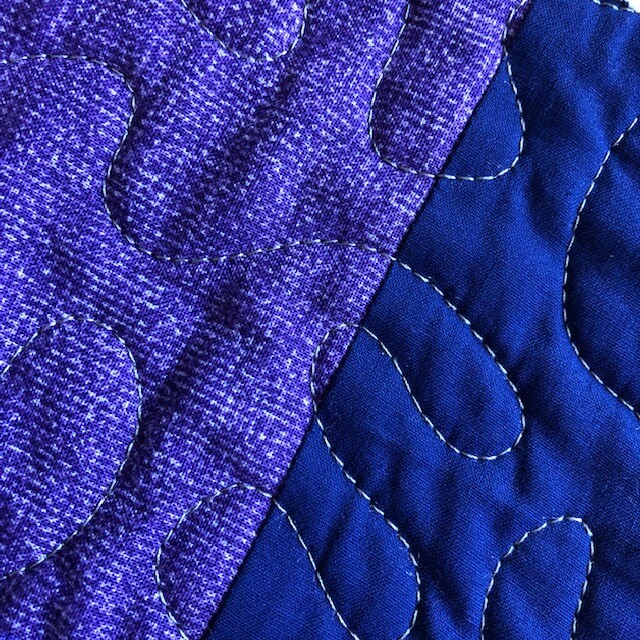
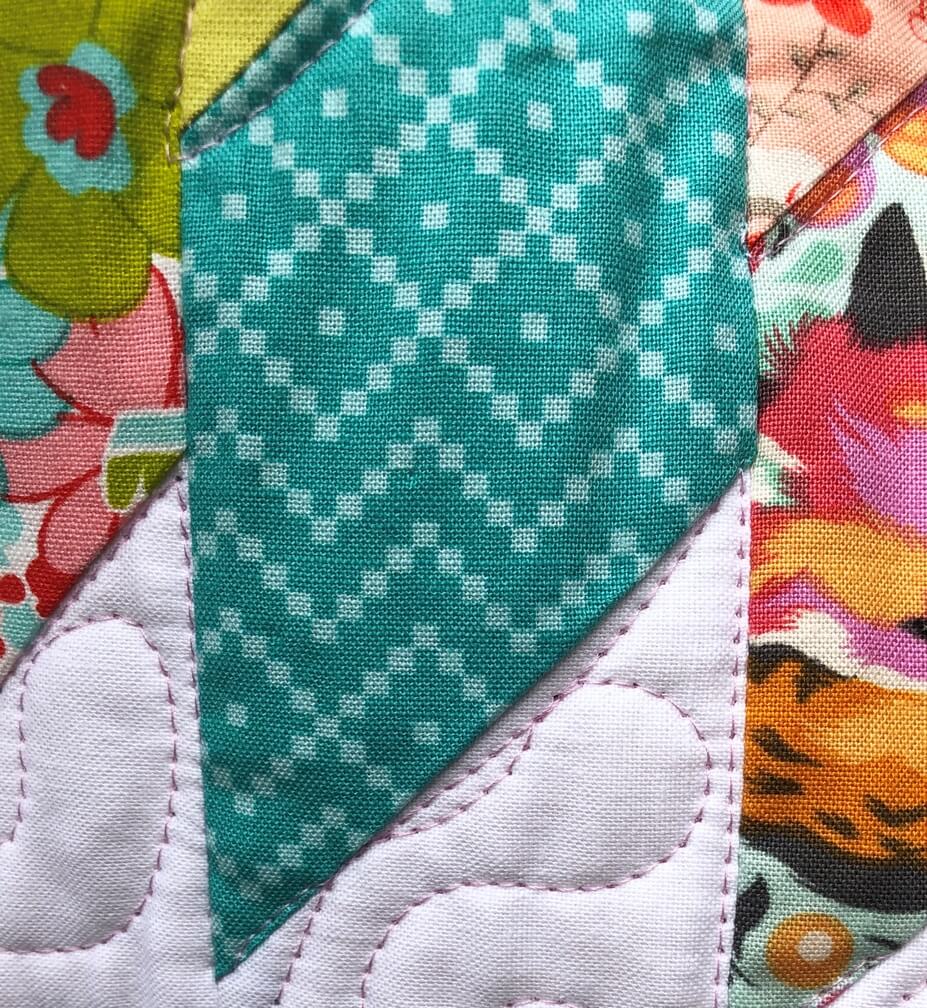
The most recent quilt I finished was my scrappy Kayak Point quilt. This quilt top was originally made (quite a long time ago!) to test my Kayak Point pattern for Quilt Theory.  I love the look of this one- subdued colors, but still bright and happy. My first instinct was to quilt this with white thread since there is so much white in the thing. But, I had almost a full spool of a purpley/pink Aurifil and I was wanting to try Aurifil on the long arm anyway, so I figured “why not?” I’m really happy with that choice, as it adds a lot of personality to this quilt!

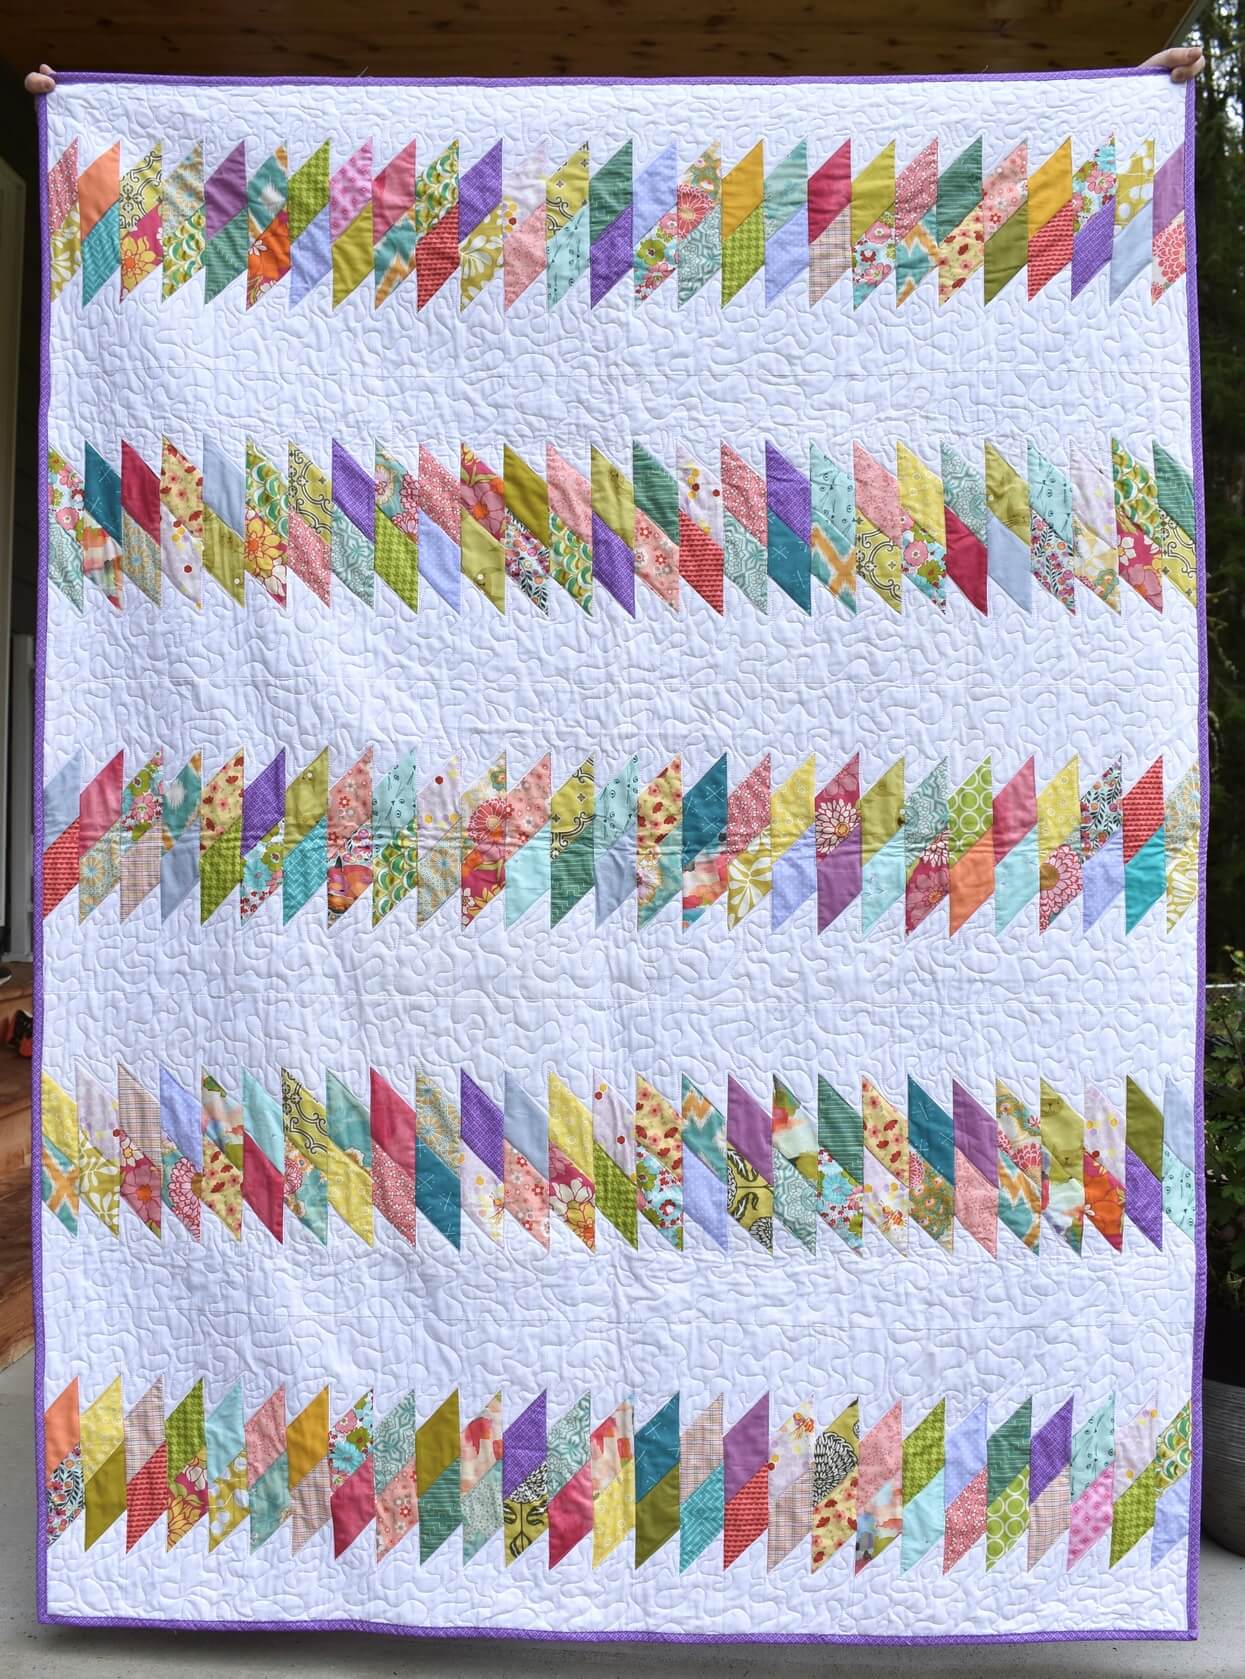
I didn’t really have any technical issues with this quilt, which was WONDERFUL! I feel like the long arm and I are becoming friends. I did struggle a bit with accuracy on the straight diagonal lines I was trying to quilt, but I know those are skills that come with time and practice so I was ok with the job I did.

The whole process of learning this new skill has really reminded me how important it is to be willing to be new at something, to not be perfect, and to not be afraid to ask questions. I relied heavily on the expertise of several of my amazing co-workers. They helped me troubleshoot various problems, offered bits of advice that came in handy, and above all encouraged me that it’s ok to struggle. I’m learning to love the struggle because I know it’ll help me get better!

I have several more quilts to finish up before Christmas, so I’m hoping after those, I’ll feel fairly comfortable on the long arm. Definitely worth the time and effort to learn!

Happy quilting!

~L

Finished Quilt: Scrappy Kayak Point

Way back when, before I ever made the cover quilt for my Kayak Point pattern, I made up a sample using some scraps from my studio. The colors of this quilt reminded me of summer heat, beach days and creamsicles. They just make me so happy!

I quilted this on the long arm at work using Aurifil 2515. The purpley/pink color over the white really added a lot of fun to the top. I stippled in the white space and outlined the little ‘kayak’ shapes. I wasn’t super accurate on my outlining, but I’m still learning and decided to extend myself some grace!


I will be gifting this quilt, and because I think it will get a lot of washing, I decided to machine bind it. I’ve been working on using my quarter inch foot to help me machine bind with more accuracy. I’ll eventually write a post if I can perfect the technique!

Happy Sewing!

~L

Finished Quilt: Arrowhead

You may remember that earlier this year I participated in a Blog Hop to celebrate the release of Turnabout Patchwork by Teresa Down Under. I had so much fun making that quilt top, but never got around to finishing the quilt… until now!


I played with a palette of blues and purples from my stash and then added the chartreuse for a fun contrast. This year, I’ve been slowly learning to use a long arm (more on that in another post!) and I am having so much fun with it. I wanted the quilting on this really open and simple, so I did a wide stipple only inside the purple and blue portions, leaving the chartreuse unquilted.


I have a friend having TWINS (yay!), so this quilt will be set aside for her in case it fits her palette. Otherwise, you’ll be seeing a couple more baby quilts from me soon!

Happy Sewing! ~L

How to: Turning WIPs into FOs

It’s hard making time to make.

Often, it seems like our pile of WIPs (Works in Progress) far outweighs our FOs (Finished Objects). Quilt tops linger in closets and orphan blocks crowd our design walls. But taming the beast is possible! Here are a few tips for whipping those WIPs into shape:

1- List all your projects. Every. last. one. Go through every closet, shelf and drawer. Pull out every WIP at any stage, even if it’s just a pile of fabric that you have a vague plan for. Now list them out one by one. This is quite the reality check, but it gives you a very clear picture of what you have and helps you to prioritize and plan.

img_4064

2- Edit out what you’re no longer in love with. Maybe the fabric is dated. Maybe the intended recipient has changed their style. Maybe you’ve just fallen out of love. You might be surprised with how many projects you decide aren’t worth more of your precious time.  Find a friend or local charity that will take them off your hands. Some Project Linus chapters will take quilts at various stages of completion. Call your local coordinator to check.

img_2451

3- Prioritize. You can choose whatever criteria works for you to prioritize your WIPs. Maybe you want to get oldest projects done first, or those that are closest to completion. Or you could prioritize by the intended recipients… who has a birthday coming up? It’s really up to you. Just to remember that not everything matters equally. Your time is finite, and you should be spending that time on the things that are most important to YOU.

img_4060

4- Limit new projects. I know, I know… don’t yell at me! This one is so hard! I love shiny new things and starting projects is one of my very favorite things to do. I get it. But now that you have a handle on what needs completed, it’s a good idea to look at that list you made before starting something new.

Prioritize your potential project against that list… how does it compare? If it really is something important (like you just found out your best friend is expecting), yes, definitely add it in! But keep in mind that for everything you say yes to, you will say no to something else. Your other WIPs will move down the list, so make sure it’s worth it!

Often, we start a new project simply because we’re bored with what we’re currently working on. Instead, maybe we can add some excitement to our WIPs list by moving a current project one step closer to completion. I find that helps my need for something ‘new’ and novel without adding to my workload.

img_1782

5- Join a UFO completion group. Many local shops will have groups you can join that help keep you accountable to finishing a specific list of WIPs that you’ve chosen. Sometimes, there’s prizes to be won! If you don’t have a local group, there are several online ones. A popular challenge group is the All People Quilt UFO Challenge.  The 2019 Finish-a-Long is hosted by several quilty bloggers and is another great place to start. And The Crafty Quilter has a monthly UFO & WIP Challenge. There are lots more; find a group that you like and join in!

img_3620

6- Make the time. There is simply no way around it- if you want to finish projects, you have to set aside time to work on them. You’ll have to decide for yourself how that looks. You could block out 20 or 30 minutes a day, or set aside an entire day a few times a month. Look into registering for an open sew at a local shop if you want to socialize while you sew. Put sewing time on you calendar or add a reminder to your phone. Once you get a little momentum going, you’ll be surprised at how addicting it can be to advance your projects just one step further. And once you complete a project and get to cross that WIP off your ‘to do’ list, you’ll definitely be looking forward to your next FO!  

img_4961

7- Speaking of Finished Objects, track them! Keeping a record of the quilts you’ve completed and looking through it periodically is a really nice way to keep your motivation up. No doubt there are projects on your FO list that lingered. That you thought you’d never actually complete. Looking through the projects you’ve already completed gives you HOPE that yes, someday the WIP that’s driving you crazy will be done. There is light at the end of the creative tunnel. You are fully capable of getting those WIPs out into the world as FOs. You’ve got this.

Now let’s all finish some beautiful stuff!

Happy Sewing! ~L

Champions Quilt

Last month, I shared a quilt finish with you. I have another one to share that’s been done for quite some time.

DSC_0065 (3)

The pattern for the appliqued sphere is by Geta Grama and is called Windows into my  World.

This was one of the very first quilts I ever started. I wanted to try EPP, and this pattern was so visually striking. As I got further along, It also became the project that I used to learn hand applique and hand quilting (more on that later). It spent a lot of time being set aside. Like… a LOT lot. In the time I took to finish it, the intended recipient went from being a teenager to a married adult. I felt like it was too small to gift to a couple, so we decided to keep it. I will make them a quilt as a couple (hopefully before Christmas!) that reflects both of their styles.

I loved this pattern, but if I did it again I would probably use a fusible applique technique instead of EPP and hand applique. It would make for a much faster finish! 

dsc_0670

And for the hand quilting- you may have noticed that there is none on my finished quilt! When I started it, I was doing the hand quilting on the sphere section with embroidery thread. Turns out, I hate hand quilting with embroidery thread. I got about a third of the way done with the sphere and had to make a decision: keep going, or pick it out and machine quilt it. So I got out my seam ripper and scissors, because I honestly just couldn’t do it anymore!

I love the way the heavily quilted areas paired with unquilted spots creates fun little puffy bits in the sphere.

DSC_0074 (2)

It was so great to FINALLY finish this one and get another thing crossed off my WIPS list.

Happy Sewing,

~L