quilt

It’s finally done!

I had big “finish my UFOs” goals this year. In January, I posted the list of all the UFO projects I wanted to do in 2020. I’ll share more about that another day, but – spoiler alert- I did NOT complete my list!


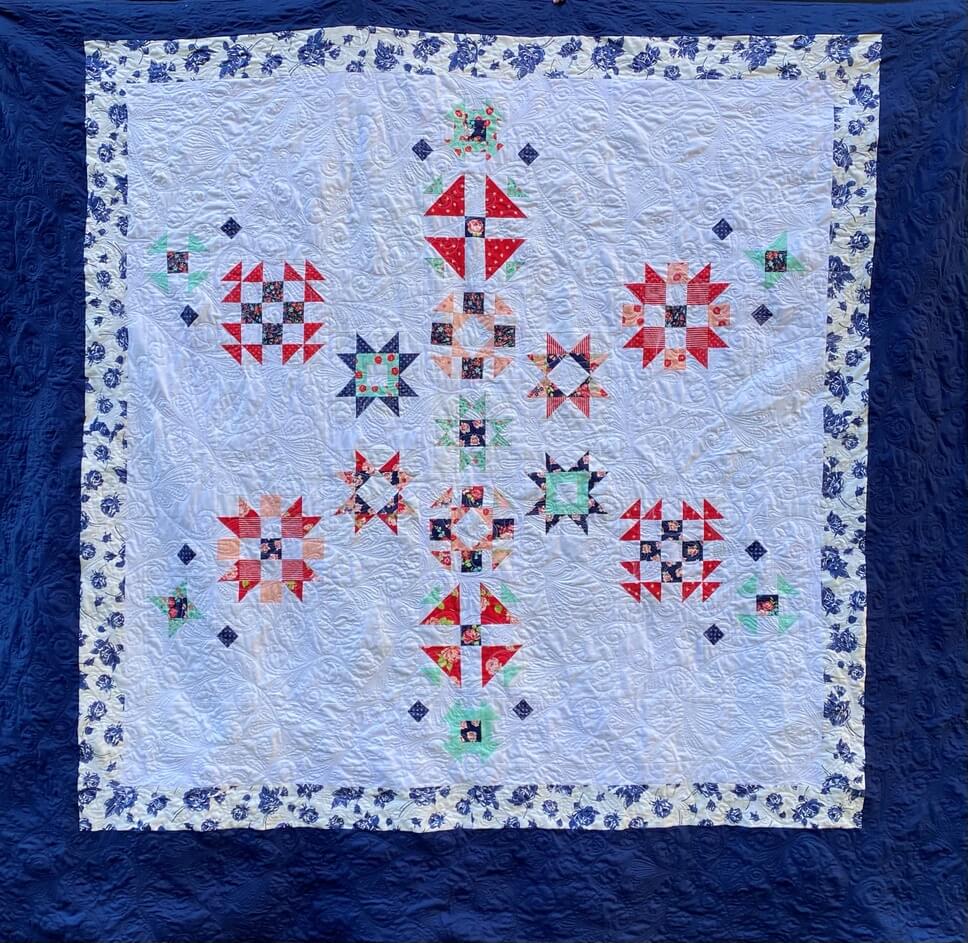
That being said, there is one project from that list I am so proud to have finished! This was my number 8 (August) project- the 2019 Quilter’s Planner BOM quilt. This pattern was designed by Cheryl of Meadow Mist Designs


At the beginning of the year, I wasn’t sure of the final home for this quilt. Then my husband and I got talking one day about how great it would be to have a quilt to go on our bed for each season. The snowflake layout and the fun colors of this quilt make it a perfect choice for our winter quilt. I added a wide border to get it to the right size. The design portion of the quilt is perfect to cover the top of our king-sized mattress, and the navy border creates the overhang.


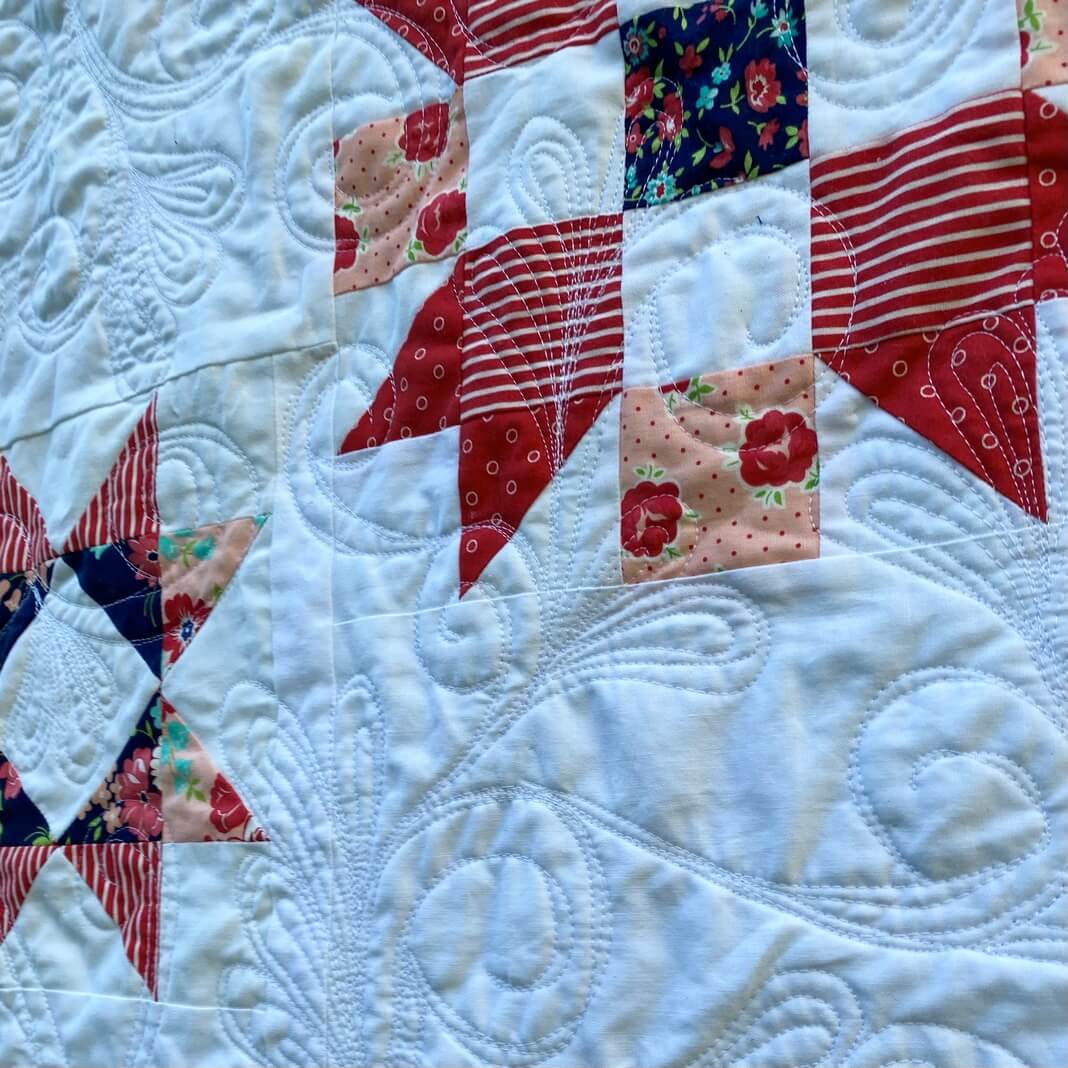
I free-motion quilted this on my domestic machine. It was a bit of a job but I took plenty of time and enjoyed to process.

I must say, it is very difficult to photograph such a large quilt in December in Washington when the weather just doesn’t cooperate and the lighting is terrible. I am hoping to get better pictures in spring!

Happy Sewing! ~L

Scrappy Rainbow BYS Quilt

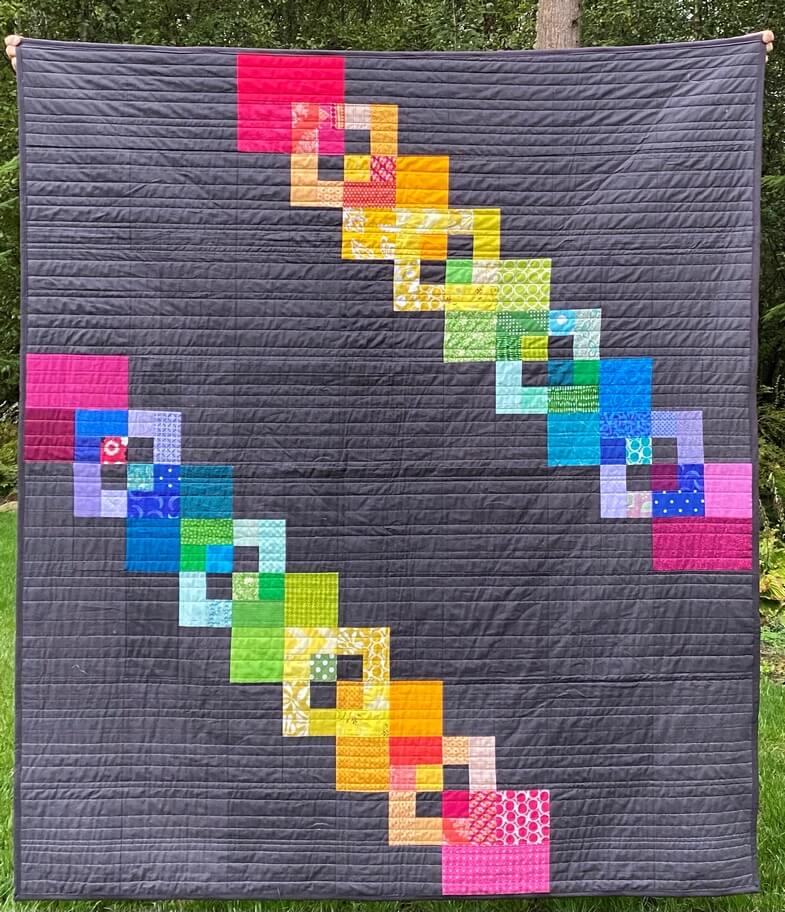
I am so happy to FINALLY be sharing this By Your Side quilt with you! I feel like I have been making this quilt forever, and just finished working on it last week.

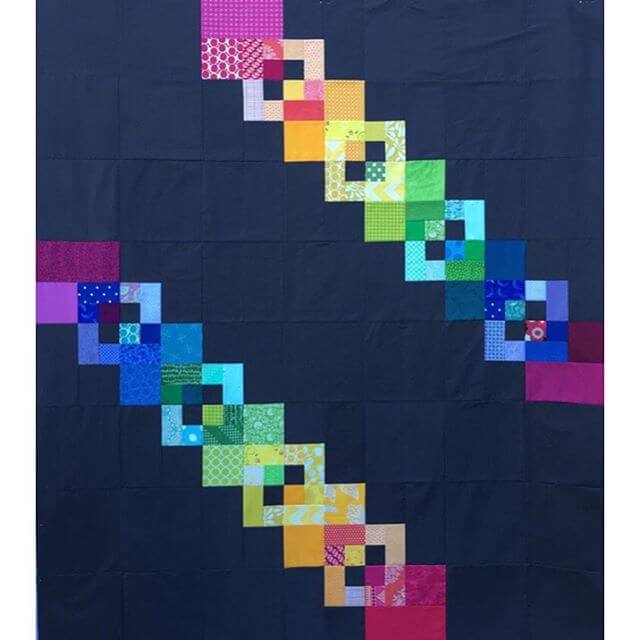
I finished the top years ago and then it lingered in my studio closet waiting to be quilted.

The quilting stage gave me some trouble, as I had my batting flipped and was getting all sorts of looping and thread breakage. For more about batting ‘sides’, visit  Suzy Quilts for a fabulous post on the subject!

It sat in my closet again for months waiting for me to remove all the bad lines of quilting.

Finally, last week, I sat out in the beautiful sunshine and finished the job!

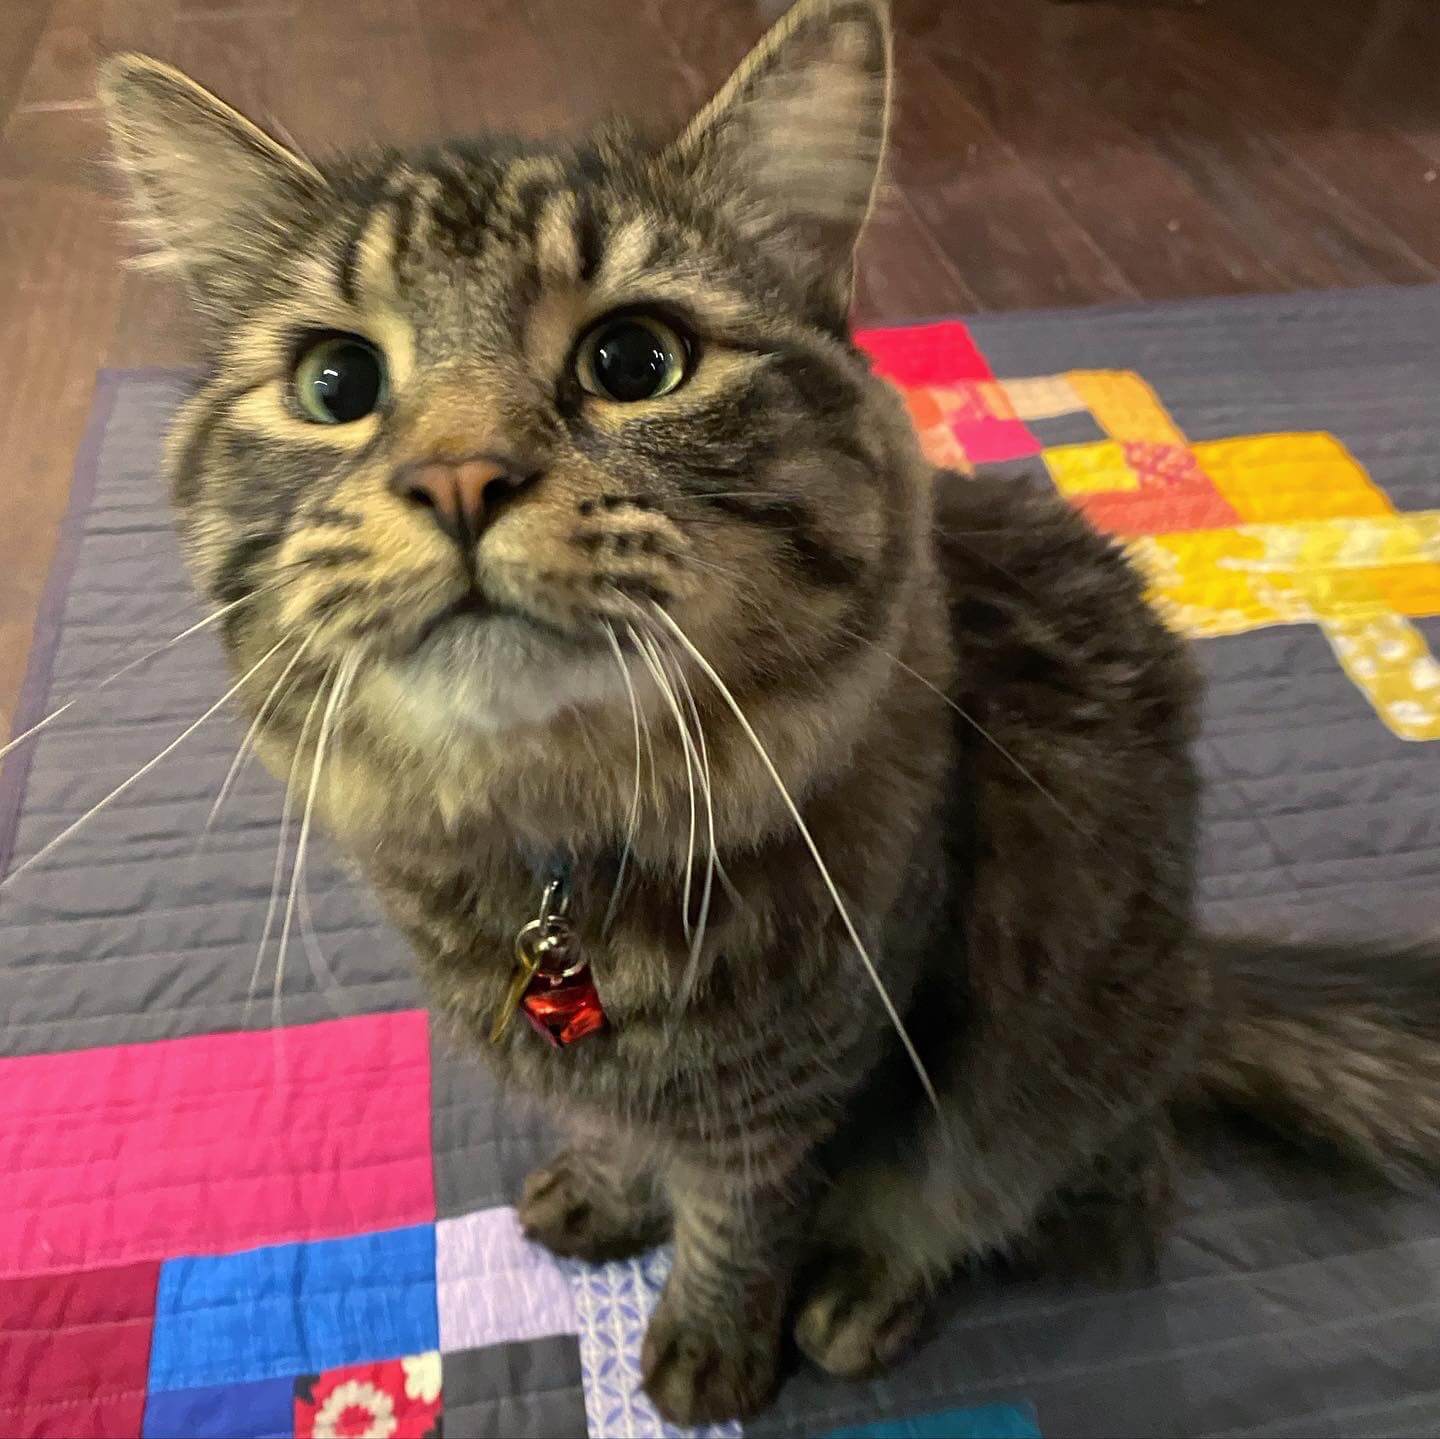
It was nice to finally see it done and Phin gave his kitty seal of approval!

Happy quilting! ~L

June UFO Challenge

Does everyone else feel like they’re playing one very long game of catch-up, or is that just me?! The Corona-craziness starting in March and April coupled with a massive arthritis flare-up in May and June have done a good job of keeping me always just slightly behind schedule on my UFO challenge. Add my lack of keeping up this blog, and I’m realizing that unless you are an instagram follower, you would think I’ve given up this challenge completely!

Well, I definitely have not given up! And in the next couple of days, I will be posting about the last couple of months of the challenge and where I’m at.

#11 was the project picked for June. Here is what I had to say in January about this project:

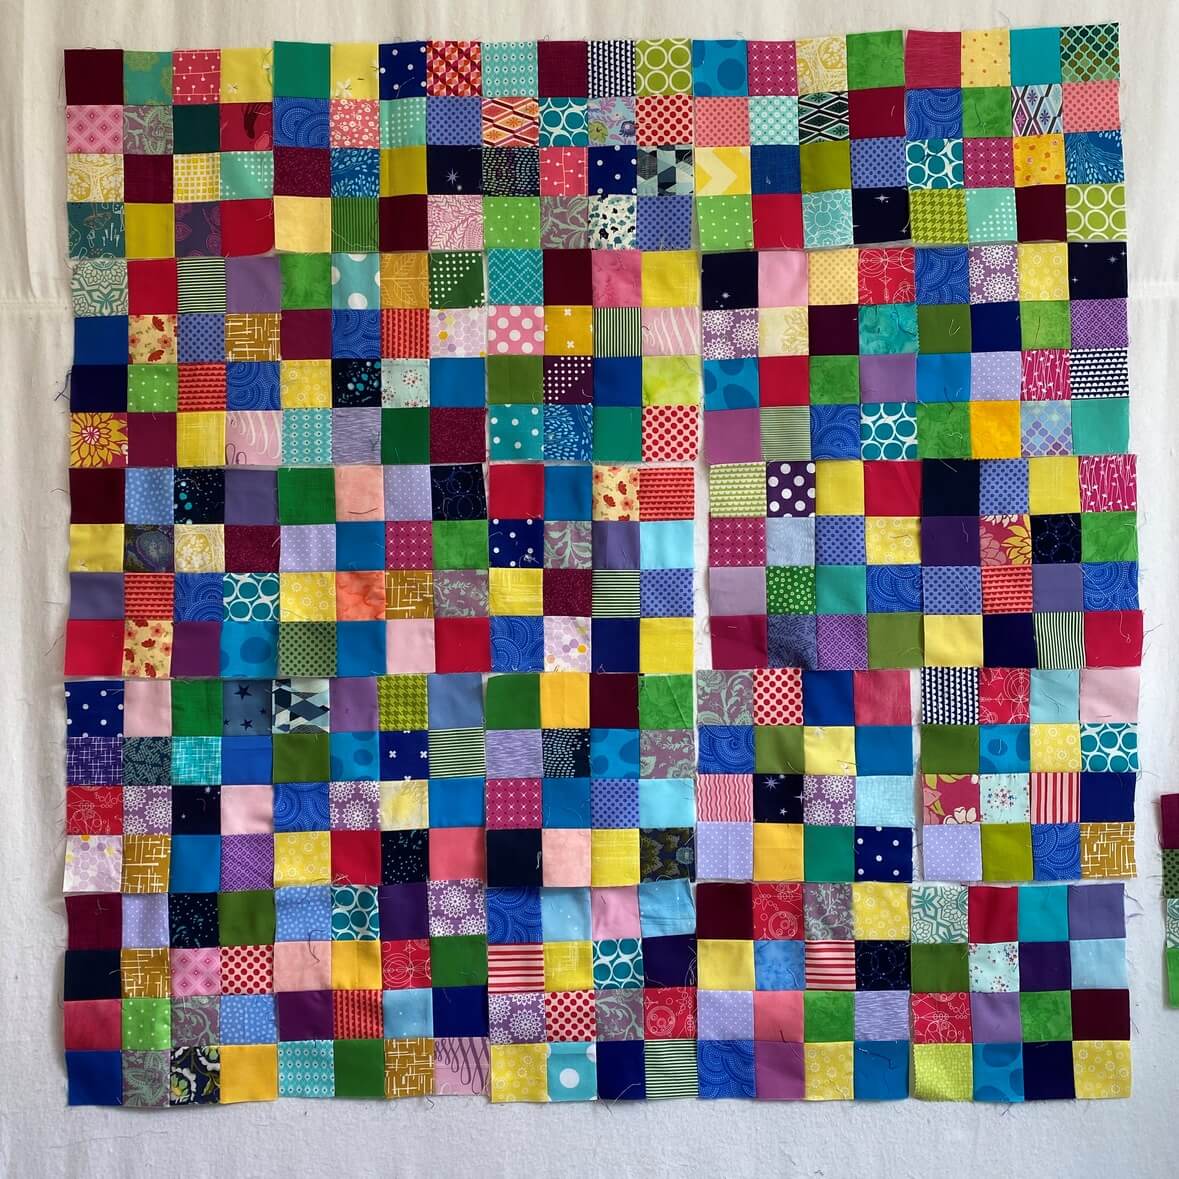
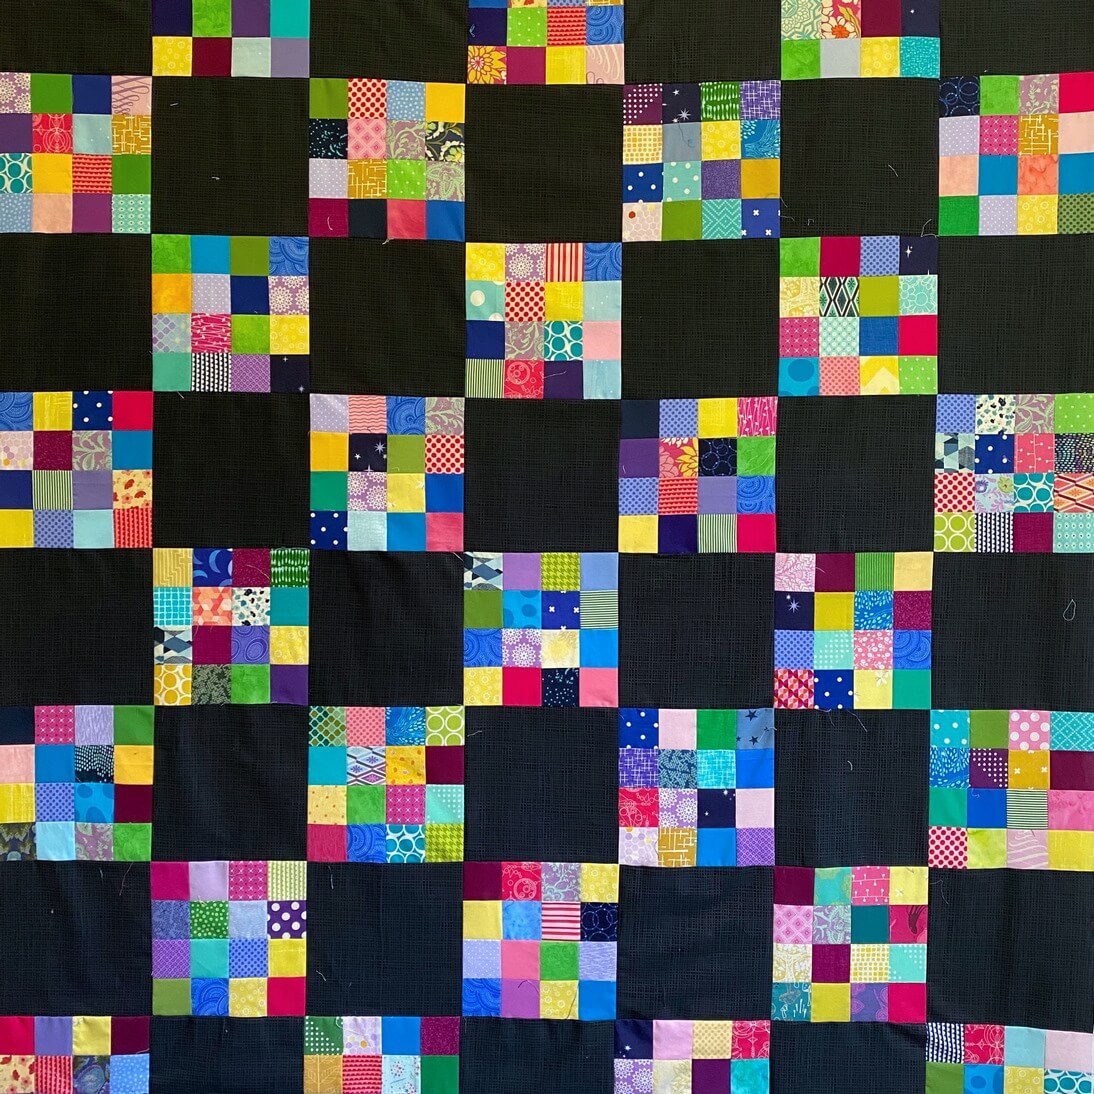
11- 16-patch scrappy quilt: I have several 16-patch scrappy blocks that I’ve made over the years and would like to make some more and assemble a quilt. Not sure what size I’ll end up with, but it’ll probably depend on how busy that month is!

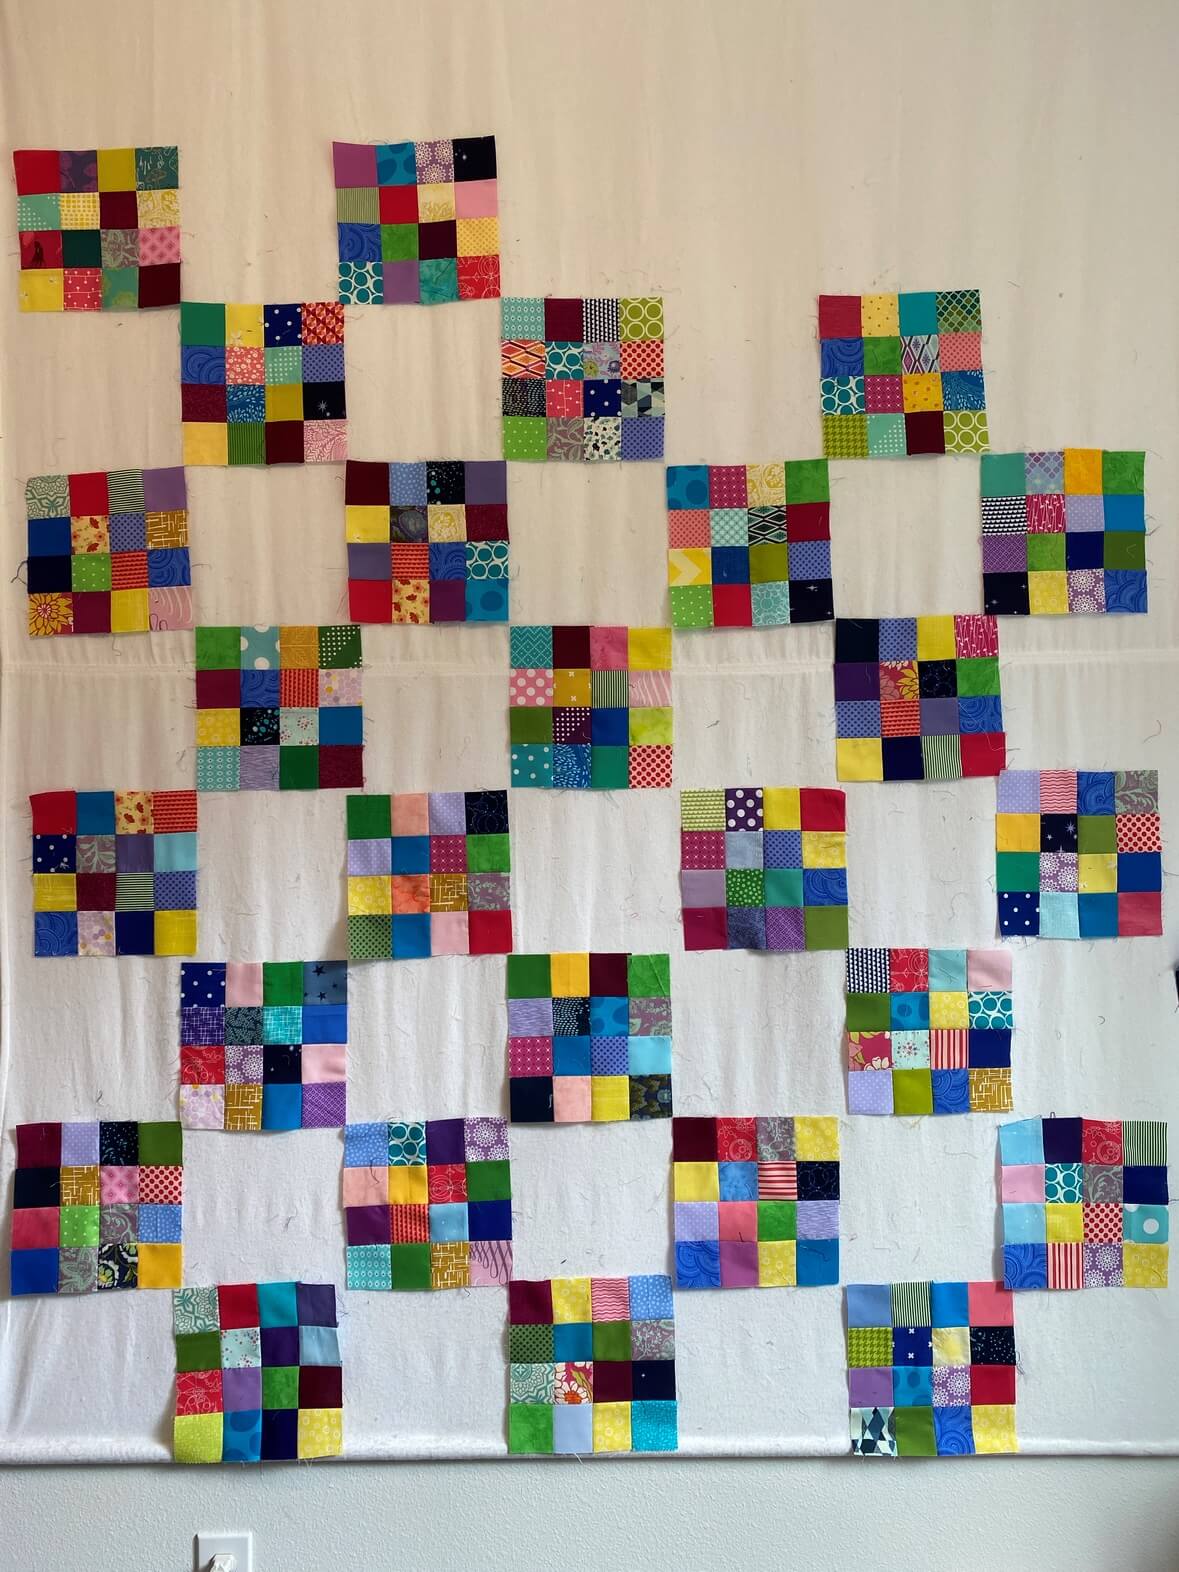
I didn’t really have much of a plan for these blocks or even an idea of how large the finished project would be. I decided on two options: I could simply assemble the blocks and make a very busy baby quilt with zero negative space, or I could assemble them on a grid with a ‘background’ color for some space to rest the eyes.

Well, in spite of being behind schedule, I decided I much preferred the idea of the larger quilt. And since my eldest son helped me make that decision and he was just about to leave for a picnic with his girlfriend, I figured it should be a picnic quilt for her.

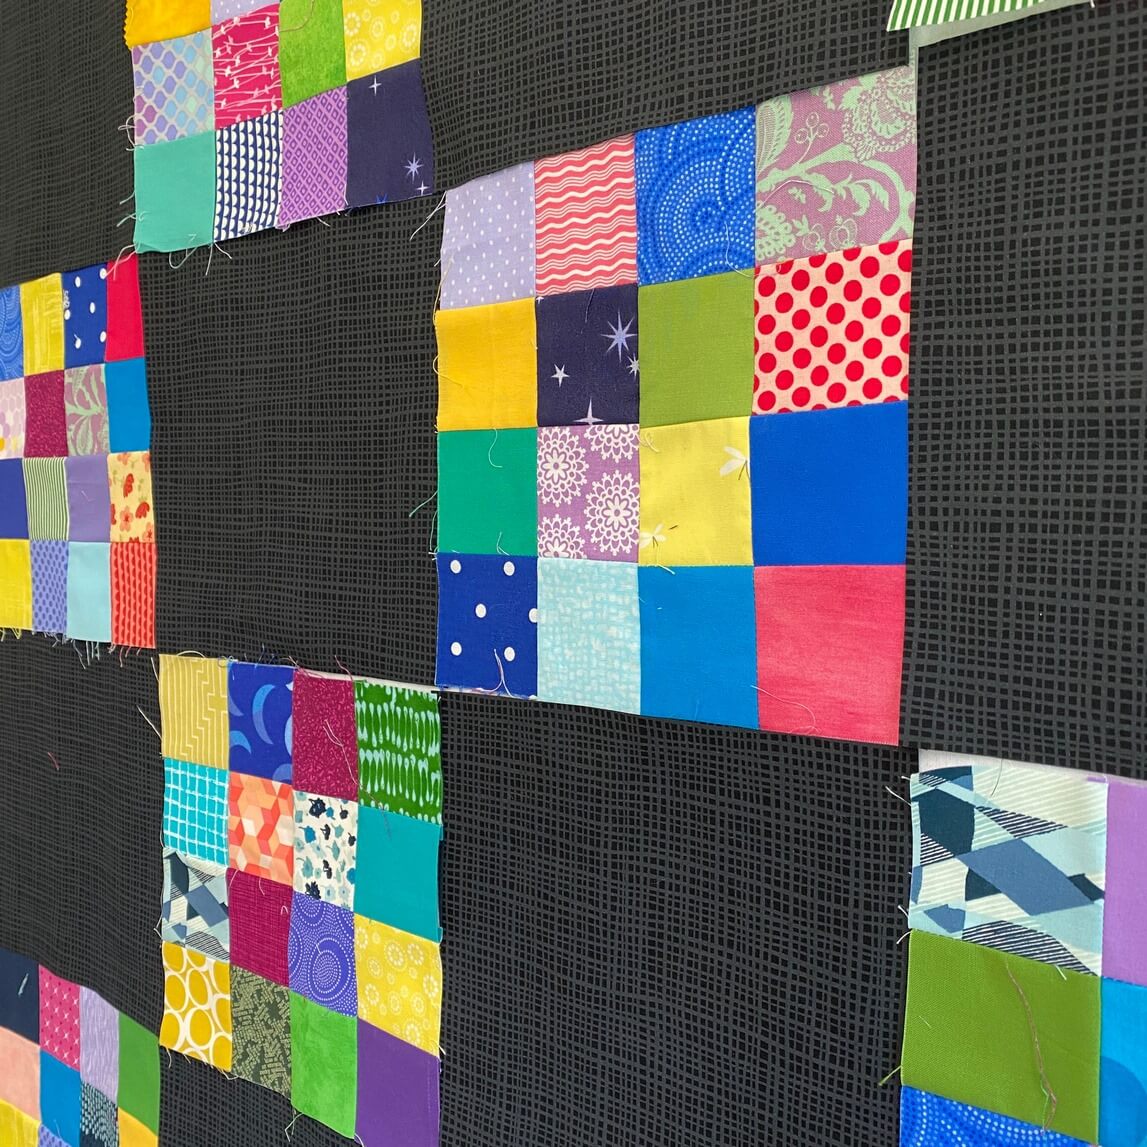
We decided on a dark grey or black solid background, but as many of you probably know, it’s kinda of tough to find neutral solids right now. As I shopped online, I did find this black and grey blender that I thought would work well. It was a little scary buying that much fabric without seeing and touching it first! But when it arrived, it was as beautiful as I had hoped. I ordered extra, so there was enough to add a 3″ border and even some to save for my son’s next quilt (which, unbeknownst to me, would be my July UFO project!)

Leah’s Picnic Quilt is now in my pile of finished tops awaiting the perfect backing and quilting plan. I like the idea of an all-over swirl design in a bright color. The finished top is 62 x 70.

Tomorrow I’ll share with you about my July UFO project: Isaac’s Downstream quilt.

Happy Sewing! ~L

May UFO Challenge

How can time simultaneously seem to be dragging and flying by? How is it possible that 2020 is half over? And will I ever catch up on my UFO challenge?

My arthritis was really flaring up in May/June, so I reduced my sewing time quite a bit and got WAAAAYYYYY behind on my sewing projects.

My May UFO challenge project was one that had been sitting around my studio for much too long. In fact, when I got it out and up on my design wall, my daughter reminded me that we worked on it together at our old house. That means this project has been sitting in limbo for almost THREE YEARS. Not the oldest of my UFO projects, but this one did sit untouched the longest. Time to get it done!

Here is what I had to say in January about this project:

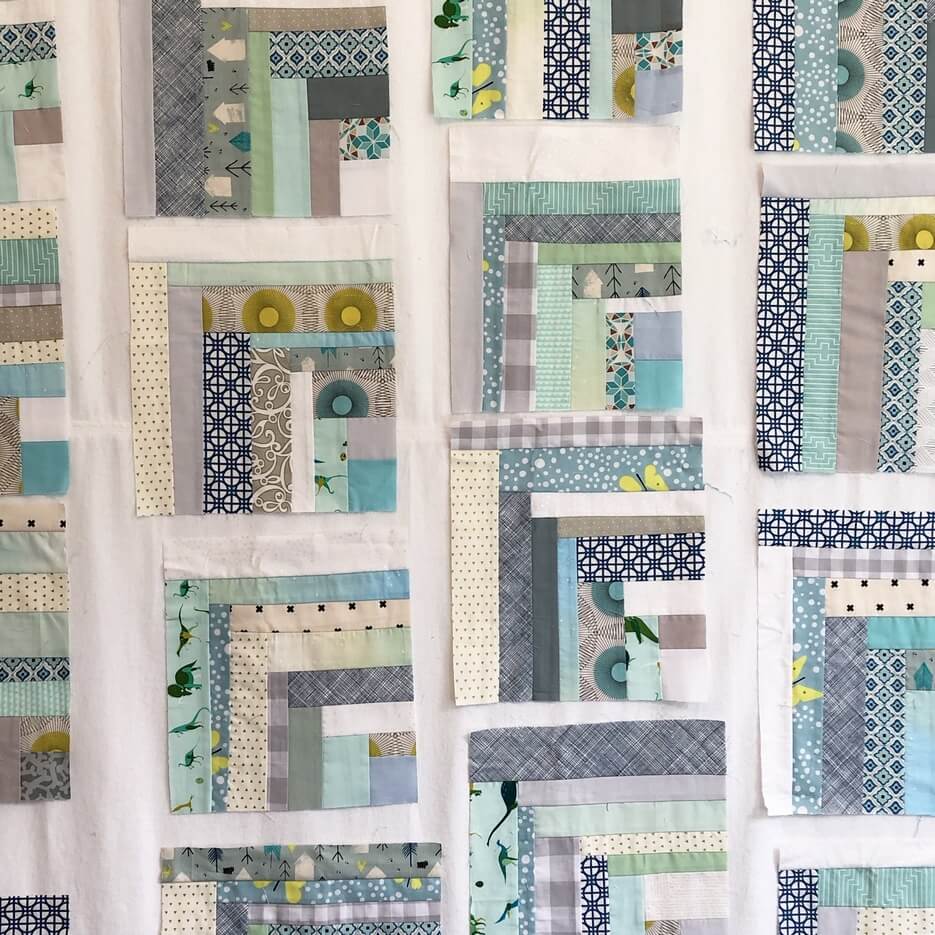
“12- Low-Volume Blue log cabin- This is a charity quilt that has been lingering for much too long. The blocks are mostly done and it just needs to get finished and get out into the world. I would like to have it completely finished by the end of its month.”

Because I hadn’t touched it in so long, I had to look at what I had in the project bag and make a guess at the layout I had planned. There were 20 unfinished blocks; some of them measured up to 12.5″ on one side. Knowing that, and remembering the charity quilt size requirements for my guild at the time, my assumption was that I was making 12.5″ blocks in a 4 x 5 layout. This would make a 50″ x 62.5″ quilt top.

I had some remaining fabric set aside to finish this, but I also wanted to add some newer things from my stash for variety.

After finishing the top, it sat for a while longer before I started quilting it. I decided on Aurifil 2890. It was in my stash and coordinated great with the Kona Basil I had used for the majority of the backing and for the binding. My husband really like the density of the quilting on this, so I think our next bed quilt will be similar. It looks full, but there are plenty of open spaces where the quilt can pouf up and move around.

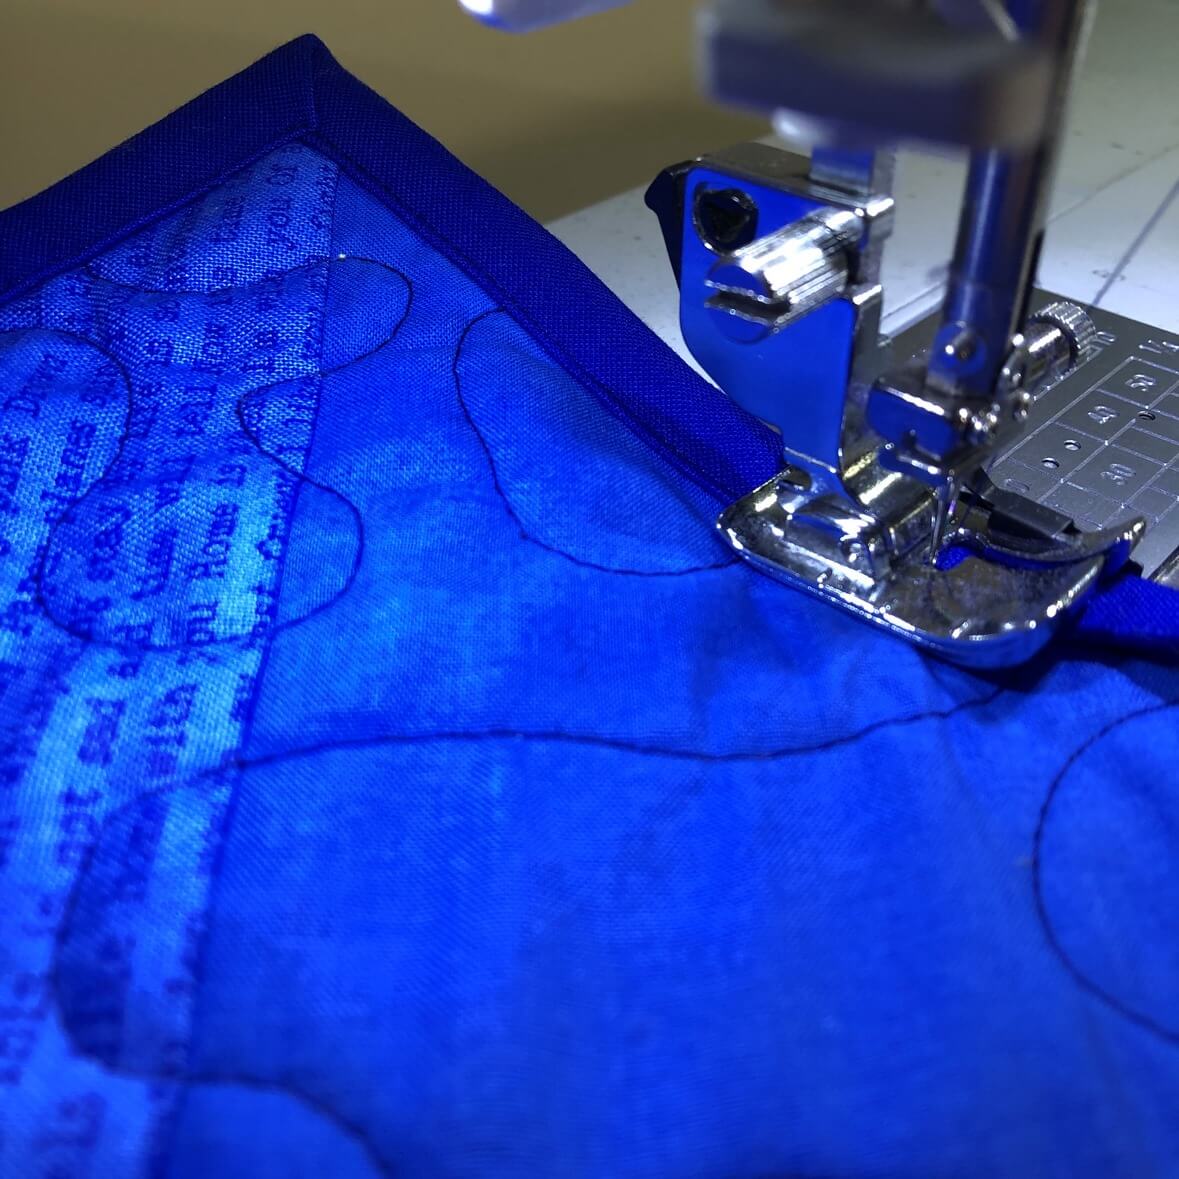
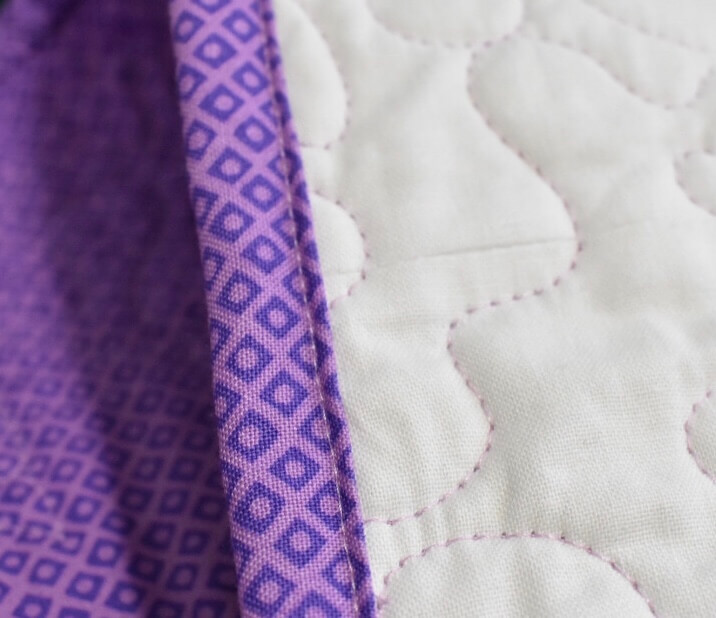
I’ve been doing a lot of machine binding this year. Hand sewing has gotten harder, and I feel like machine binding gives a really strong finish. This is especially important for baby/toddler quilts that get a lot of washings!

Happy Sewing! ~Lorinda

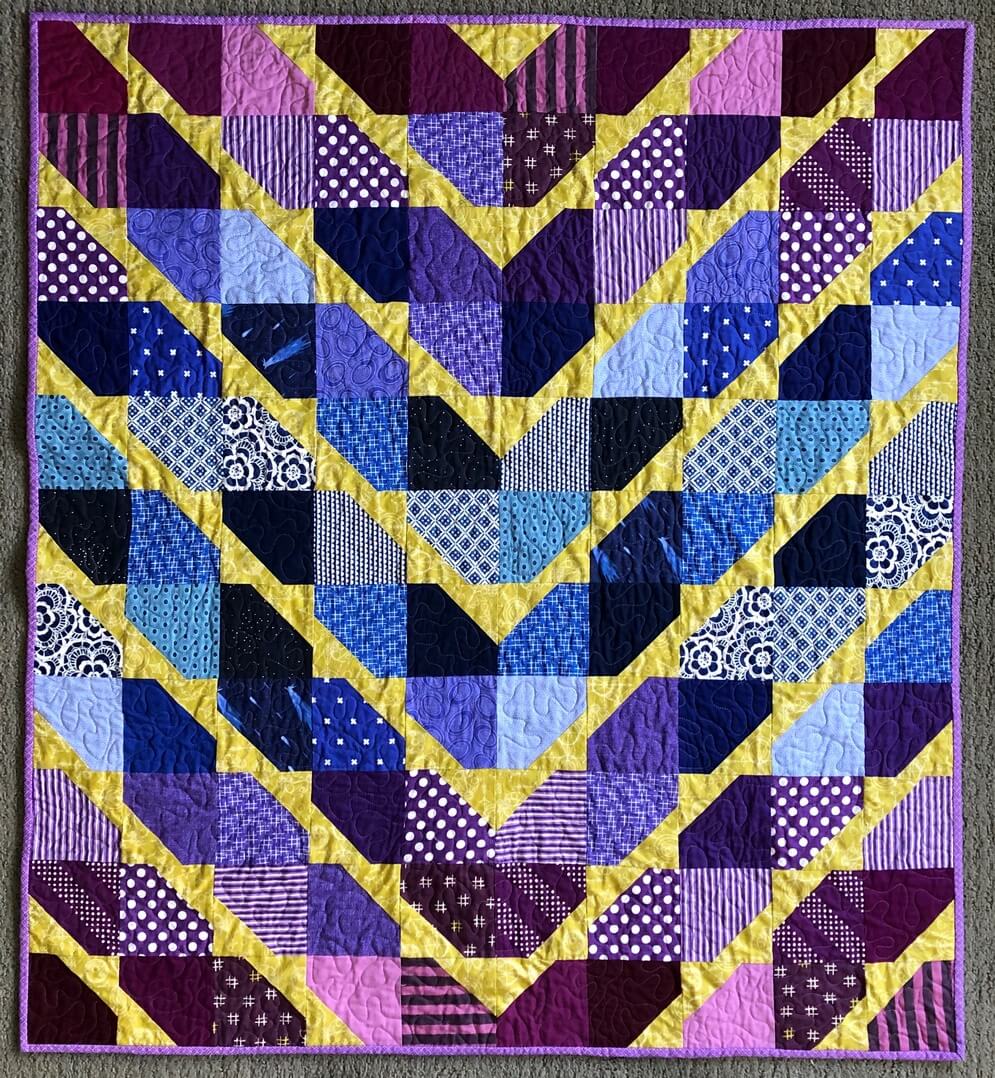
Finished Quilt: Blue and Purple Hidden Wells

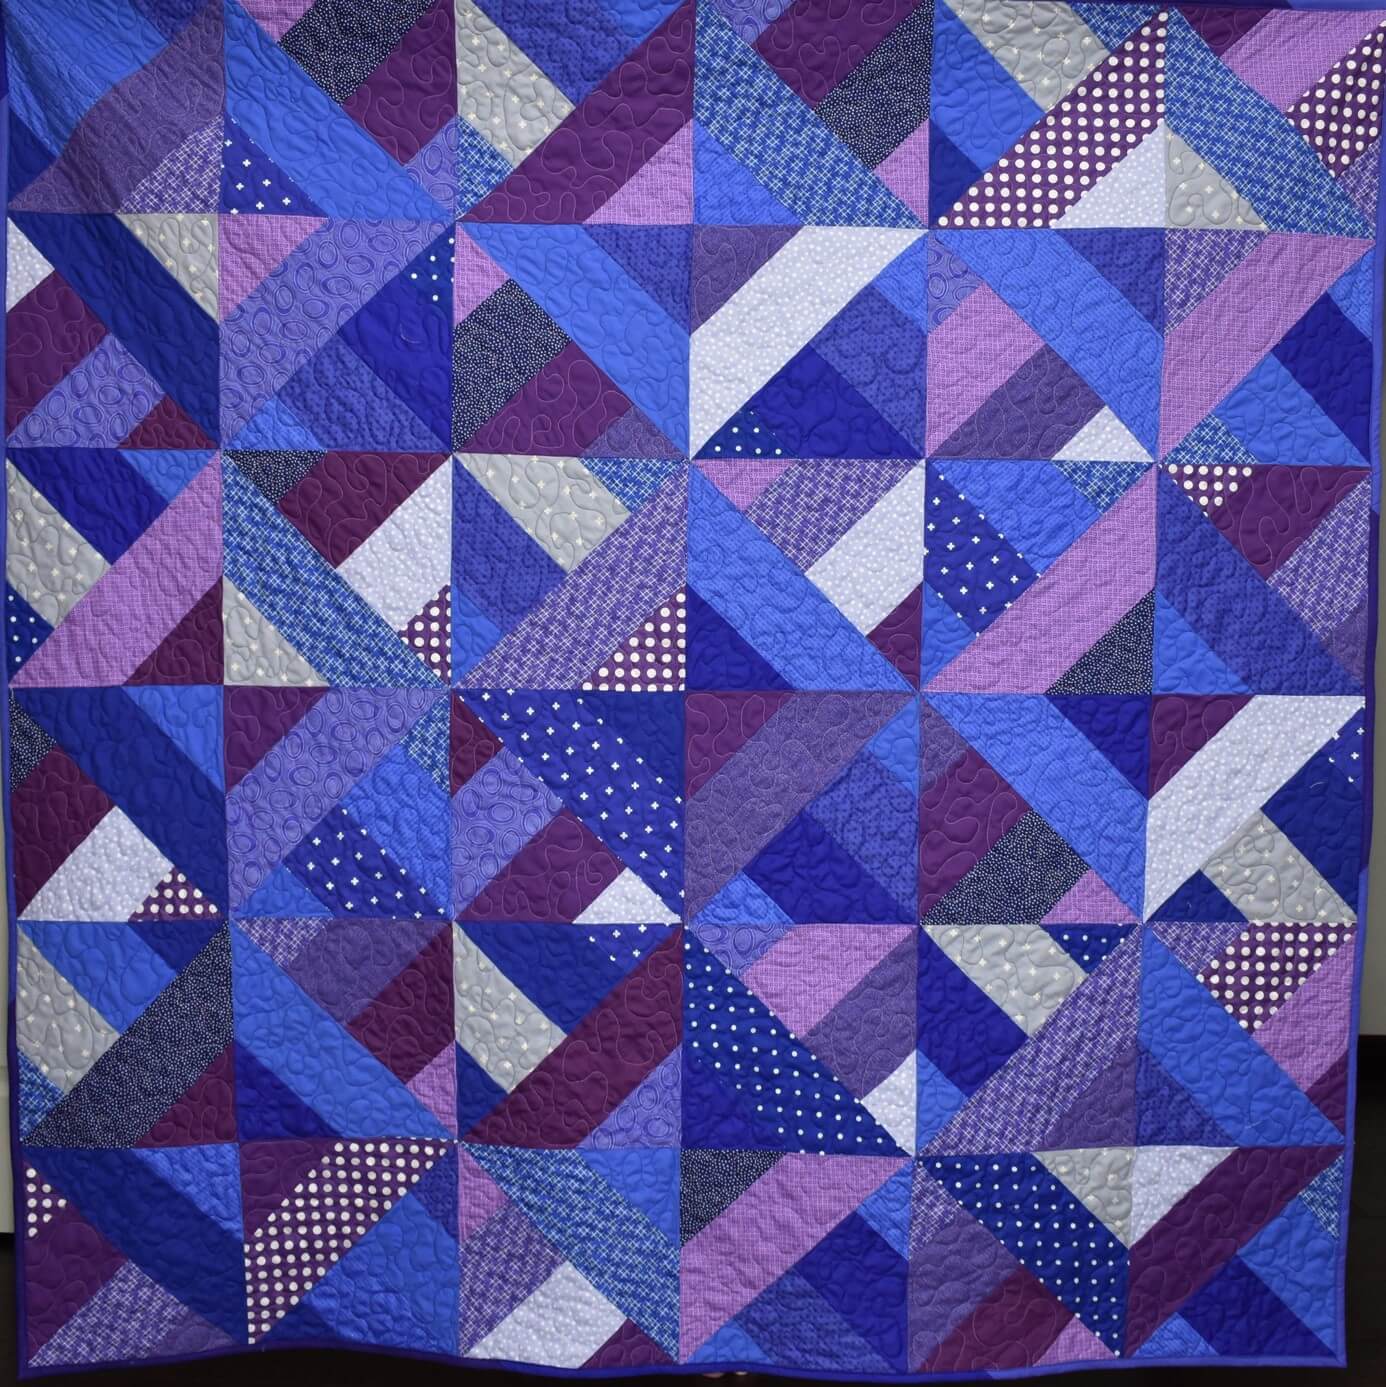
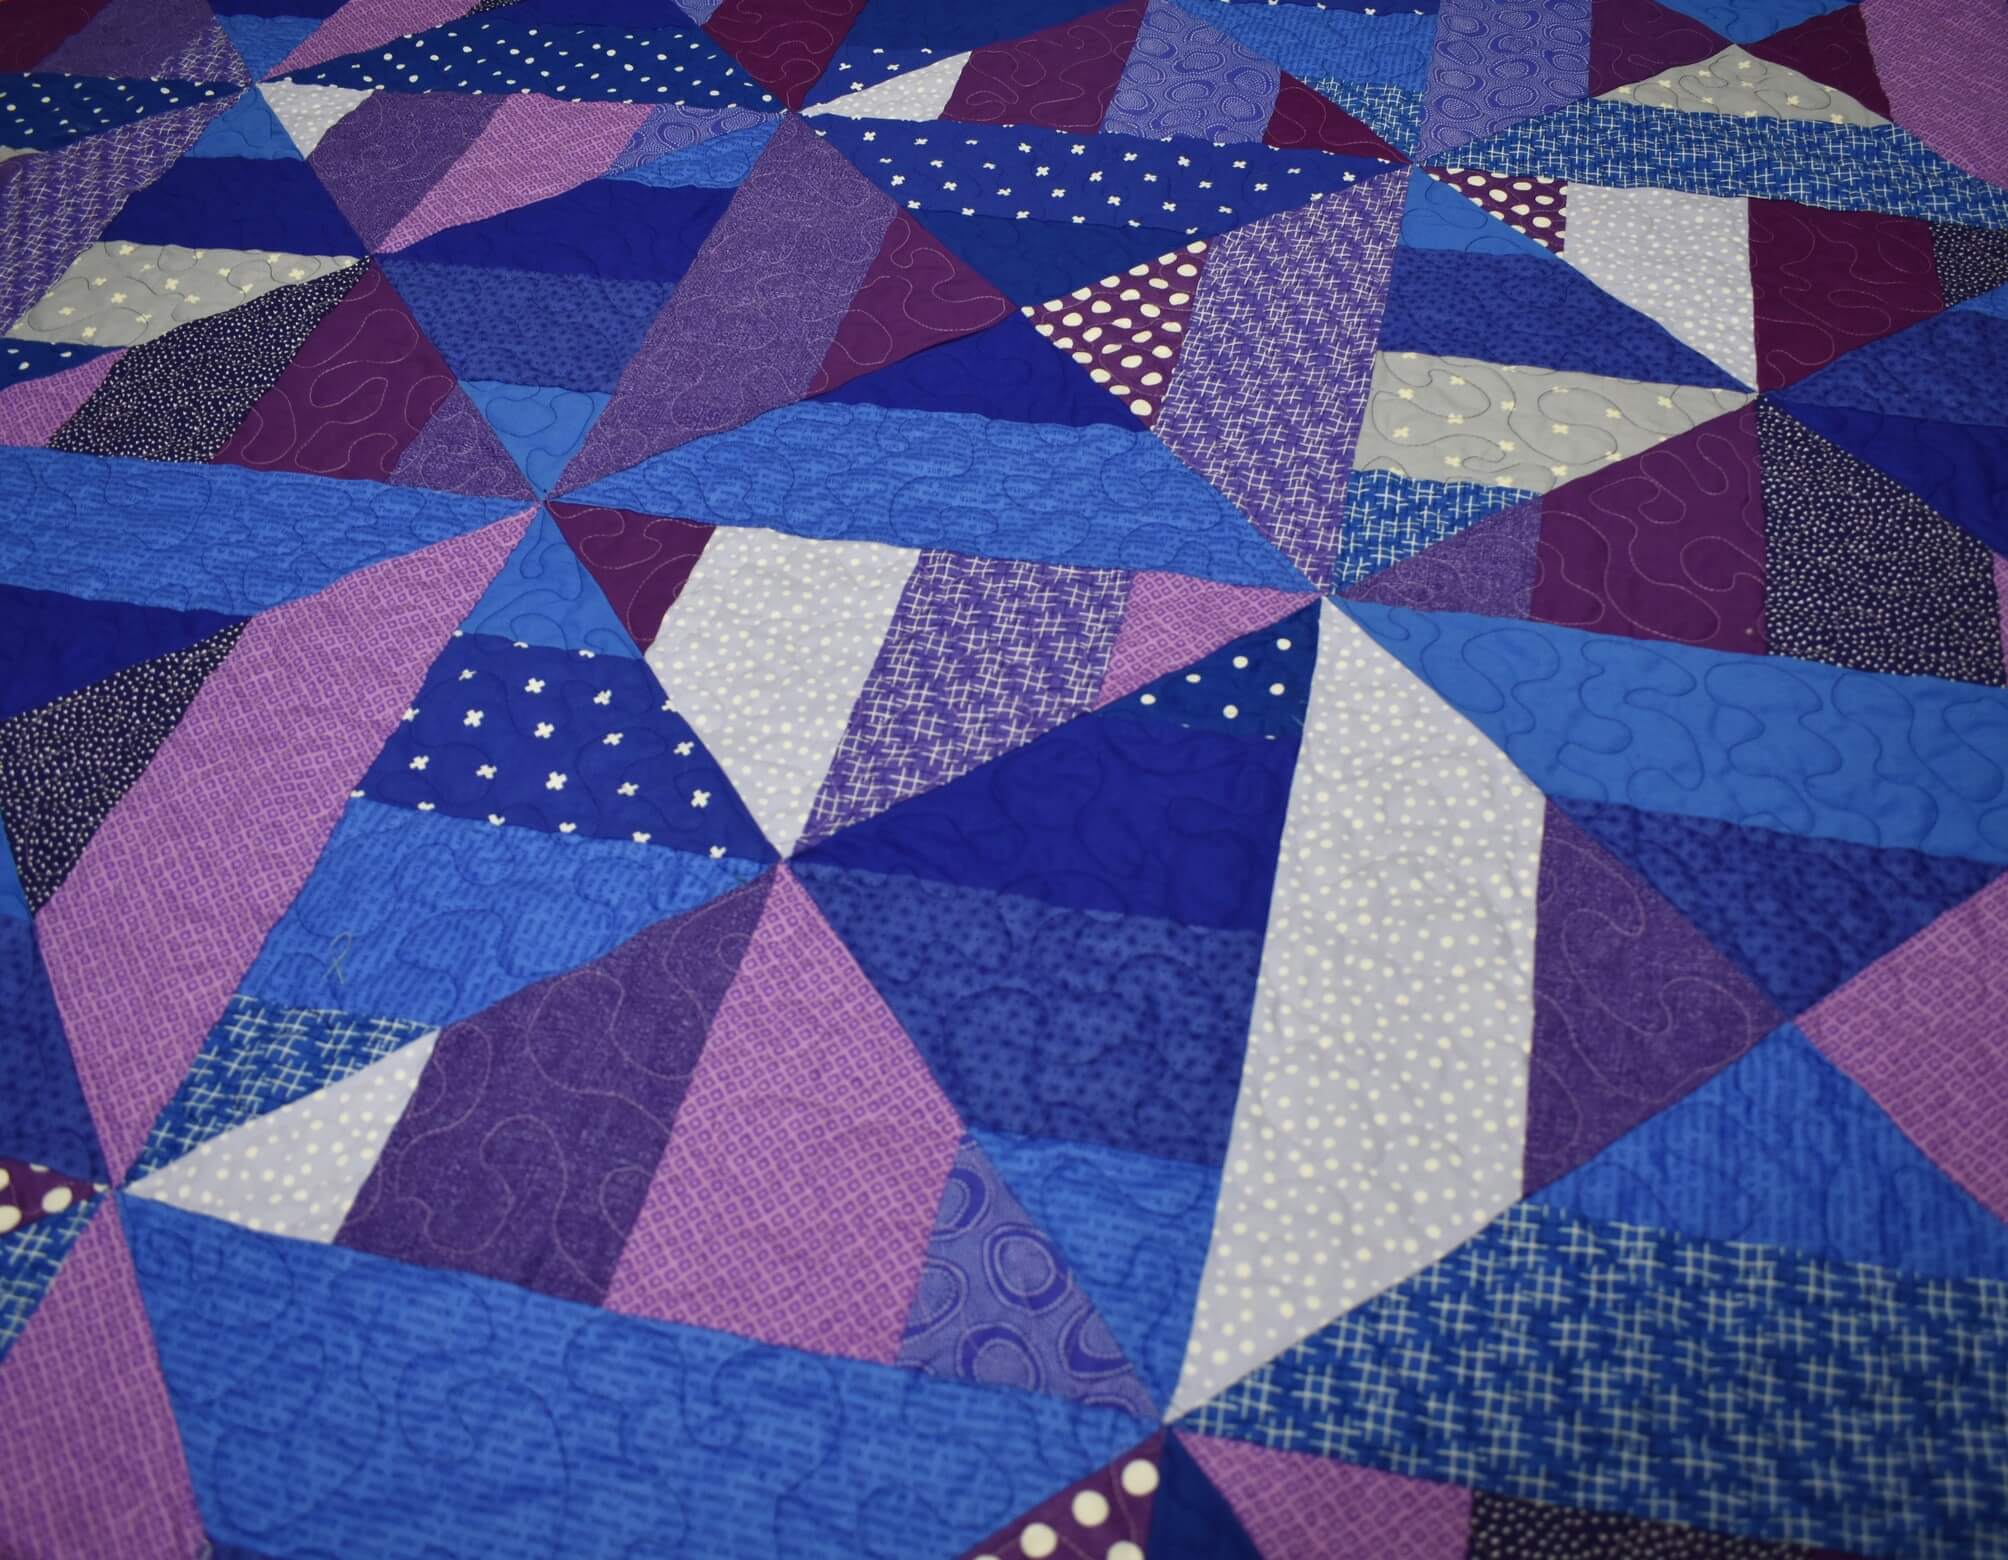
The second quilt I have to show you this week is this my Purple and Blue Hidden Wells quilt.

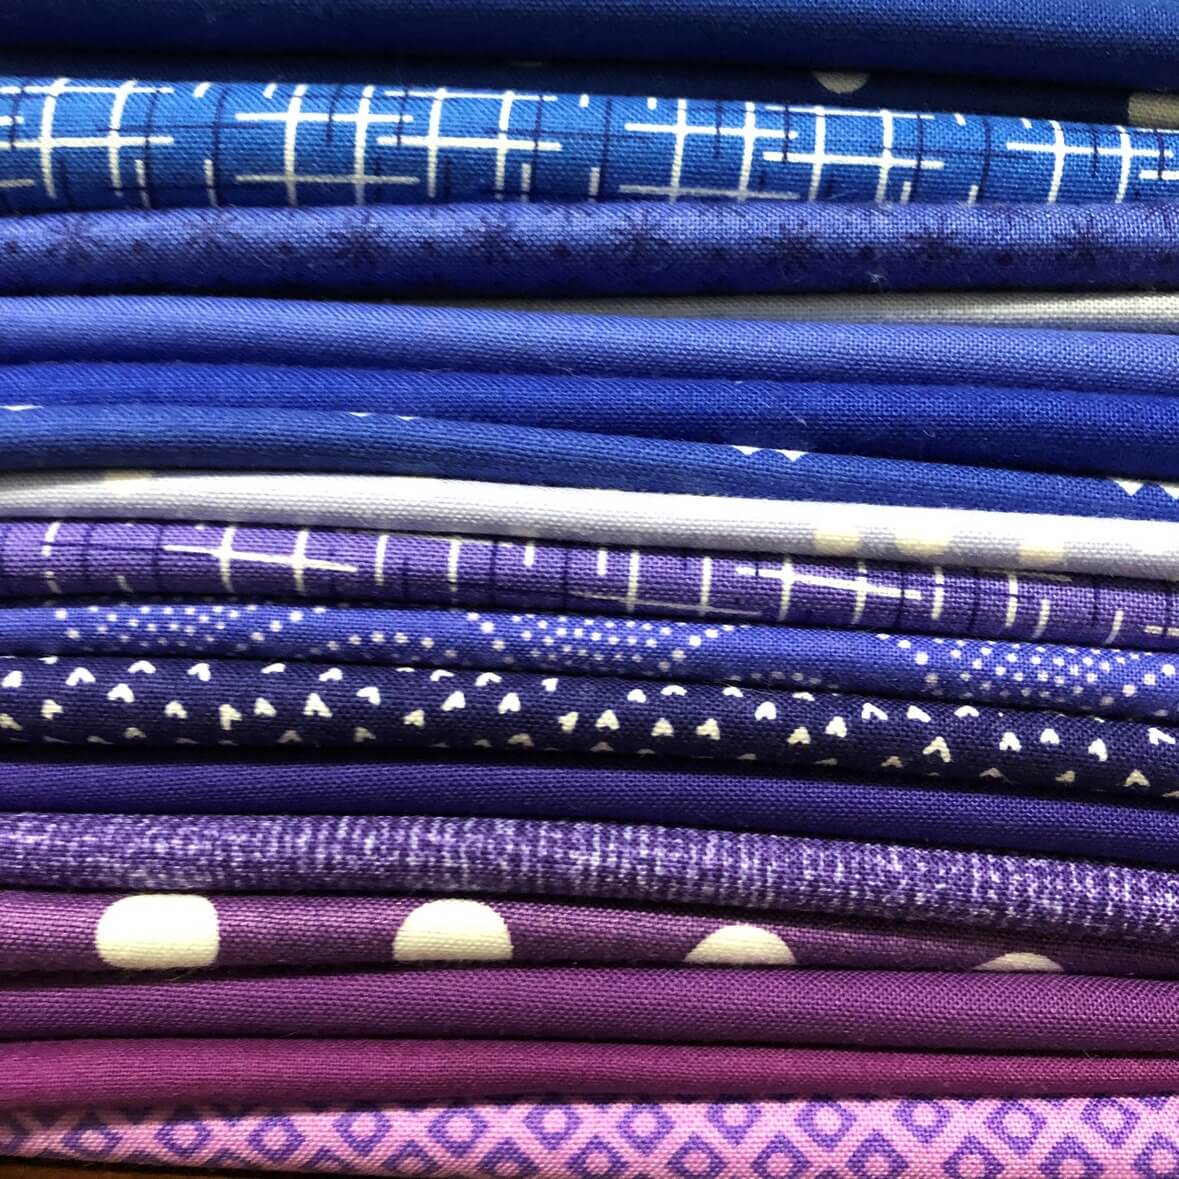
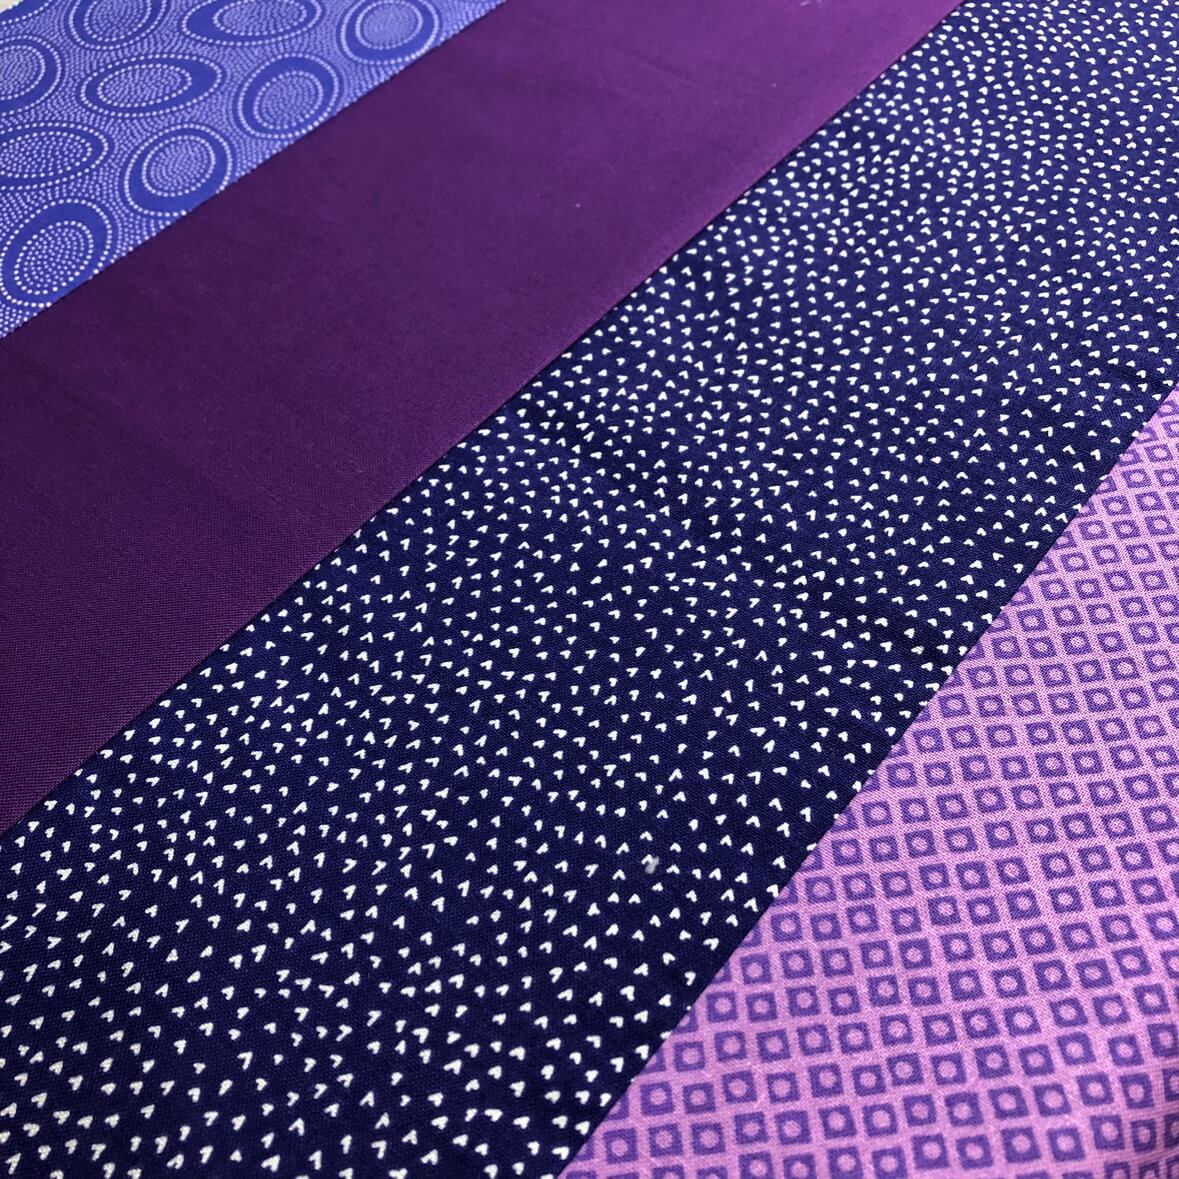
I wanted a simple and easy block with big pieces for two reasons: First, Christmas was fast approaching and I needed to get it done quickly! Second, I wanted all those amazing fabric patterns to really show. The Hidden Wells block was a great solution. It looks more complicated than it is and I could easily adapt the blocks I was seeing online to make some large quilt blocks.

I had to show my hand a bit to my recipient by asking what their favorite colors were. It is was for my nephew and his new wife and I honestly had no idea what their style is! He told me blue and purple so I went to work pulling fabrics from my stash.


It was then that inspiration hit. I remembered that my Arrowhead baby quilt was still waiting for a recipient. It’s blue and purple with chartruse. Oh, and did I mention my nephew’s wife is expecting?! Serendipity! I decided to coordinate the Hidden Wells and Arrowhead quilts and send them both to this sweet little family for Christmas.


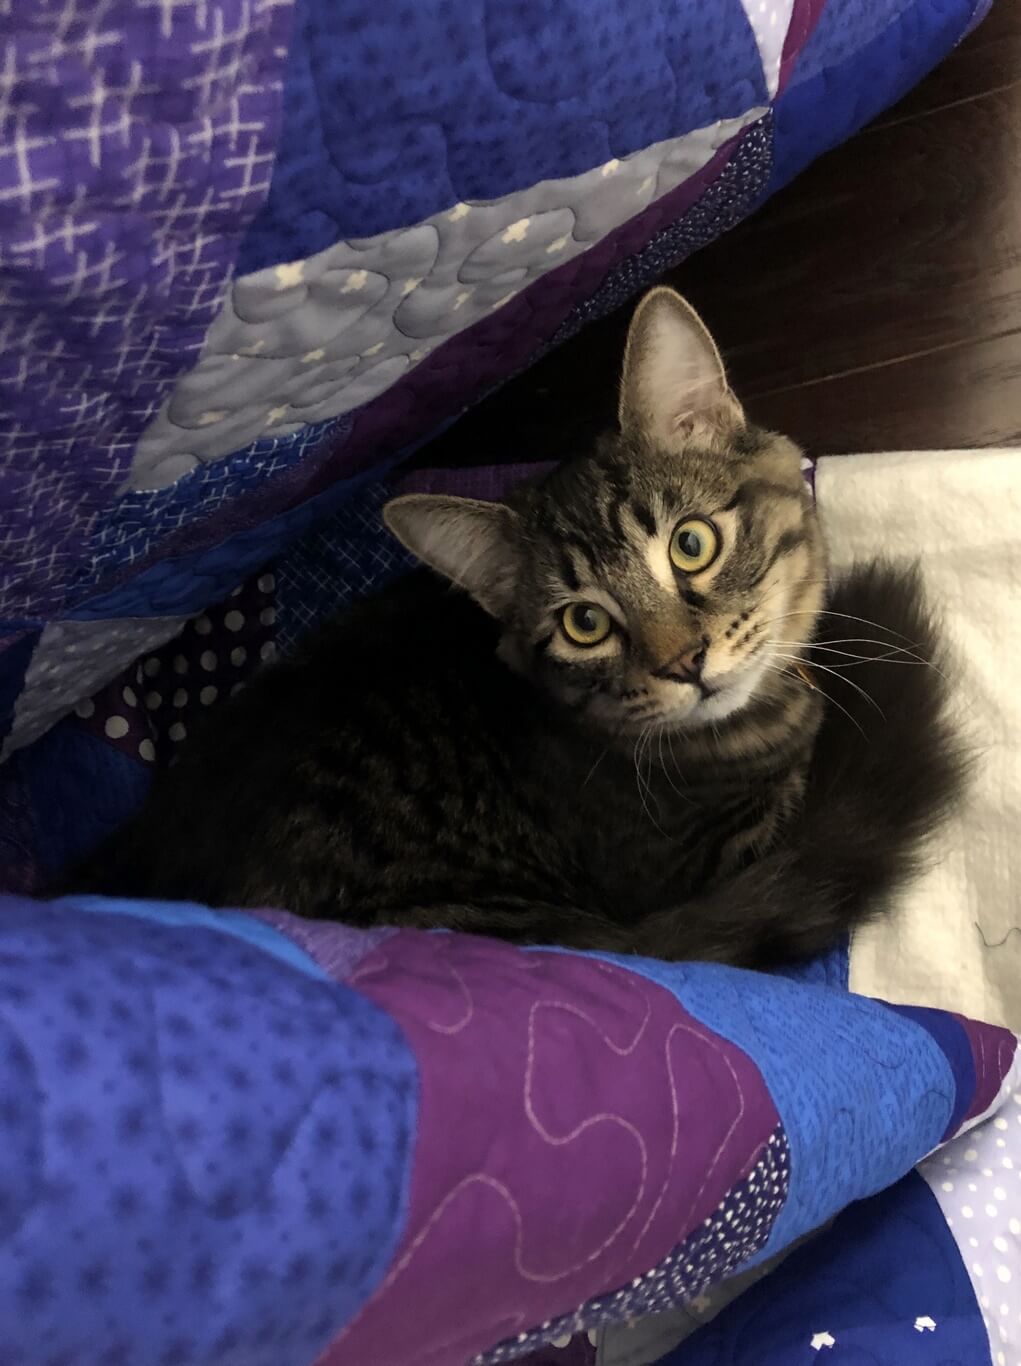
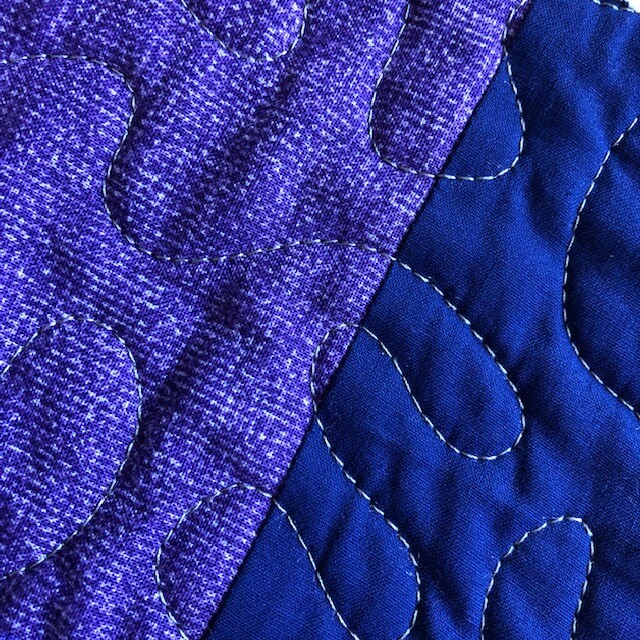
The long arm schedule at my LQS was completely full in December, so for this quilt I went back to free motion quilting on my domestic machine. Oh boy! I didn’t realize how spoiled I had gotten with using the long arm. I did an easy stipple design- navy in the blue sections and lavender in the purple ones. The quilting looks amazing from the back (although I didn’t get any good photos before I sent it off…. you’ll have to trust me!) Phineas the cat decided to help me by sitting on the quilt as I was working. This is becoming a bad habit for him!

The quilt is bound in solids that also appear in the quilt top.

 I was really happy with how beautiful this one turned out. It was quick to make, but with these gorgeous fabrics, the visual impact was so great!

I have one more finish to share with you next week before moving on to showing you what I have for 2020!

Happy sewing! ~L


Edit: I’ll be linking this project up to The Show Me Something Purple Linkup at Sarah Goer Quilts


Finished Quilt: The Quilter’s Planner 2019 BOM Pyramid

How in the world are we already halfway through the month of January?! The last month has been a whirlwind of activity with some big changes for me. Besides the usual holiday stuff, at the end of the year I left my job to more fully focus on teaching. It was a hard choice, but my passion truly is in guiding people to the joy of handmade, so this was a good move for me! I am developing some fun classes and now have time to bring on more one-on-one sewing students.

Now that Christmas gift-giving is done and I’ve finally settled into the new year and my new routine, I can share about some of my recent finishes and move onto talking about my 2020 projects. Over the next week or so, I will be showing off some of the things that I sent off as Christmas gifts. After that, I’ll share my ‘to-sew’ list for 2020. In short, you’re going to see a lot of posts from me in the next few weeks!

So, to get started, I’d like to share one of my quilts from The Quilter’s Planner 2019 BOM Sampler!

I started working for The Quilter’s Planner in early 2019 writing blog posts each month sharing tips and tricks for the 2019 Sampler blocks. Helping BOM participants work through their blocks each month has been so much fun. As I said before, teaching sewing is my passion… this was a perfect fit for me! And the bonus was that it kept me on track with finishing not one but TWO sampler quilt tops.

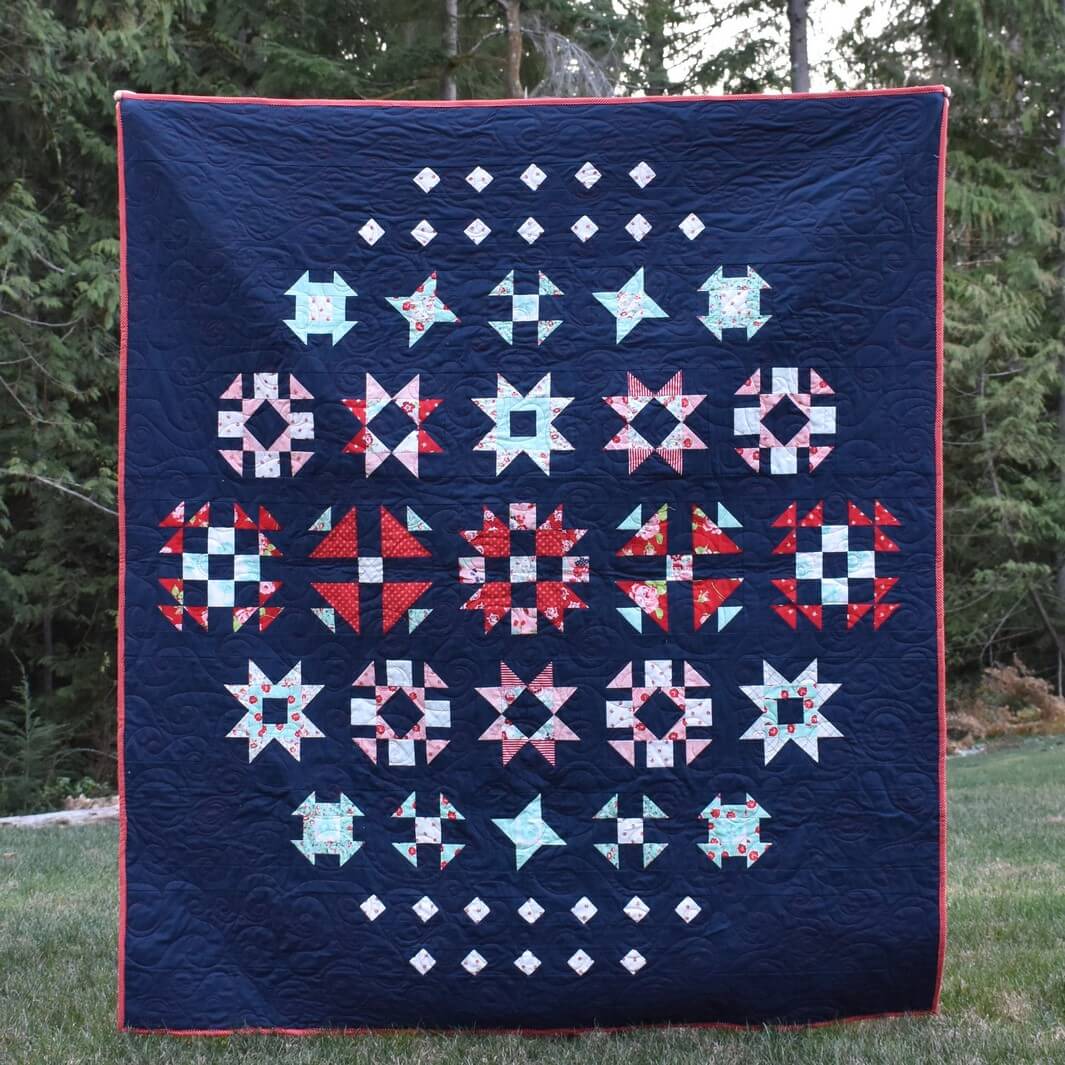
About halfway through the year, I decided that my pyramid layout quilt needed to go to my sister-in-law. The colors are perfect for her, and since she was planning to move across the entire country to Maine, she was going to need some love from home at Christmas!

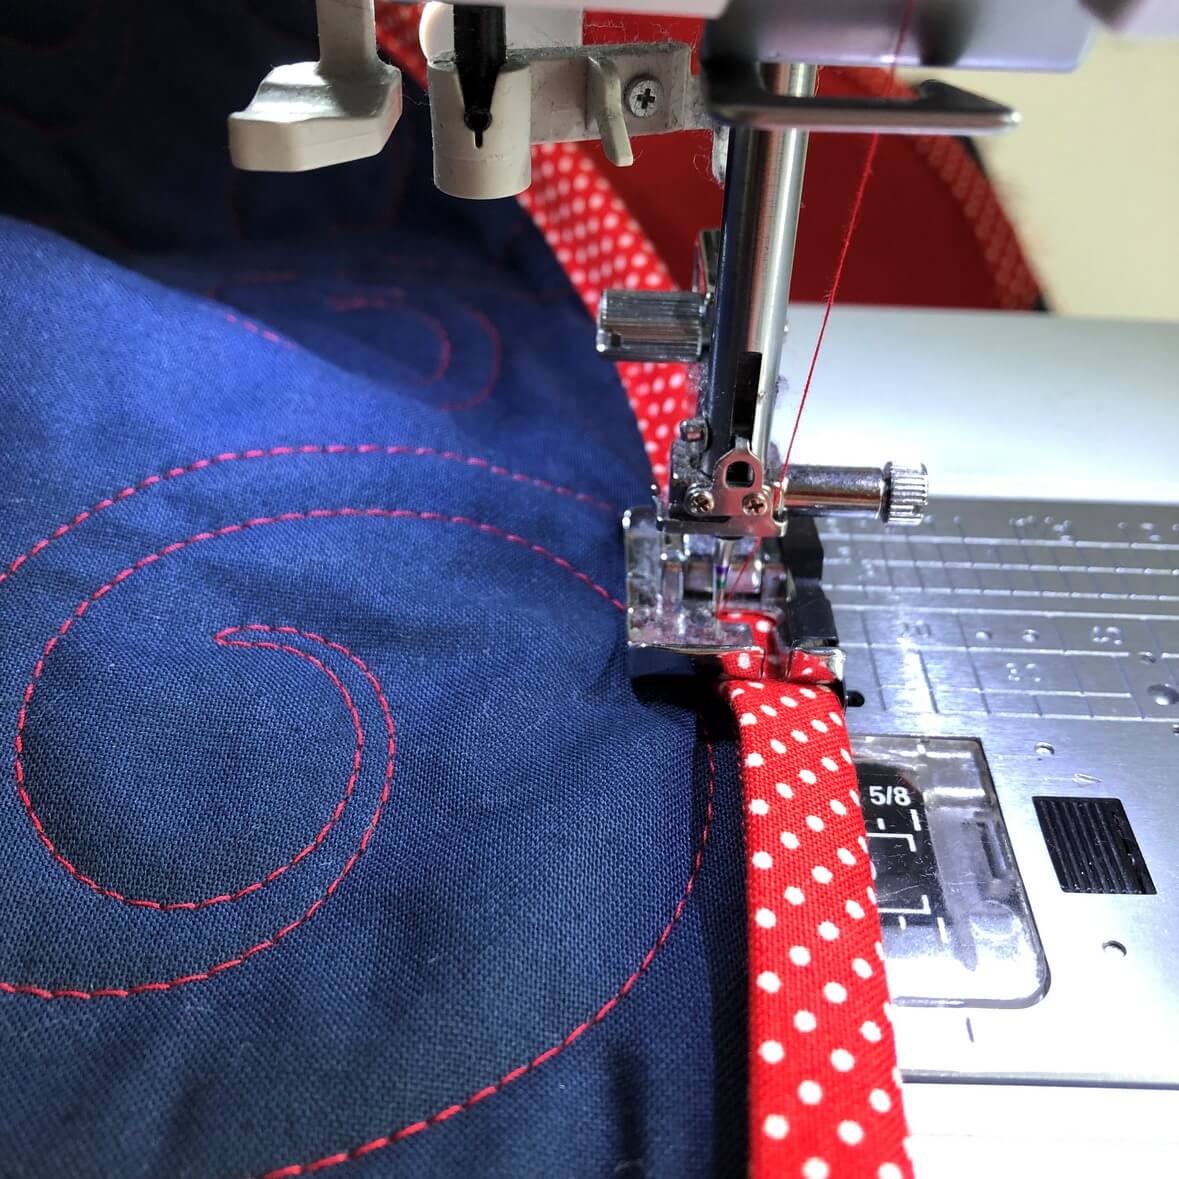
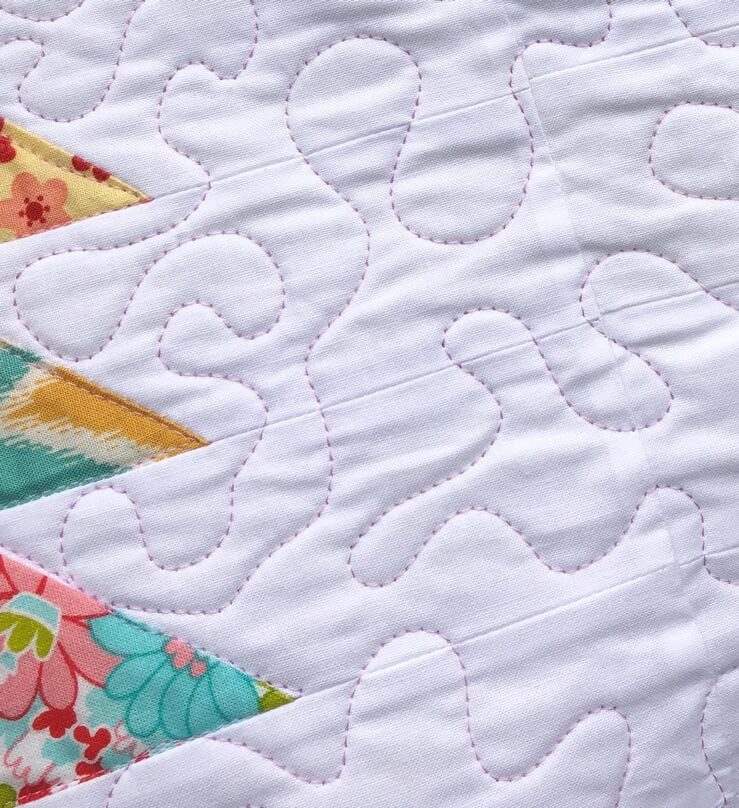
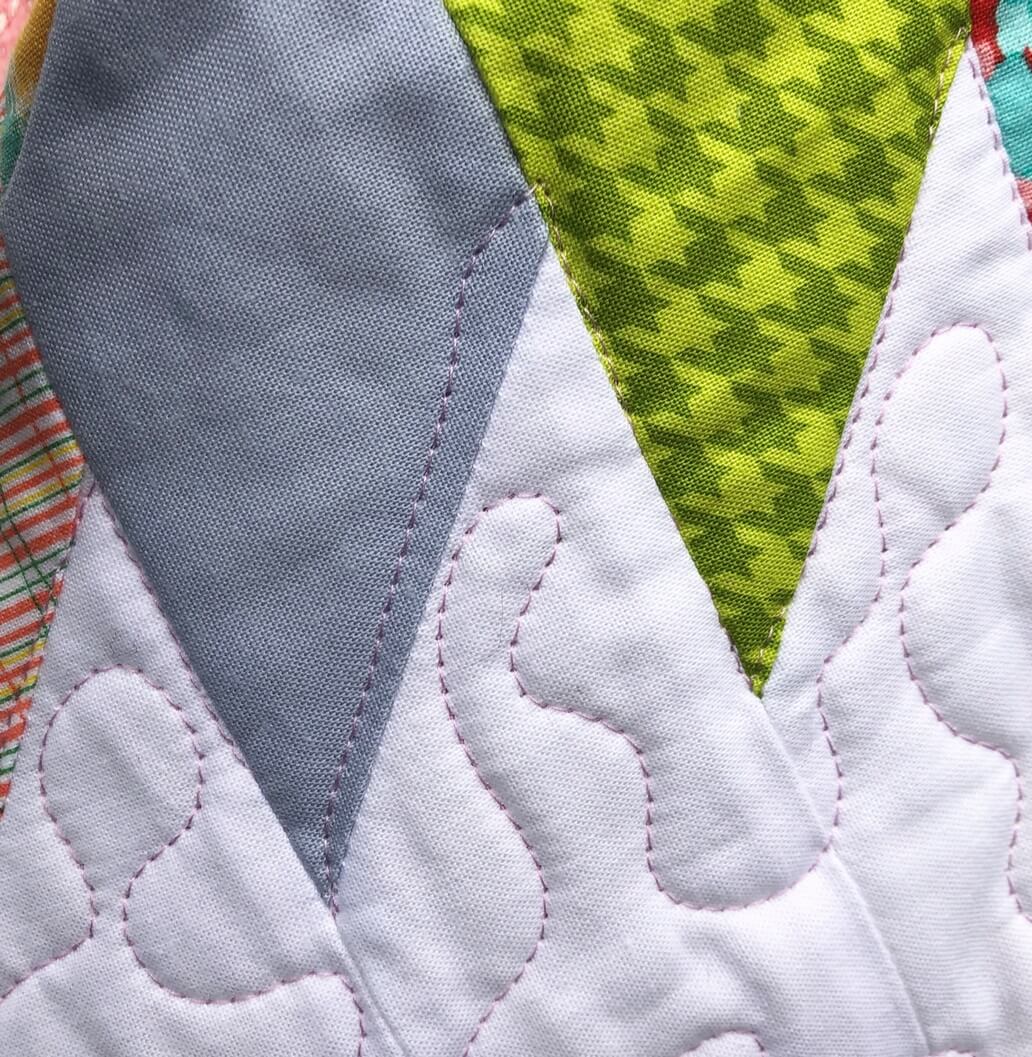
The fabric collection for the 2019 Sampler was Smitten by Bonnie and Camille. I backed it in Kona Poppy and quilted a free motion swirl design using Aurifil 2250. Right before it was time for me to quilt it, we got the new Bonnie and Camille collection (Early Bird) into the shop I worked at. There was a perfect little red and white polka dot in the collection that I chose for the binding. One thing I absolutely love about their fabric collections is how well they all work together!

Lately I’ve been working on perfecting my machine binding skills. There are a few reasons for that. First, I have arthritis. This is a new development (about a year), and honestly it really sucks. I was dealing with a lot of pain through fall and winter and hand binding was just not a good option. Second, I was pressed for time on several of my more recent quilts to get them out before Christmas. That being said, my machine bindings in the past have always looked pretty messy. So, I’ve learned to take my time and use my quarter inch foot to make a machine binding that looks really top notch! As a bonus- machine binding is very sturdy! I’ll still hand bind when I can, but for baby quilts and things that need finished quickly, this is my new go-to method!

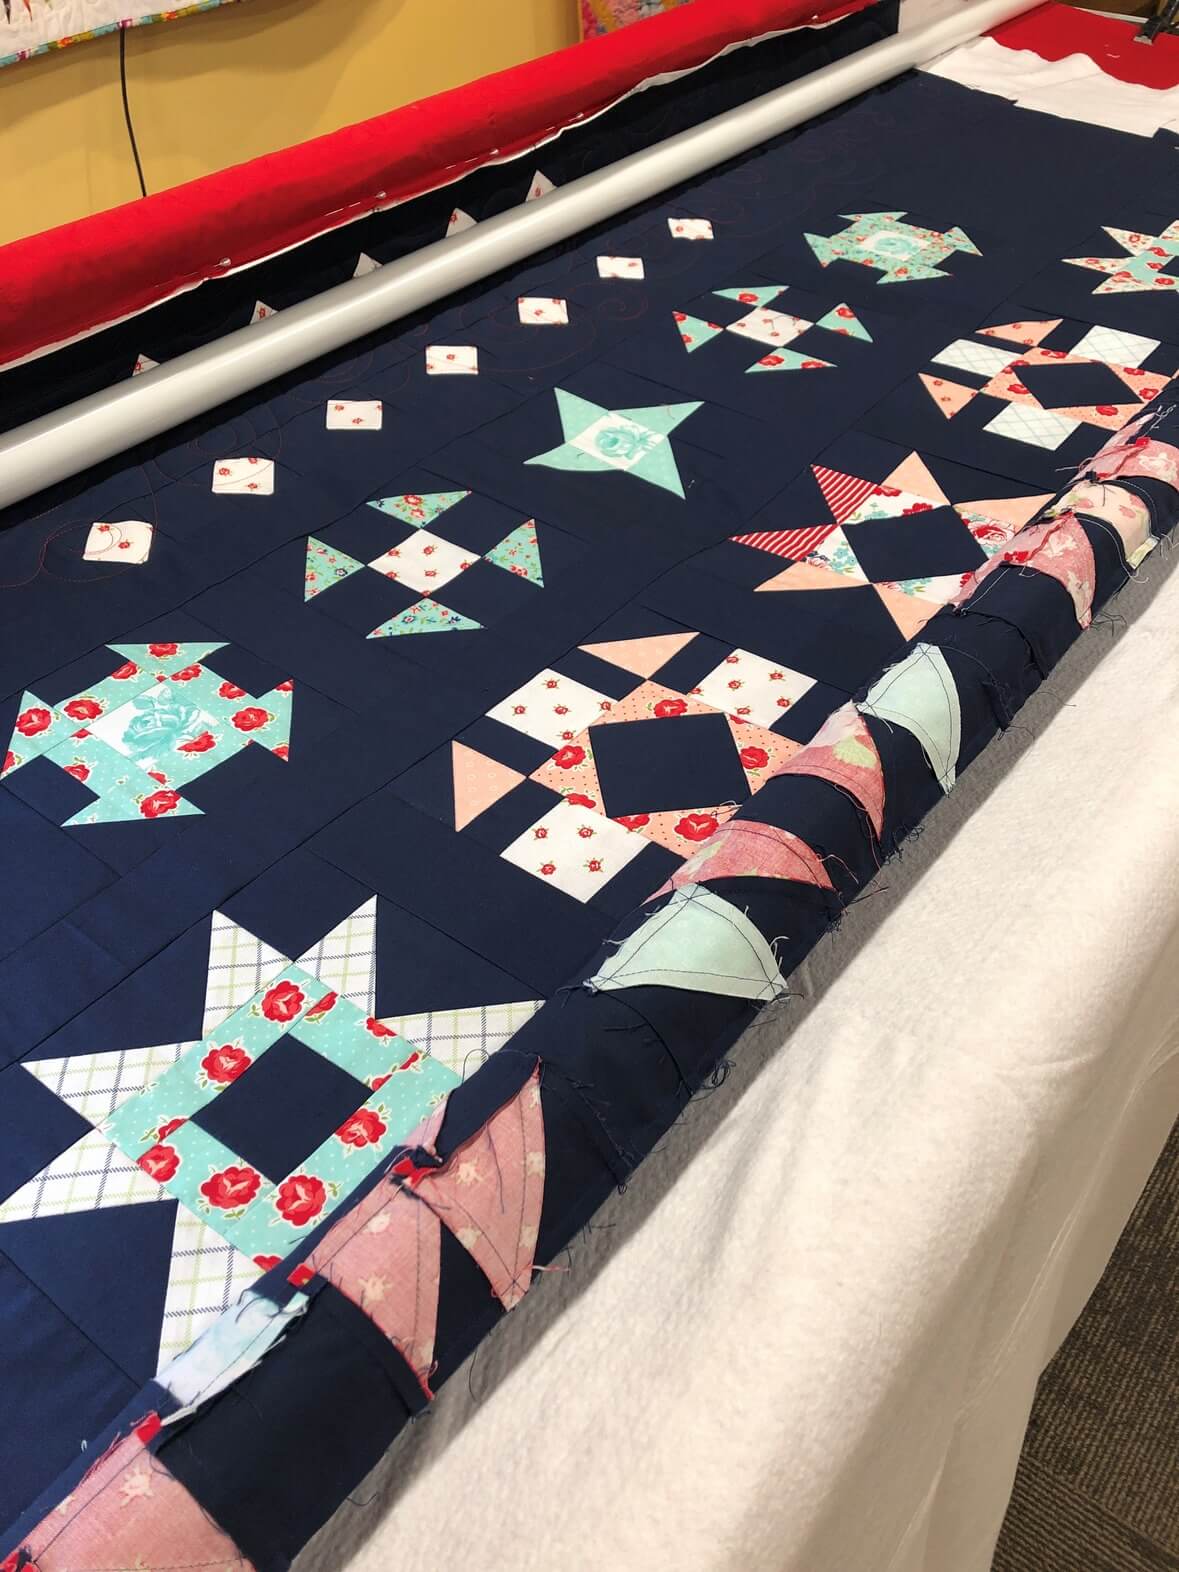
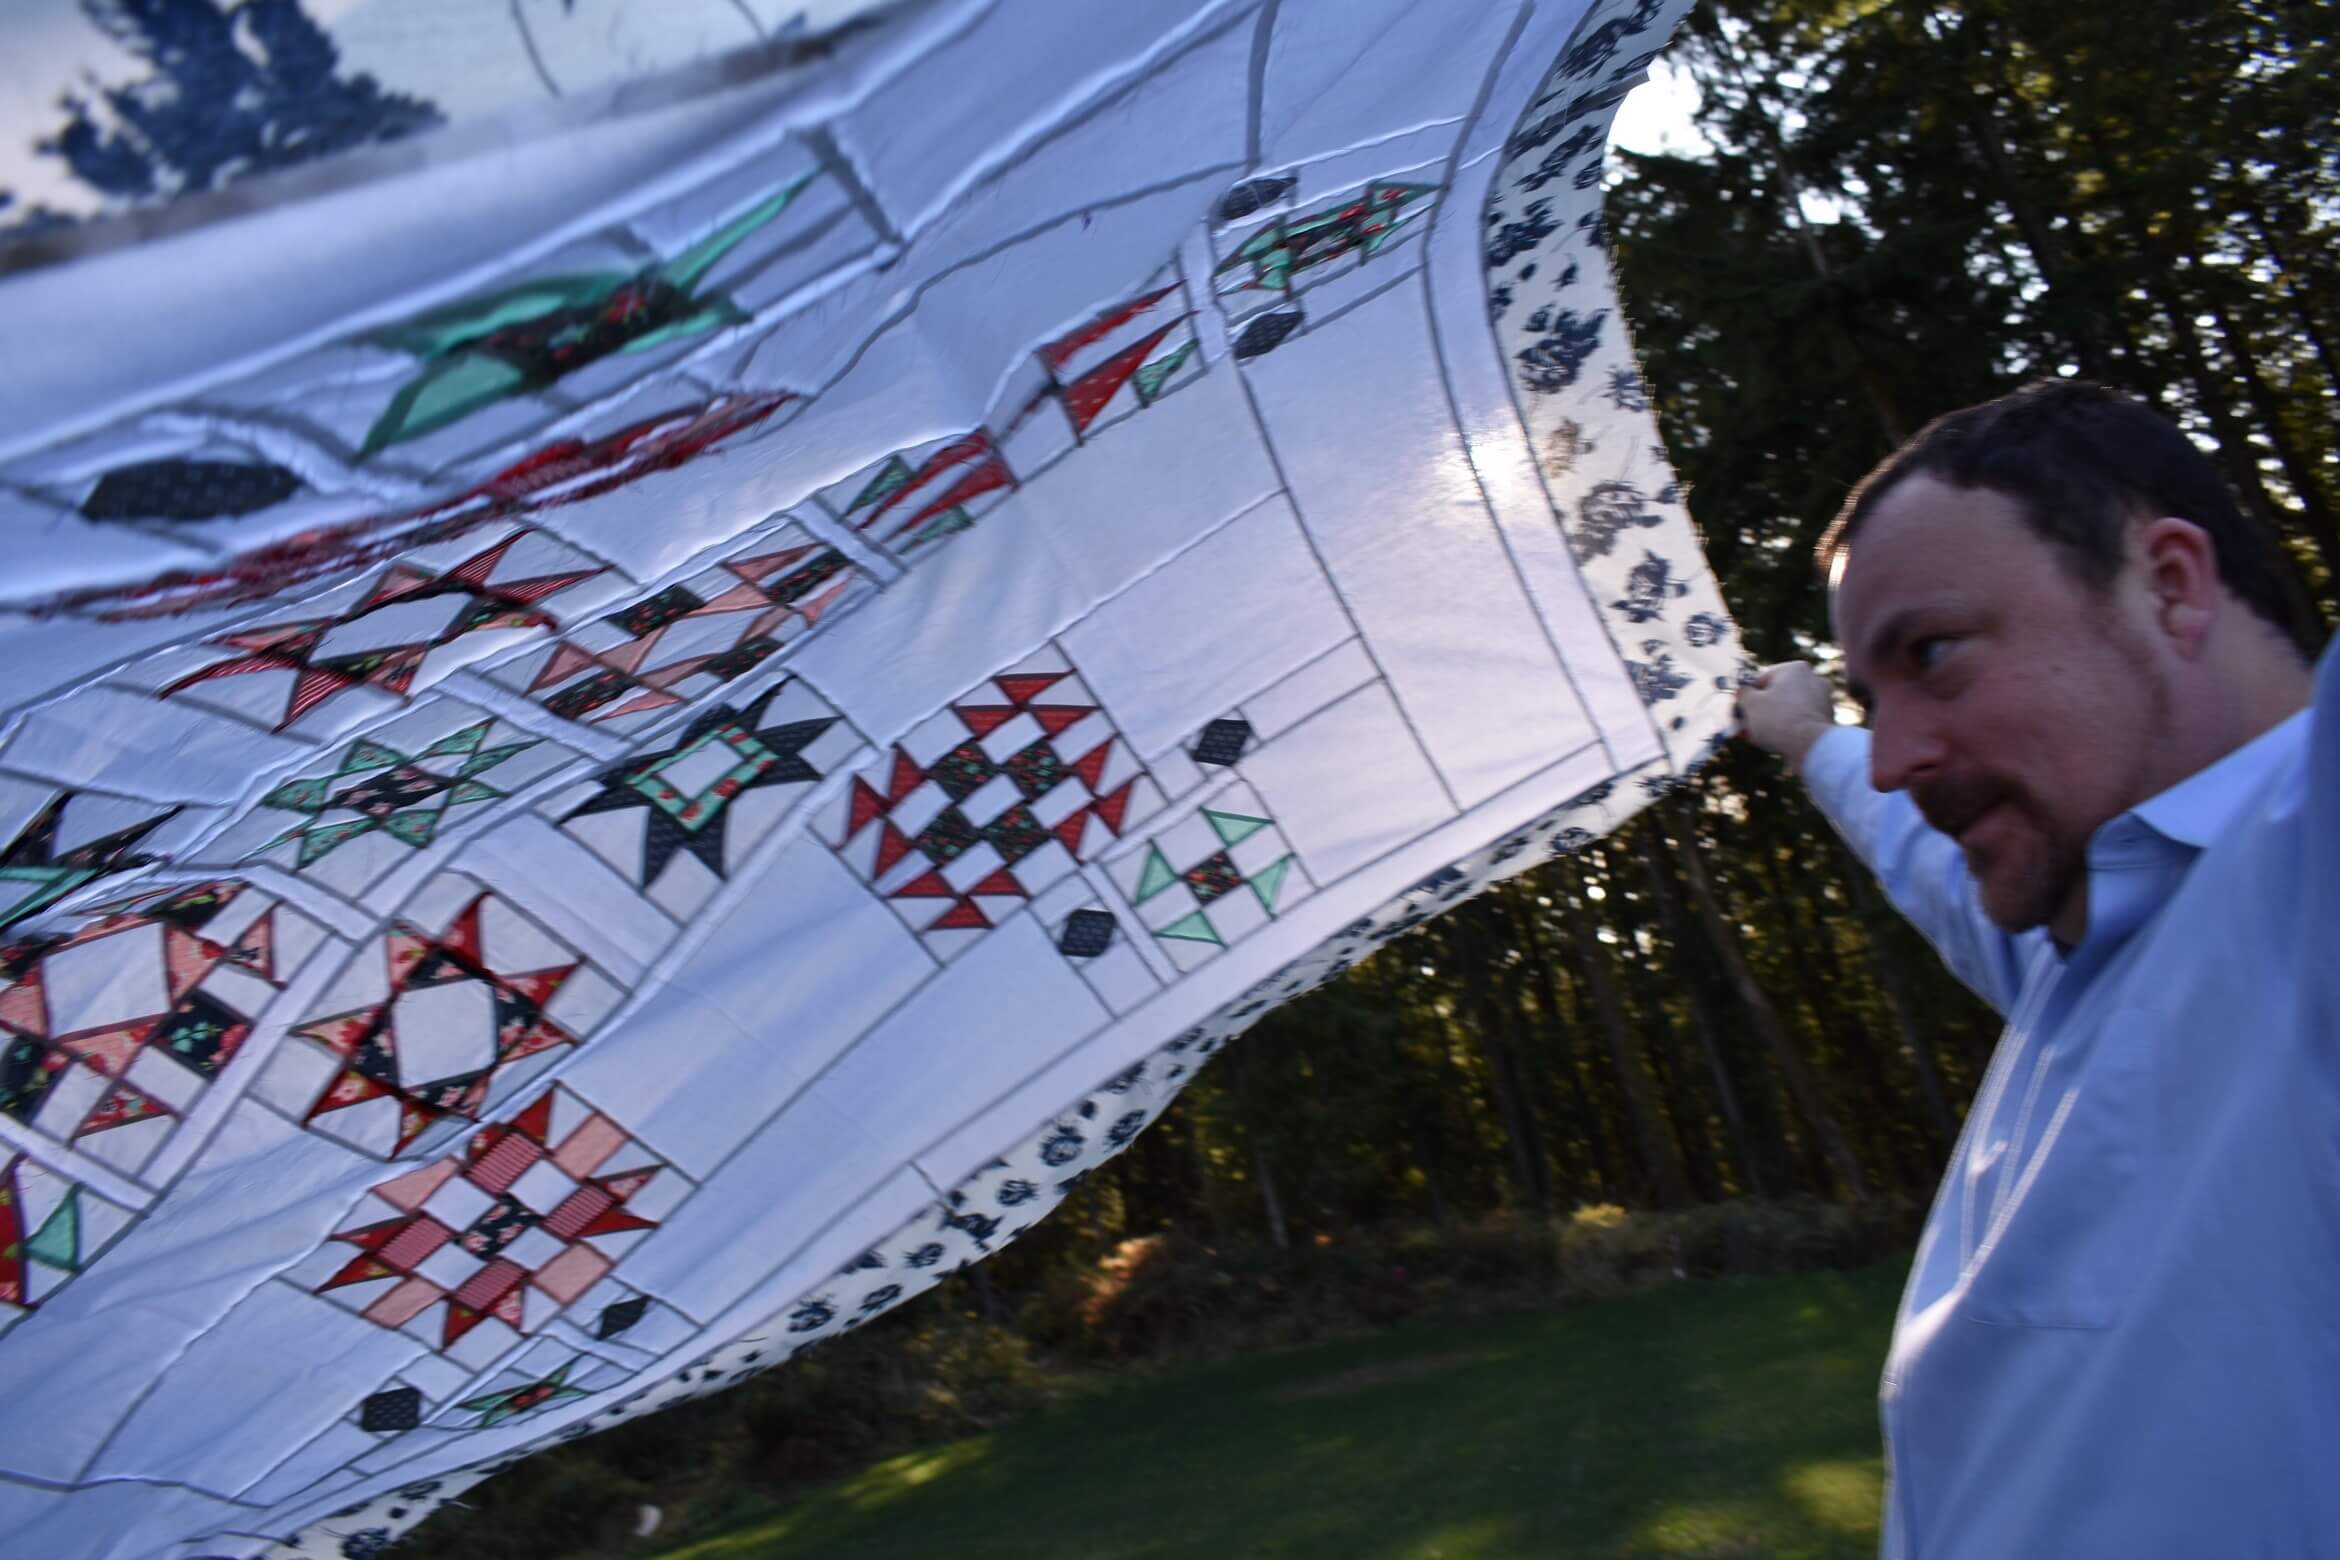
As a bonus to this post, I thought I’d share a couple of pictures of my BOM Snowflake layout quilt top. The second picture is one of my favorite quilty photos I’ve ever taken. My husband was being so sweet trying to hold this top for me, but the wind kept making it billow. We were both laughing and yelling at the quilt to behave. The way the sun was hitting the quilt top creating the stained glass effect was so beautiful, I had to grab a photo! I love that it captures such a wonderful moment in time.

I’m in love with this top too, but it’s going to hide in the cabinet until it’s number gets called on my All People Quilt UFO challenge (more on that later!).

Happy sewing, ~L

What I’m up to: Long Arm

Earlier this year, I took a class on using the long arm machine at my work. It’s been something I’ve wanted to try for years, but being in the shop regularly, I find it easier now to get down there for a day to work on a quilt.

I realized right from the start that it was going to take several quilts (I’m thinking ten?) before I feel like the long arm and I are buddies. And I am totally ok with that. I want to take my time, troubleshoot every problem and really learn the ins and outs of quilting on a long arm. Here is the rundown of what I’ve done so far:

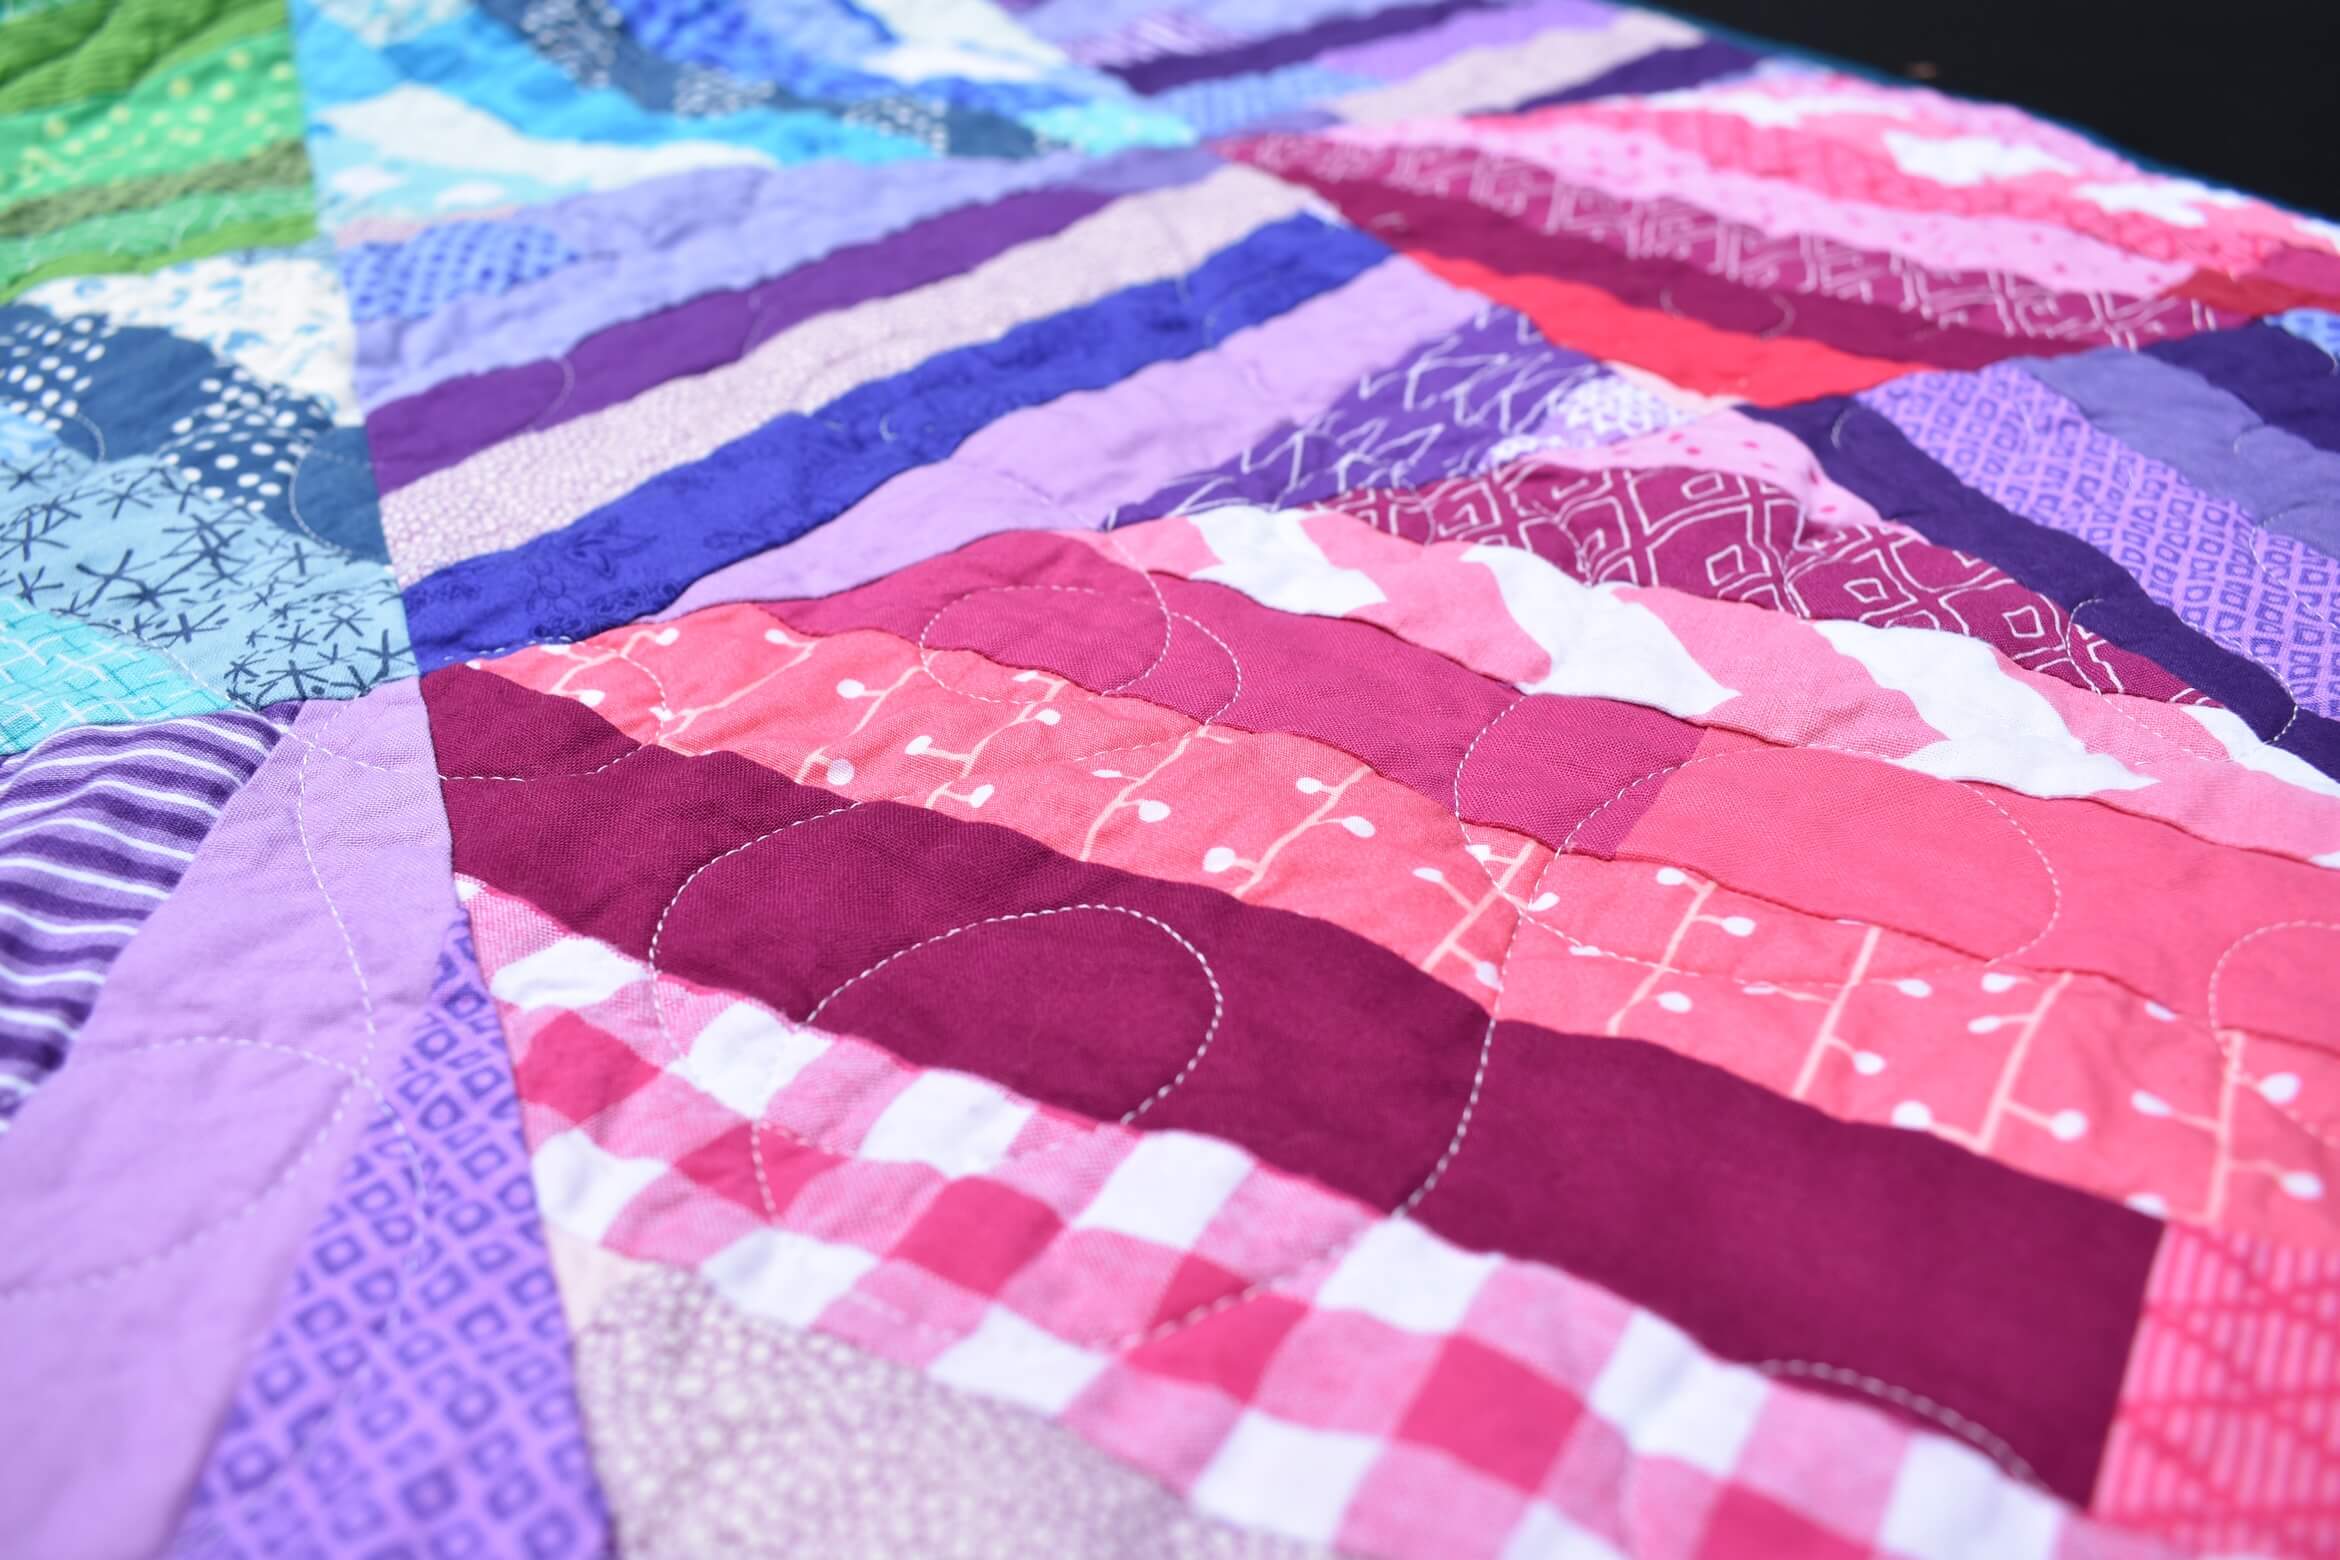
My first quilt was my Scrappy Rainbow and it went beautifully. This project was all about me just getting used to loading and threading the machine… no real expectations. And because it’s such a busy quilt, I knew mistakes would be harder to see! I used a loop design, which is one of my favorites when free motion quilting on my domestic. I was surprised at how natural it felt switching from my domestic to the long arm, but I think it was because it’s an easy motif that I knew really well.

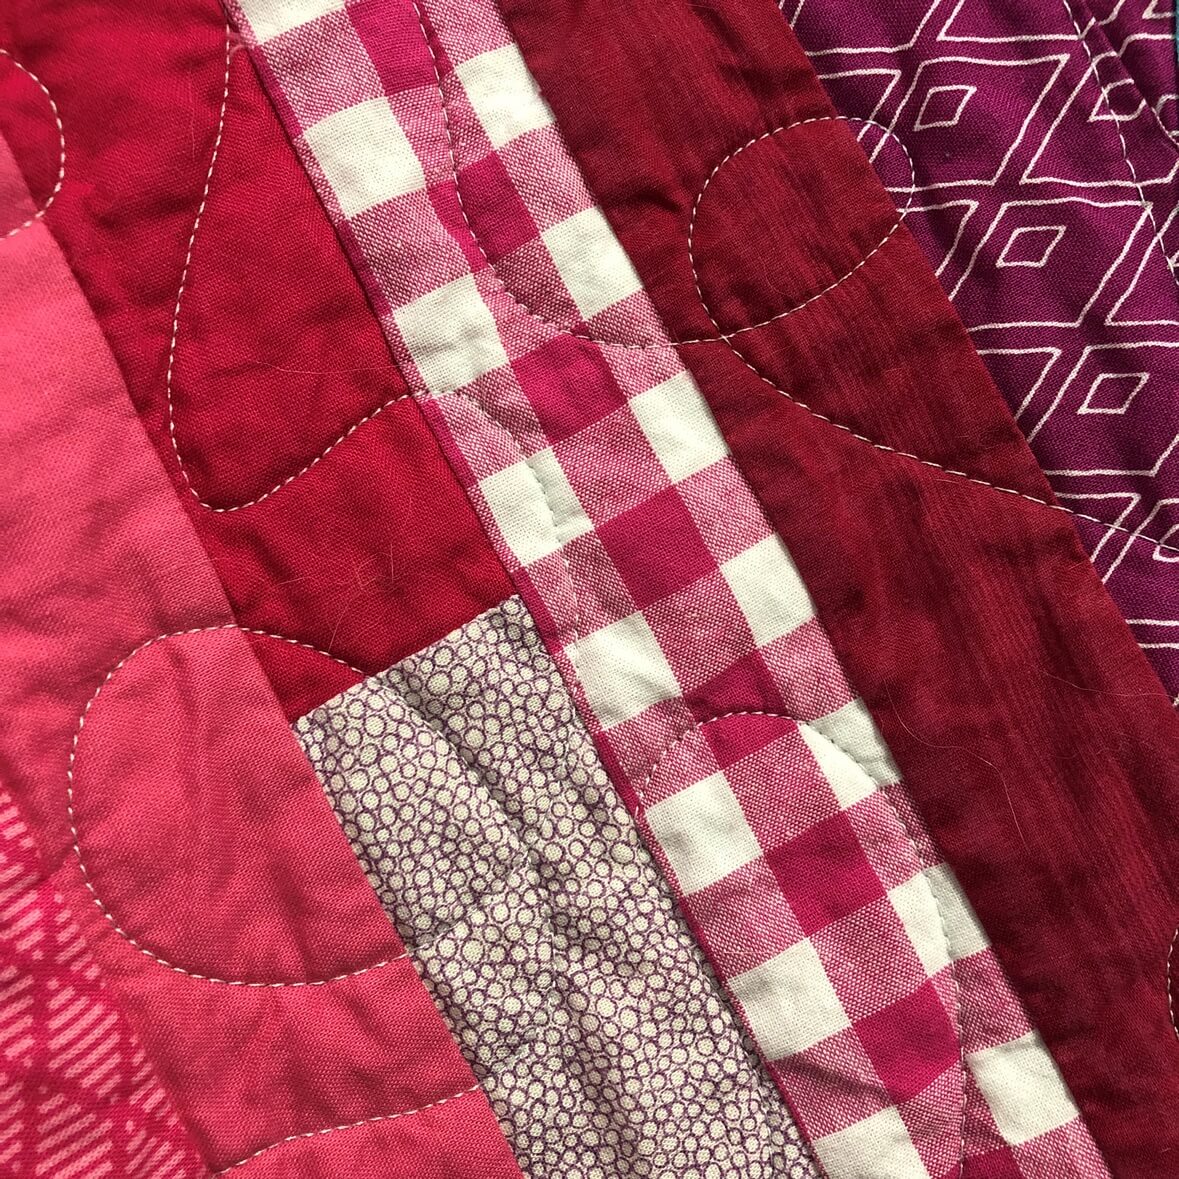


Next up was my scrappy version of the By Your Side quilt. I decided I wanted straight horizontal lines at random intervals about 1-2 inches apart.

I had a particularly hard time with this quilt. I kept having issues with thread tension, looping and breakage. And then I ran out of time and had to take it off the machine to leave for the day… I was so frustrated. Like, crying in front of my co-workers frustrated. So embarrassing.
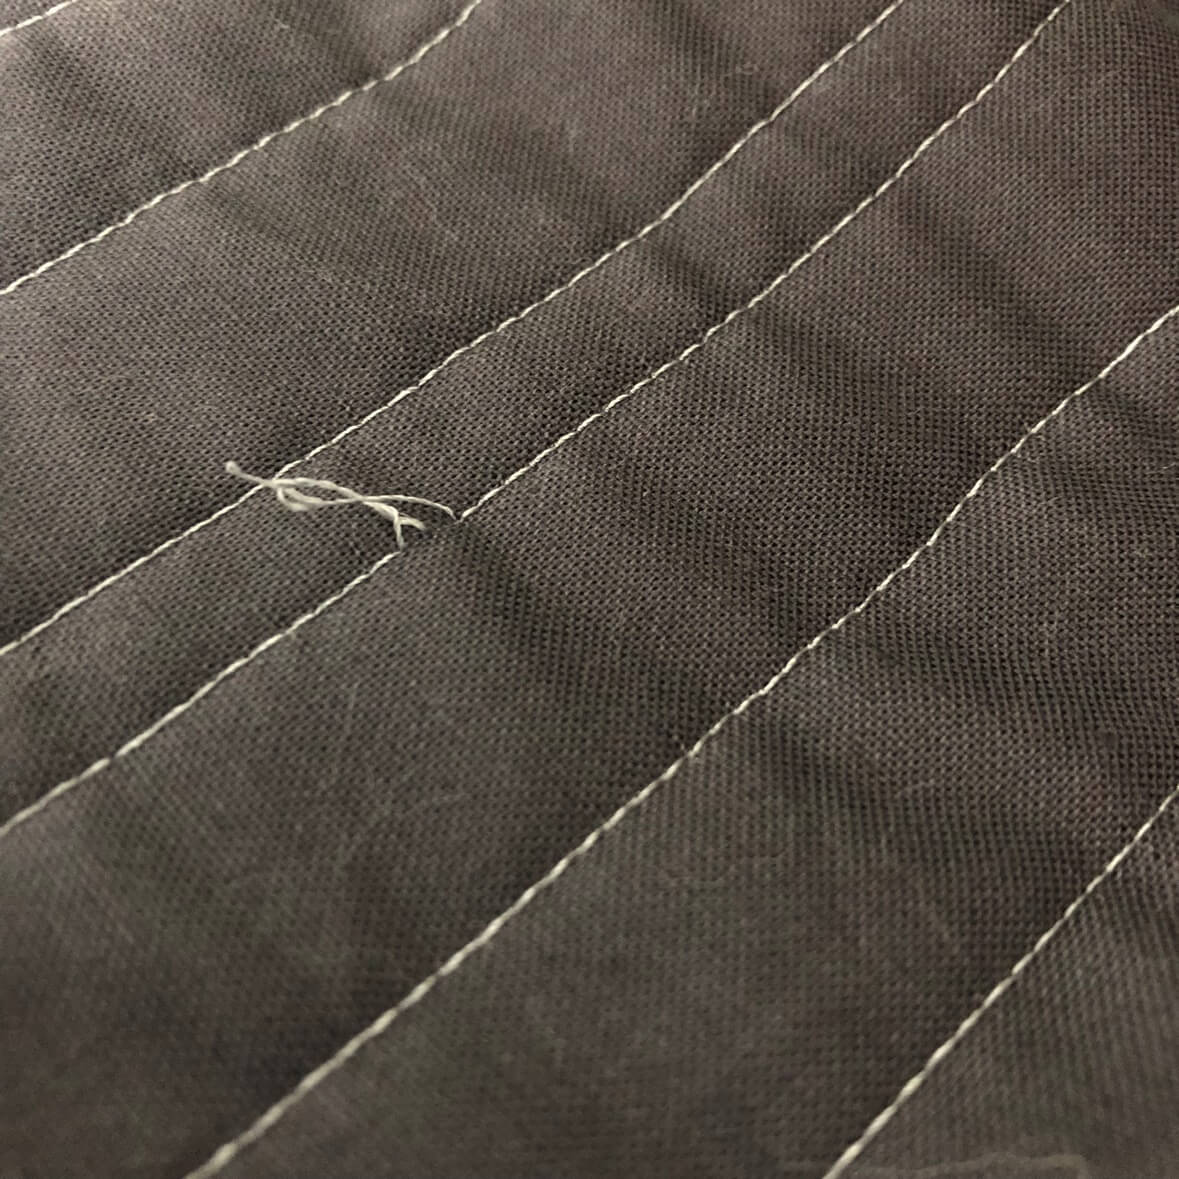
Being hungry and in a rush did not help either. I have since learned to EAT before starting and not set unrealistic time expectations on myself! Nevertheless, that quilt had to go into time out.


My next project to quilt was the Arrowhead baby quilt. Again, I had relatively few problems with this one. Just little bit of of looping once or twice in the quilt. I’ve since added a thread net to help alleviate that in the future.


With my palate cleansed, I went back to the Scrappy By Your Side quilt. This time with a full tummy, no time constraints, and a positive attitude.

Unfortunately, none of those things helped my issues! My coworkers and I tried everything- thread net, change needle position, new bobbin, adjusting tension, changing spools of thread, on and on….  nothing helped. Or, I would get one good pass and think, “Awesome! We fixed it!” Only to have the same thing happen again on the following pass. Thank goodness I DID go in with a positive attitude, because the thing was trying my patience. I kept trying to think what was different about this quilt from the two I has done that quilted up beautifully. Why was this one giving me so much trouble?  And then it hit me… my batting was wrong side up. DARN!
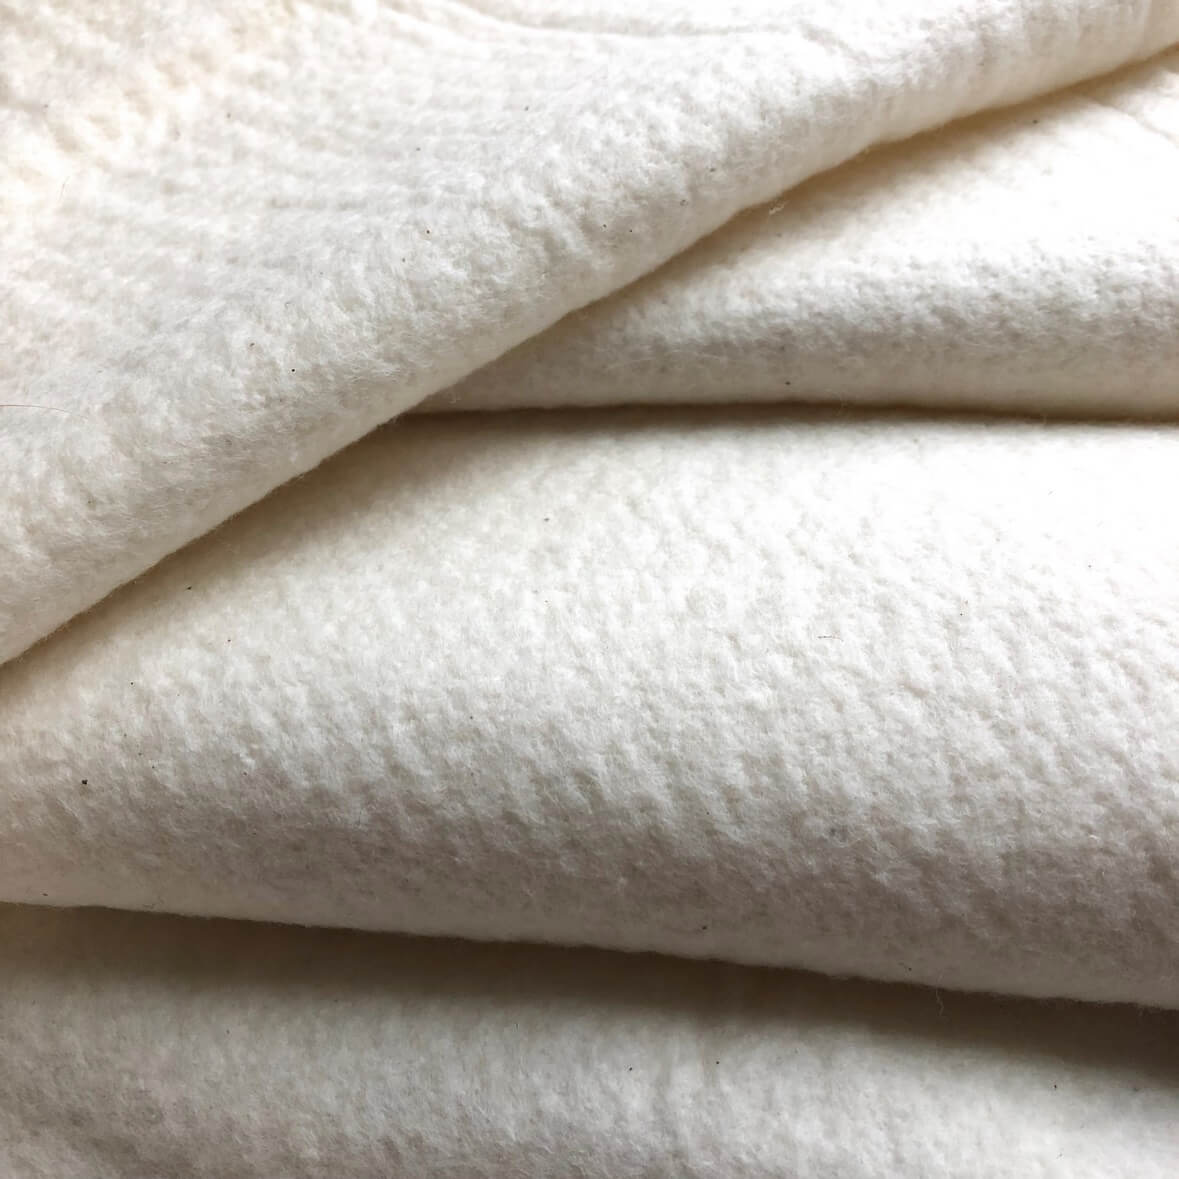
Oh my goodness…. all that trouble, just from the batting? YES! In fact, I went to a co-worker who hadn’t been involved in trouble shooting with me and told her I accidentally had my batting backwards, and she described every single problem that I had been struggling with. Well, how’s that for a learning experience?? Certainly won’t make that mistake again! And if you want more information on finding the right side of batting, Suzy Quilts has a fabulous post on the subject!

So, this quilt was mostly quilted by the time I figured out the underlying problem. My best option was to baby it along and fix problems as they arose (and they sure did!). In the next month or so, I will unpick the lines of quilting where the looping was the worst.
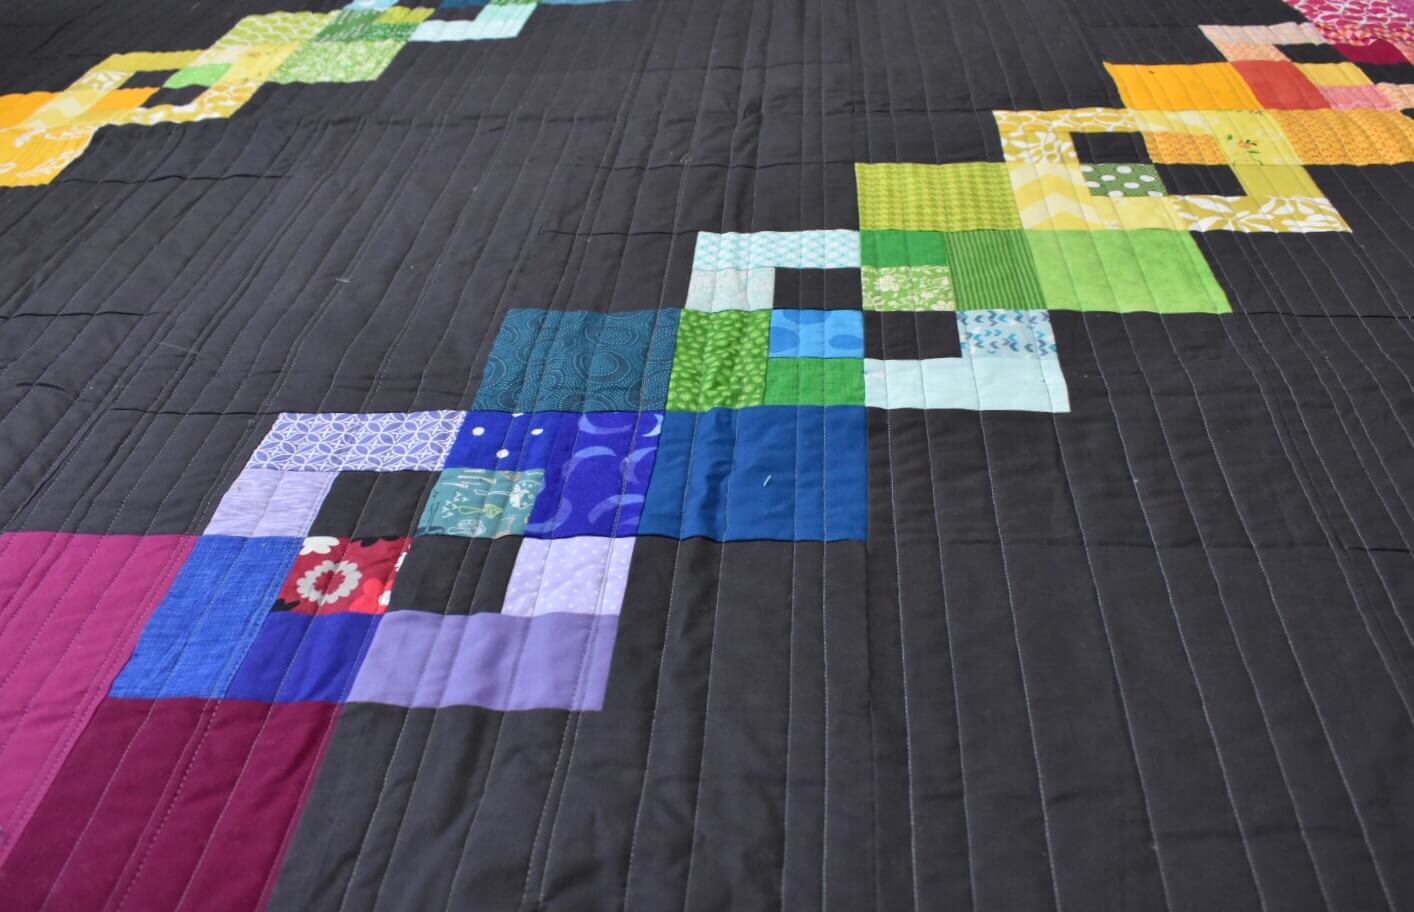


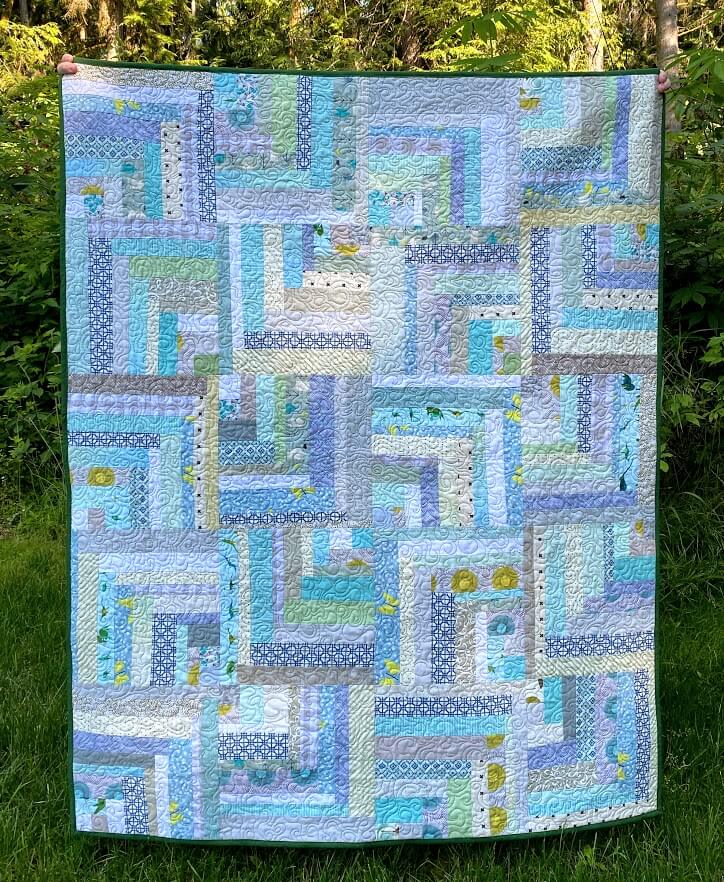
The most recent quilt I finished was my scrappy Kayak Point quilt. This quilt top was originally made (quite a long time ago!) to test my Kayak Point pattern for Quilt Theory.  I love the look of this one- subdued colors, but still bright and happy. My first instinct was to quilt this with white thread since there is so much white in the thing. But, I had almost a full spool of a purpley/pink Aurifil and I was wanting to try Aurifil on the long arm anyway, so I figured “why not?” I’m really happy with that choice, as it adds a lot of personality to this quilt!
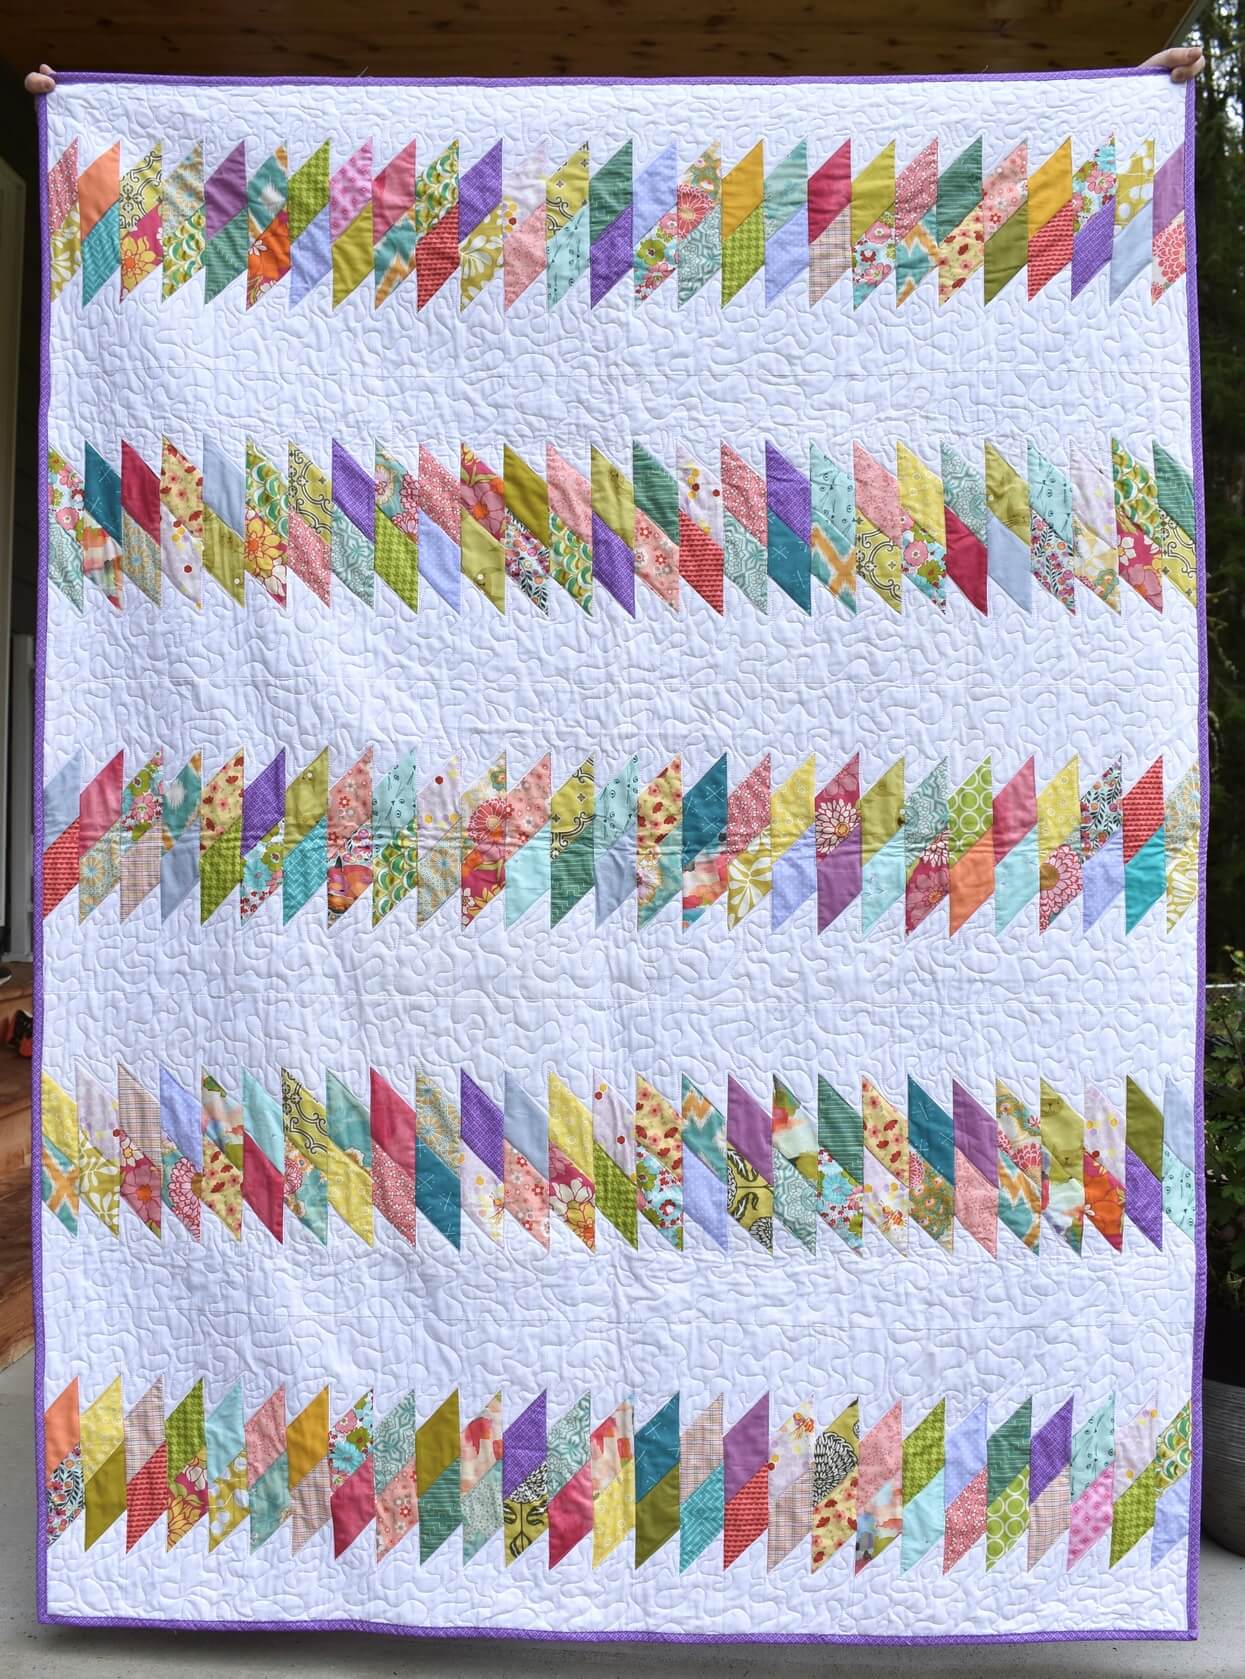
I didn’t really have any technical issues with this quilt, which was WONDERFUL! I feel like the long arm and I are becoming friends. I did struggle a bit with accuracy on the straight diagonal lines I was trying to quilt, but I know those are skills that come with time and practice so I was ok with the job I did.
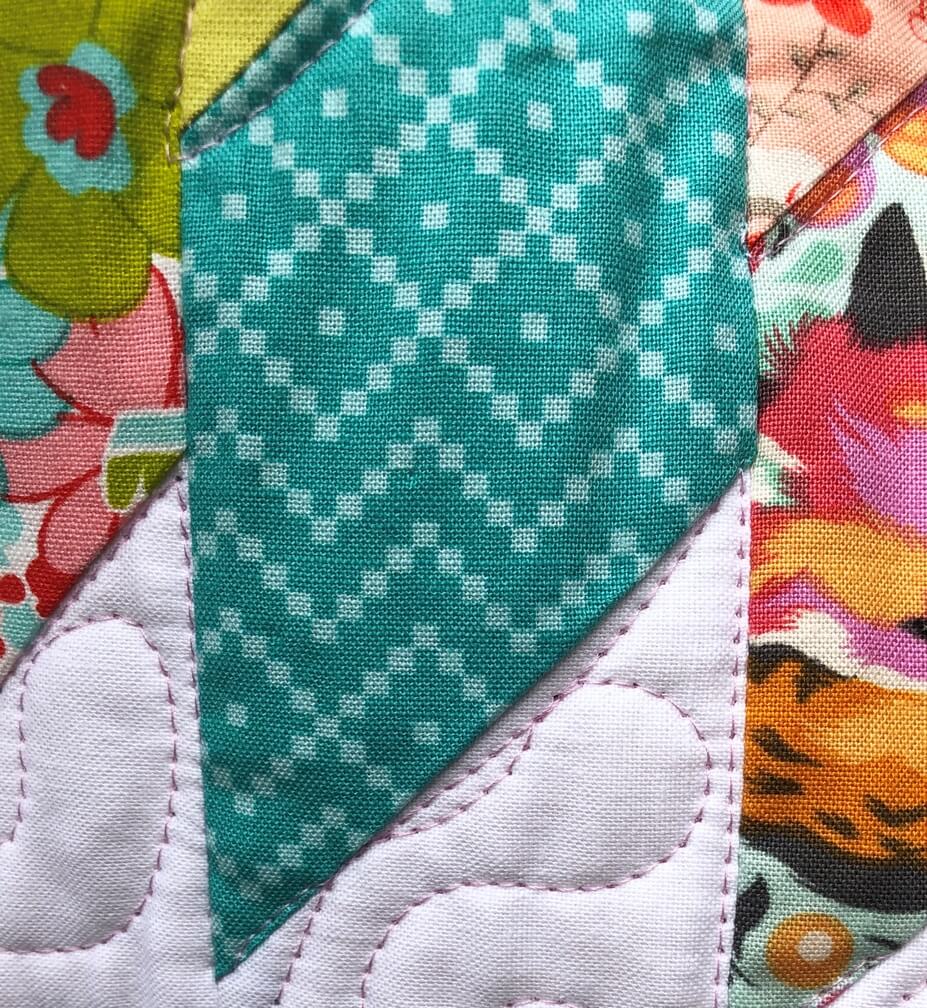
The whole process of learning this new skill has really reminded me how important it is to be willing to be new at something, to not be perfect, and to not be afraid to ask questions. I relied heavily on the expertise of several of my amazing co-workers. They helped me troubleshoot various problems, offered bits of advice that came in handy, and above all encouraged me that it’s ok to struggle. I’m learning to love the struggle because I know it’ll help me get better!

I have several more quilts to finish up before Christmas, so I’m hoping after those, I’ll feel fairly comfortable on the long arm. Definitely worth the time and effort to learn!

Happy quilting!

~L

Finished Quilt: Scrappy Kayak Point

Way back when, before I ever made the cover quilt for my Kayak Point pattern, I made up a sample using some scraps from my studio. The colors of this quilt reminded me of summer heat, beach days and creamsicles. They just make me so happy!

I quilted this on the long arm at work using Aurifil 2515. The purpley/pink color over the white really added a lot of fun to the top. I stippled in the white space and outlined the little ‘kayak’ shapes. I wasn’t super accurate on my outlining, but I’m still learning and decided to extend myself some grace!


I will be gifting this quilt, and because I think it will get a lot of washing, I decided to machine bind it. I’ve been working on using my quarter inch foot to help me machine bind with more accuracy. I’ll eventually write a post if I can perfect the technique!

Happy Sewing!

~L

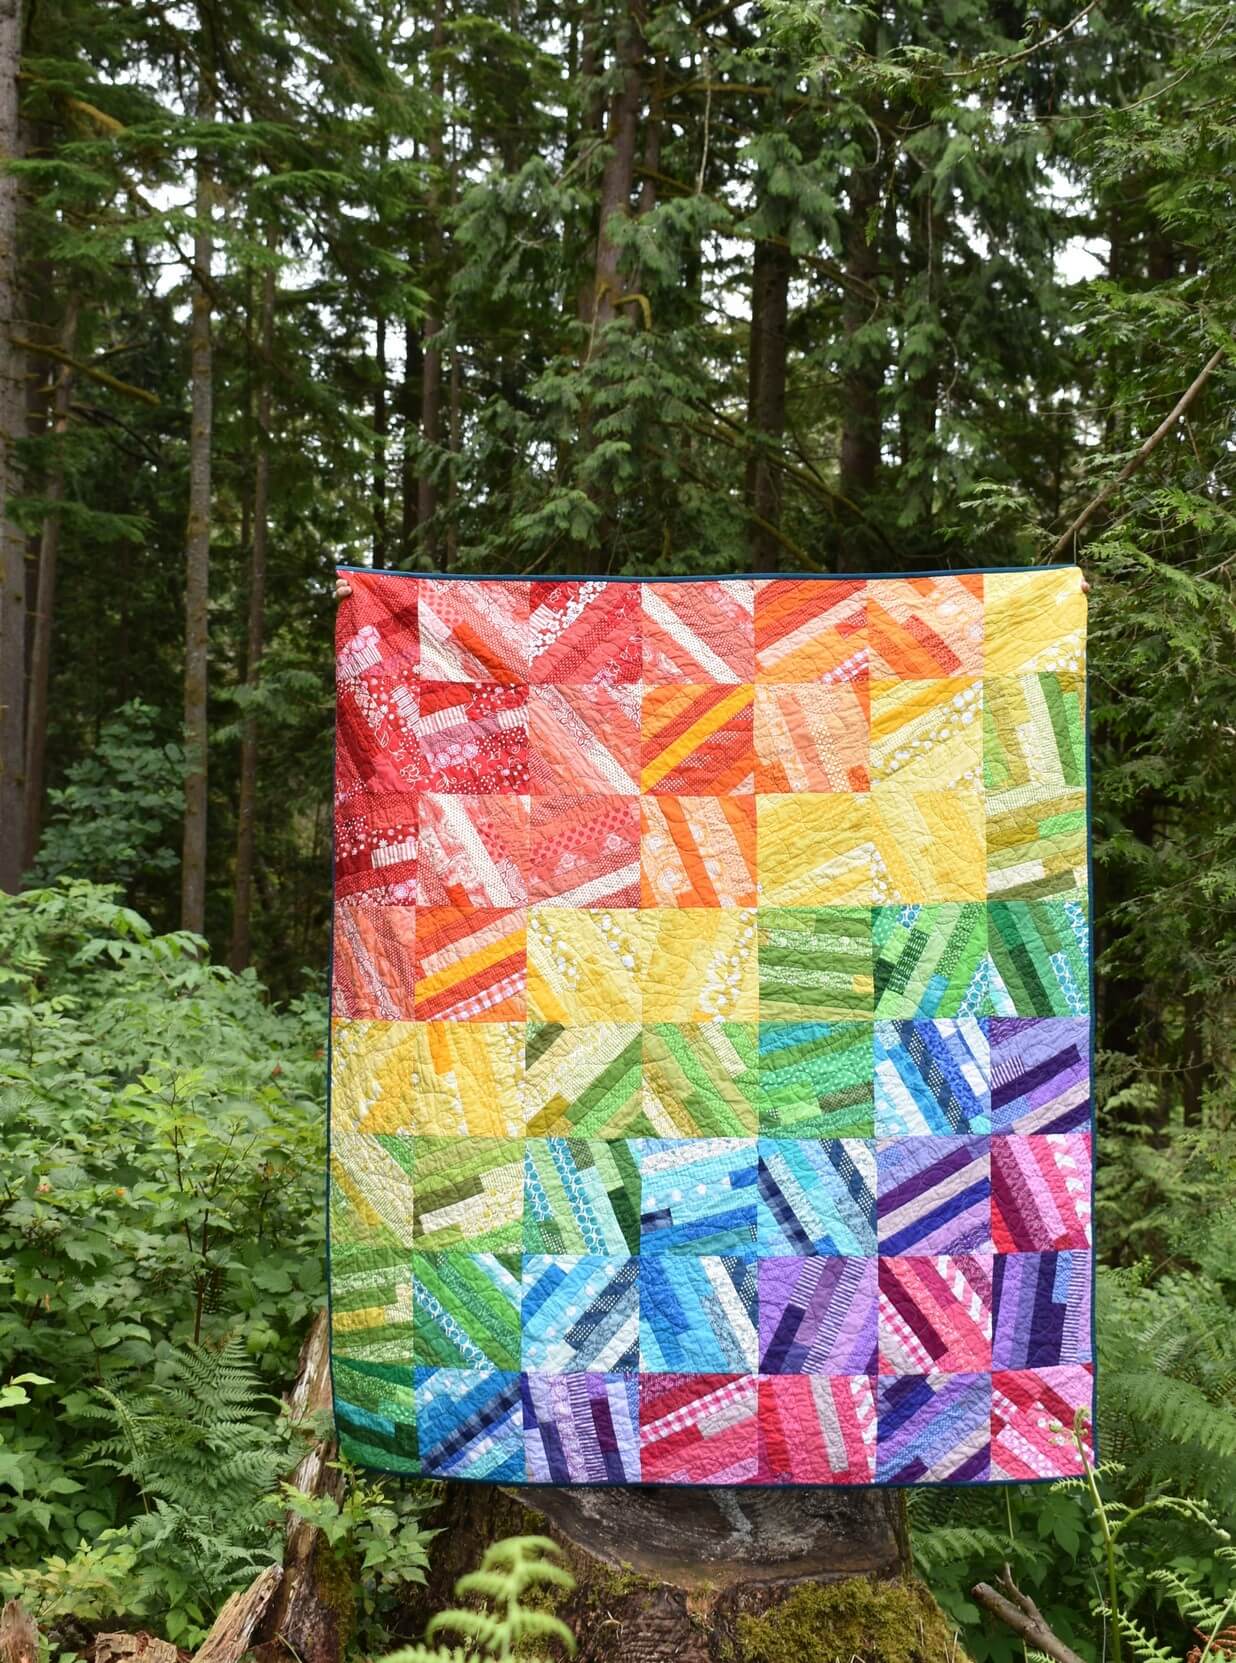
Finished: Scrappy Rainbow Quilt

I recently noticed that although I have been pretty active on Instagram, I haven’t been updating here with my finished projects! This one has been done for a while, but I hadn’t taken decent pictures of it. So today, my son and I went outside for a quick little photo shoot.

For this quilt, I shopped my scrap and FQ stashes to get lots of variation in my fabrics. I made random strippy panels (similar to a jelly roll race quilt) and then cut the blocks from them. It wasn’t the most efficient process to make the blocks, but I knew it would force me into a randomness that I wouldn’t get using foundation strip piecing. I know myself- I like controlling things too much!


This was my first project on the long arm, and I was happy with the way it turned out. I am definitely still learning, but with as many tops as I have to finish in the next few months, I should be an old hand at it soon!

I love laying this one out for BBQs and to relax in the back yard, but she is currently hanging in my studio opposite my design wall keeping my works-in-progress company. I love coming in each day to this view!


Happy Sewing, ~Lorinda

Linking up to:

sew-fresh-quilts-ets-bee-social     my-quilt-infatuation-needle-and-thread-thursday

Farm Girl Vintage Quilt

I know I’m about a year behind on the Farm Girl Vintage quilt craze. But when I decided to make a quit for my mom, I knew this had to be the one! blocks
When I first got the book, I flipped through  to pick out what I thought she might like.  I was really impressed with the number of blocks in the book and all the different layout options. It felt like a choose your own adventure book!

hens

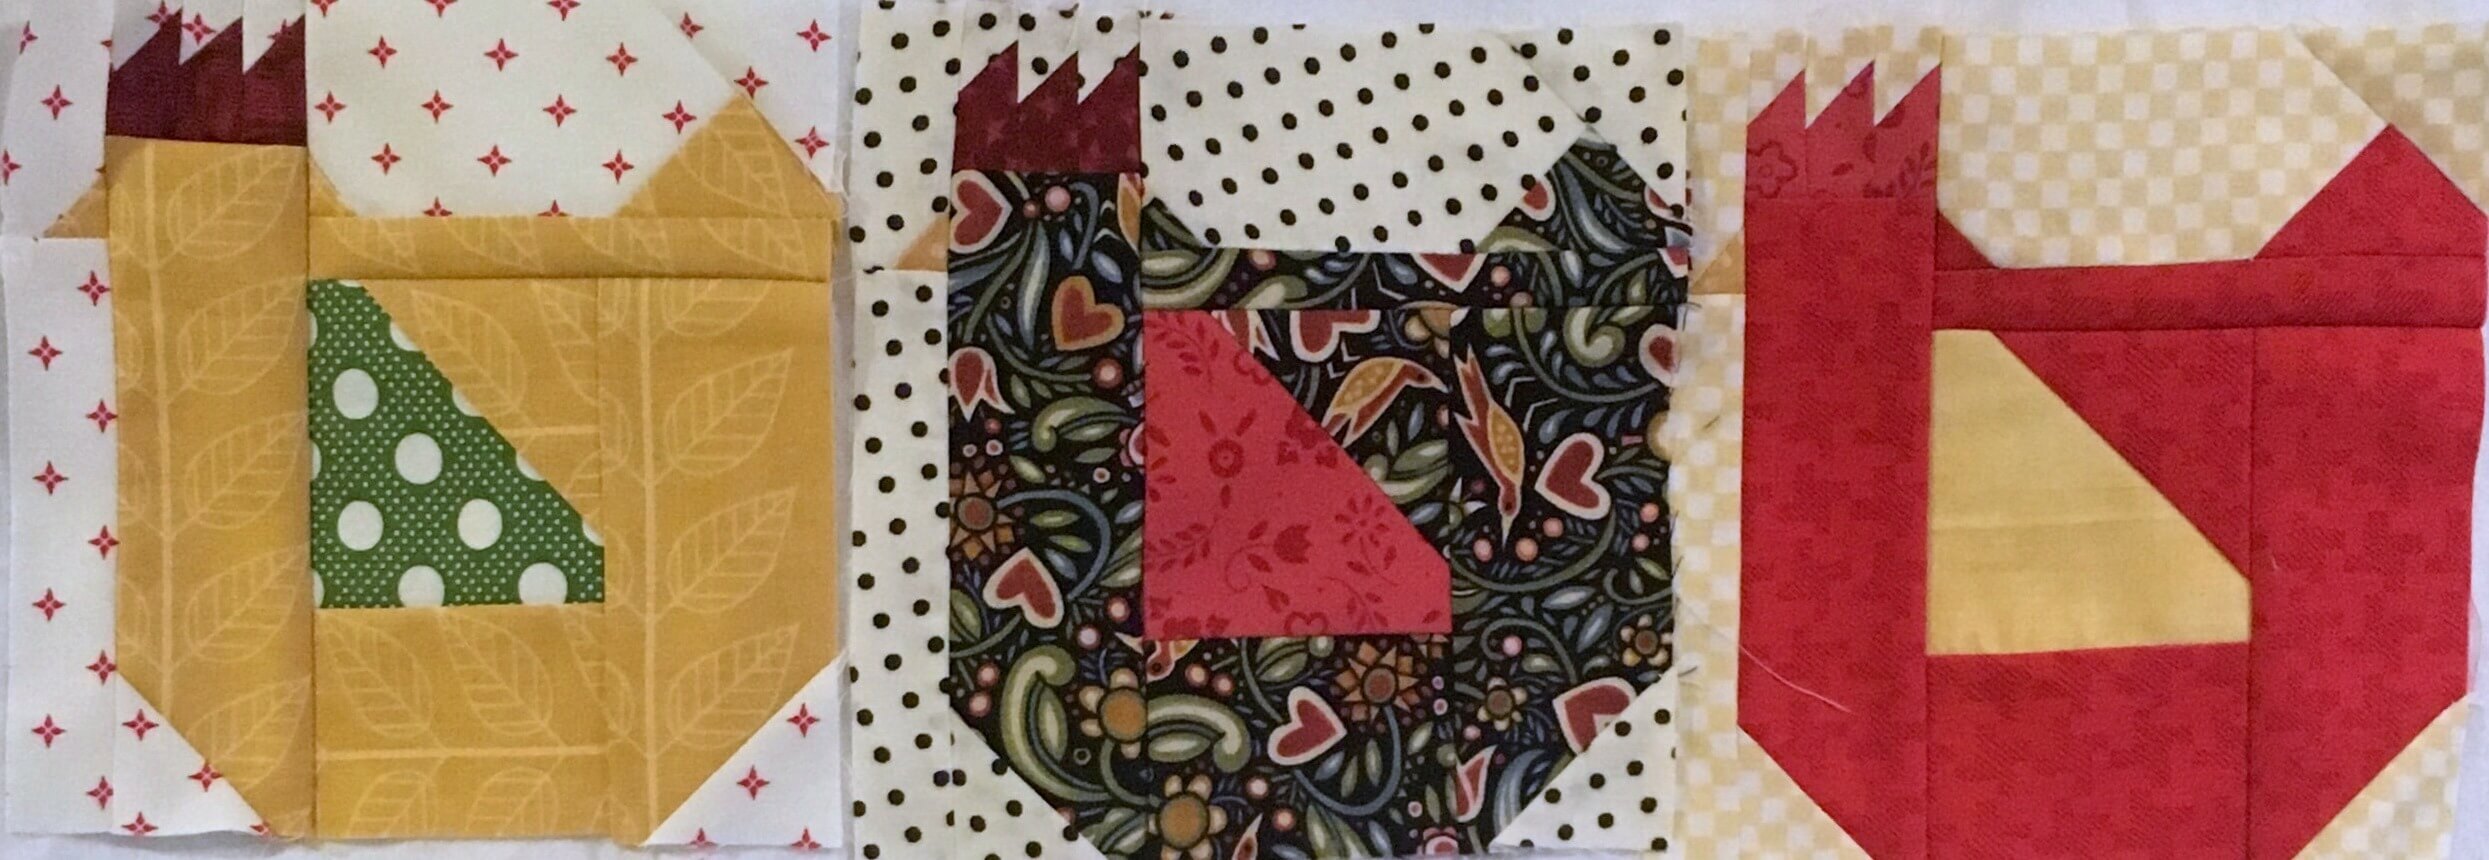
Although there were so many great blocks to choose from, I knew that my focus had to be the hen and chick blocks. My mom loves her chickens and cares for them into their old age, long after they’ve stopped laying eggs.

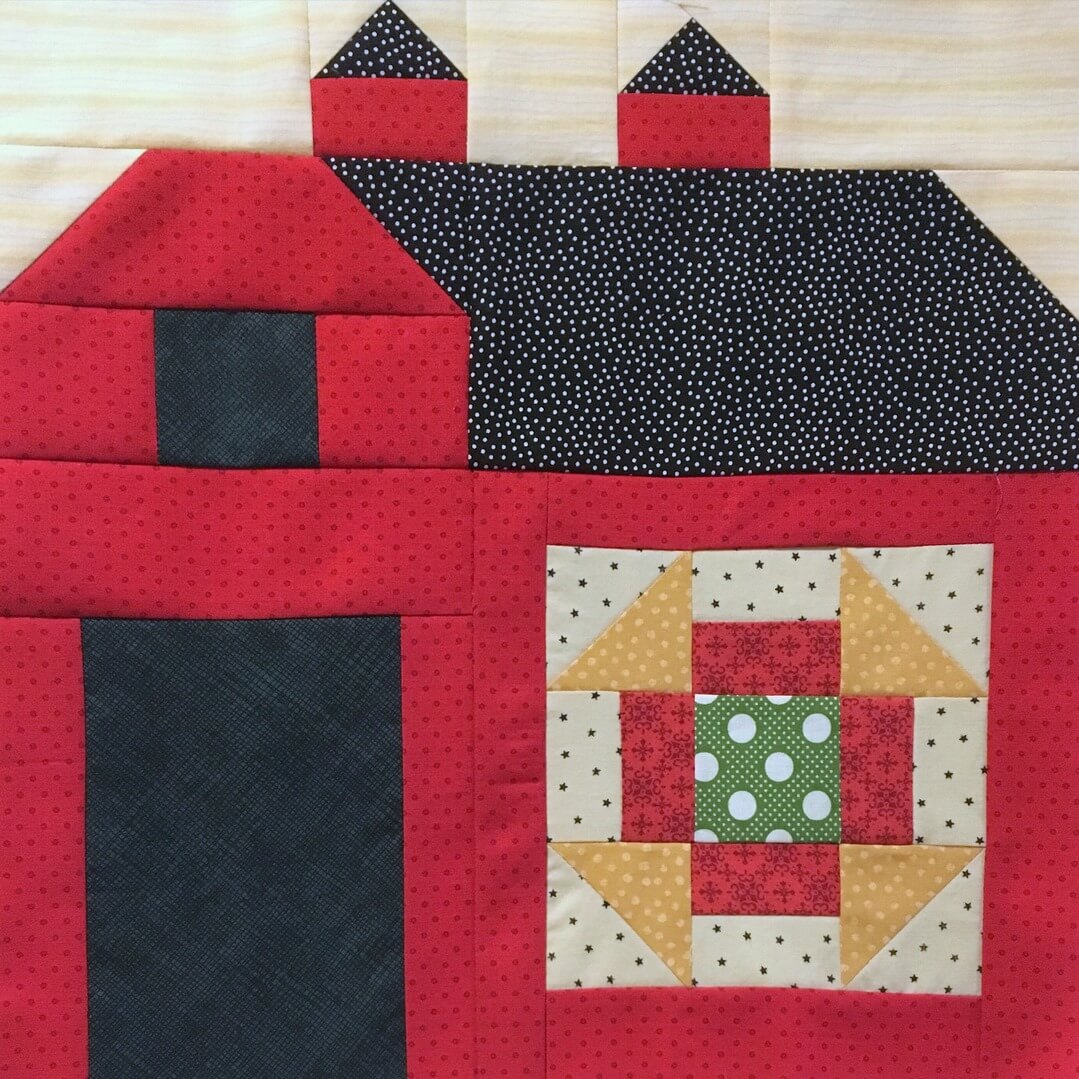
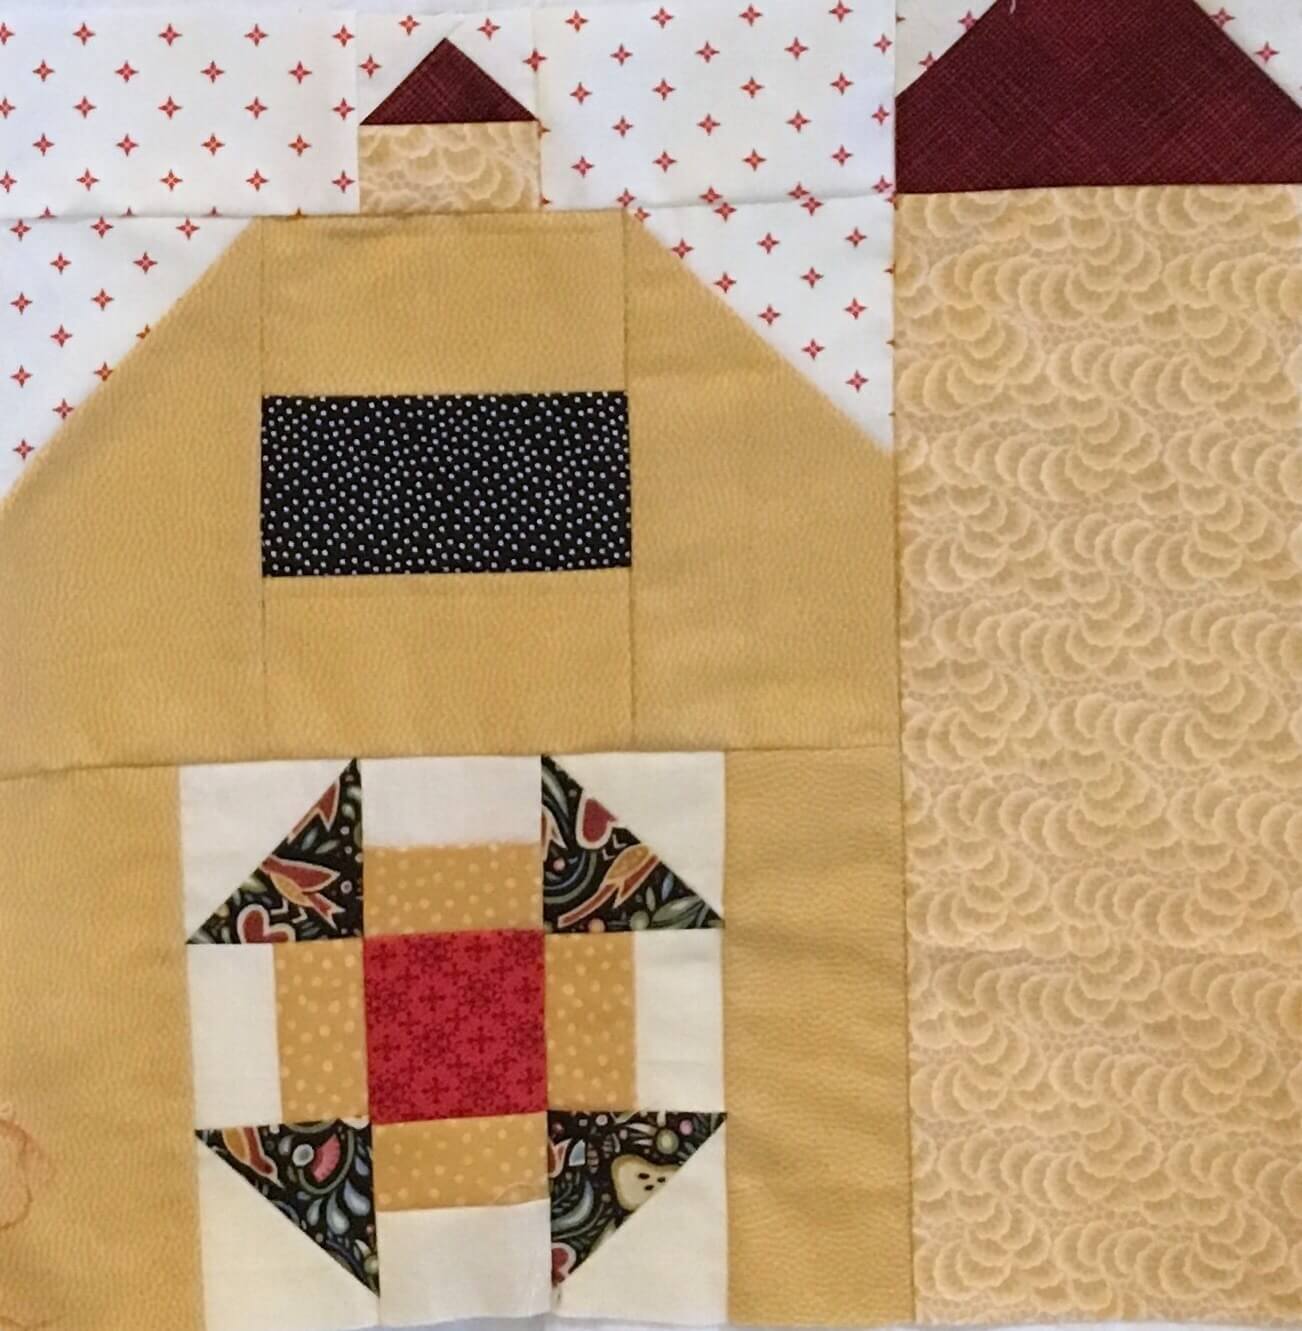
She also loves old barns so when I saw the barn blocks I knew I had to choose at least two or three.barn 1

Barn 2

About a week later, she came to my house and had a look through the book. I was very pleasantly surprised when she chose for herself all the blocks that I had guessed she would want.

churn dash

The color scheme of this quilt came from the design in my moms house. Although it has a farm look, I think it looks a bit more modern because of the fabric choices and vivid colors. It definitely has a bit of my style!

I’m not sure how I’ll do the layout of this quilt. For now, I’m just throwing blocks up on the design wall as I finish them.

I’ll keep you updated!

Happy Sewing, ~Lorinda

This week, I’m linking up to:

Fabric TuesdaySew-Cute-Tuesday-e1384841858599LinkyBeeswip wednesdayNTT Button 1