Uncategorized

Favorite Things- Modern Curves and Bold Stripes

Happy Valentine’s Day! Don’t tell my hubby, but I’ve fallen in love again!

Ever had something come along at just the right time that fills a need perfectly?

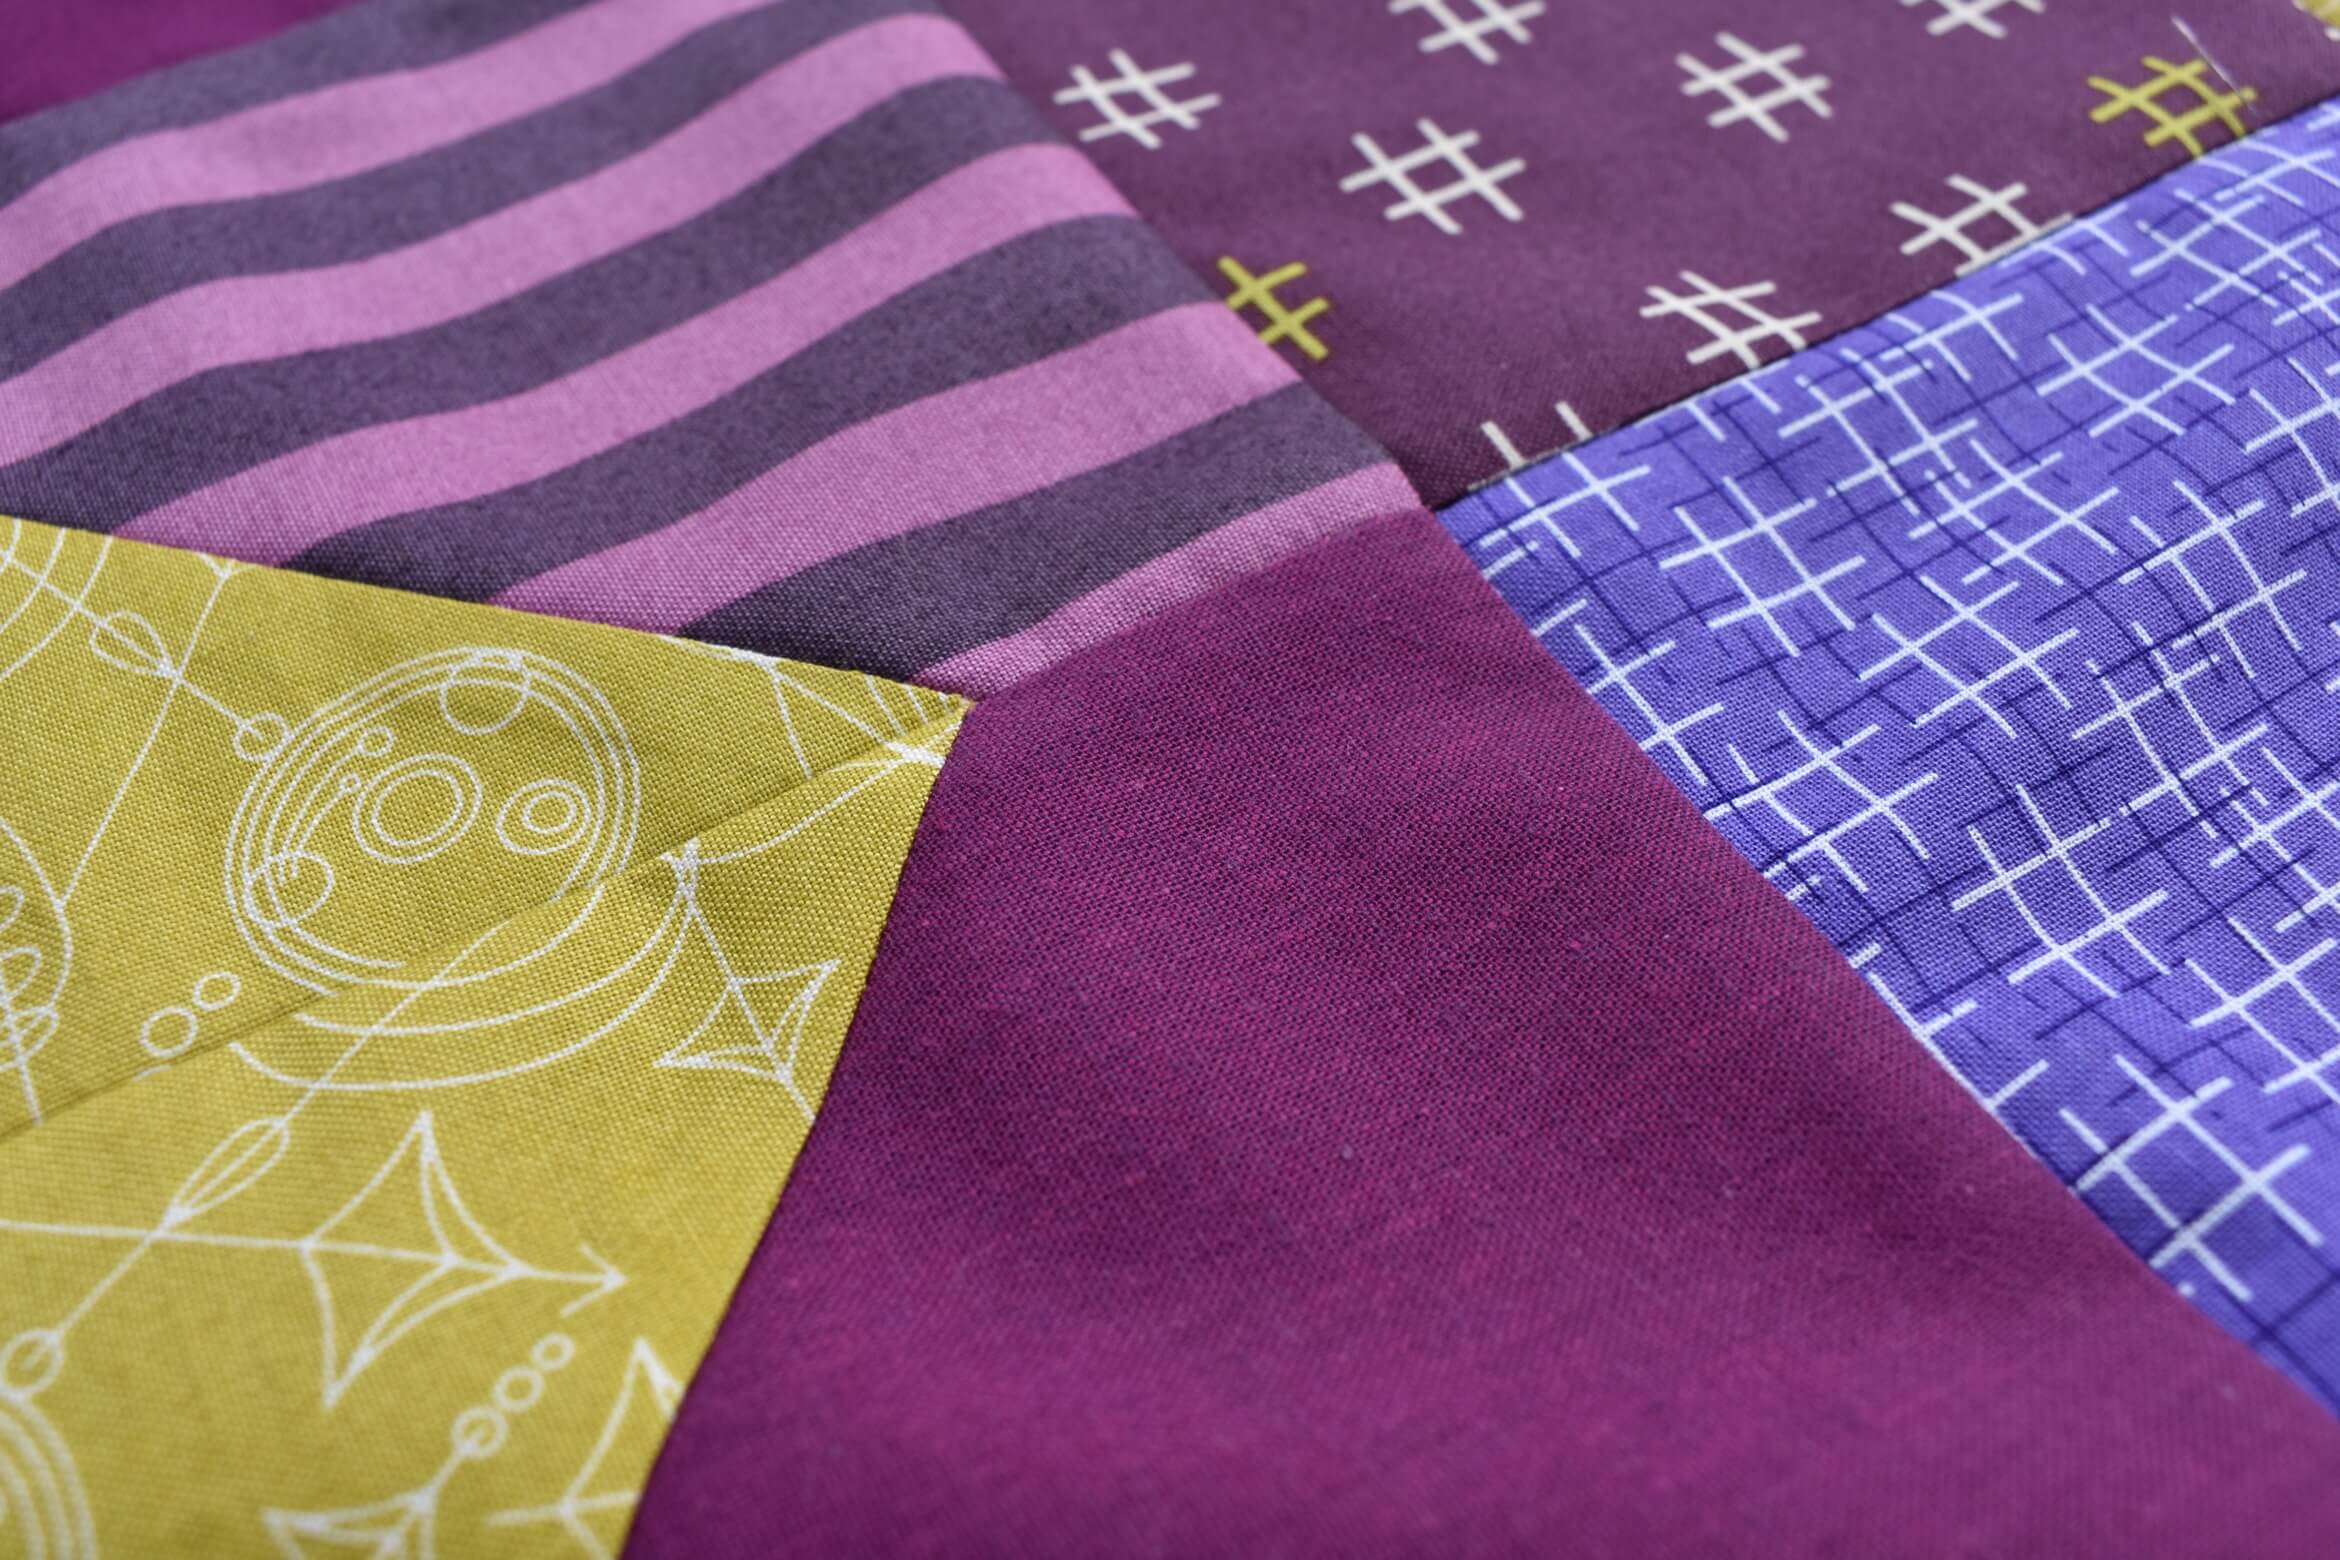
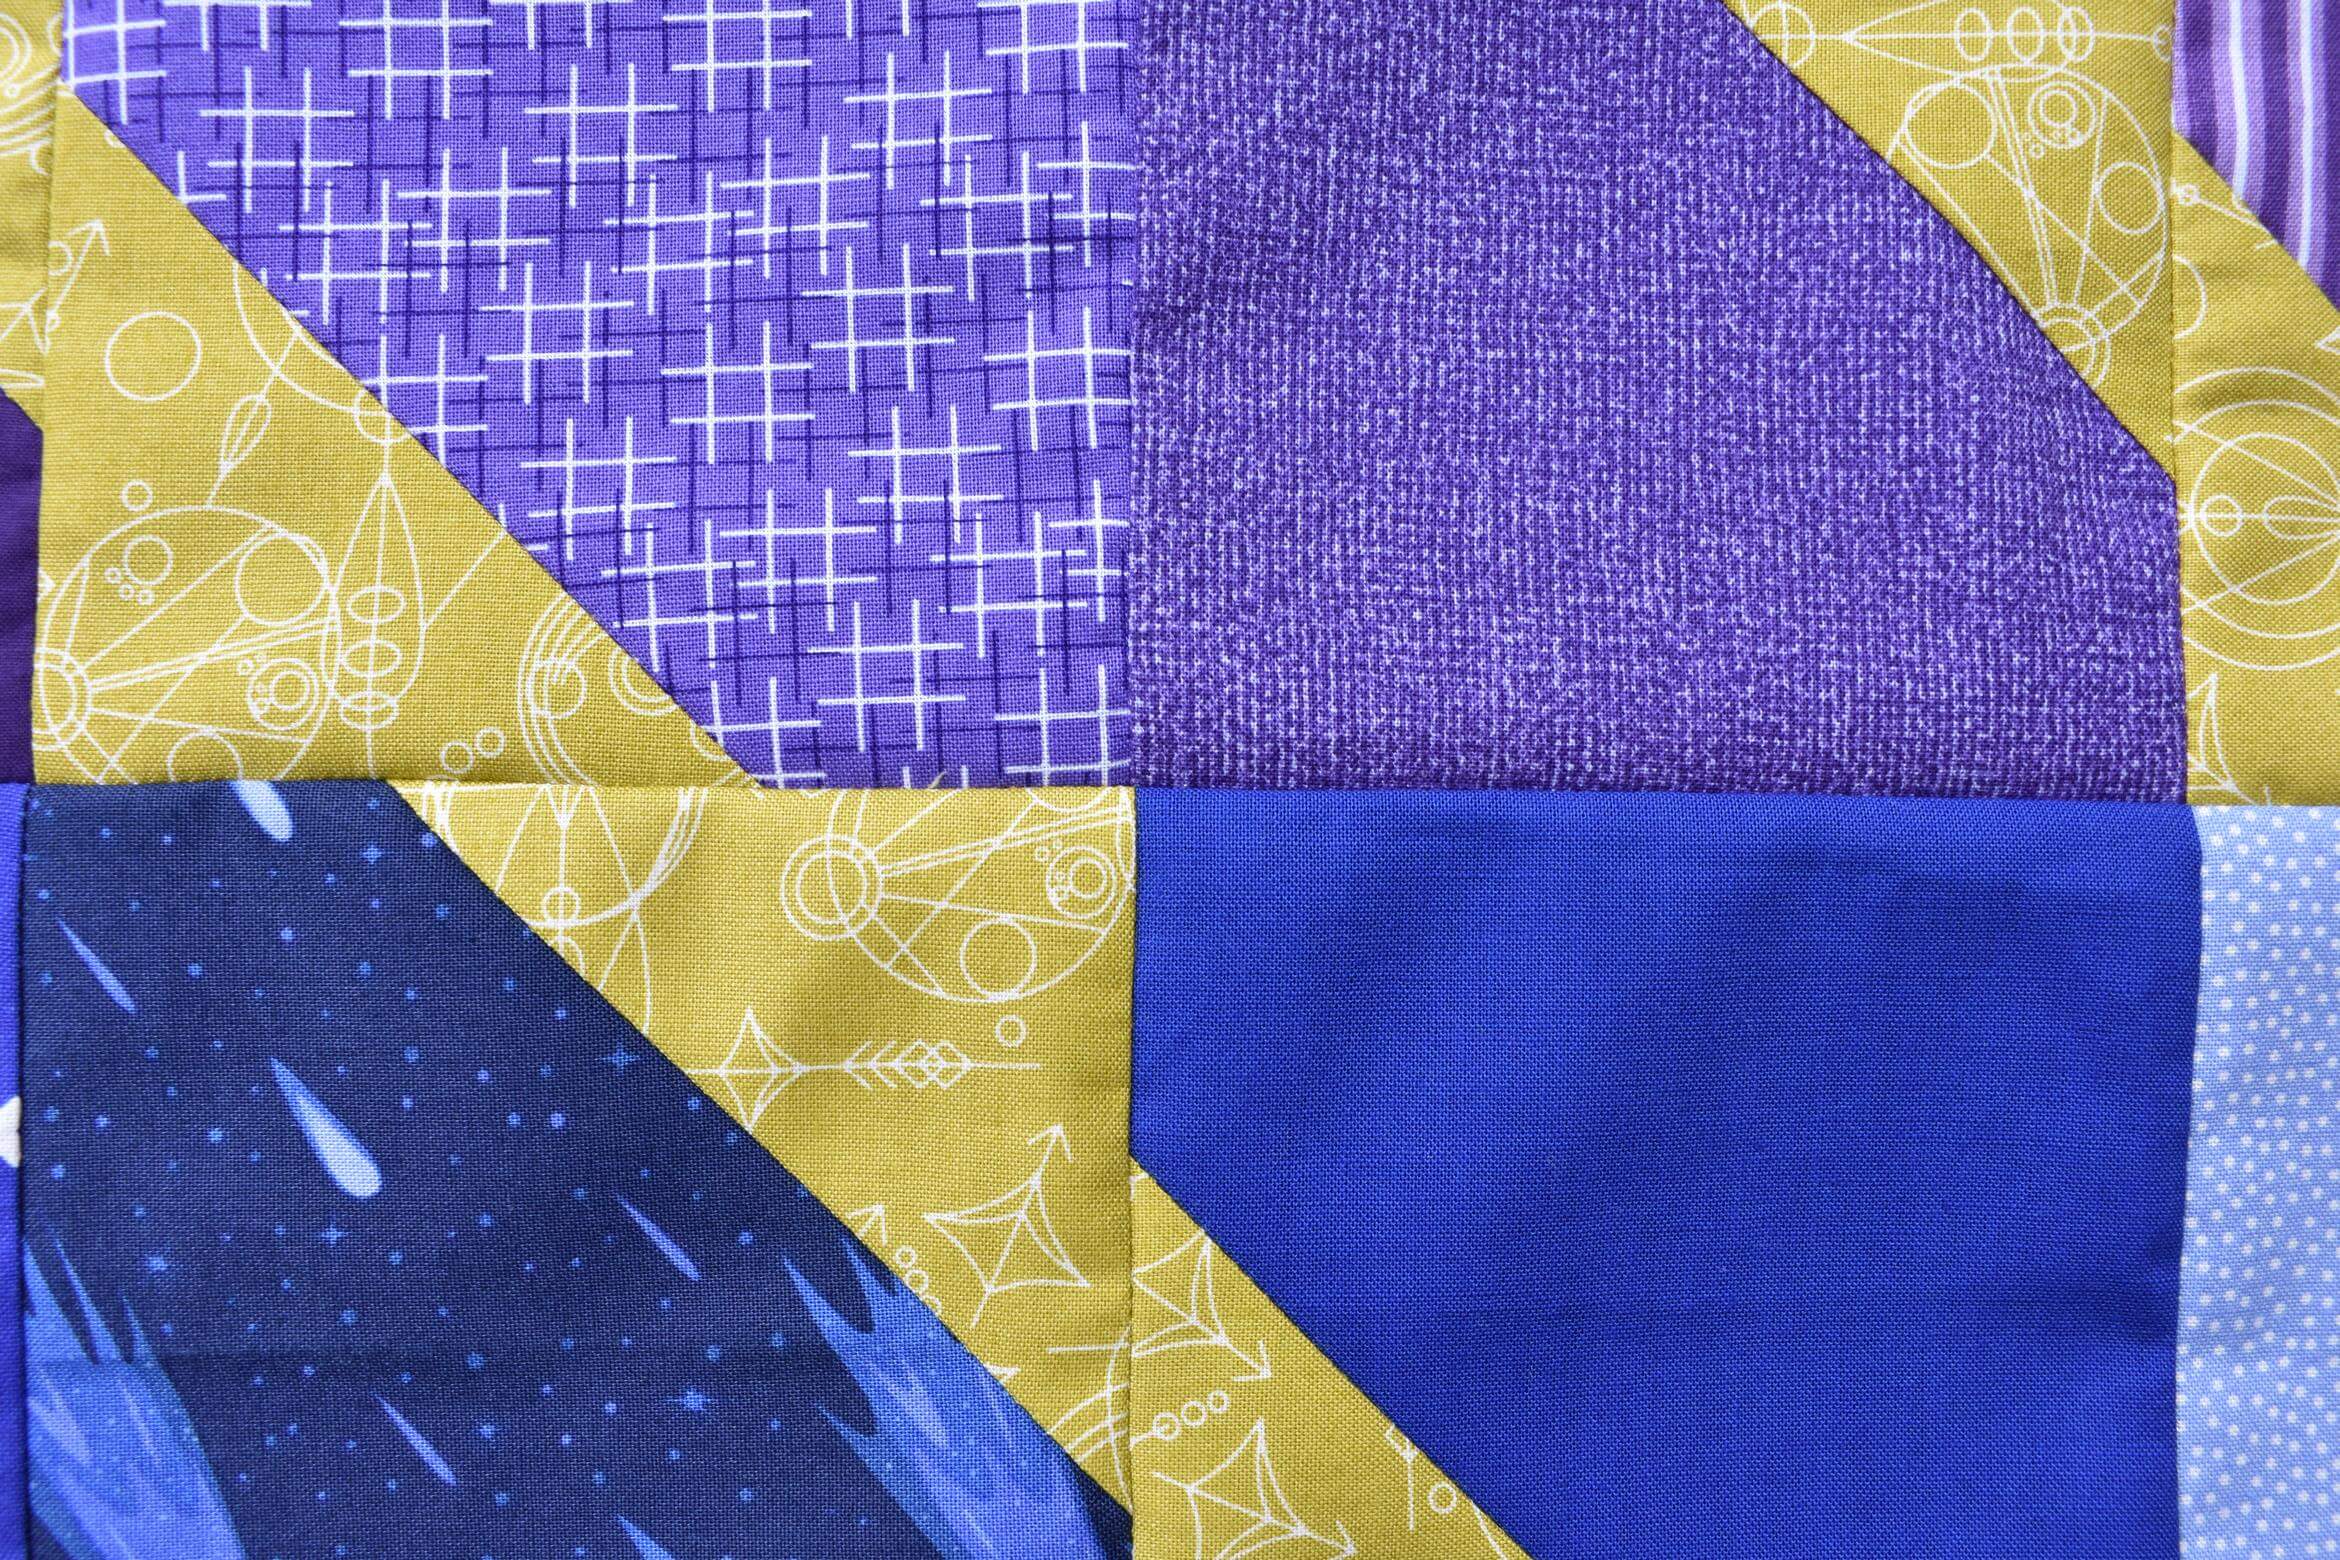
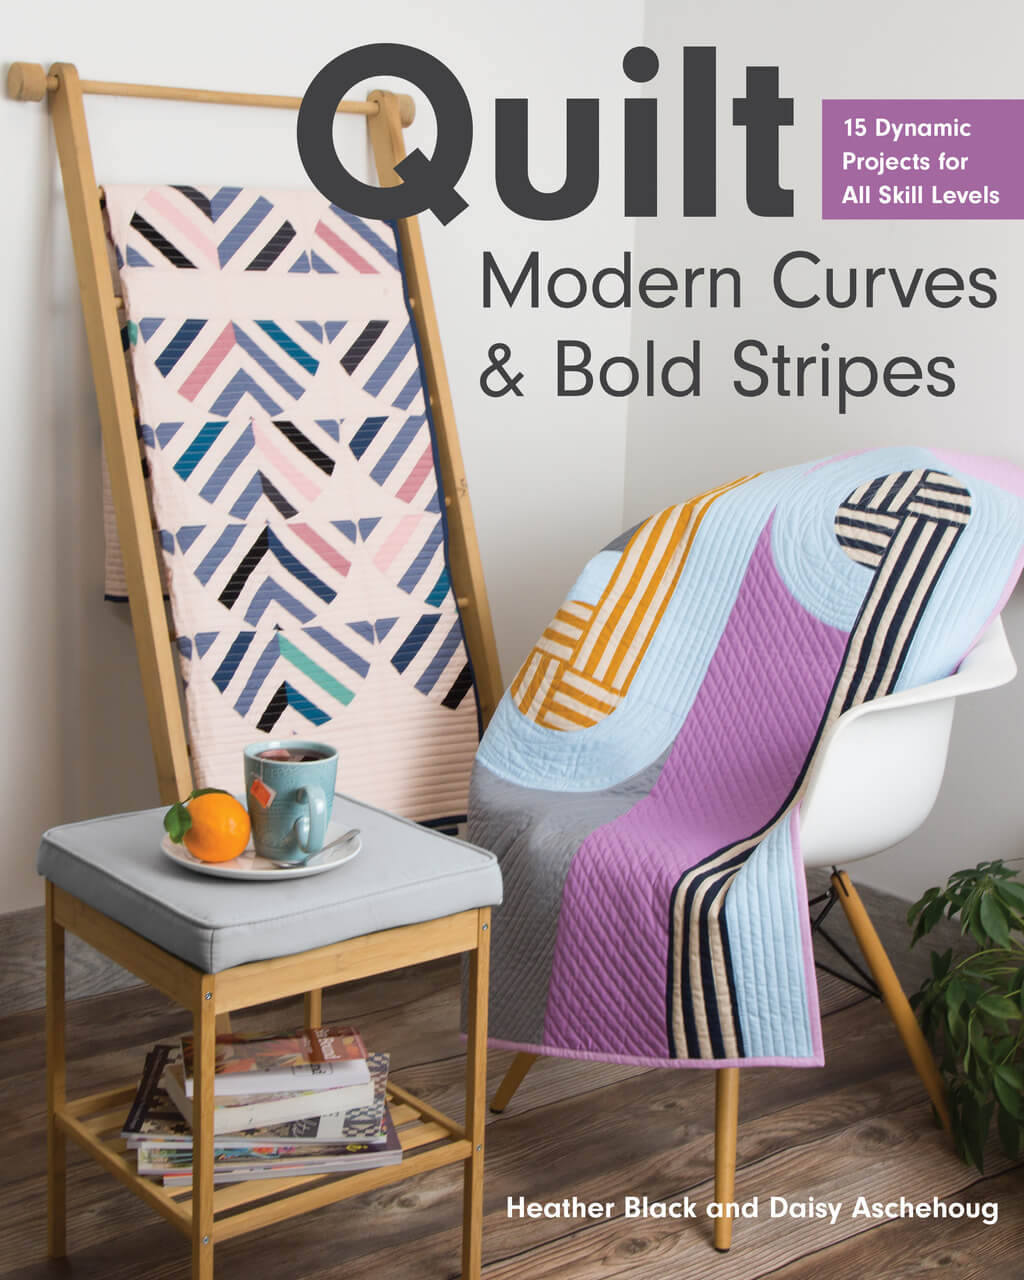
Modern Curves and Bold Stripes is that thing in my life right now! This new book by Heather Black and Daisy Aschehoug is AMAZING, friends. Just when I found myself saying over and over again that I’d love to do more curved piecing, along comes this book chock full of absolutely beautiful curved piecing patterns.

The cutting diagrams and piecing instructions for each pattern are very descriptive and so well laid out, but my favorite part is the “Getting Started” section in the front of the book. There, Heather and Daisy give you all the info, techniques and tricks you’ll need to make accurate curved and striped blocks.

The fact that these quilt all have both curves AND stripes really makes for some cool designs. The two components compliment each other so well and add a lot of visual interest to the patterns. And I love that most of the quilts have both printed and pieced stripe options, so you can really customize your quilt just the way you want it.

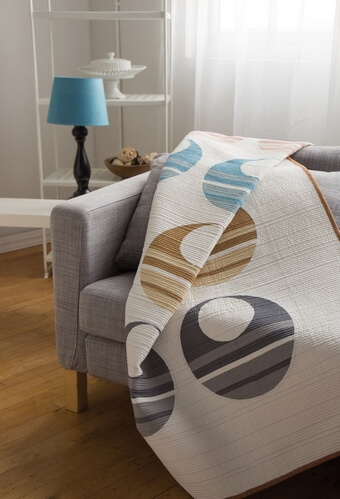
photo- C&T Publishing

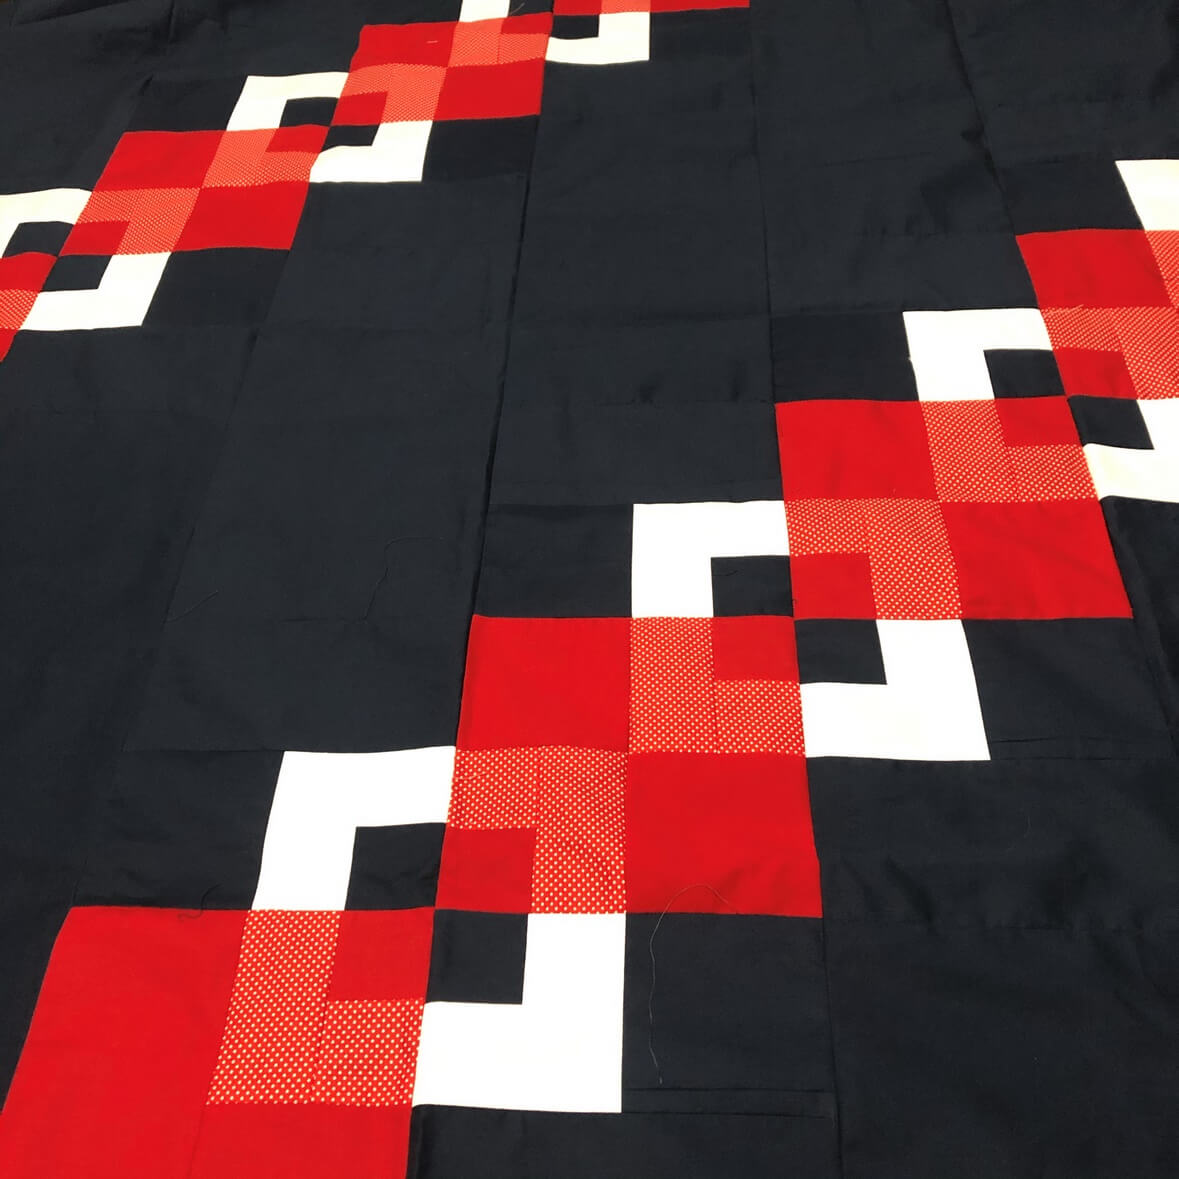
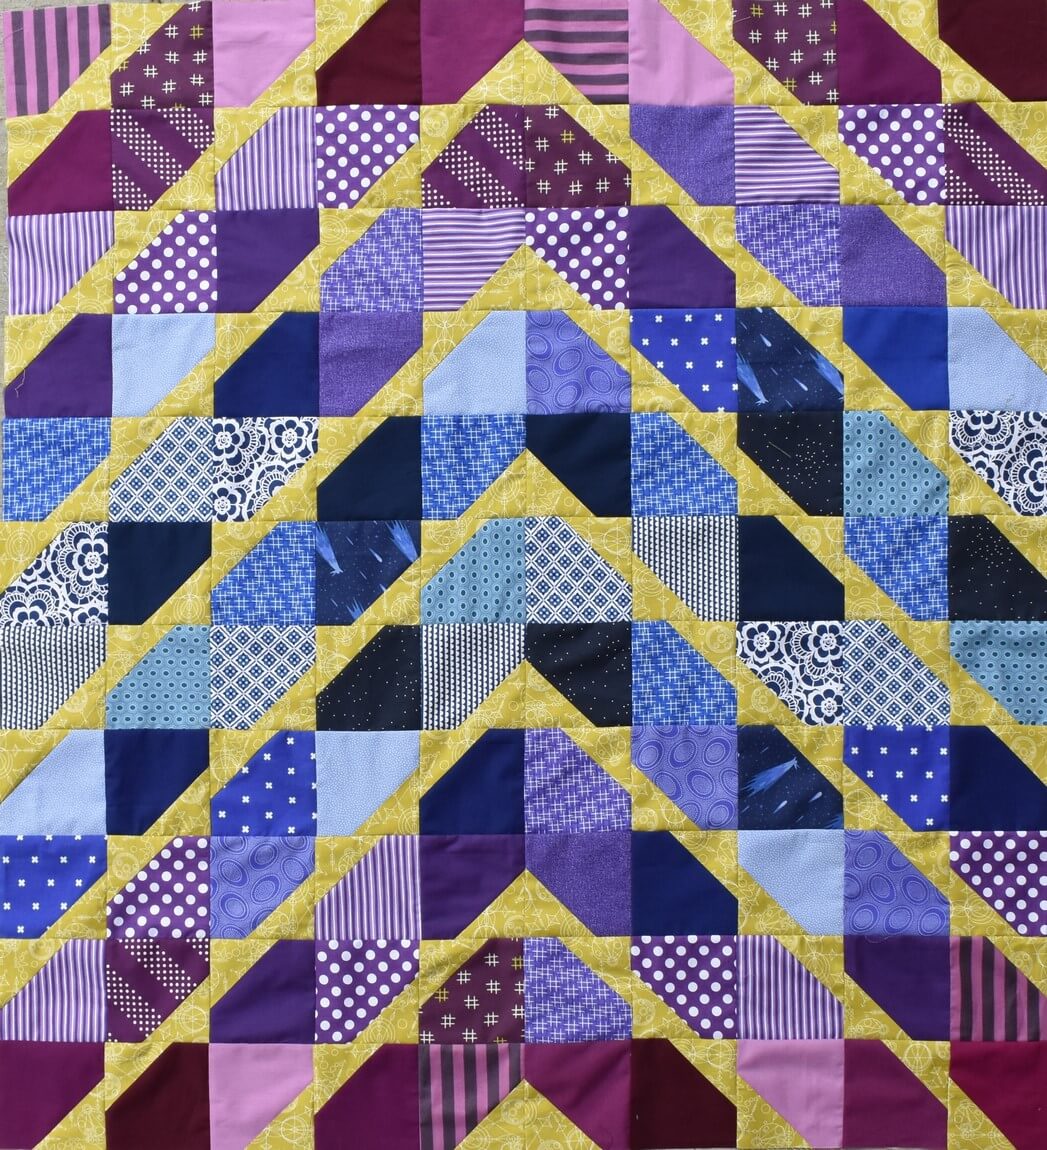
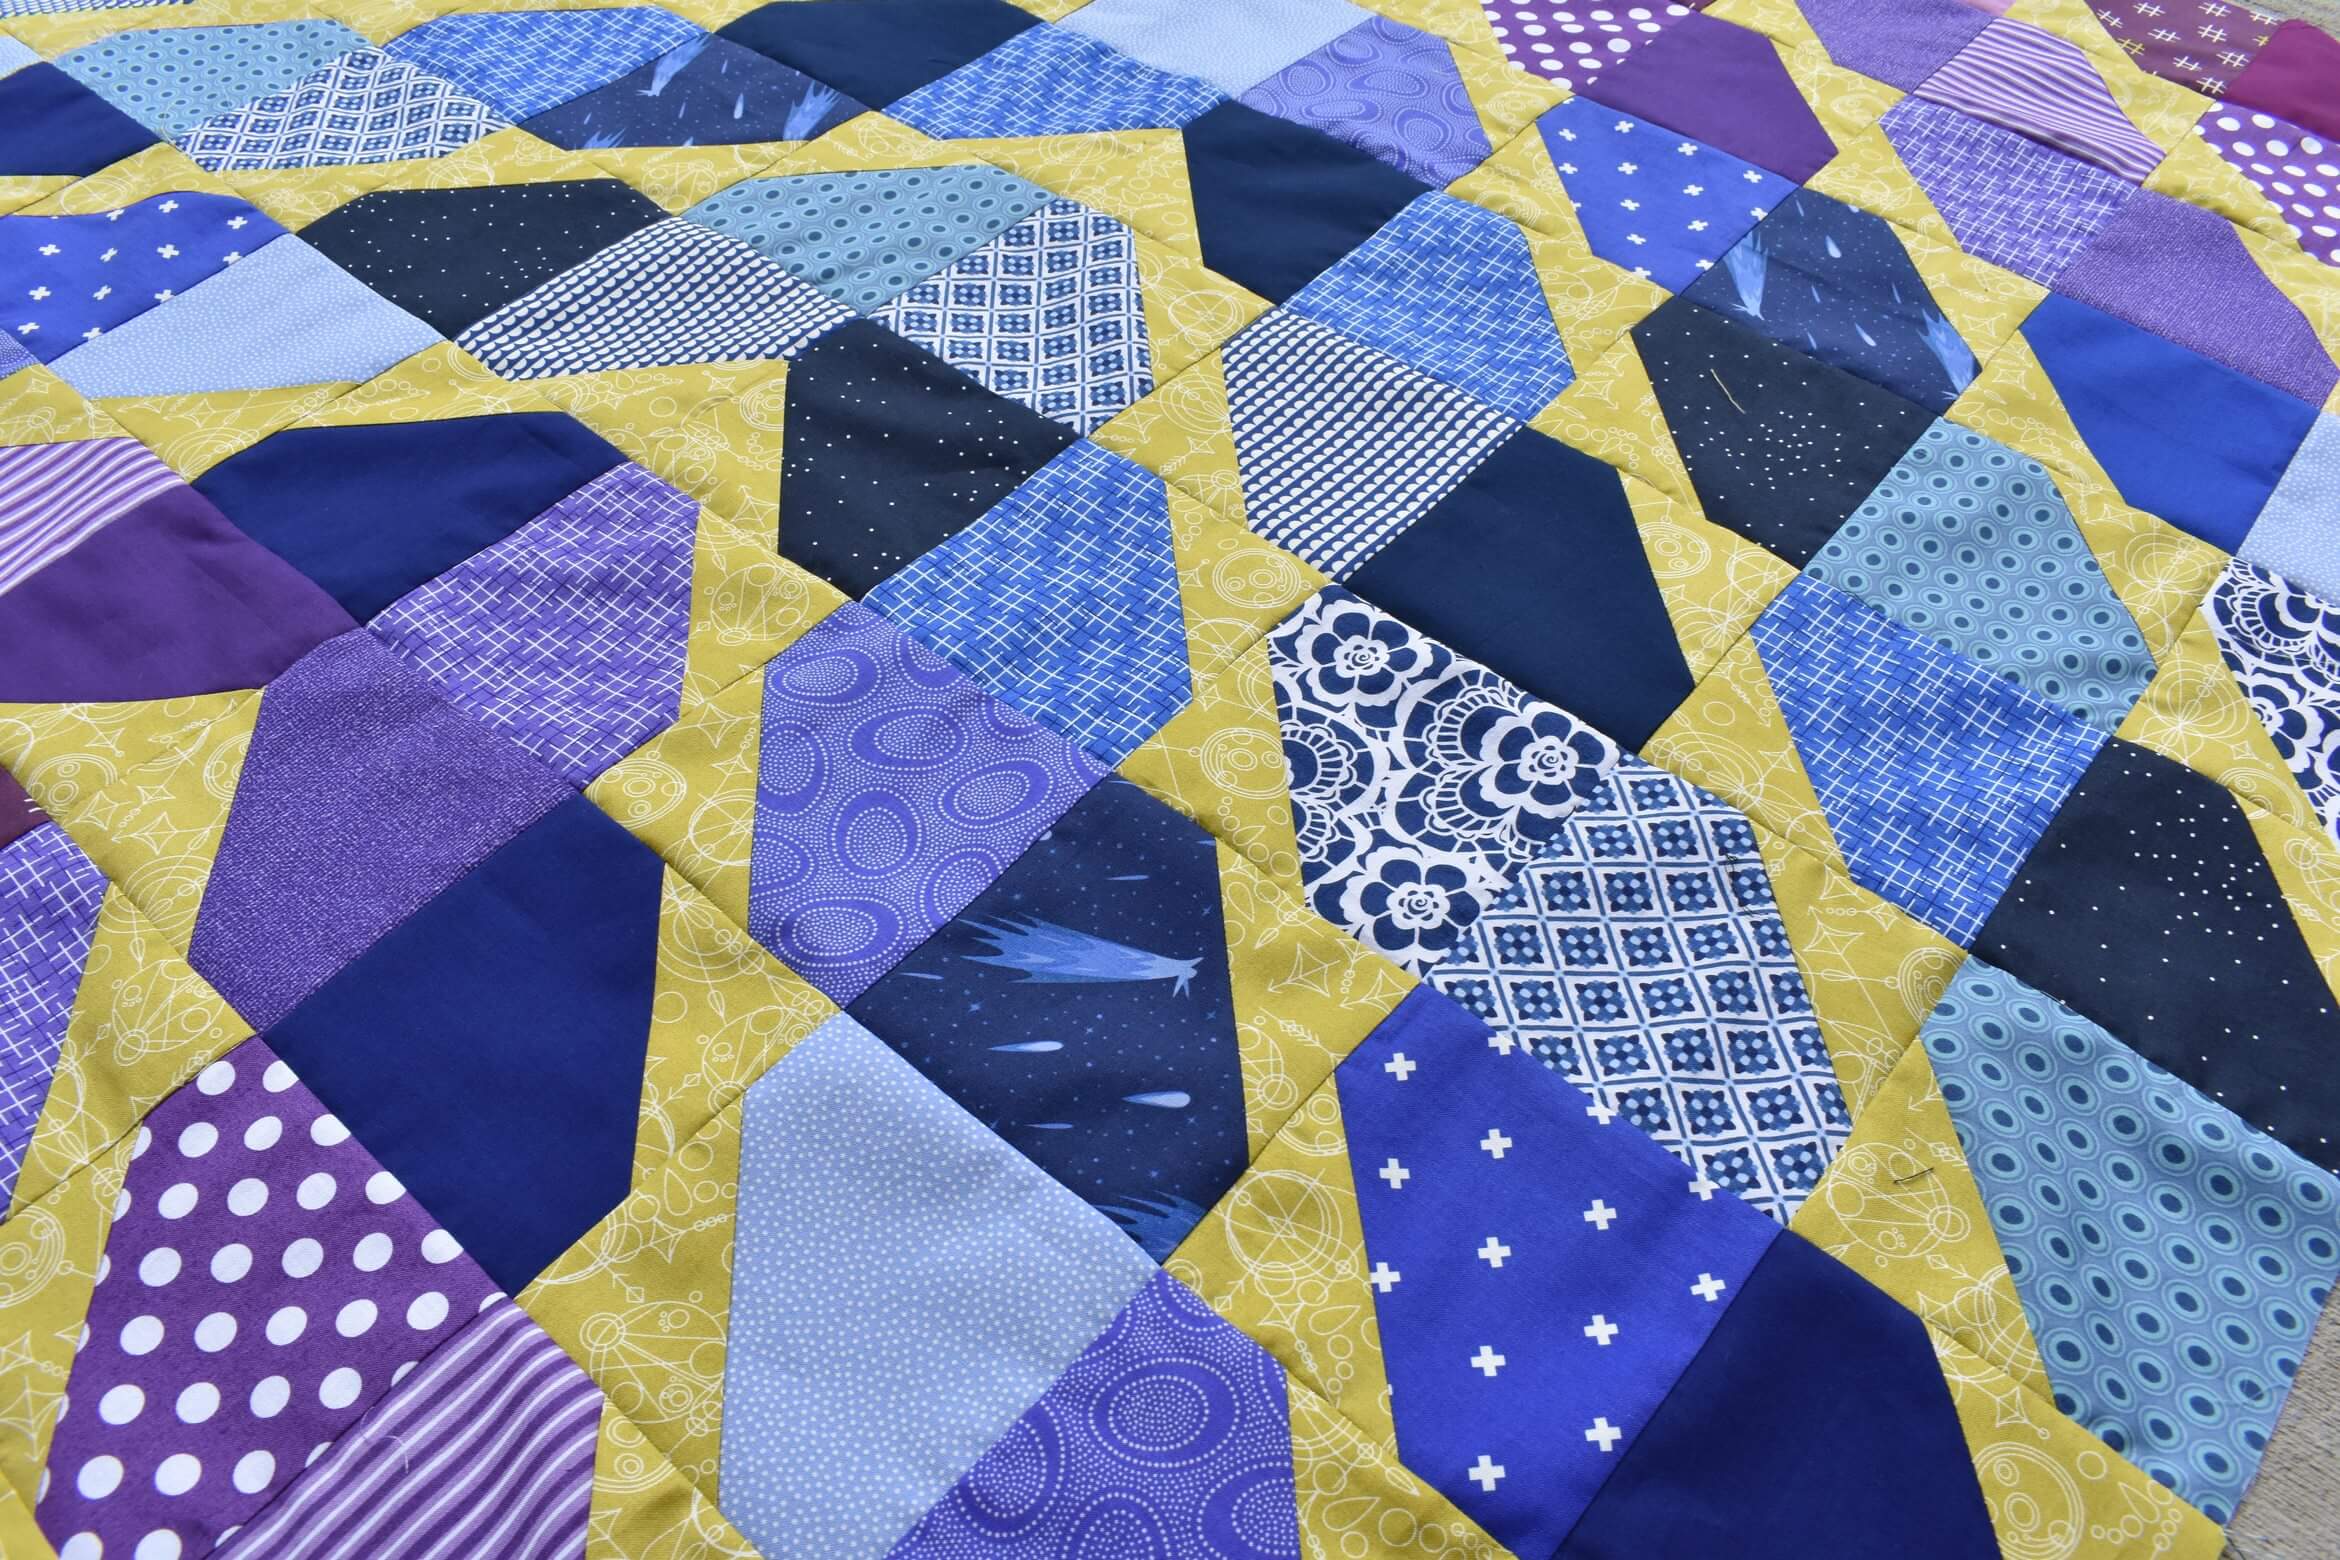
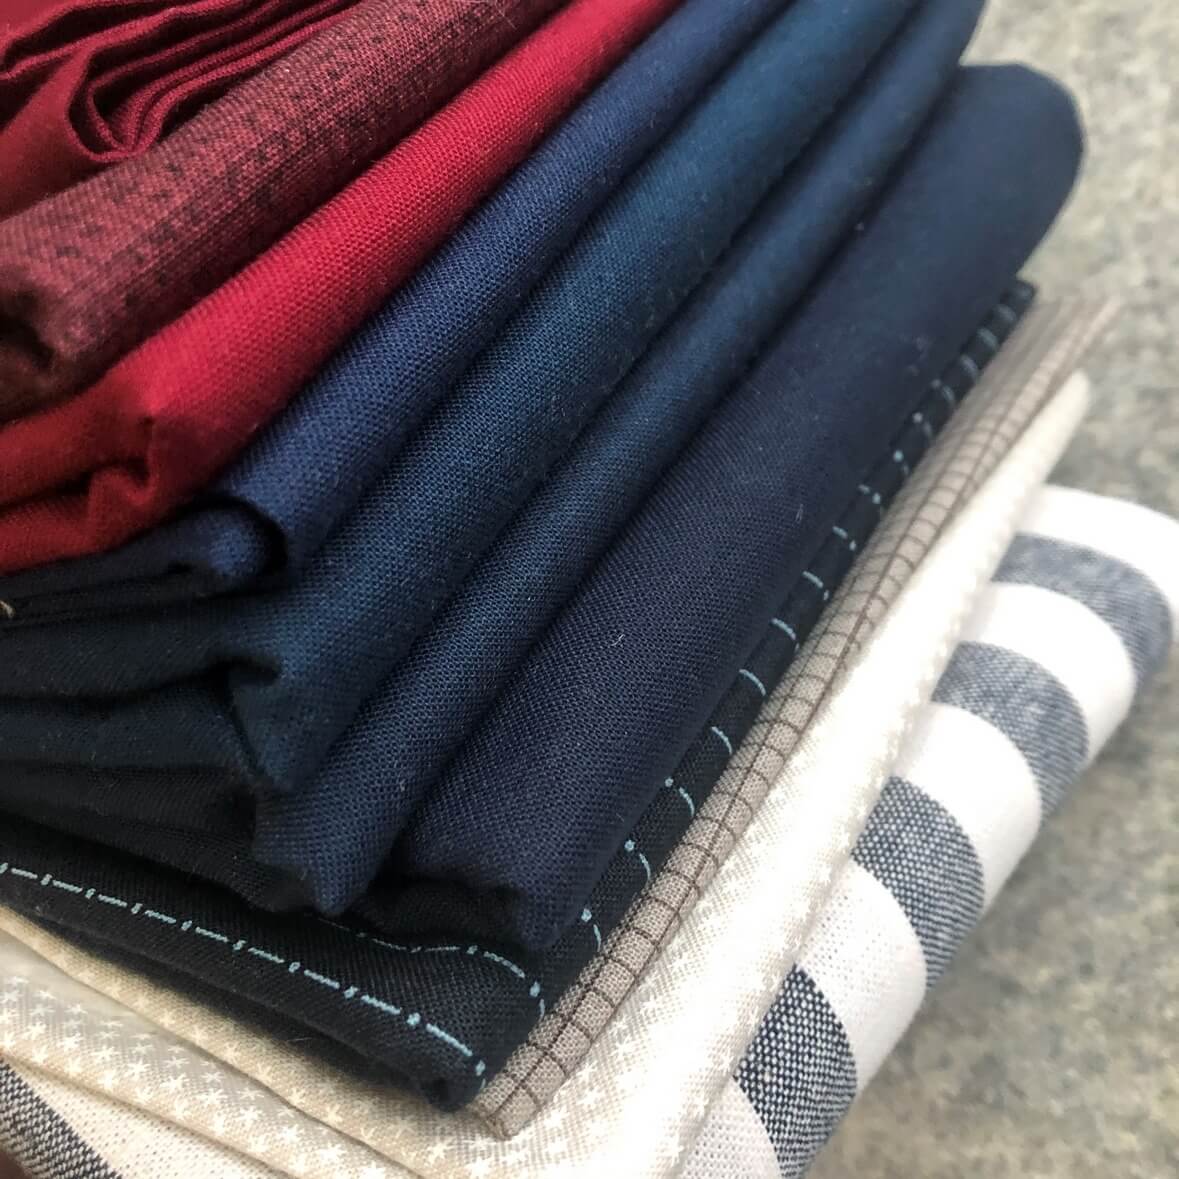
It’s really hard to choose a favorite pattern in the book, but ONE of my favorites (and the first quilt I plan on making) is Sunset Horizons. My youngest looked through the book with me and chose it for his next quilt. It is number 4 on my UFO challenge for this year. My version will be navy, white, grey and burgundy… all fabrics chosen by Nathan!

Heather and Daisy have very graciously provided me with a copy of their book to give away! The give away will be held solely on my Instagram account, so visit there to enter.

And speaking of Instagram, if you are not already following these two, you should be! You can find Daisy’s account here and Heather’s here.

To order a copy of the book right away, visit the C & T Website!


UFO Challenge progress- January

A couple of weeks ago, I shared my list for this years All People Quilt UFO Challenge.

I got pretty down-to-the-wire finishing the Improv blocks quilt top, but I did it!

At the start of the month, I had just one improv block done and a general idea in my head of what the layout should be. As I finished up my blocks, I decided they would have more visual impact placed on point, which changed the layout completely from my original plan. As always when creating, staying flexible is key!

Because I was in a rush to finish it before the end of the month, I had some technical problems with ‘bubbling’ from bias stretching. Honestly, though, I’m ok with that! I would never have finished this quilt top this month if it hadn’t been for the challenge of a deadline. Done is better than perfect. Plus, I plan on quilting it fairly heavily which will work out some of the bumps I got from letting my bias stretch. I will be gifting this quilt later in the year, so for now it’s going to hang out in my studio as an unfinished top!

I also finished one of my bonus projects this month! I am planning a workshop soon to teach By Your Side and was rewriting a few things on the pattern (quilt math for the background, mostly!). I decided to do up a top following the changes so I would have a sample that reflected them. And since all my bonus slots are for that pattern, it was a win/win situation!

This will be used as a sample for my class and then eventually gifted to a friend.


I’d say so far the UFO challenge has been a success! I am already well on my way to getting February’s project done too.

Happy Sewing, ~L

Show Me Something Purple Linkup

When my friend Sarah Goer let me know about her new monthly Show Me Something linkups, I was super excited to start participating. I loved that I could link both new projects and old ones that fit the monthly prompt. And I was especially excited when I saw the theme was purple this month, since I just finished a quilt that was purple and blue and was going to be a perfect fit for the linkup!

That being said, I still wanted to make something new for the month in response to the prompt. I didn’t have much time on my hands last week because I was sewing up two quilt tops (more on those later!), so I chose something small and quick.

Have you seen the amazing Sew Tiny Sampler from Kitty Wilkin? If not, you need to take a look at this pattern! I love making these teeny tiny blocks. I chose to go a little outside the box and make some purple trees, because why not?! Sometime you have to just do things just for the fun of it.

I chose vivid purple for the trees with a brown-tinted purple as the trunks on each tree. Add in a grey background that has a purple undertone, and you’ve got yourself a fun little set of blocks.

I have no plans for these as of yet. They will get added in with all my other tiny blocks from this pattern and eventually I’ll use them to make something fabulous.

Happy Sewing, ~L

What I’m working On: 2020 Temperature quilt

I always say I’m not really a joiner. I’m know my tendency to over-commit and then feel obligated, and as a result I avoid commitments when I can. That being said, this year I am doing my best to join in on some of the fun things going on in the quilting community.

One of the things that I decided to do this year is the Quilting Mayhem Temperature Quilt-along. Quilting Mayhem is my favorite local quilt shop (and past place of employment!). While I was still working at there and heard we were planning a temperature quilt-along, I realized it was something I really wanted to do. But, I would need to make it very easy on myself to keep my commitment through the whole year!

Let me pause for a moment for those of you wondering “What in the world is a temperature quilt?”. Many in the knitting and crochet world have been doing something like this for a while, but it seems to be new to quilting. The basic premise is that you choose several fabrics, each one representing a range of temperatures. You then make a quilt with a block to represent each day, recording the temperature for that day. You can make it as simple or as complicated as you want. You could record highs only (like me), high and low temperatures, average temperature, and even the weather. I had customers come in that were recording the high, low, and weather for the day. Some people are adding embroidery or a special background fabric to indicate a snow day. Some people are choosing special years in their lives and recording data from that year. You can get as creative with it as you like! I suggest you check the hashtag #qmtemperaturequiltalong on Instagram to see all the wonderful ideas people are coming up with. If you decide you want to join in, there’s no sign-up. Just use the hashtag on your Instagram posts of your quilt so the other participants can cheer you on!

So, for my quilt, I decided to only record the high temperatures and not do a pieced block. I have hexies for each temperature range (mostly 4 degrees for each color) and am stitching an offset strip of hexies for each month. After the end of the year when all my strips are done, I’ll be applique-ing them in chronological order to a solid background, probably a light grey. I figured this was a simple way for me to do the bulk of the work (making a bunch of hexies) at the beginning of the year and then it’s very easy for me to add hexies as the year goes on and my patience for the project wanes.

I chose a pretty tight color range of mostly greens (with a few blues and yellows) for a couple of reasons. First, I love green and want a predominately green project this year. Second, I thought it would be a really nice way to let the temperature extremes really stand out. When I look back at the year and see a blue or yellow hexie, I’ll know it was a pretty extreme weather day (at least for Western Washington!)

I’m looking forward to seeing how this one progresses. I both love and hate that the nature of the project is forcing me to take the whole year to complete it. It’s an exercise in patience for sure!

Happy Sewing!  ~L


Happy Valentine’s Day!

Whether you’re into the lovely-dovey stuff or think of today as another Hallmark creation designed to get our hard-earned cash, I think we can all agree that Valentine’s is at least a great excuse for a fun heart project!

img_5068

I totally got into the spirit of it this week, and decided to finally cut into the Essex Yarn Dyed Metallic fabric I bought recently. The sparkle in these metallics is so pretty!

img_5317

For my pattern, I decided on the I Heart You free mini quilt pattern from Cluck Cluck Sew.  I love it! The design is so cool, instructions are easy to understand, and the whole thing worked up really quickly.

img_5337

img_5343

I put this mini in the center of my dining table with a pretty little bouquet of flowers.

DSC_0168 (2).JPG

With all the WIPs I have right now, I really enjoyed just having a quick finish. What are your favorite quick patterns?

Happy Sewing, ~L

Turnabout Patchwork Blog Hop

thumbnail_turnaboutbloghop

I am so excited today to be participating in the Turnabout Patchwork Blog Hop! This new book was released by Teresa from Sewn Up late last year, and for the next week and a half, we will be celebrating with her!

thumbnail_sewnup-teresadownunder-banner-sml

In Turnabout Patchwork, Teresa uses simple blocks cut and turned different ways to create fun and easy quilts. I enjoyed looking through the book imagining the quilts done up in different color combos from my own stash.

Visit Teresa’s website and Instagram account to see all the fun things she’s up to!

For my project, I chose to do the Arrowhead quilt.

I decided it was time to start using all the indigos and purples I’ve been stashing lately. I love the way these colors blend together, but I needed some contrast for this quilt design as well. For that, I chose this amazing chartreuse from Alison Glass that’s been waiting patiently in my stash for just the right quilt.

dsc_1132

dsc_1129

The cutting on the accent color was a bit of a tight fit, and I chose not to do the border. If I was doing the quilt again, I might get a little extra of the accent color to be sure I had enough.

Another adaptation I made was to only do 11 rows instead of 12. With my particular set of fabrics, the gradient just blended better that way.

dsc_1126 (2)

I am so in love with this quilt! The design is really striking and I would love to see it made up lots of different ways. It was a really quick top to finish, so I may be making it again sometime soon.

As for quilting, I’m not 100% sure yet what I want to do. I will probably quilt heavily in the purple and blue areas and leave the green alone so it really stands out. I have a date with the long arm next month, so I have at least a little while to figure it out! dsc_1122


To purchase Turnabout Patchwork, visit Teresa’s Blog by clicking the button below and she will give you all the details for ordering!

thumbnail_sewn up badge


And what’s a celebration without a Giveaway?!

Teresa has been gracious enough to allow one of my readers to win an electronic copy of her book AND a PDF pattern of your choice from her shop. Entering is simple: just visit her etsy shop, take a look at all her great patterns, then come back here and leave a comment telling me your favorite.

I’ll be randomly selecting a winner at the end of the Blog Hop.  Giveaway is open to everyone over 18. I’ll notify the winner via email, so make sure you’re not a no-reply blogger or leave me your email in the comment in this format:  laurelpoppyandpine(at)outlook(dot)com

Good luck!


Last but certainly not least, be sure to stop by each blog in the hop to see all their gorgeous projects and to enter some more fun giveaways!

Blog hop schedule

January 30 – Quarter Snow Ball

Arrowhead

Sweet Bows

Tutti-frutti

Sun Dunes

February 1 – Modern Shoofly

Flying Rainbows

Flying Butterflies

Flying Flags

Flying Confetti

February 2 – Half Square Triangles (HSTs) and squares

Rose Garden Star

Swirl

Houndstooth

Diamond Star

February 4 – Striped Fabric Block

Shells

Xs and Os

Jaws

Arrowhead

February 6 – Coordinated Strips

Peaks

Diamond and Crosses

Knots and Crosses

February 8 – Double Disappearing Nine-Patch

Holiday Trellis

Stepping Stones

Two for One

Cross


Happy Sewing!  ~L


Christmas sewing projects

I mentioned a while back that I had been a naughty quilter and was starting lots of new projects without finishing what I’ve already started. Many of those fun distractions were Christmas projects that I just HAD to do!

I recently picked up some Swell Christmas fabric at work. I love this collection; it is so retro-cute I can barely stand it. I decided to make myself a Christmas table runner so I could really enjoy the cute fabric up close all season. Originally, I was going to do a checkerboard patchwork of the Santas alternated with other fabrics from the collection placed randomly.  I cut my Santa squares and then promptly changed my mind (don’t you HATE that?!)

Instead, I decided to use the Shimmer pattern from Cluck Cluck Sew to make a few blocks that I would make into a runner. Unfortunately, the Santas were already cut too small to be the centers of those blocks! I regrouped and made a new plan. Here is what I ended up with:

There is big stitch hand quilting on there, but not much. I figured I could get away with minimal quilting as it will only get washed a few times a year at most.  I used Aurifil 12wt thread, which I am in love with for super visible and cute hand quilting.

img_3622

It love it and think it ended up really cute.


But what to do with all the adorable Santa squares I had already cut out? I knew that my sister would love them as much as I did, so I decided she needed them in her life. I had enough of the red trees left over to add to the Santas and make a table runner for her too!

DSC_0661DSC_0821

The back has a little surprise- the table runner is completely reversible. On the back (or front!), I appliqued my wish for a joyous season for my sister.

DSC_0829

This was gifted mid-December so that she could have it out leading up to Christmas.

DSC_0814


In the midst of all that, I also made this improv present block. It only measures 6 inches square, and I don’t know what I’m going to do with it yet. Stay tuned!

img_3841

And last but not least for the Christmas creating: I decorated my boy’s tree this year in a lot of red, yellow, and teal and decided that their red and green tree skirt would just not do. This new tree skirt was a really quick and easy project using 12 wedges cut with a wedge ruler and sewn together.  My youngest says the tree ‘looks like the circus’. I am choosing to believe that was meant as a compliment!

img_3808

And a post about my Christmas season would not be complete without sharing a picture of this adorable little terror that my husband brought home. His name is Sparta and one of his favorite activities is playing in my trees. I think he loves that we’ve put up new ‘climbing toys’ all over the house for him with pretty lights and baubles to knock down. I have to admit, though: he’s pretty cute.

img_3791


Happy sewing, ~L

Embroidery

Just a quick post today to show you a little bit of the embroidery I’ve been up to lately.

I have had this deer fabric for about 3 years and have been planning all that time to add a winter crown. I even had some of the leaves started, but the project just sat stagnant. I recently got it out of my embroidery bin and just went for it. With Christmas coming, I guess I just felt inspired! I added more leaves and some red roses.

With that one done, I decided to try a spring crown as well. I some lighter greens for the leaves and added a bunch of sweet flowers. I have one more usable deer on this fabric, so I think I’ll also make a fall one too. I don’t know yet what I am going to do with these guys, but I’m thinking if making a series of tiny wall quilts for my studio that I can change out throughout the year.

Recently at work, we got in Quantum by Guicy Guice. My coworker (who is an embroidery QUEEN) and I thought it was a perfect collection to do some stitching on.  This was a really fun little thing to stitch for a few days, but I’m honestly not sure what I’ll end up doing with it! I am looking forward to spending more time playing around with the designs in the Quantum collection.

Embroidery is something that I really enjoy doing, but just haven’t made the time to commit to a bigger project. It’s always just little bits of stitching here and there that end up in my drawer. BUT, I do I have something in mind for a project that will actually become a usable item, and I think that would help to get me going! Do any of you have a favorite embroidery project to inspire me along the way? I’d love to see!

Happy Sewing, ~L

Project Update

Something I’ve learned about myself between my last update and now: I would much rather start a new project than finish an old one!

Here is is an update on the projects I shared last time.

DSC_1001

Blue Low- Volume: Absolutely no progress…. that’s a big fat, F for me!!

DSC_0670

Champions: I’ve done only a little bit of hand quilting on this one since last time.

DSC_0672

Lauren’s Patchwork: I added a couple of fabrics from the new collection Abbie. I knew as soon as it came into the shop that I needed to buy these. That is the wonderful (and terrible!) thing about working at a fabric shop- I see it all as it comes in and it’s very easy to ask a co-worker to set some aside for me!  All the squares are cut for this quilt, as well as a few extras. Lauren is home sick from school today, so she will be laying it out on the design wall for me and I’ll start assembling it as soon as she is happy with the layout.

DSC_0659

Orange HST quilt: I decided that the reason the blocks were sitting so long on my design wall was because I obviously didn’t like the layout idea I had come up with. I needed to get this one moving, so I tried out a checkerboard design and it worked much better for me. The top is finished and ready to quilt.

DSC_0663

I  currently have SIX tops waiting to be quilted (including the Orange HST, Scrappy Rainbow, and Kayak Point quilt tops I shared last time). I have found that I always get stopped up on the basting step. I just don’t like it- it’s my least favorite part of the process. So, in a little over a week, I will be taking the longarm class at work. It’s been something I’ve wanted to learn for so long and I am so excited!

In addition to trying to move these projects along, I started several other smaller projects, some of which I’ll share in a later post!

Happy Sewing! ~L


Pink Wonky quilt

DSC_0931

As I mentioned yesterday, this week I finished up a quilt to donate through my guild. The pattern is a wonky variation of a log cabin variation that one of my guild members wrote up. So, a variation of a variation- fun!

I had been working on some blue, gray, and green low-volume blocks with my daughter and decided I wanted to play with some of my white, pink and yellow low-volume fabrics as well.  As for the quilts name, I know it isn’t completely pink, so calling it the Pink Wonky quilt is kinda weird.  But as I was working on it, needed a way to differentiate it from the bluish blocks I was working on with my daughter, so I called it the Pink Wonky and the name just stuck!

I chose to make my blocks wonky because, honestly, I thought it would be easier and faster than worrying about them being perfect and straight!

DSC_0983 (2)

For the quilting, I went with simple waves done diagonally across the quilt. I wanted to keep it soft and pliable for the recipient, so I resisted my urge to put in a ton of quilting.

DSC_0992 (2)

If you’ve been following for long, you know that bright and bold colors are my forte, but this exploration into low-volume fabrics was really fun!

Happy Sewing!  ~L