I love this time of year. Foggy mornings, cool nights, apple spice…
After the wonderful chaos of summer play and lack of scheduling, fall is the time to get back on a routine. Days in the sun make way for lovely evenings filled with family time, crafts, and reading.
There is something so nostalgic about fall. Call me crazy, but going back-to-school was one of my favorite things as a kid.
The excitement of a new start.
New school supplies.
And lots and lots of books from the library carried in my favorite book bag.
Remember book bags?
I loved my book bag when I was little. A little tote to carry all my books around everywhere I went? Perfection!
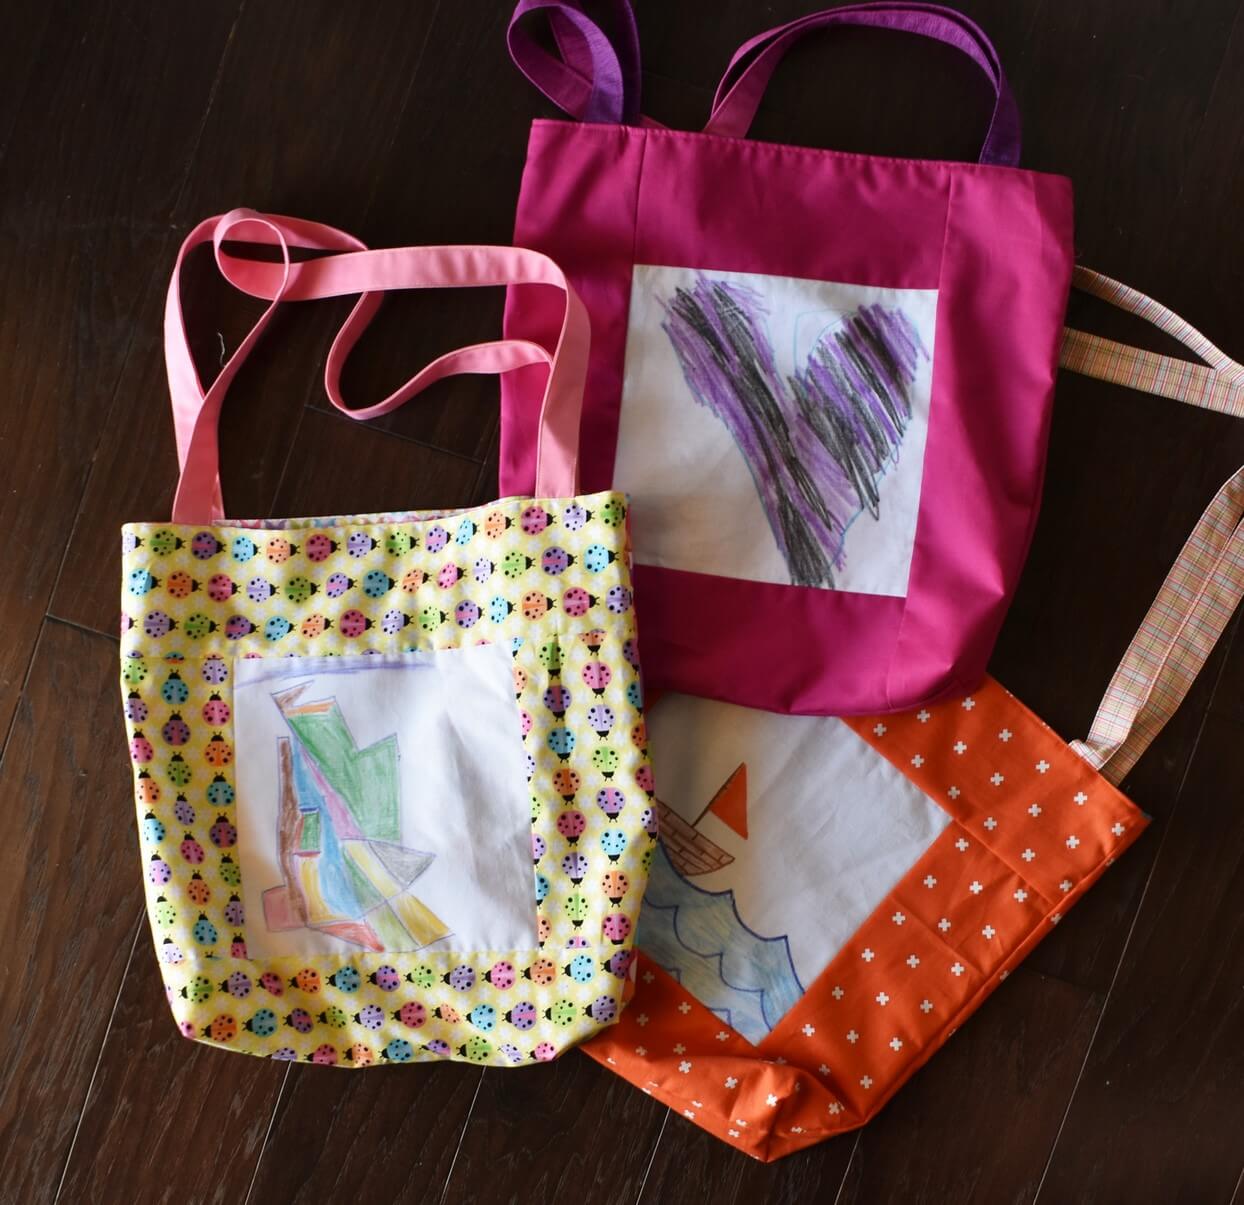
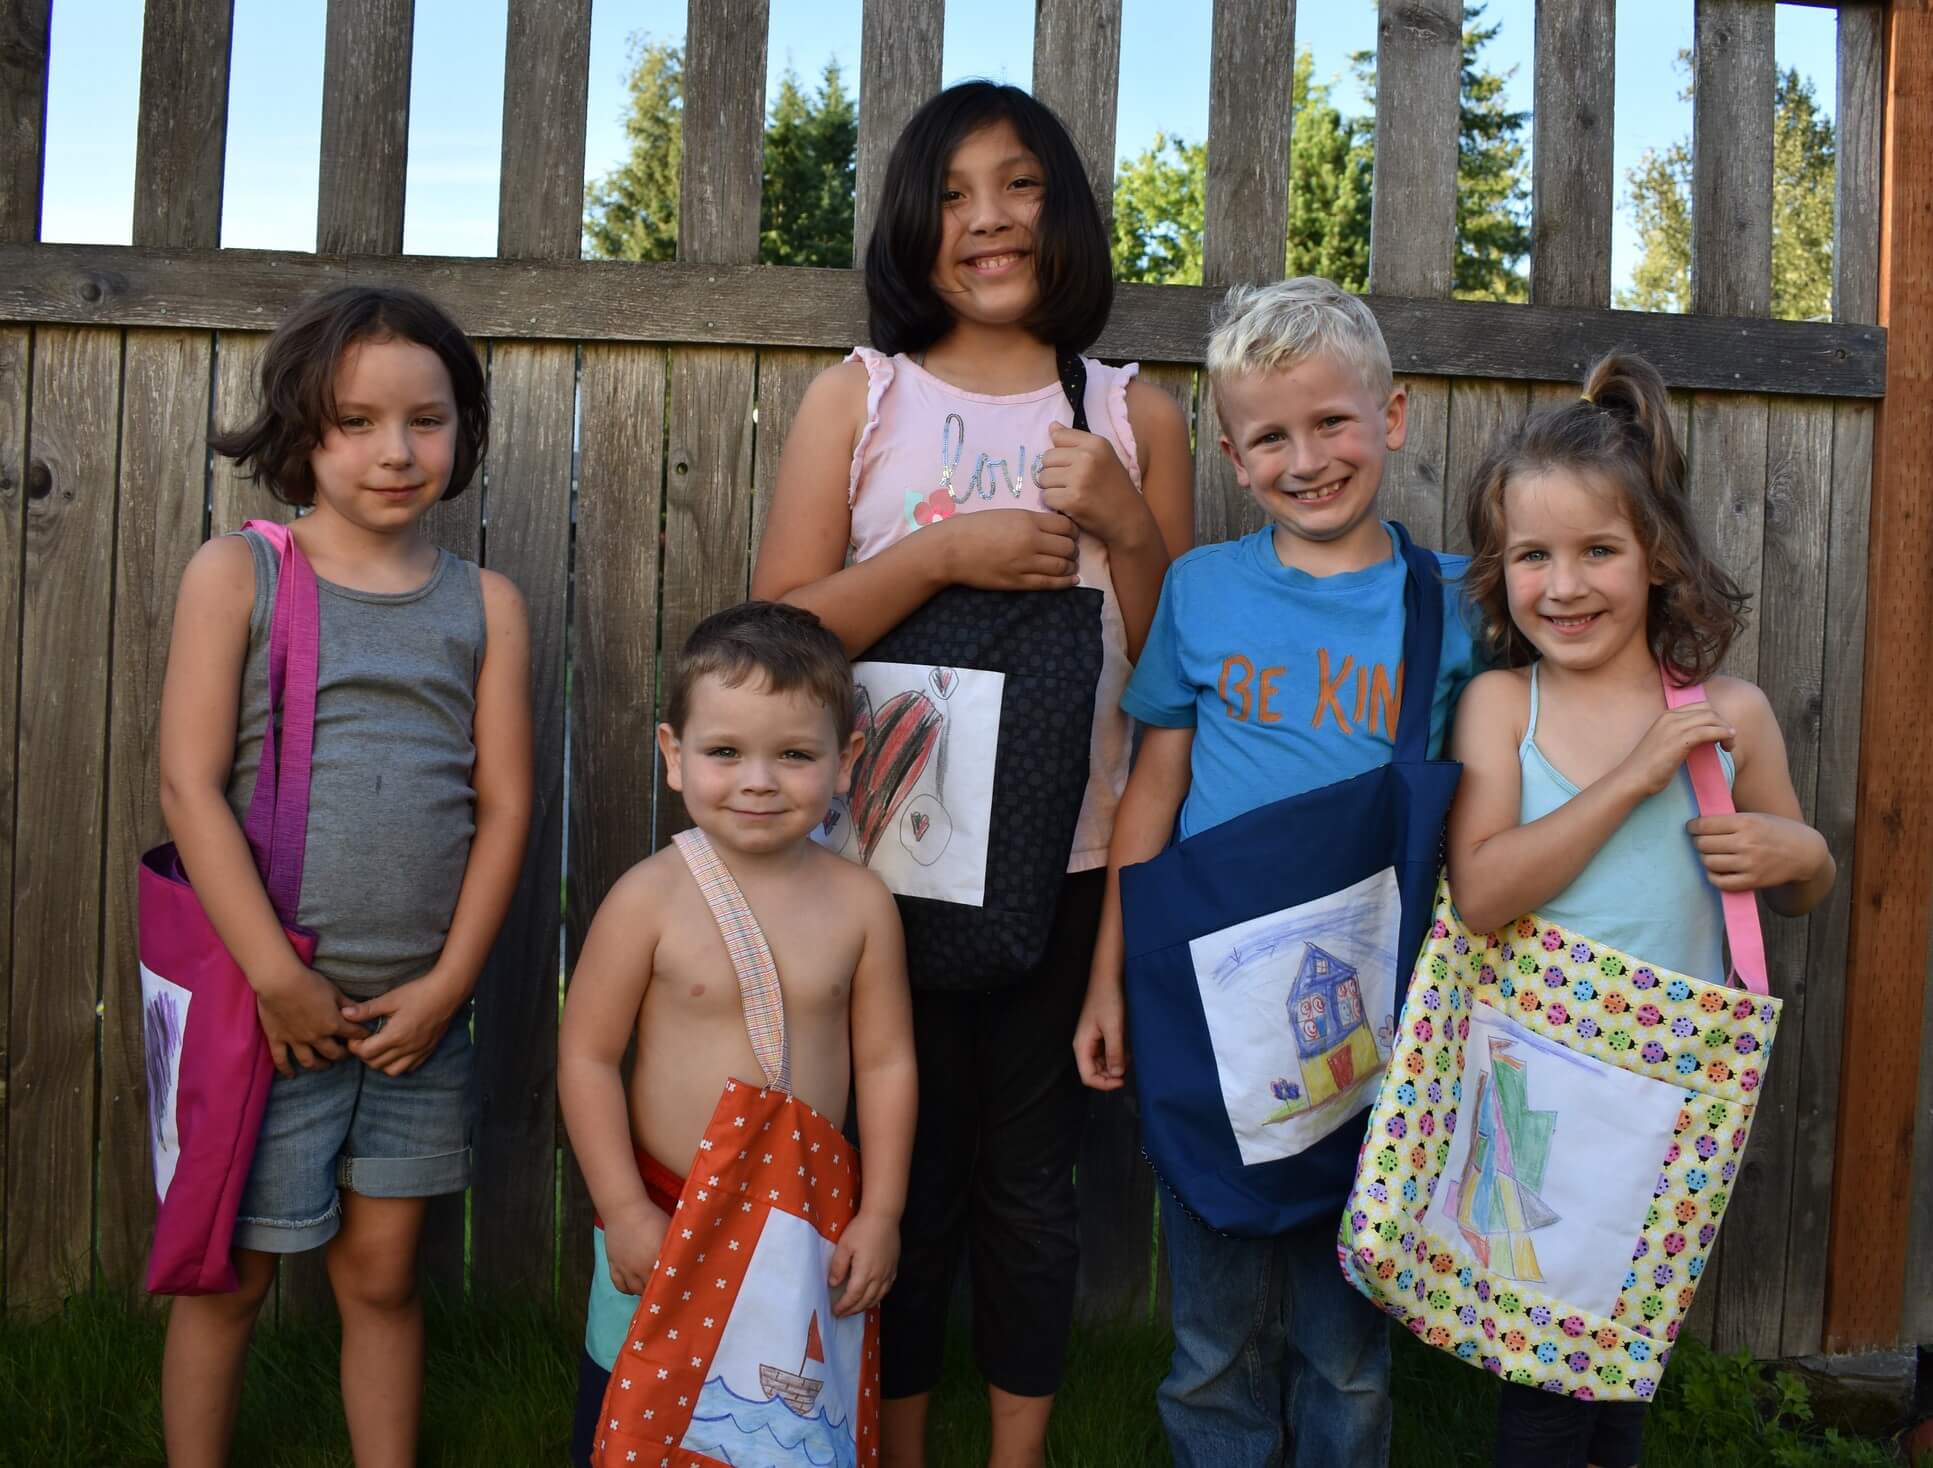
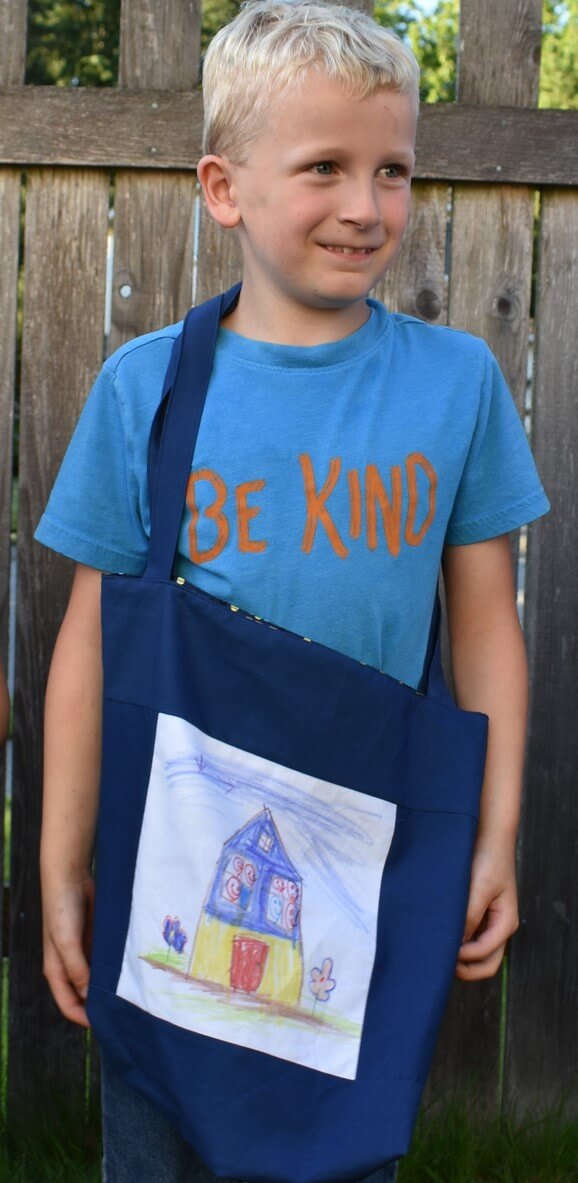
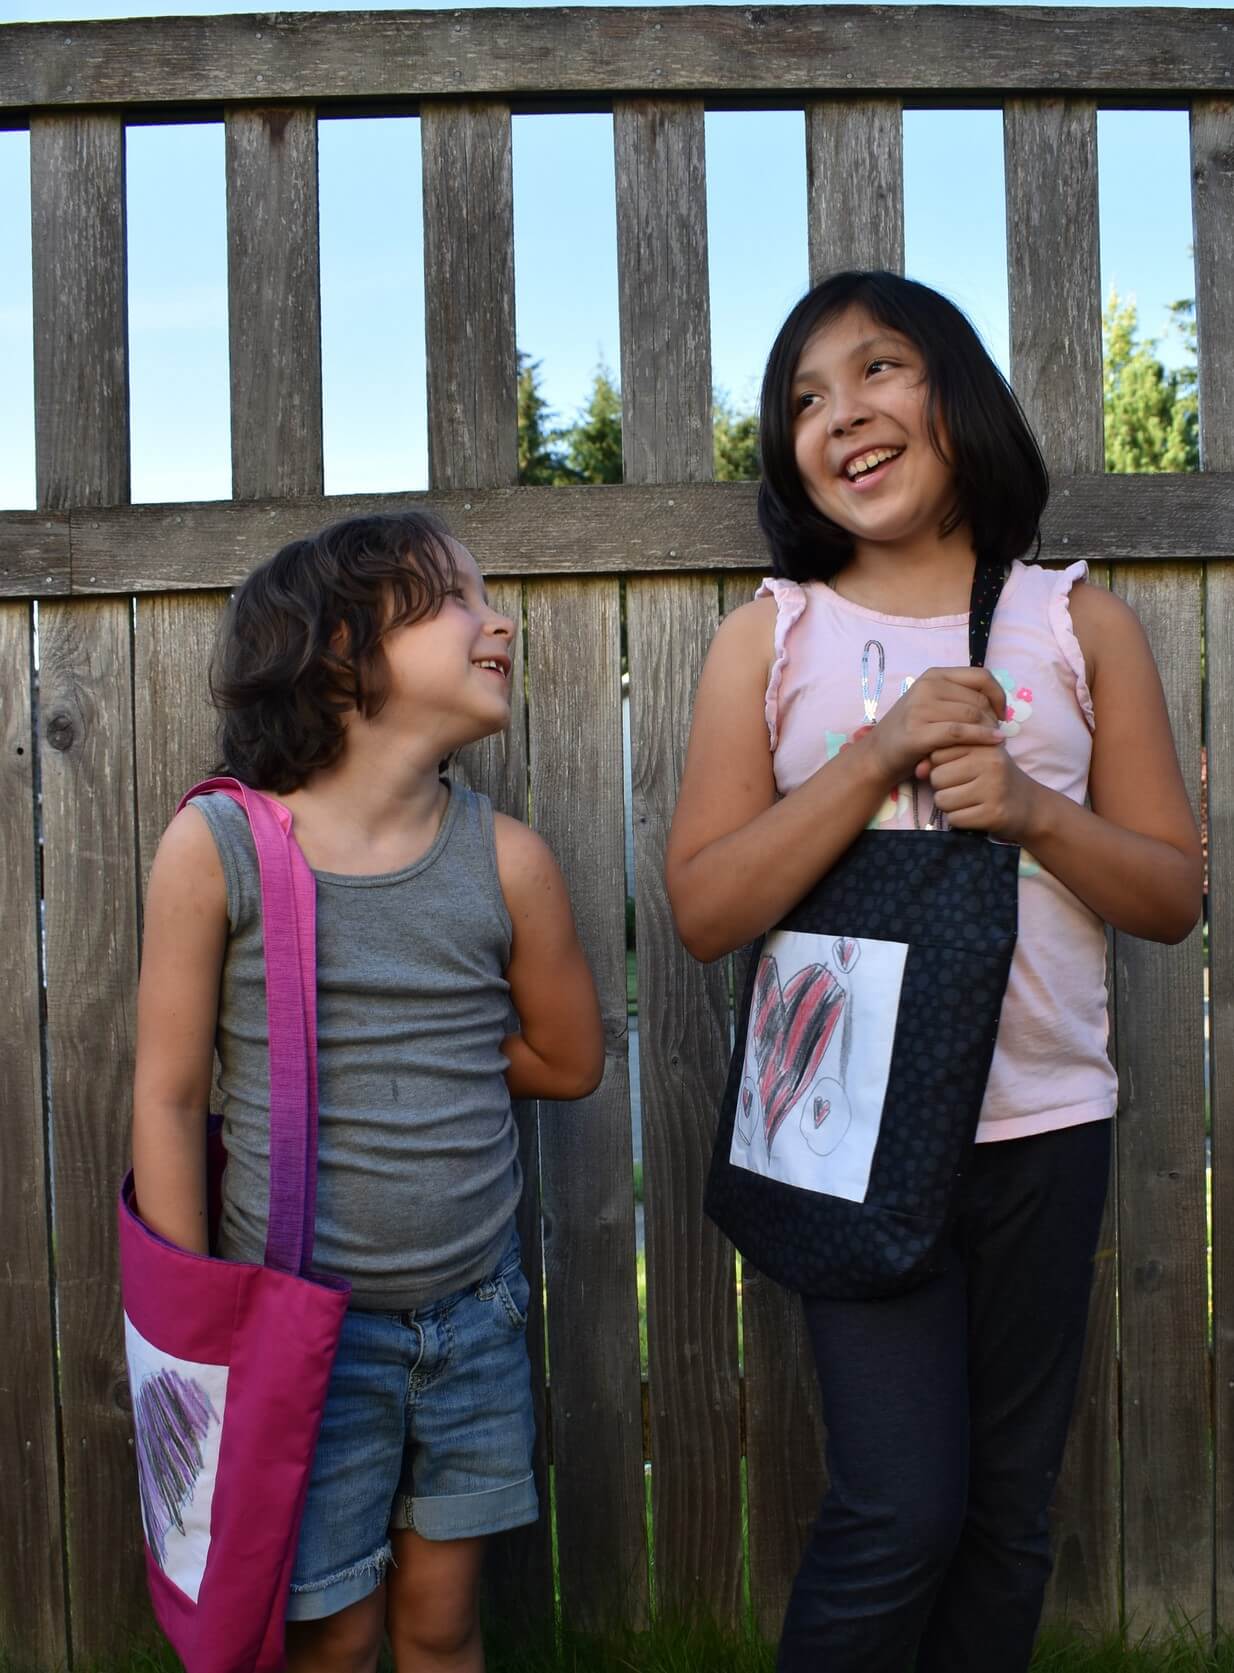
Since the onset of fall has me feeling nostalgic, I decided to make some sewn book bags for a friend’s kids. There are seven children in her family and they home school, so you can imagine that there are plenty of books in their world! And for a little extra fun, I decided the bags should be personalized, so I let each of them color their own picture for the front panel of the bag.
If you have little ones in your world who might like a fun tote that they get to customize, read on to find out how!
Making the colored panel:
Making the colored panels for this project is so easy and so much fun!
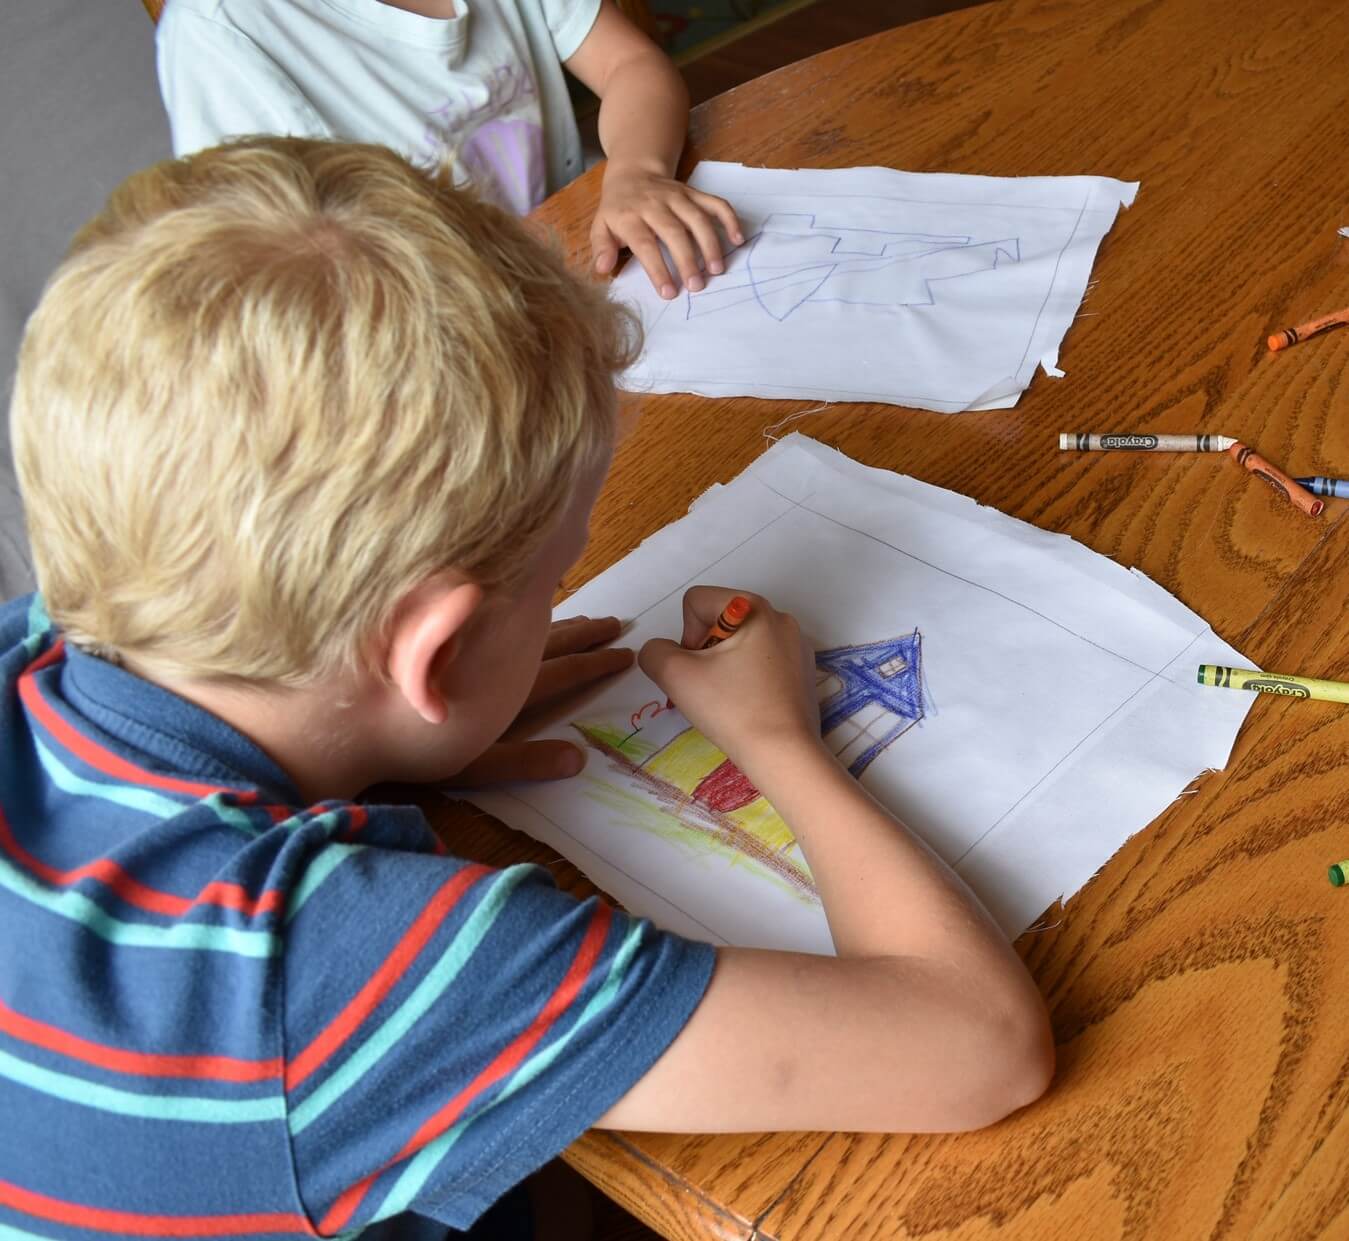
Cut white fabric and freezer paper slightly larger than the intended cut size of your panel (in our bag, that will be an 8 ½” x 8 ½” square). Press the shiny side of the freezer paper to the wrong side of the fabric. Outline the area you will be cutting and tell whoever is coloring the panel to stay within those lines. Keep your seam allowance in mind and make sure they don’t put important details of their picture within that seam allowance.
Now the fun begins! Let your little ones color to their heart’s content! Encourage them to press hard with their crayons to get lots of vivid color on their panels.
Once the coloring is done, remove the freezer paper. Put several layers of paper towels on your ironing surface before laying your colored panel face down. Place another paper towel on top of your colored panel to protect your iron. With your iron on the ‘Cotton’ setting, firmly press your panel to melt the crayon wax.
The wax of the crayon will transfer onto the paper towels leaving the crayon’s color in your fabric. Keep putting new paper towels under your panel until there is no more wax or color transferring to them.
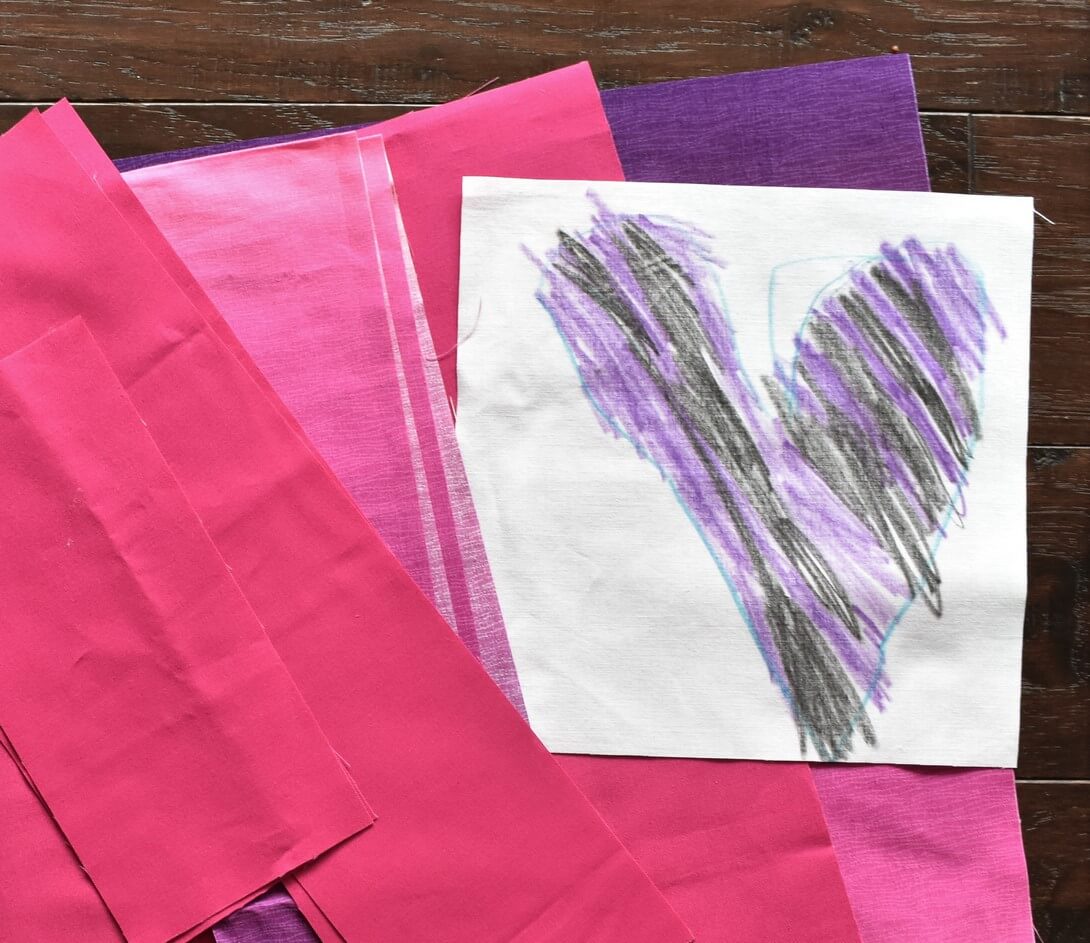
Trim up your panel to the specified cut dimensions in your pattern. For us, that’s an 8 ½” x 8 ½” square
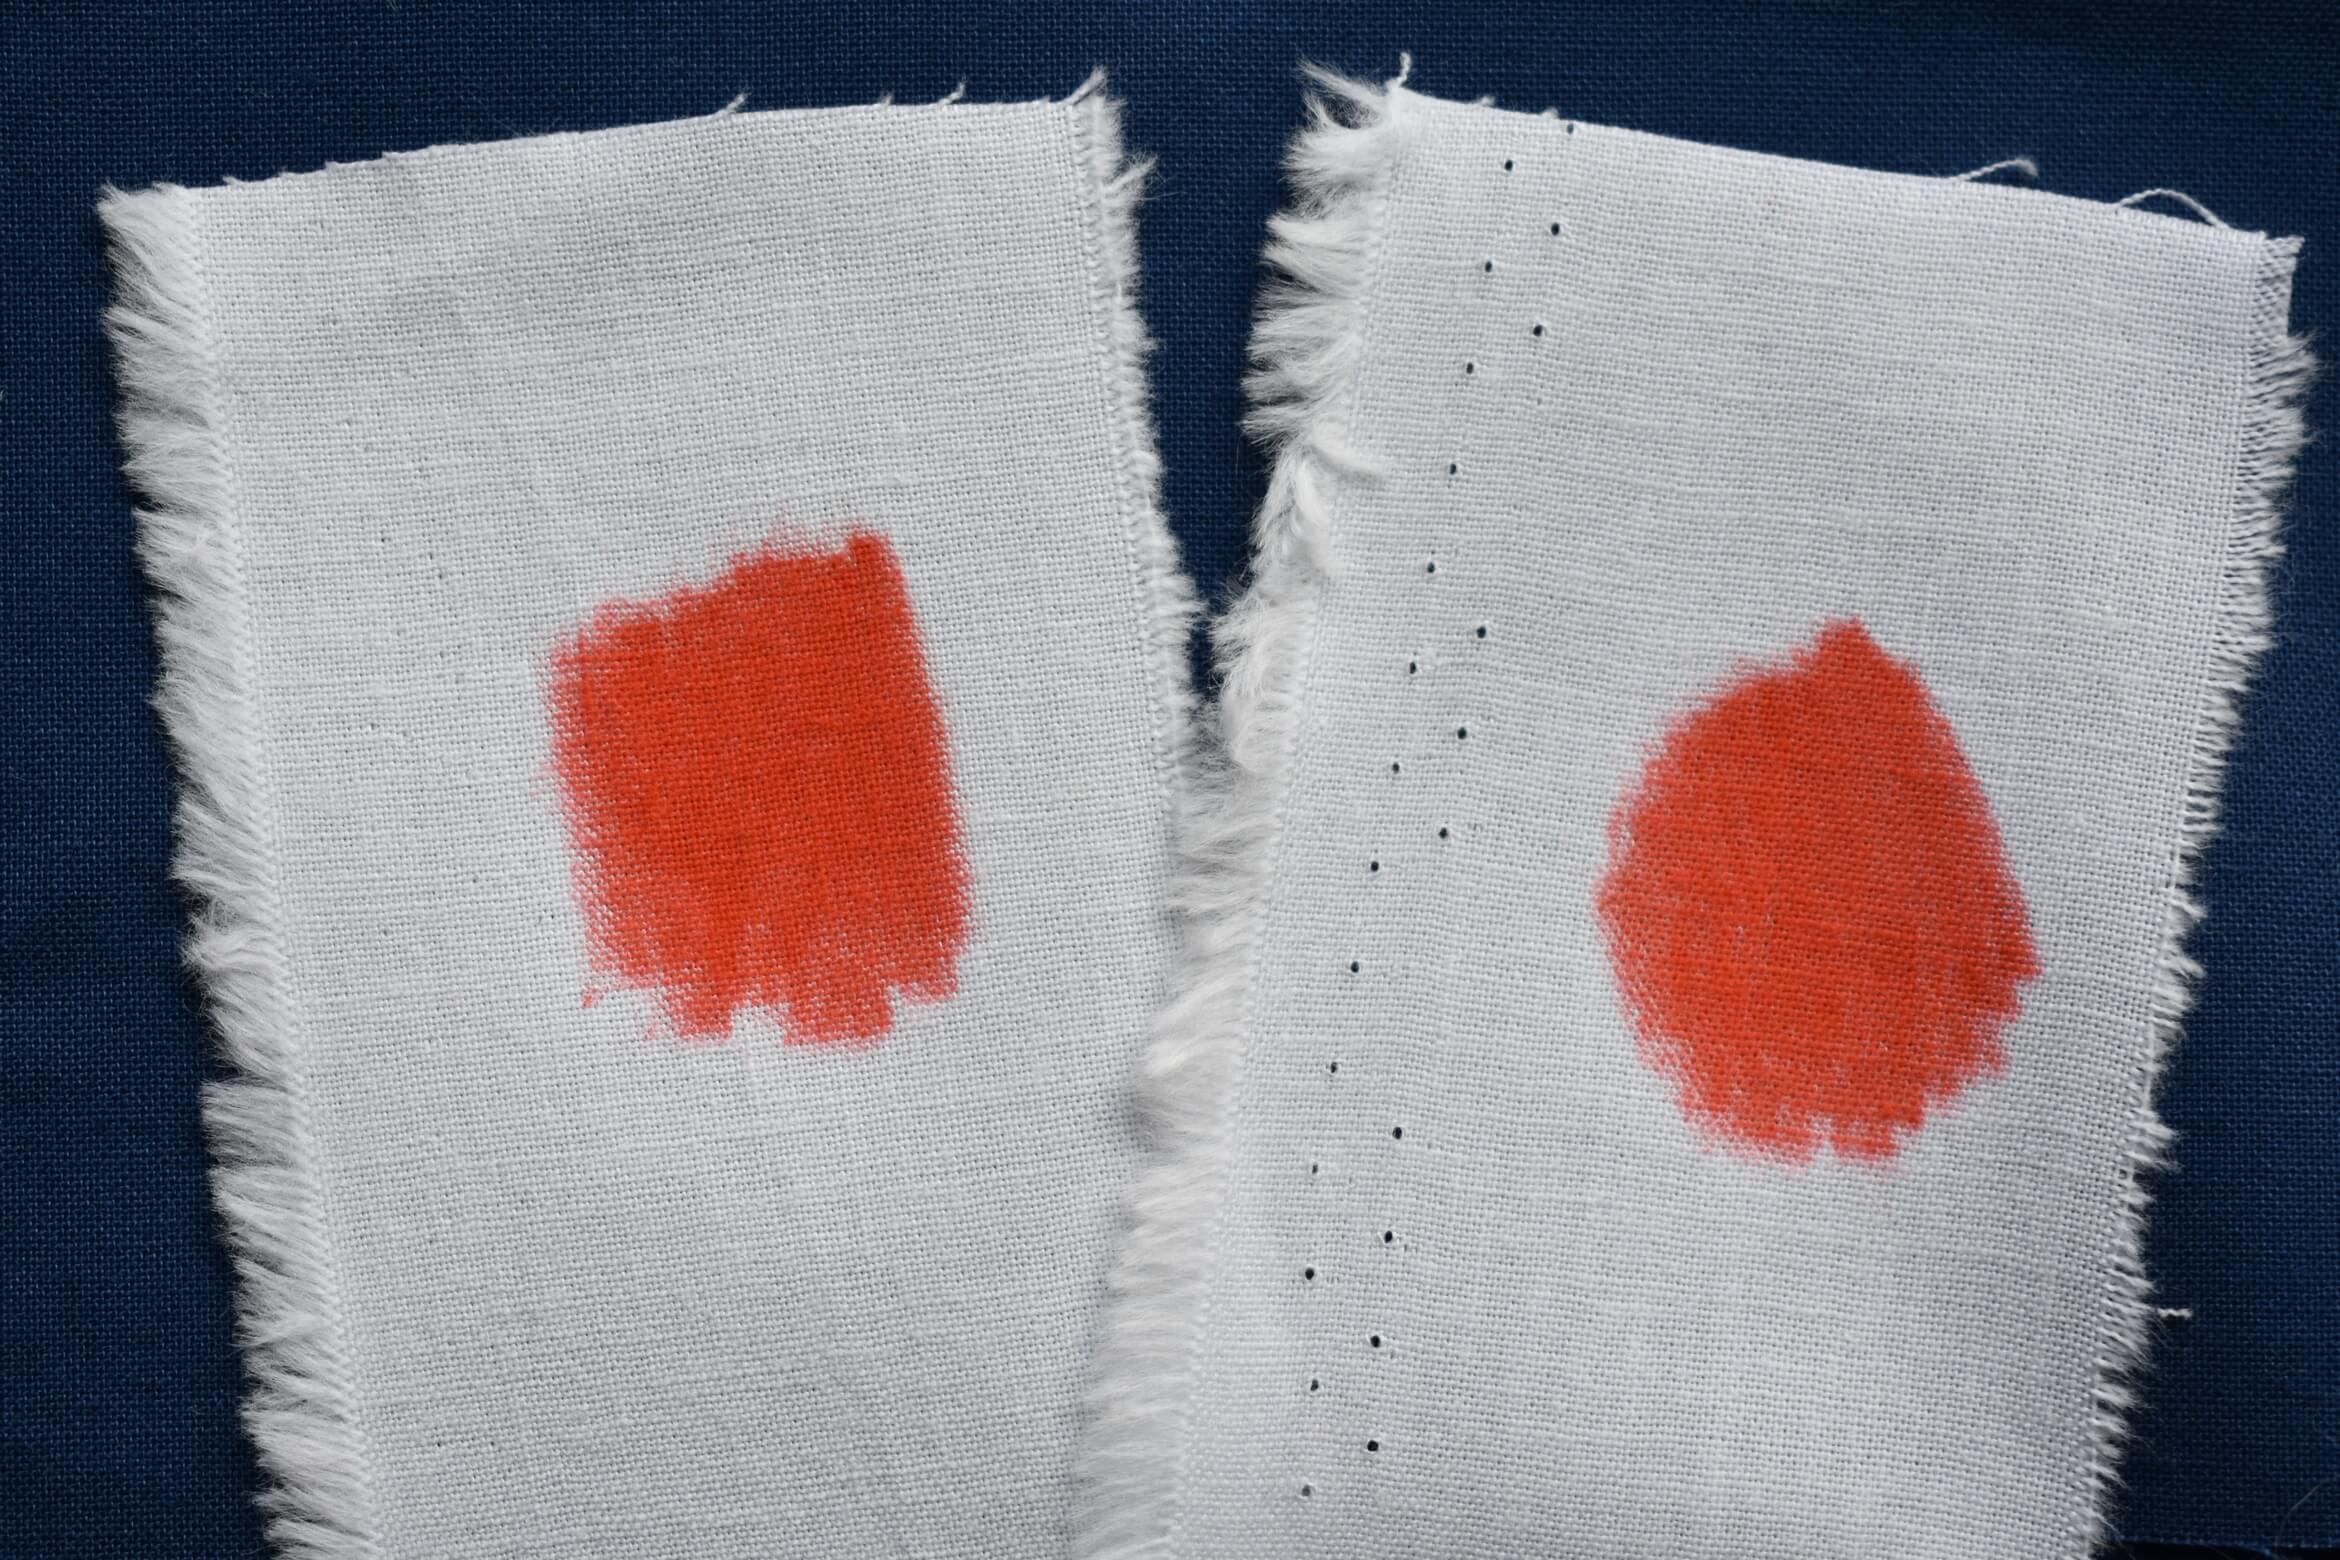
Note: Many people choose to pre-wash their fabric to fully prepare it to take in the color from the crayons. I did a test swatch both pre-washed and unwashed. The unwashed swatch (on the right) did lose just a little more color on the ironing step, so if you want really vivid color, pre-washing is best.
To cut:
For colored panel:
(1) 8 ½” x 8 ½” square
For straps:
(2) 4″ x 27″ strips (your may adjust strap length to best fit your child)
For Exterior front border and back:
(2) 4” x 8 ½” rectangle
(2) 4” x 15 ½” rectangle
(1) 15 ½” x 15 ½” square
For interior:
(2) 15 ½” x 15 ½” square
Sew the straps:
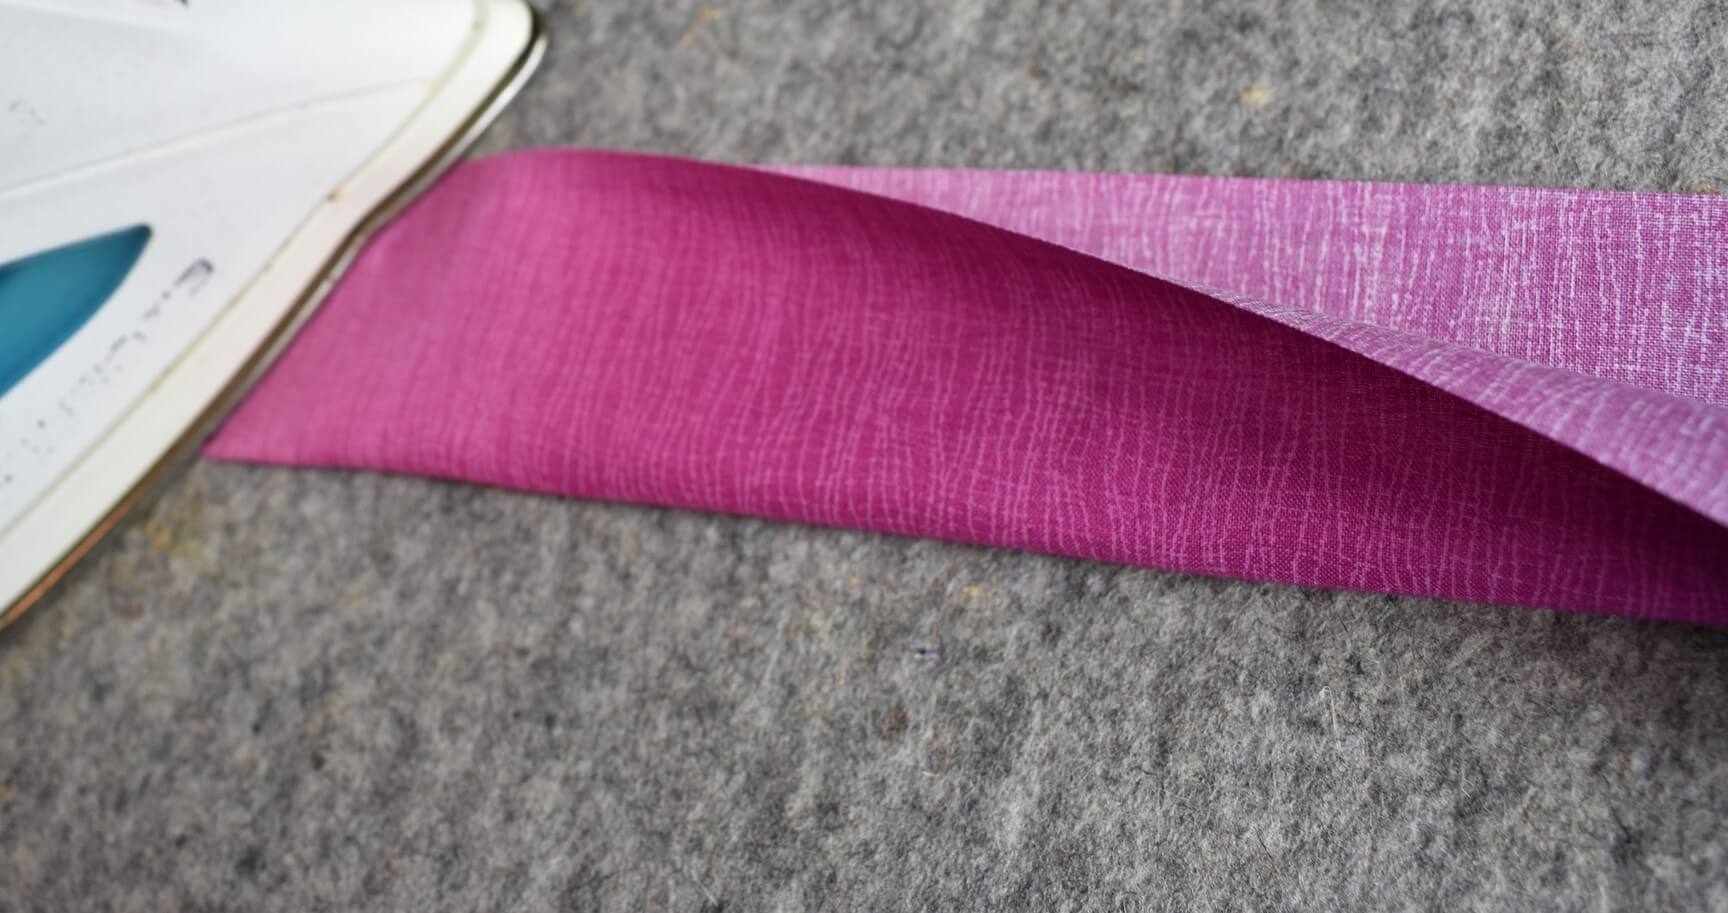
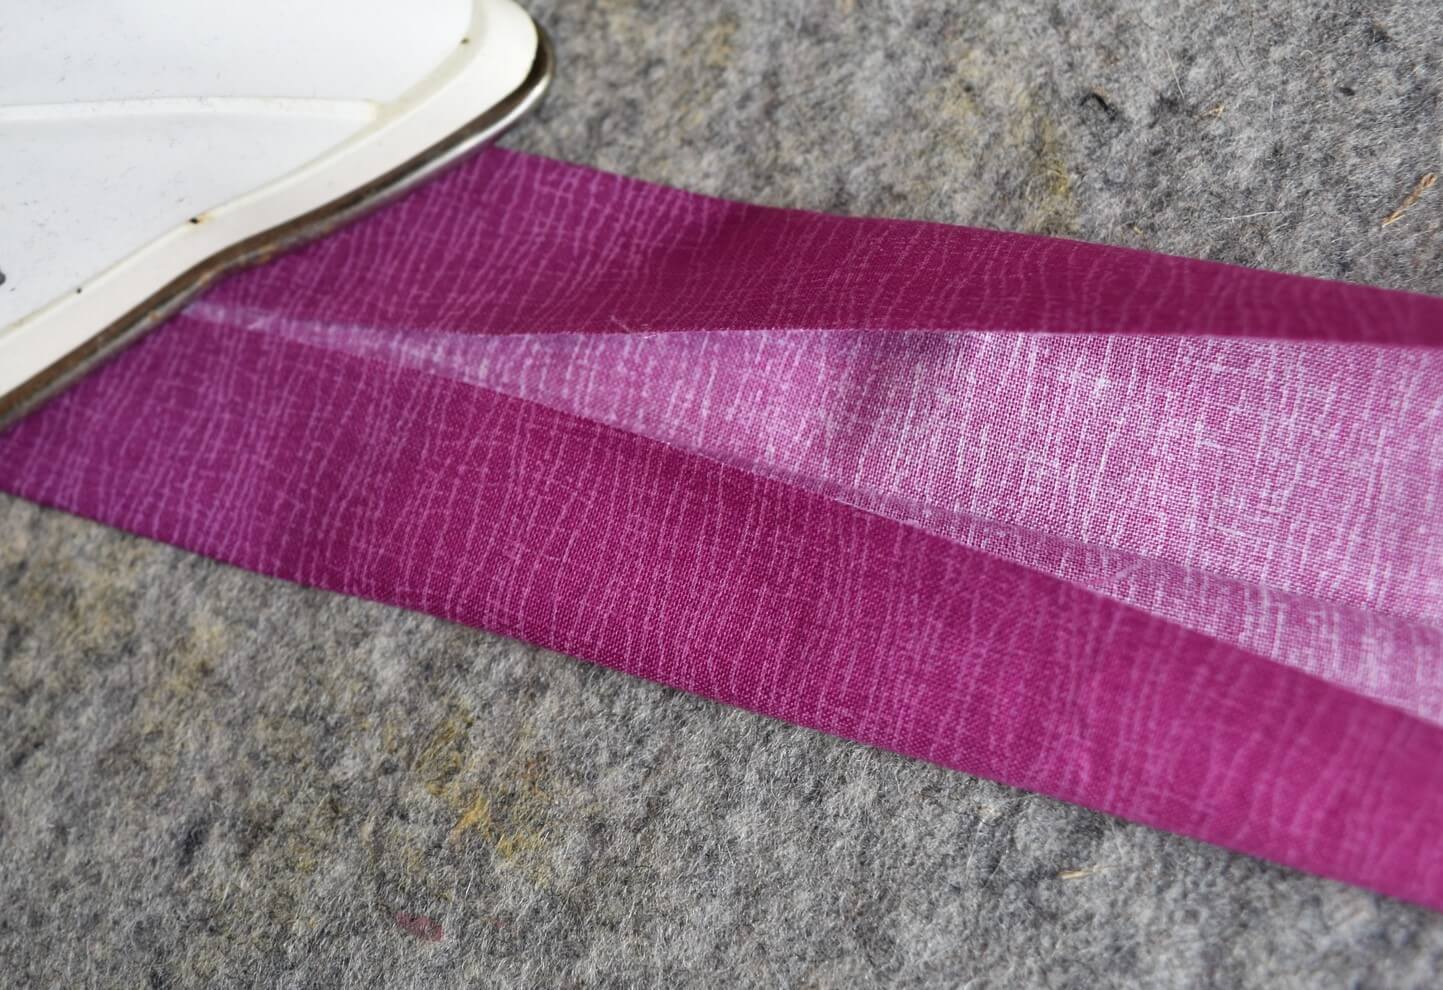
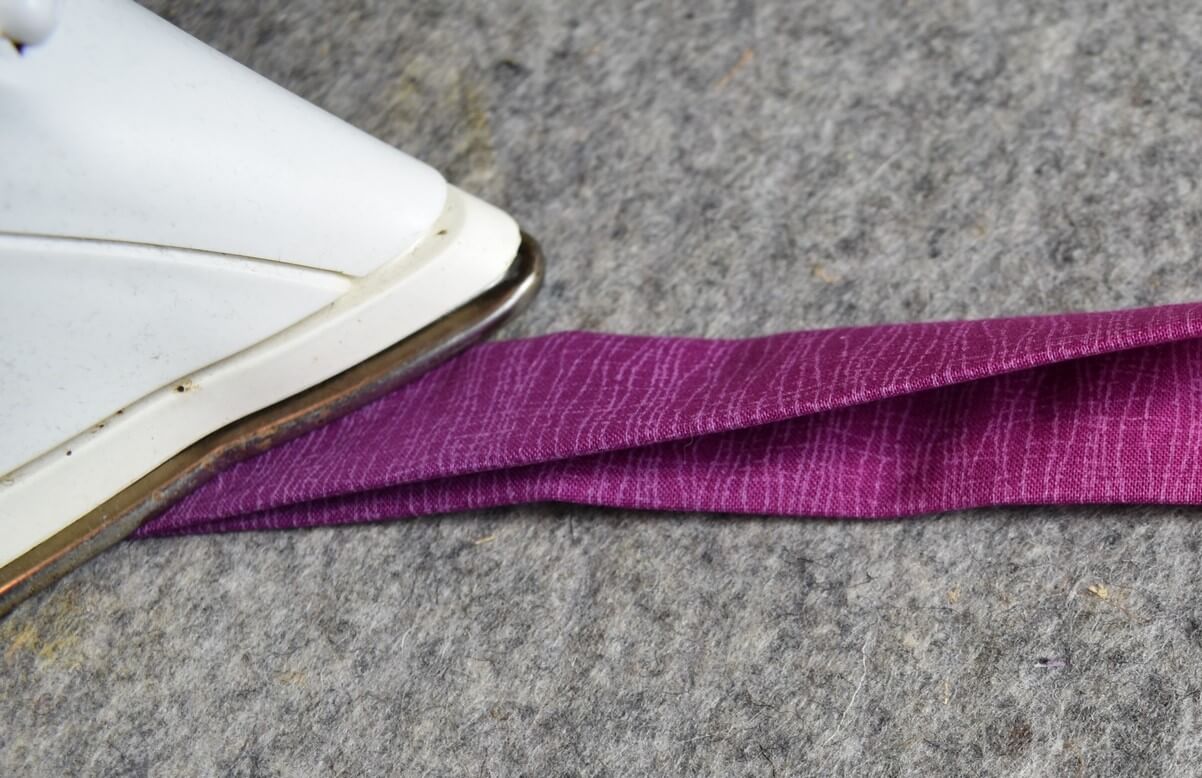
Fold your strip in half along the length and press to mark center point.
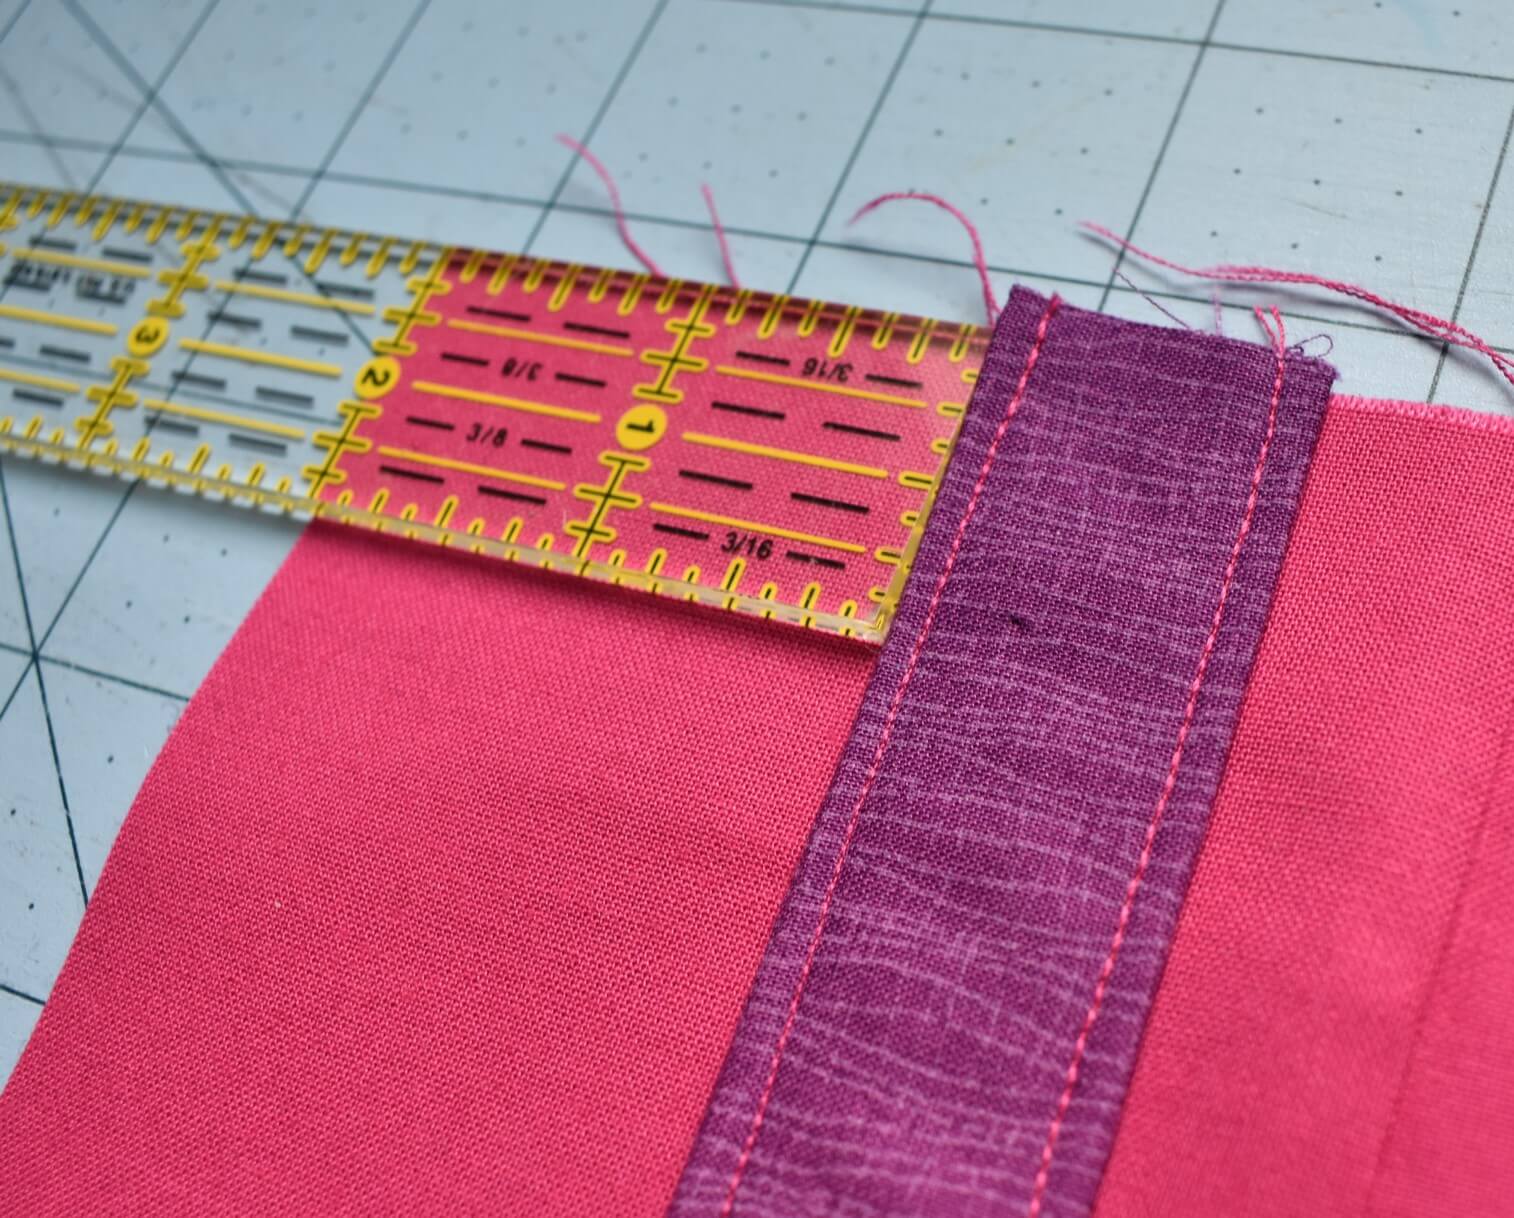
Fold the edges into the center and press along the length of the strap. Once this is done, you can fold again along that center line to make the final width of your strap.
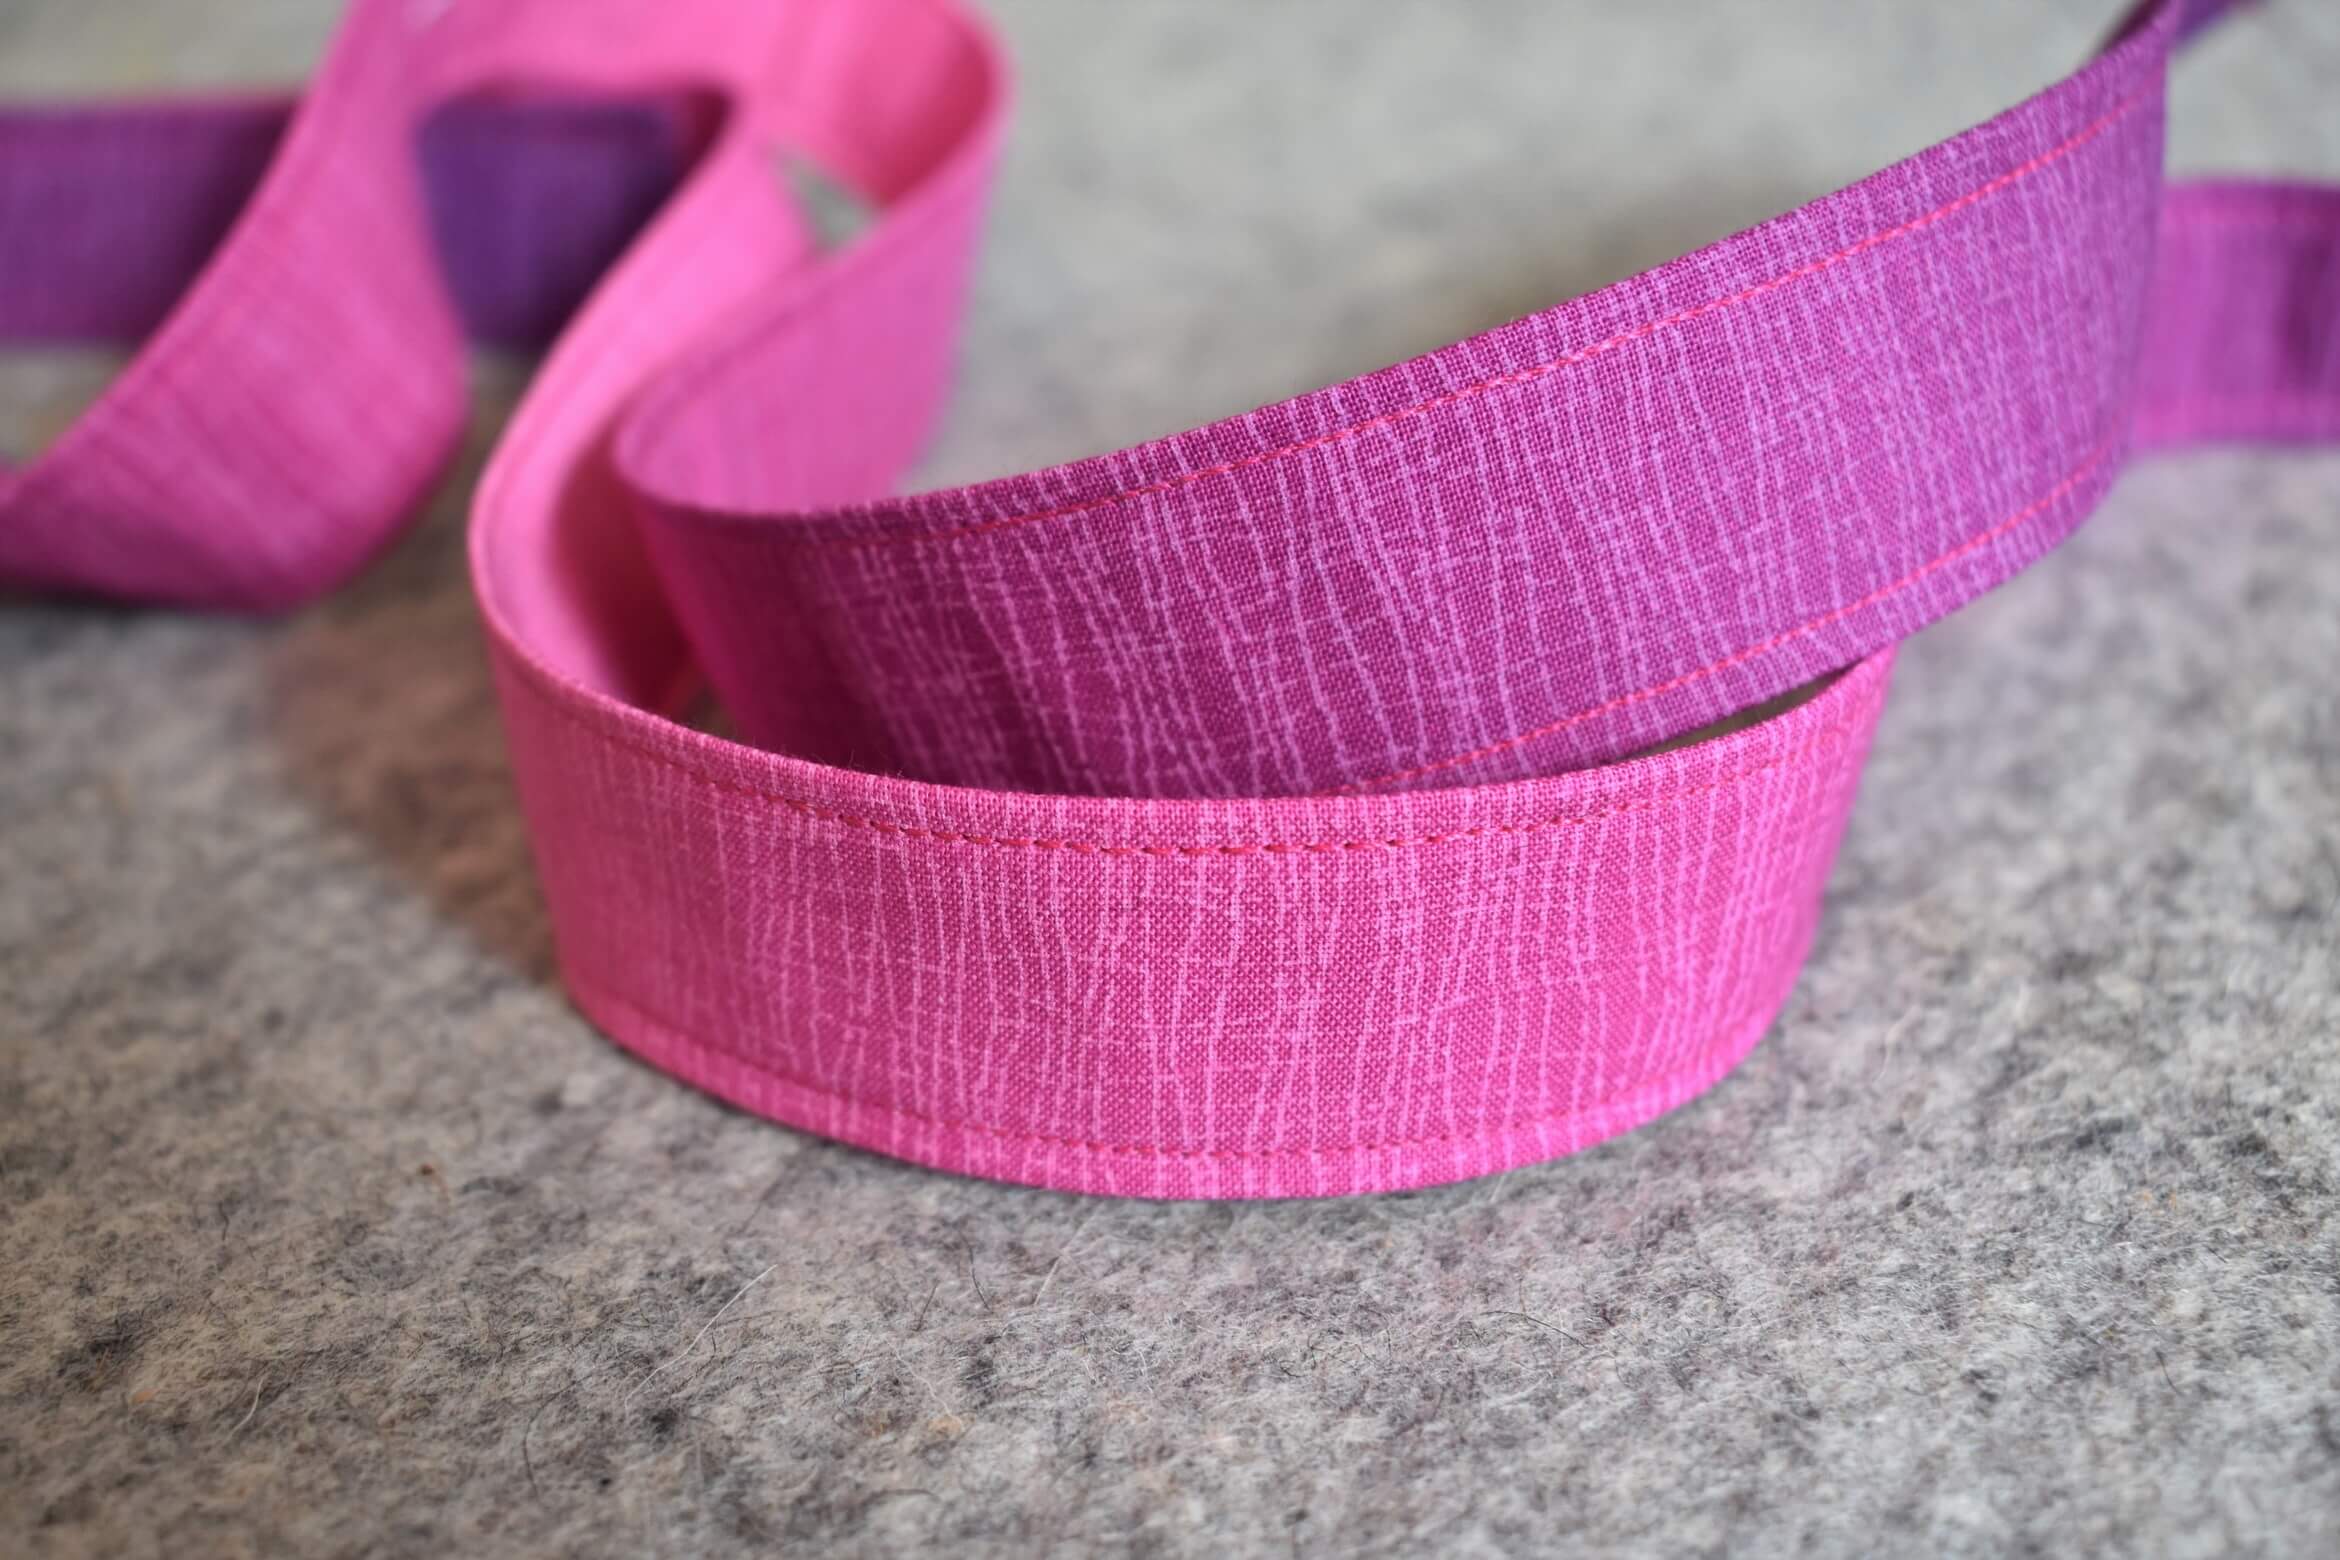
Sew the strap along the open edge to secure.
Sew along the length of the opposite edge to give our strap a nice, finished look.
Sew the front panel:
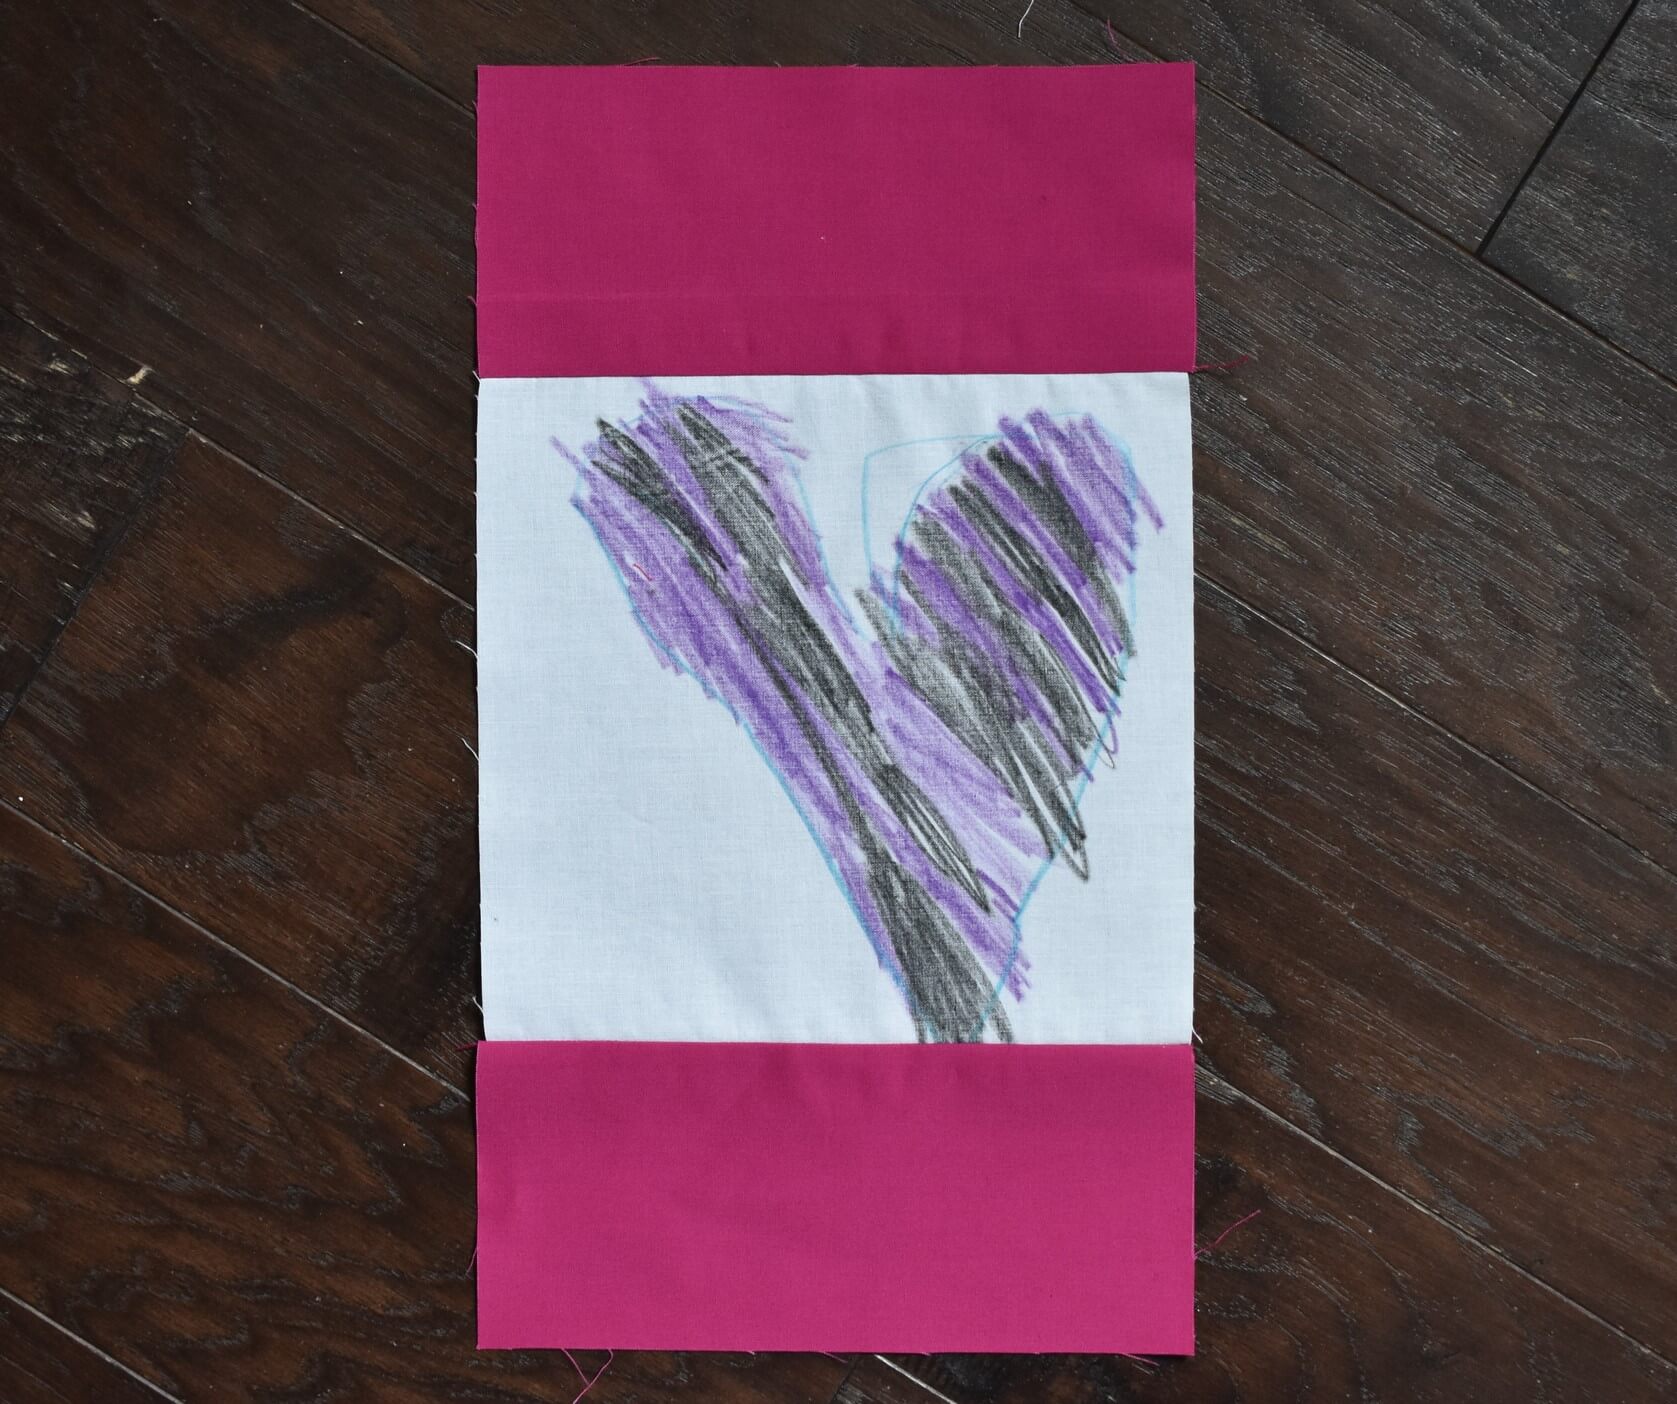
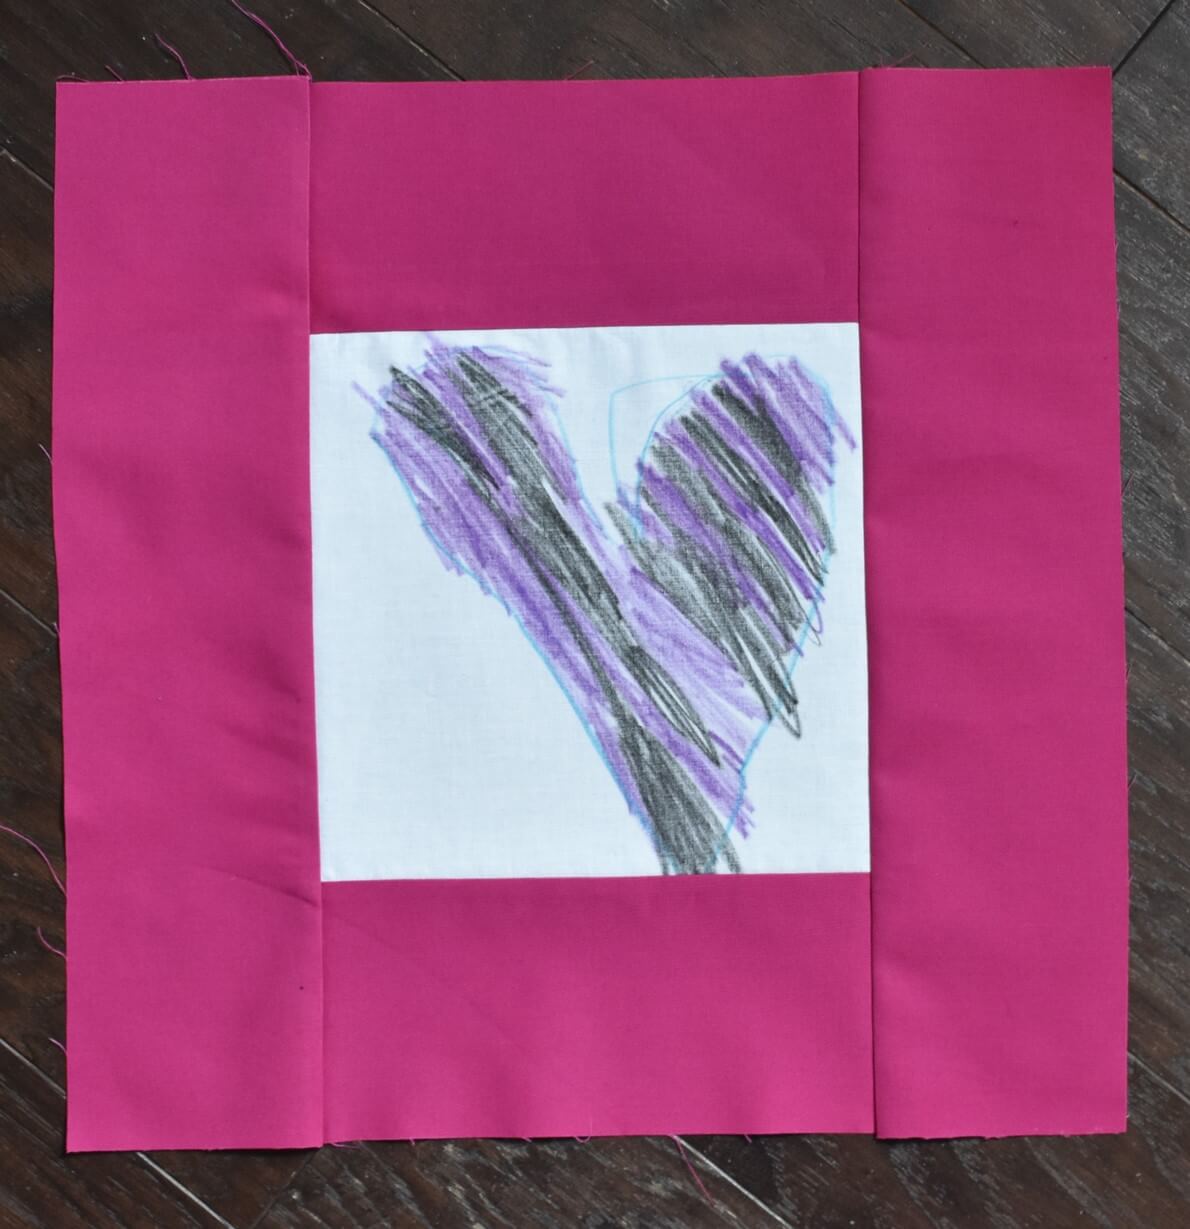
Sew your 4” x 8 ½” rectangles to the top and bottom of your colored square. Add your 4” x 15 ½” rectangles to each side. This panel unit should finish at 15 ½” x 15 ½”.
Cut out squares for the boxed edges:
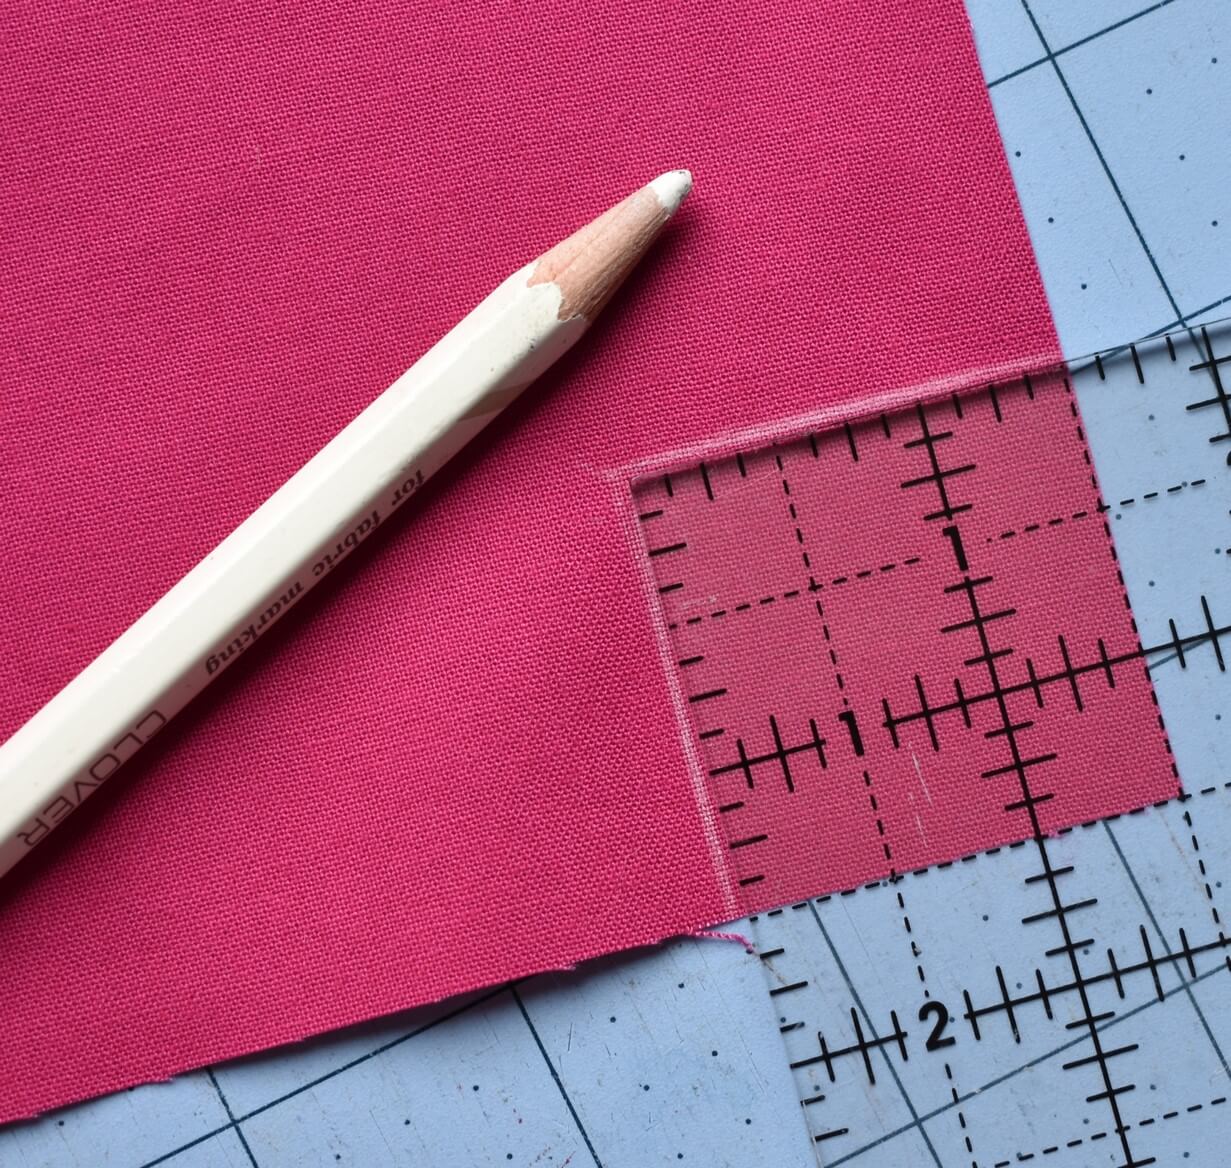
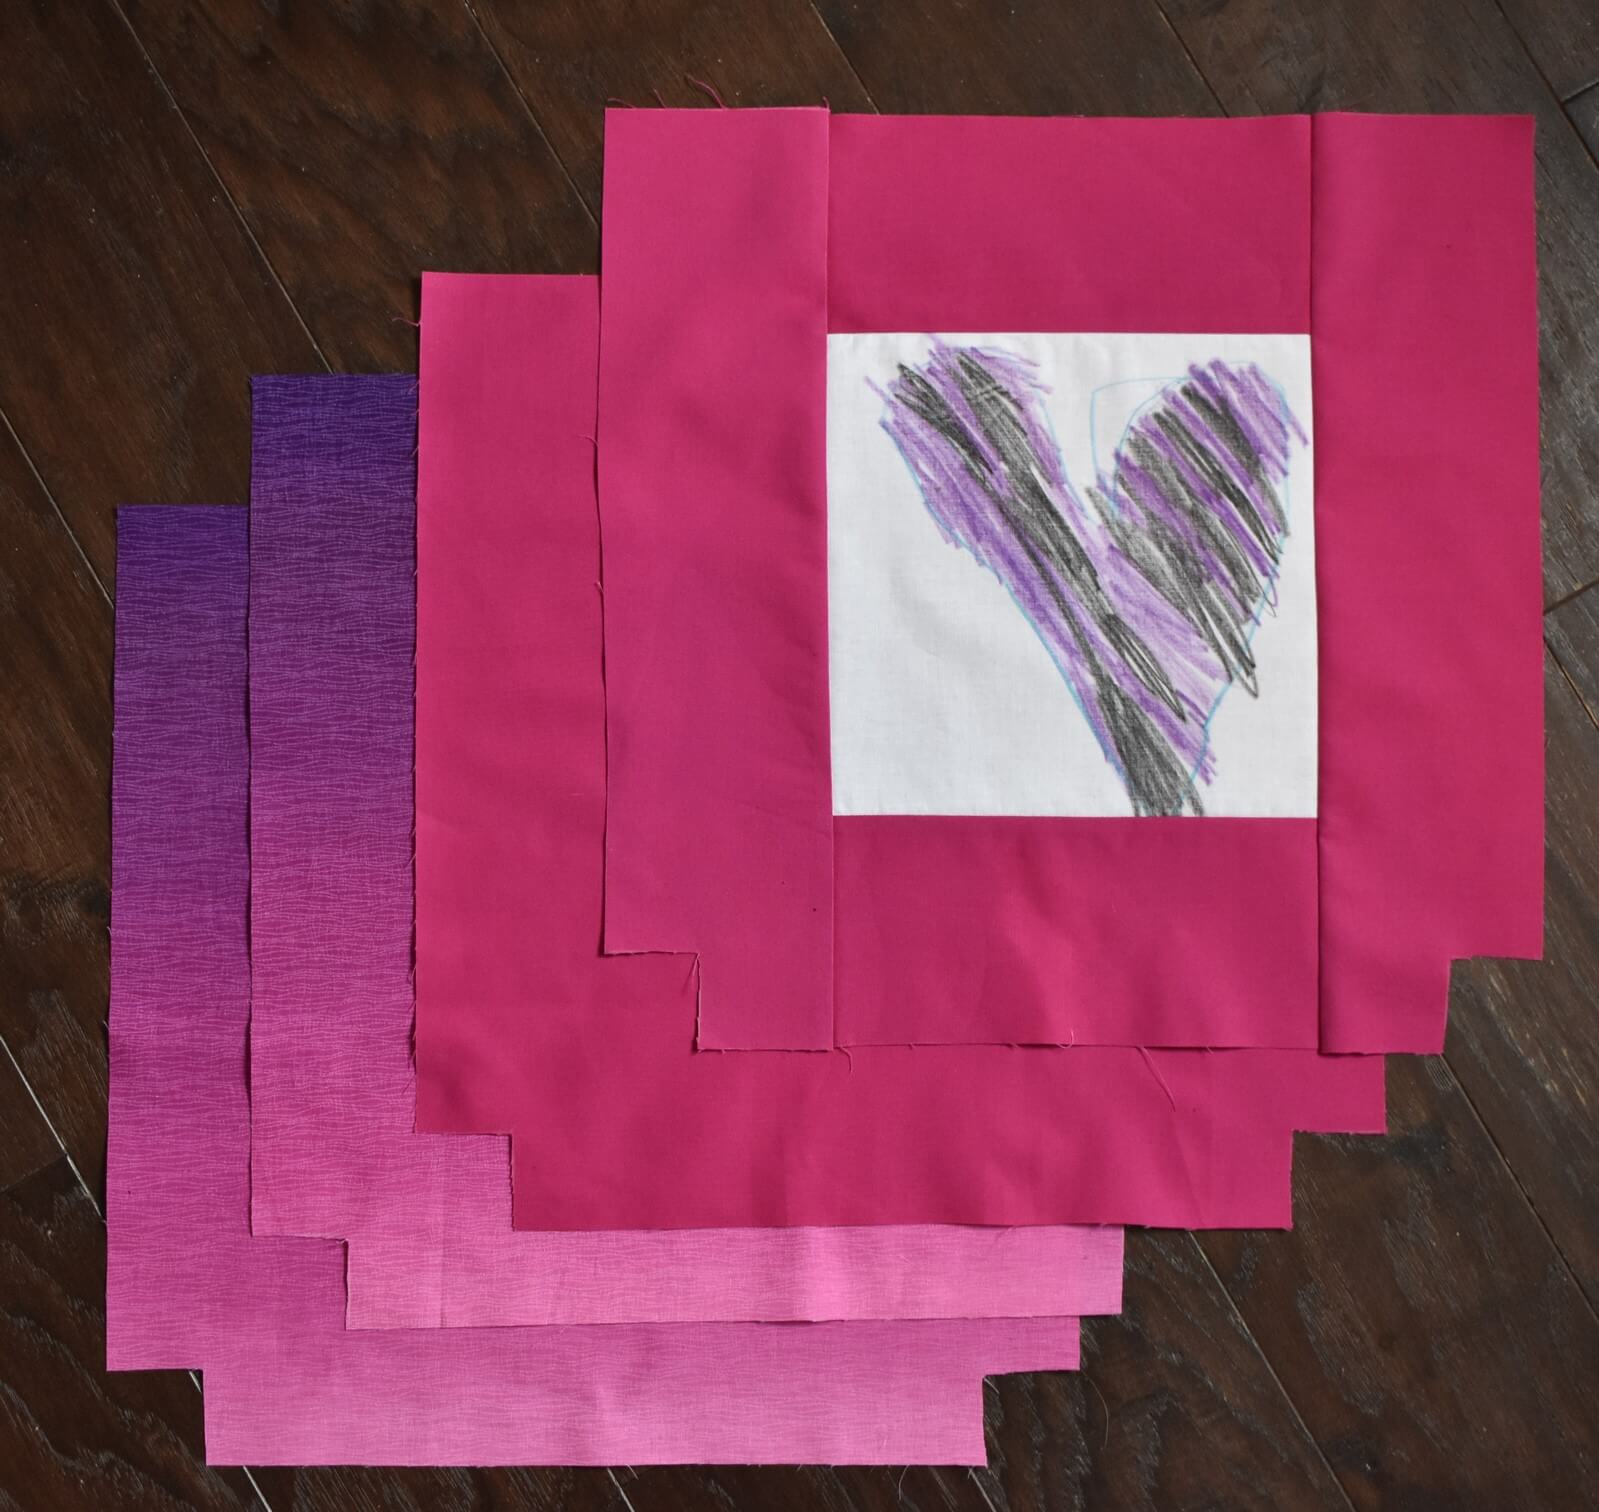
To give your book bag some depth, you’ll want to add some boxed corners. We’ll cut out for them now and sew them later. Cut a 1 ½” square from the two bottom corners of the following: your (2) 15 ½” x 15 ½” interior squares, your (1) 15 ½” x 15 ½” exterior back square, and your 15 ½” x 15 ½” front panel unit with the colored square.
Assembly:
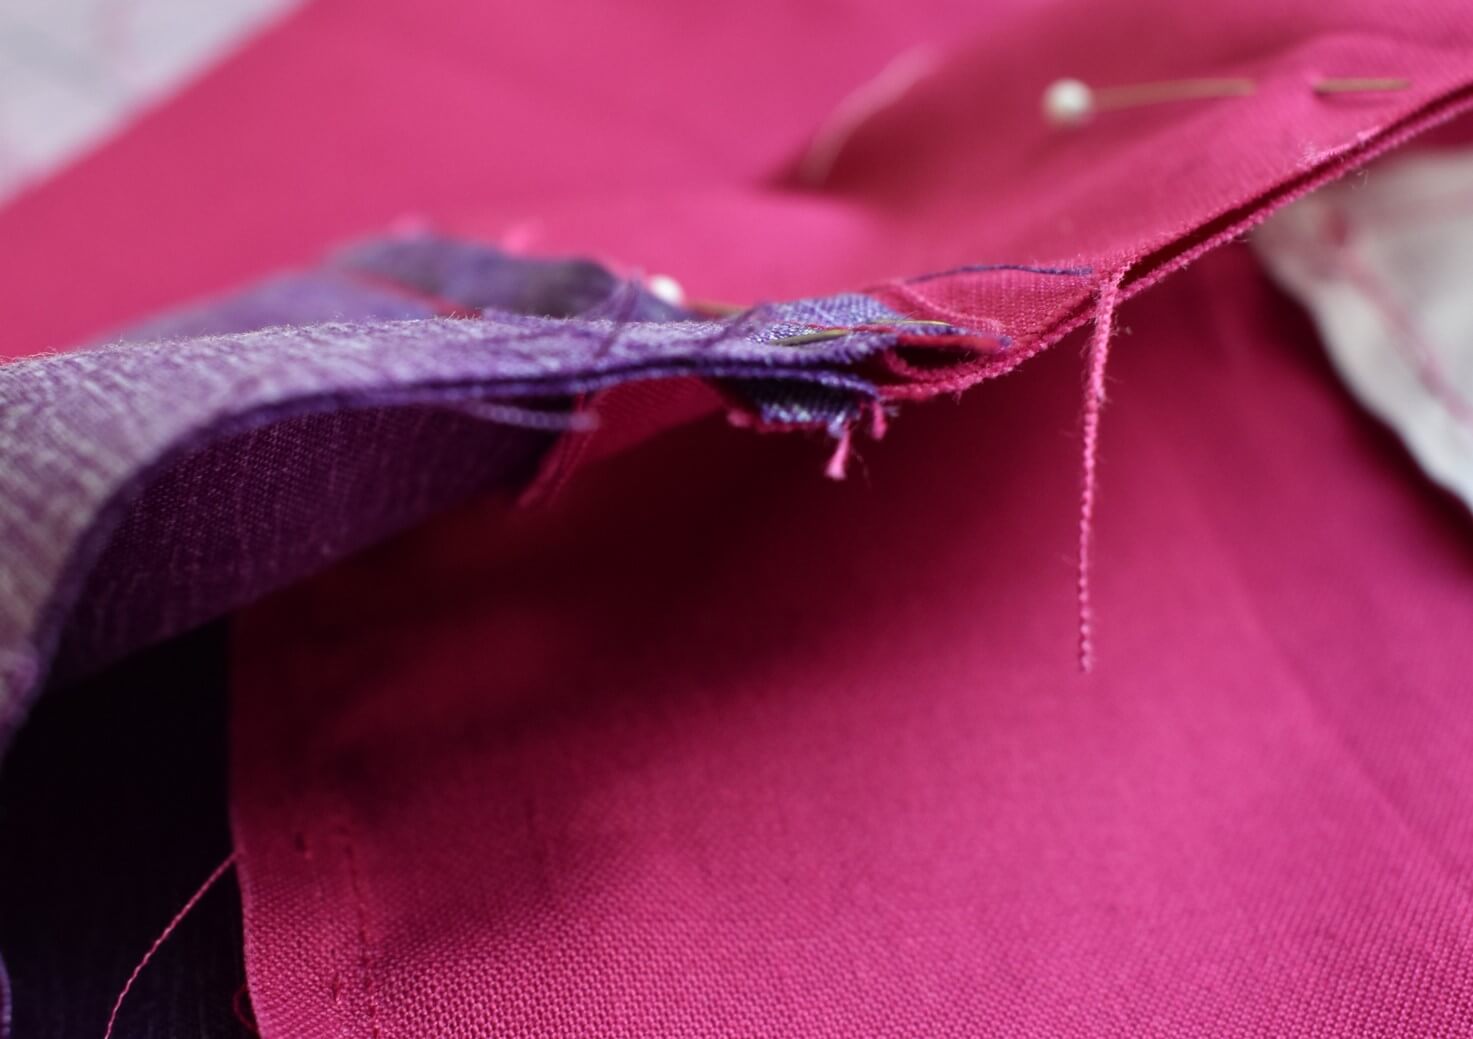
Put front panel of your bag on your work surface face up. Place a strap on top of the panel with the ends two inches from the edge as shown. You may adjust this measurement as desired, but it must be the same measurement on each side. It’s also important to make sure the strap isn’t twisted.
Place an interior fabric piece on top of your front panel and strap with right sides together. The loop of the strap will be between the front panel and interior piece. Pin and sew along the top, making sure the strap doesn’t shift.
Use the same technique to attach the back exterior to the second interior piece.
Open the two sewn sections and pin them along all the edges with right sides together, making sure to line up the seams where the exterior of the bag meets the interior.
Sew along both sides and the bottom of the bag exterior, leaving the cutouts for the boxed corners unsewn.
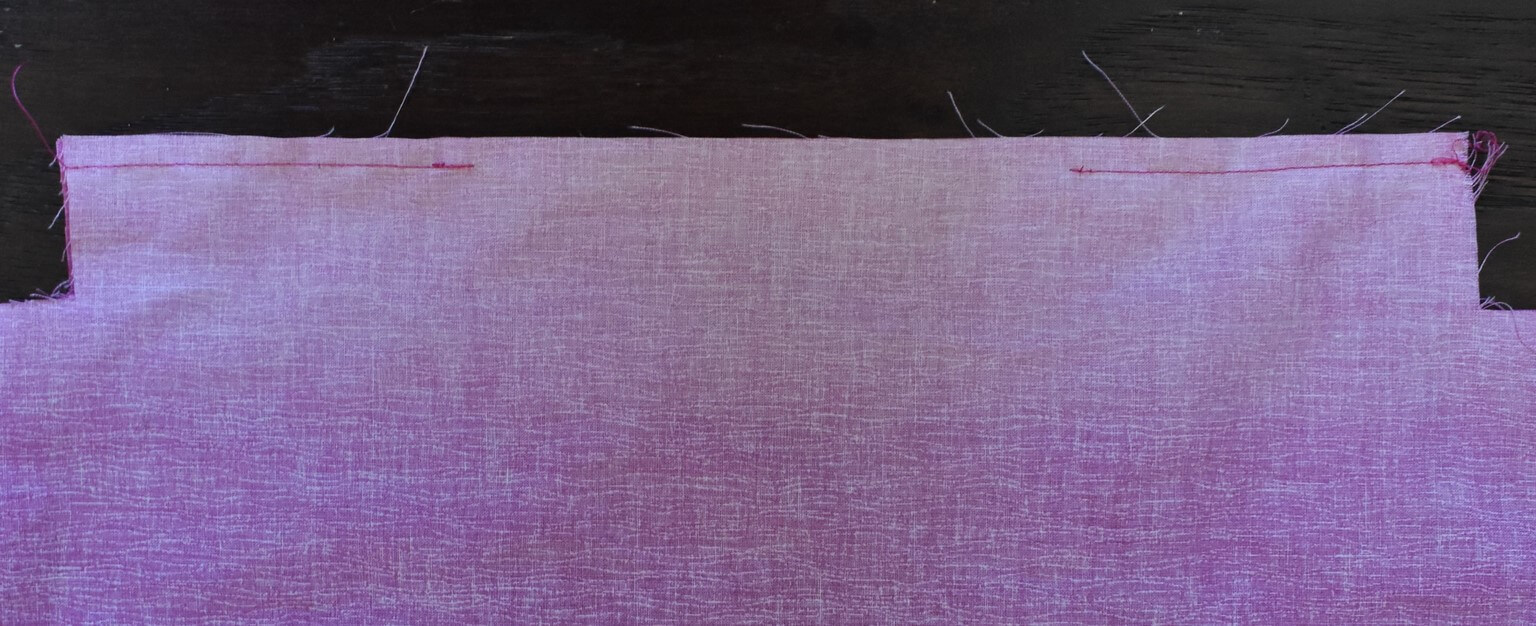
Next, sew a few inches on each side of the bottom of the lining, leaving an opening for turning the bag.
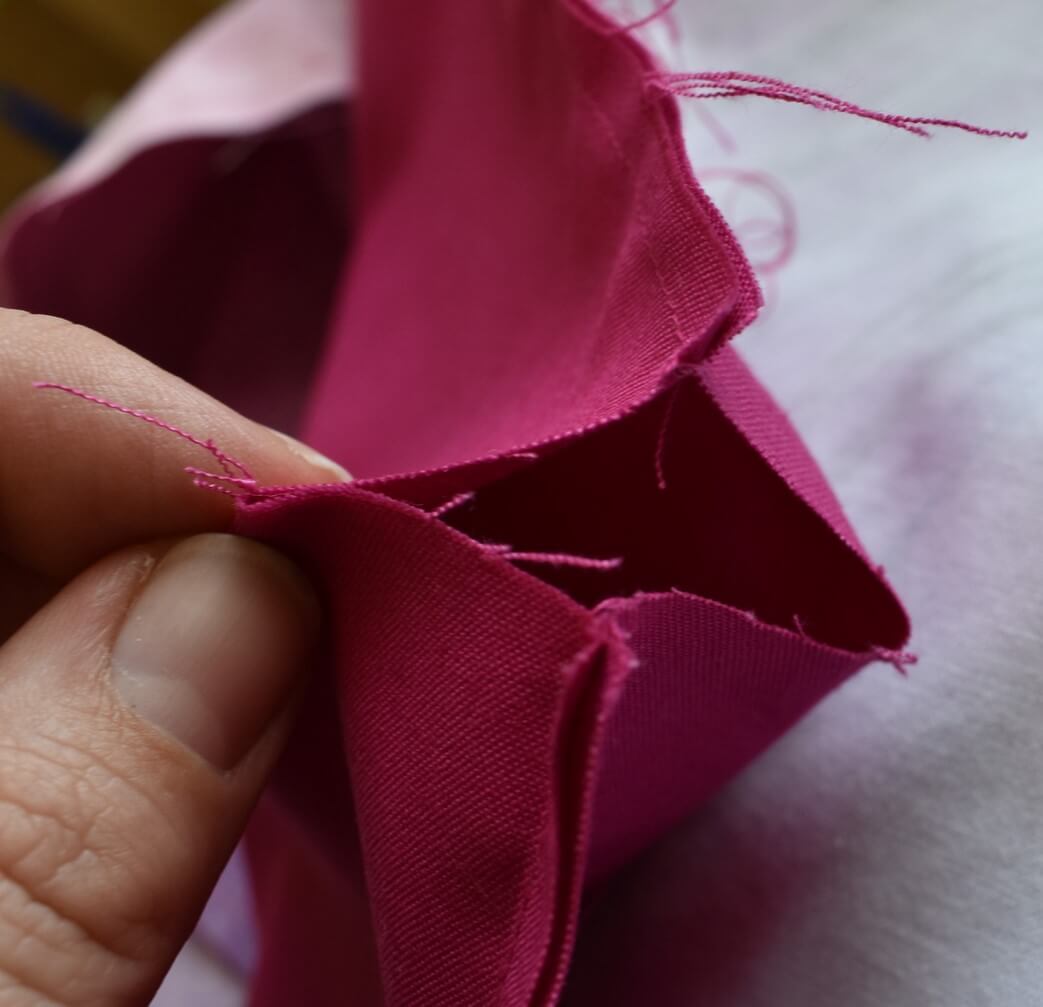
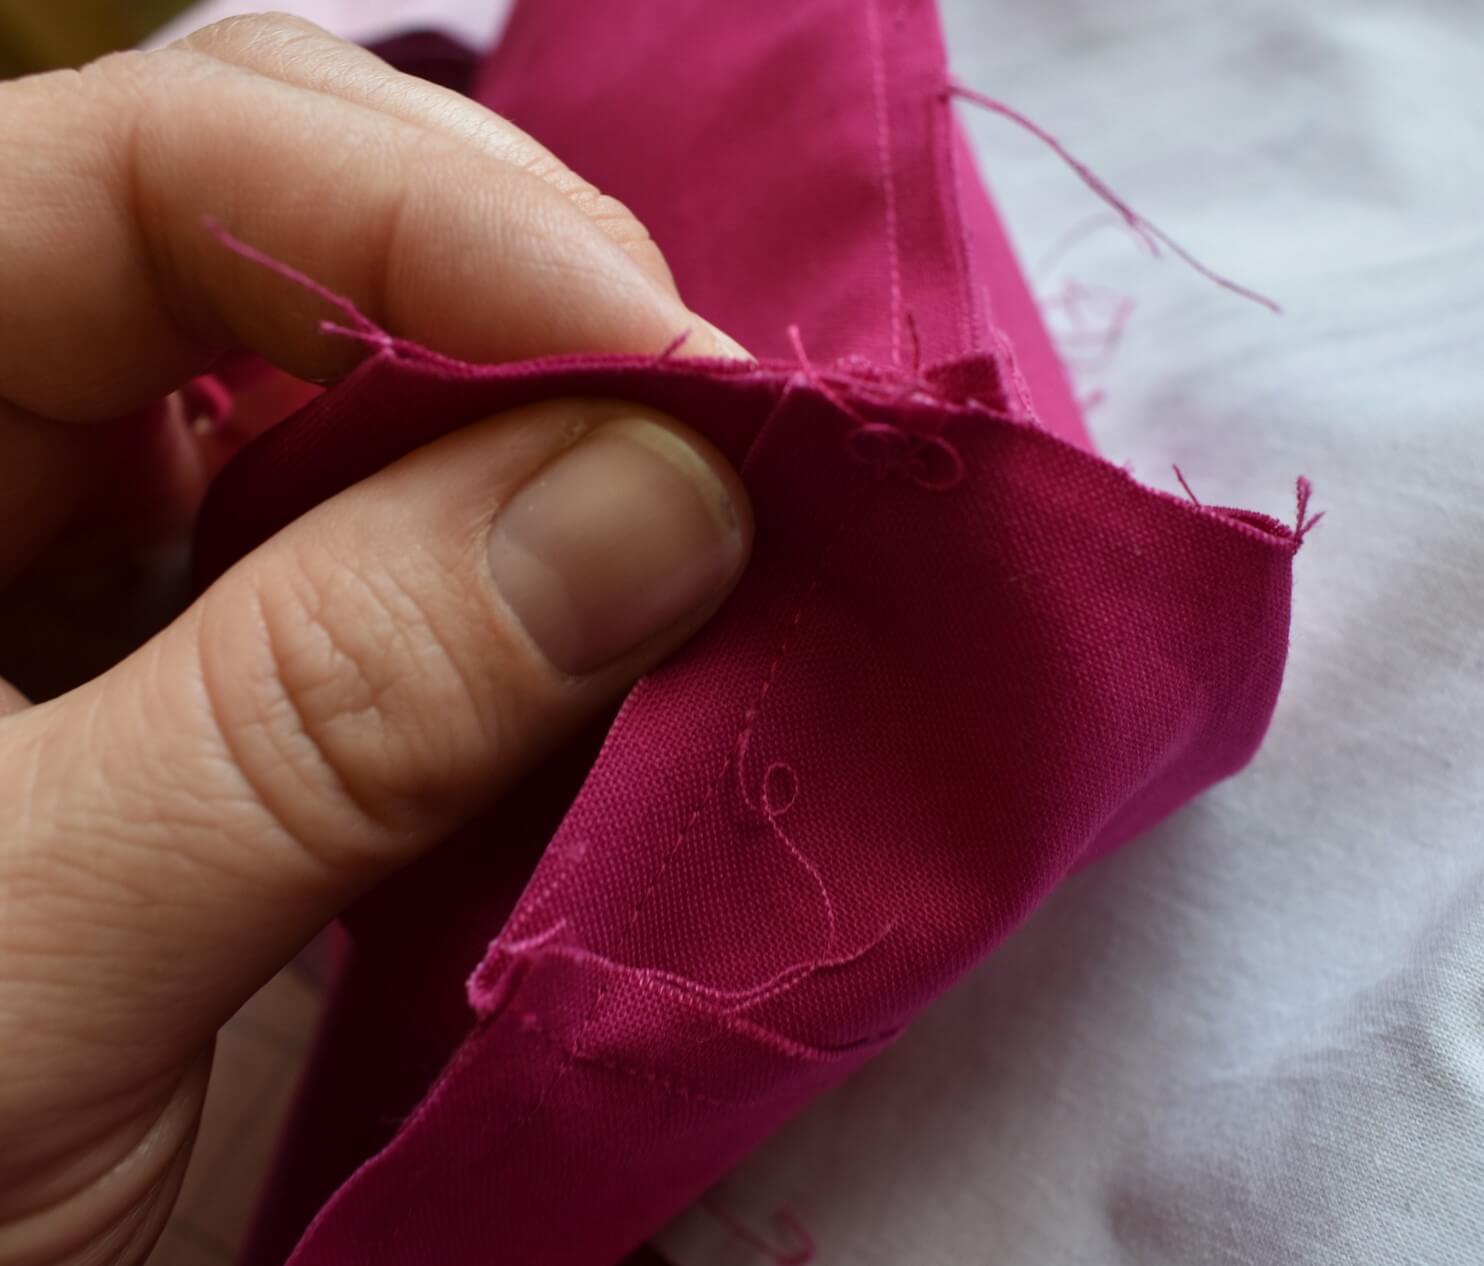
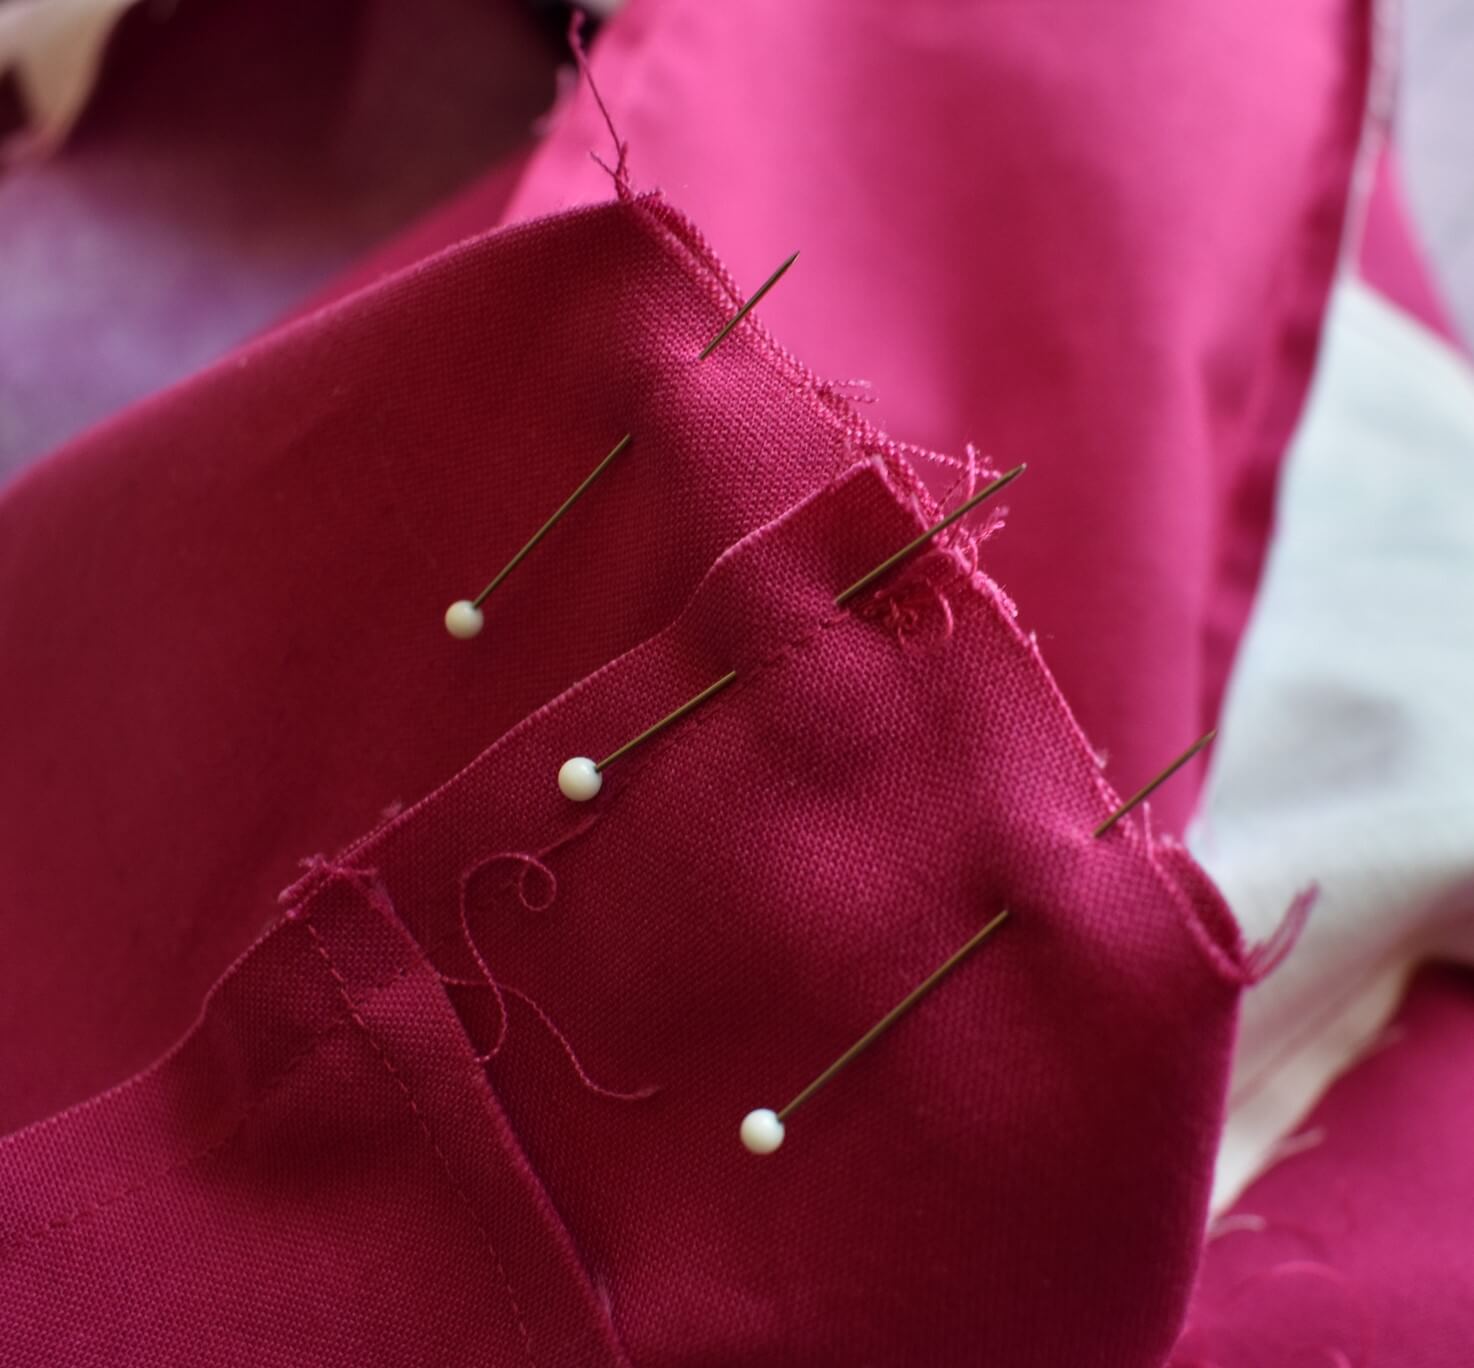
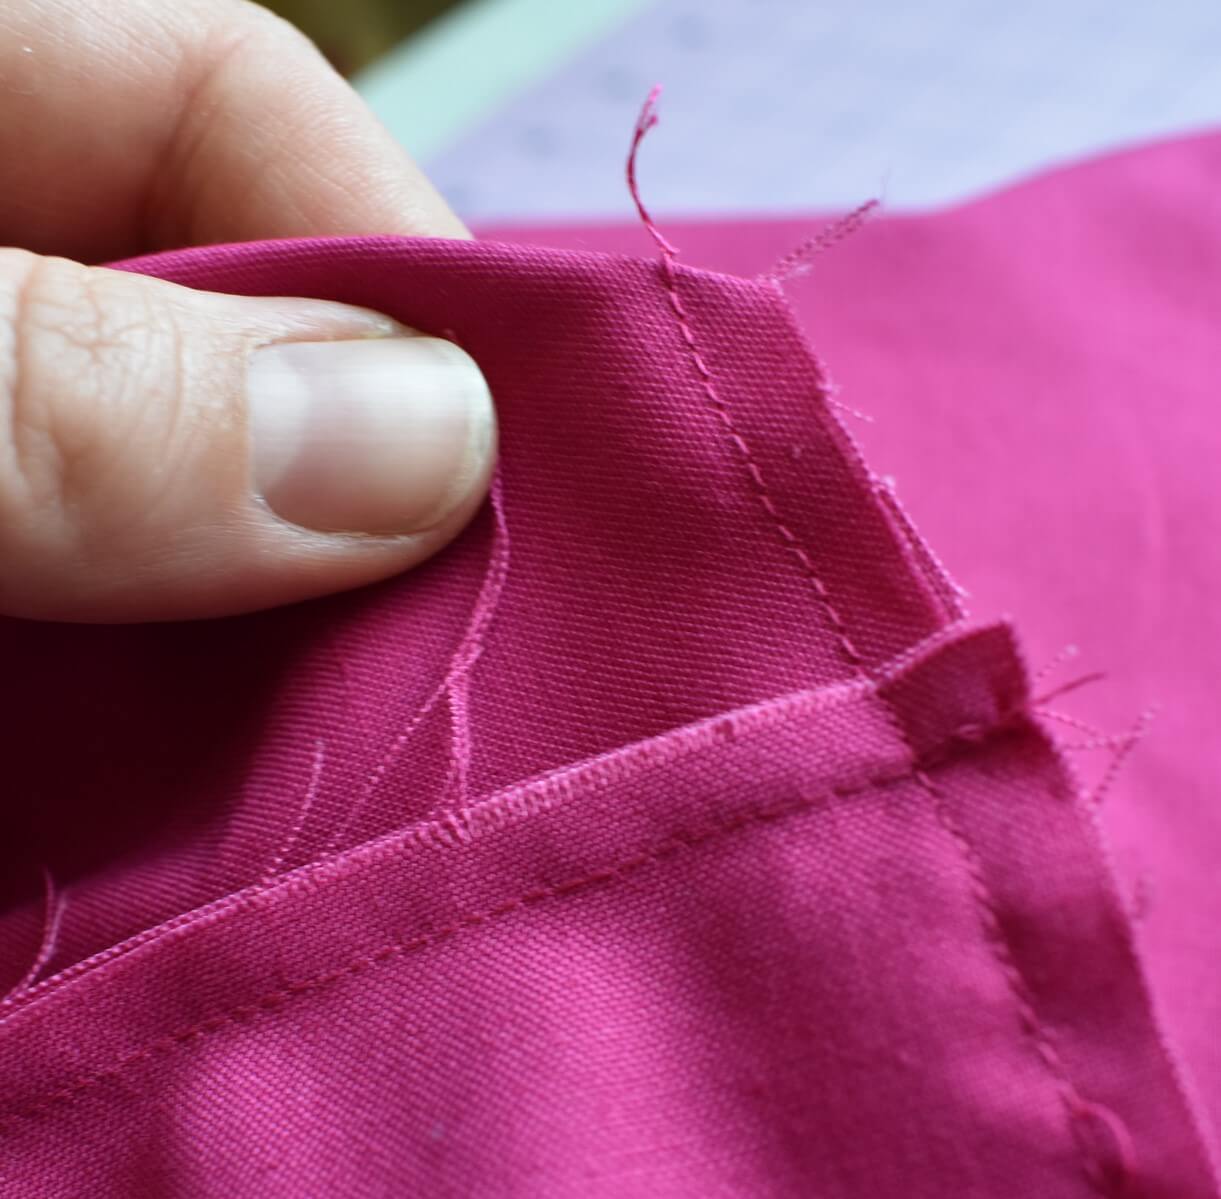
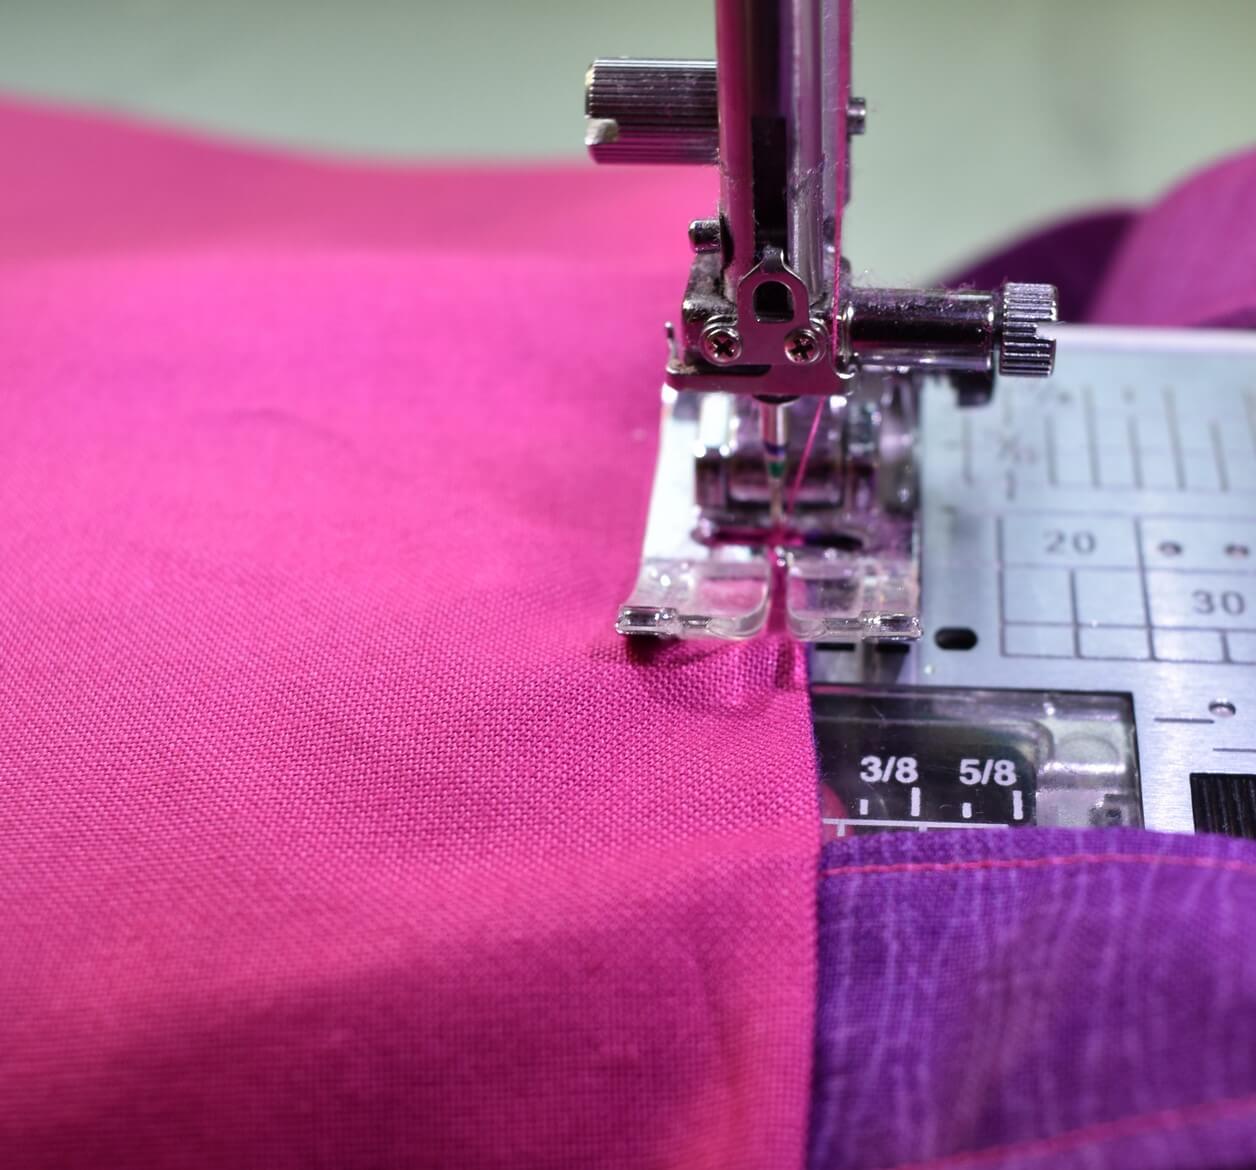
To sew the boxed corners, separate the layers of fabric and fold them back together as shown. Nestle and pin together the seams of the sides and bottom before sewing along the cut edge.
Turn the bag inside out using the opening left in the bottom of the bag interior. Make sure to fully turn the boxed corners for nice, clean lines!
Fold in the edges of the opening used for turning the bag and machine sew close to the edge. You can also stitch by hand for a less visible seam.
Push the interior inside the bag. Press and sew along the top opening.
Enjoy!
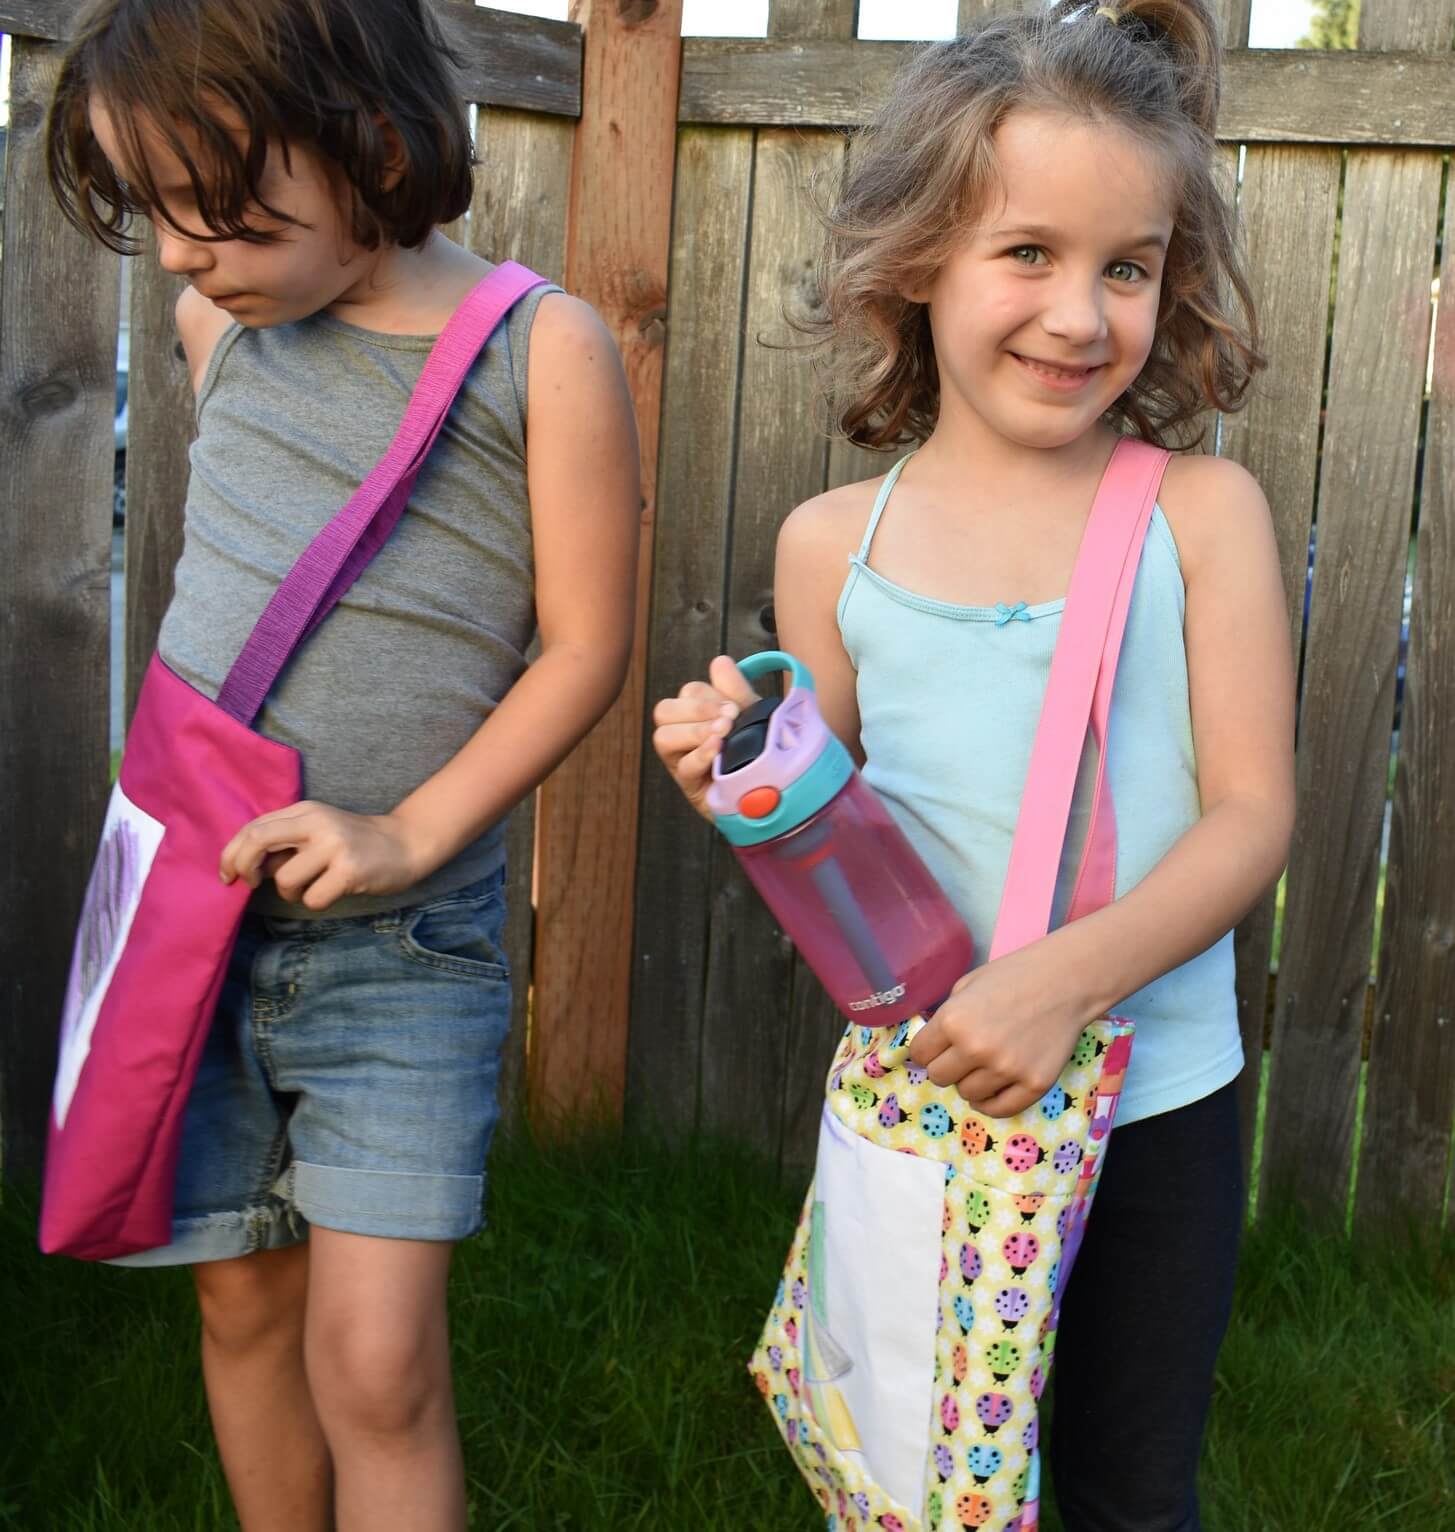
The kids were so excited when I arrived with their bags, so we did a fun little photo shoot to show off their artwork. They’ve also decided I need to make a tiny book bag for their baby sister!
Happy Sewing! ~L

