Hi Friends!
Tis the season for staying cozy in the studio sewing with fun, holiday fabrics! Now, if I were smart, I’d get a head start and do my Christmas sewing in late summer or fall when the kids go back to school. But I really do enjoy sewing with the season, so my projects will just have to have short turn-around times!
I thought I’d share with your today a little of what I’ve been doing lately.
First up was a little half-apron for my daughter. She is 14 and an aspiring chef. She jokingly calls herself a 1950’s housewife and says she was born in the wrong era. That is, until you remind her there were no iPhones in the 50’s! 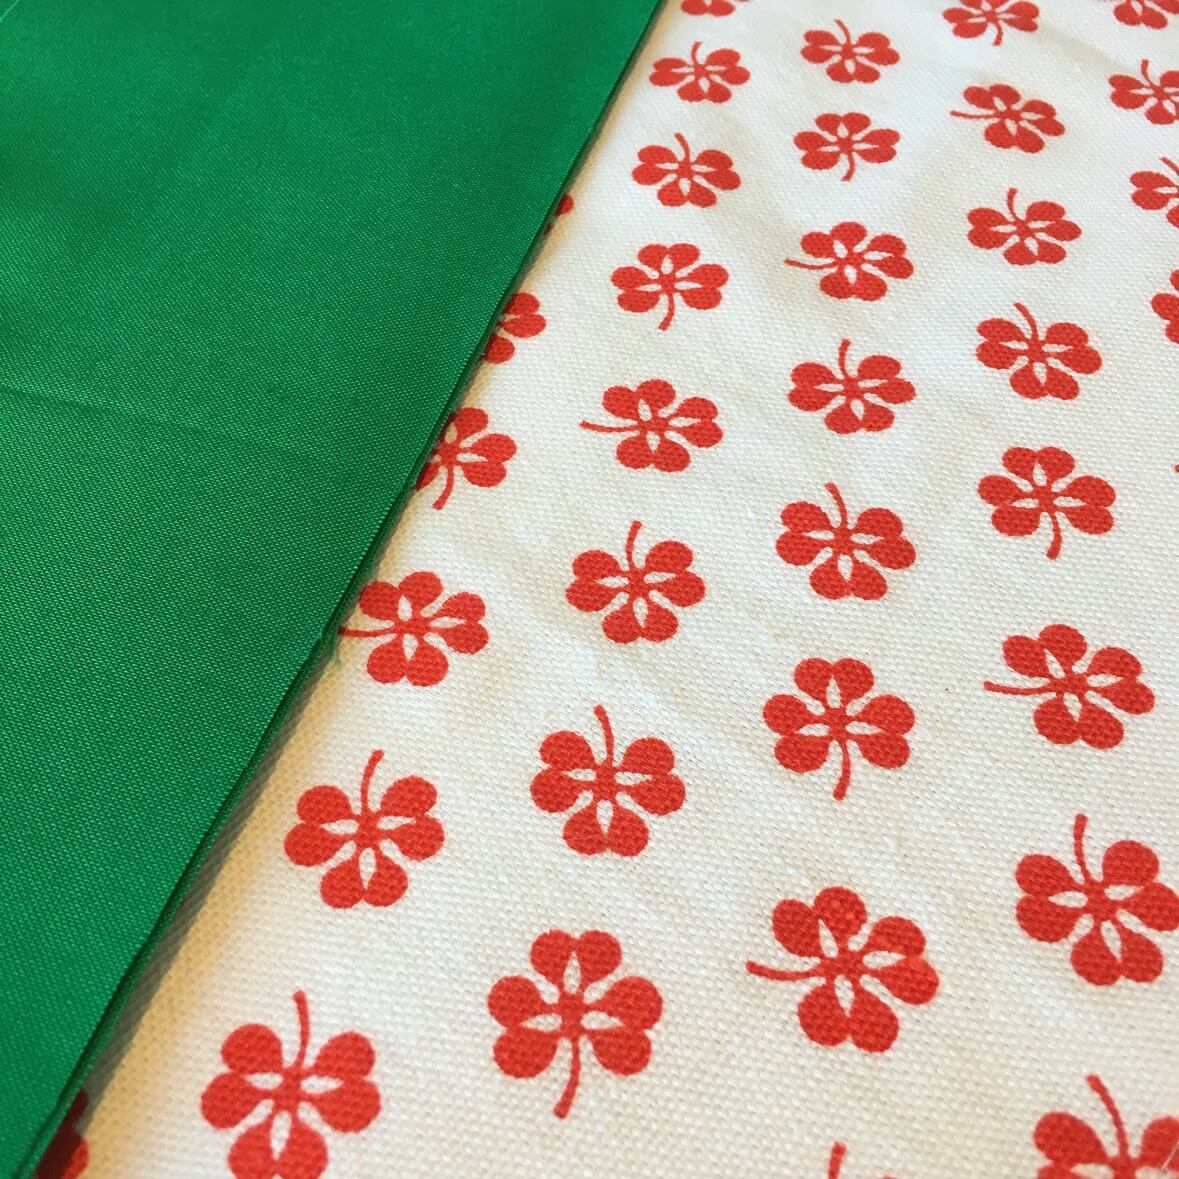
I wanted to make her a little 50’s-inspired apron at the beginning of the Christmas season. It just makes holiday baking more fun. In my stash, I have a small bin for anything that’s not quilting cotton. In there, I was lucky enough to find this little vintage red and white clover canvas that I bought at a garage sale years ago. And there was just enough to make a short half-apron! Add in some green Kona Cotton, and you’ve got yourself a project!
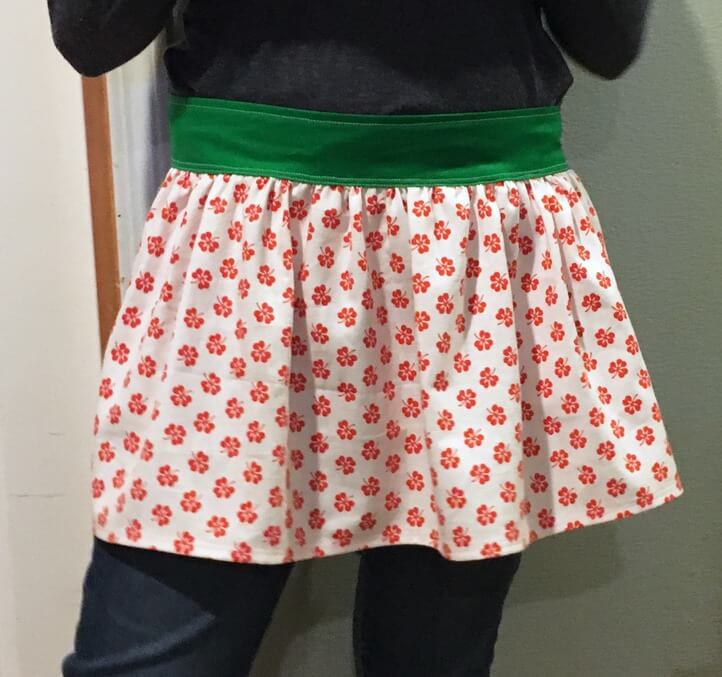
Making this was quite simple. First I made a wide tube with the Kona and turned it inside out to create the waistband/ ties. I made the ties fairly long in order to be able to have a nice, big bow on the back of the apron.
I hemmed the bottom and sides of the canvas and then gathered the top before stitching it to the waistband.
To gather fabric, first sew a line of stitches where you want your ruffle using your longest stitch length, leaving at least 6 inches of thread on each end. Next, tie the threads on one end into a knot. Separate the threads on the other end and gently pull just one thread out while holding the fabric to begin gathering it toward the knotted side. The trick here is to not break your thread- be gentle.
Once your fabric is ruffled up to the length you need, tie the threads on that end of the fabric into a knot and even out your gathers.
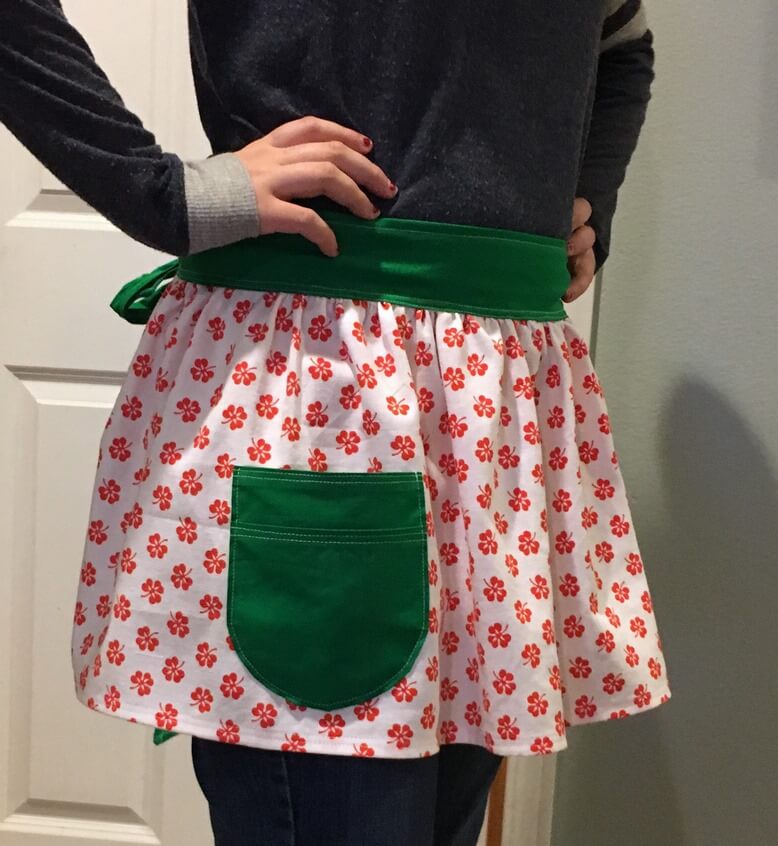
After completing the apron, something just wasn’t sitting right with me design-wise…. it needed more. And I decided that the ‘more’ needed to be a cute little green pocket. I’m so glad I added it… it really upped the ‘cute’ factor.
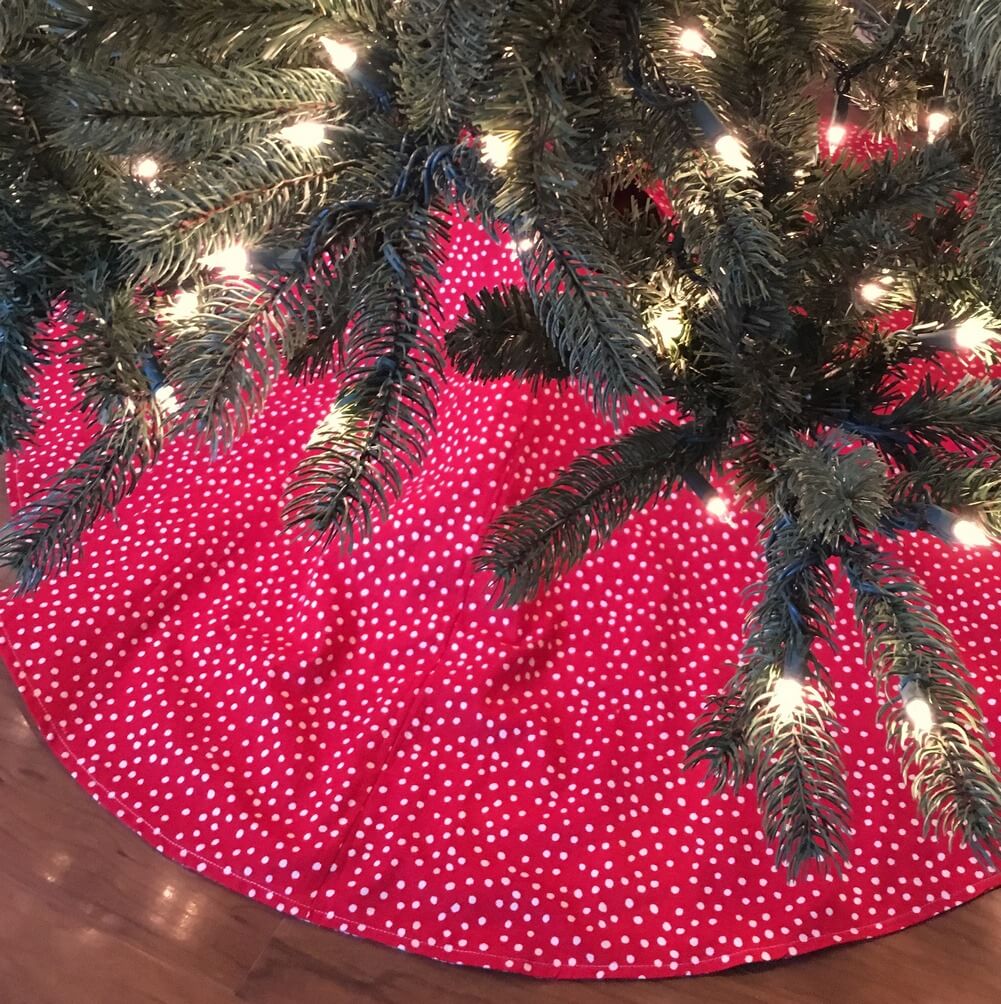
Next up was a new tree skirt. I used a simple circle skirt design. In order to have it be a little thicker, and to make it look nicer, I lined this instead of just hemming along the bottom.
I cut two circles of fabric, sewed them right sides together leaving a small hole, and then flipped the whole thing inside out before overstiching around the whole thing. And Bonus: It’s reversible!
While cutting fabric for the tree skirt, I accidentally cut two linings instead of one. Instead of putting that fabric in my scrap bin, I figured why not make another apron?!
I widened the ‘waist’ part of the tree skirt lining (My daughter is slim, but not the size of my Christmas tree trunk!), added the waistband and hemmed the bottom.
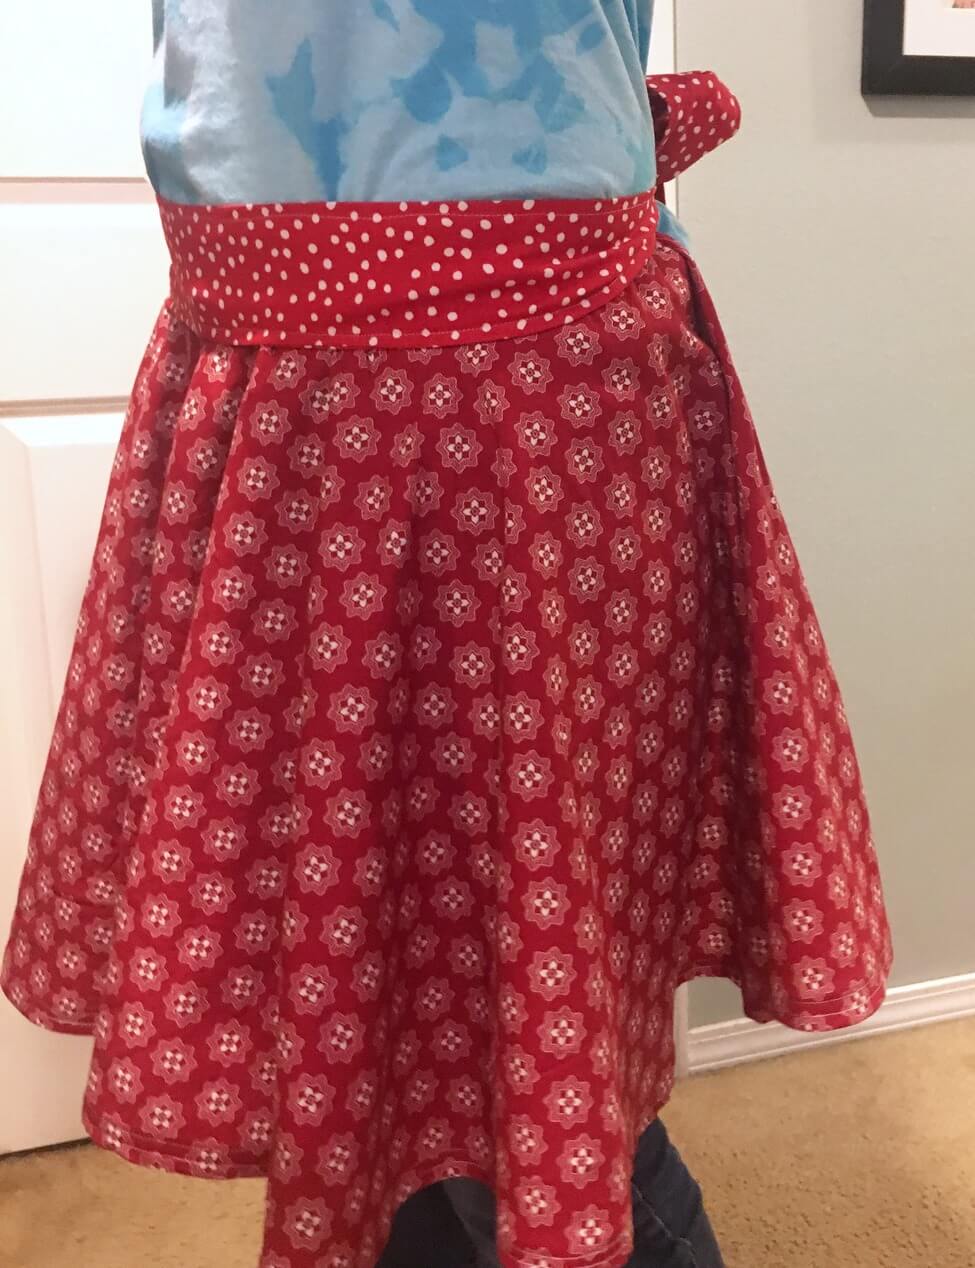
Note that there was no need to gather this apron like the clover apron because it was made with a circle of fabric as opposed to a rectangle. Those pretty ruffles just appear naturally!
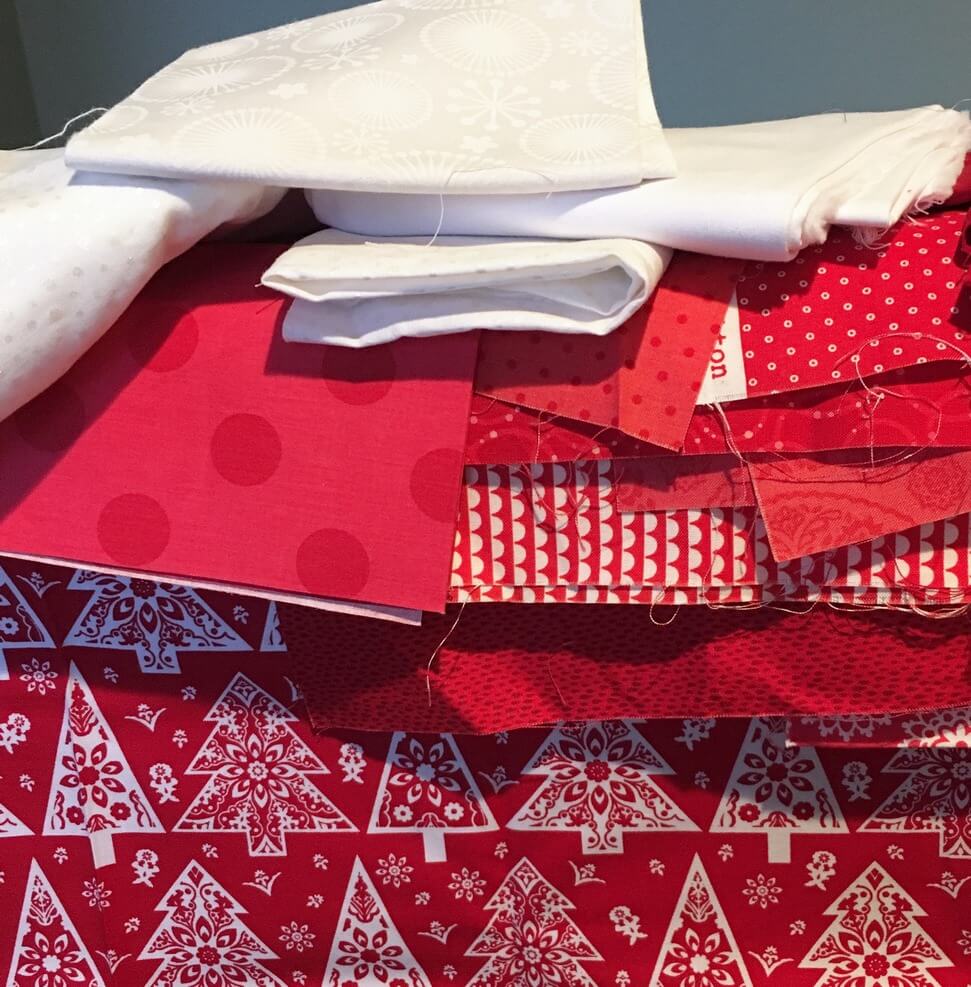
So, what’s a girl to do three weeks before Christmas when she has out all her Christmas fabric for making aprons and tree skirts? Why, start a CHRISTMAS QUILT, of course! I really am overly optimistic. But I figured that if I made it a simple patchwork, I could probably get it done in time, am I right?
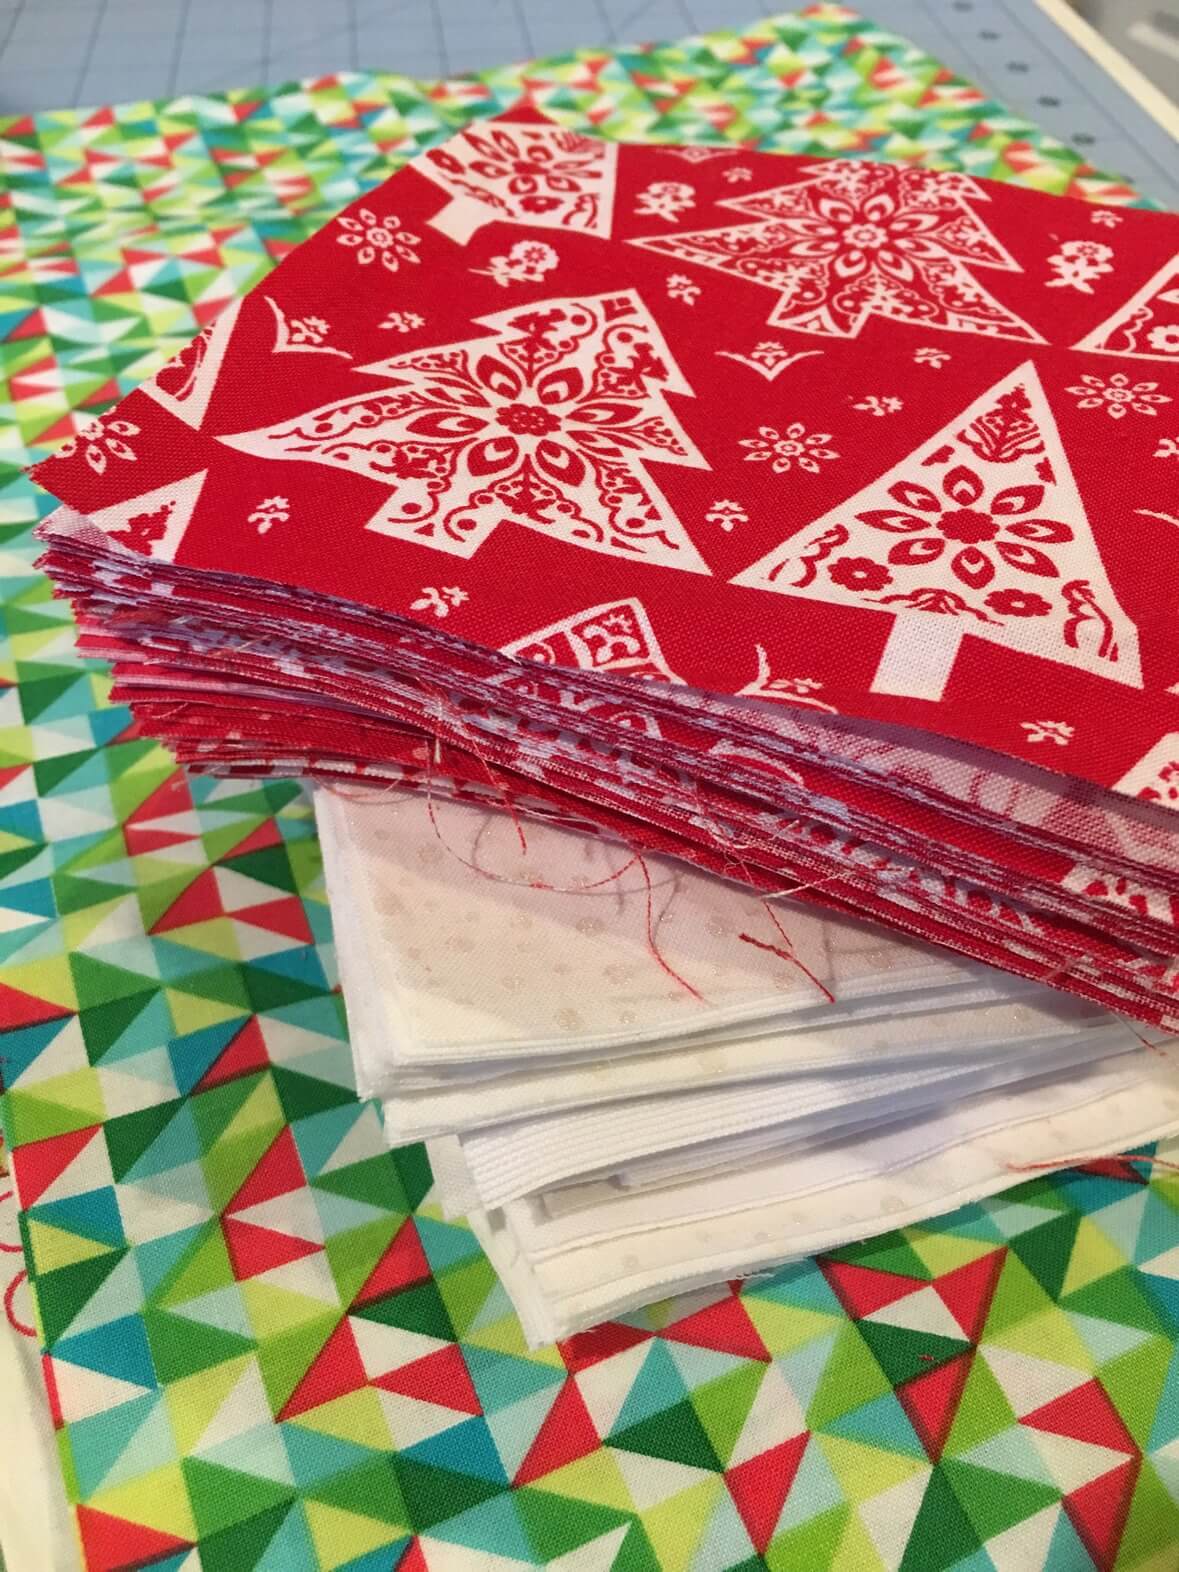 Look at those adorable little squares waiting to be made into something grand.
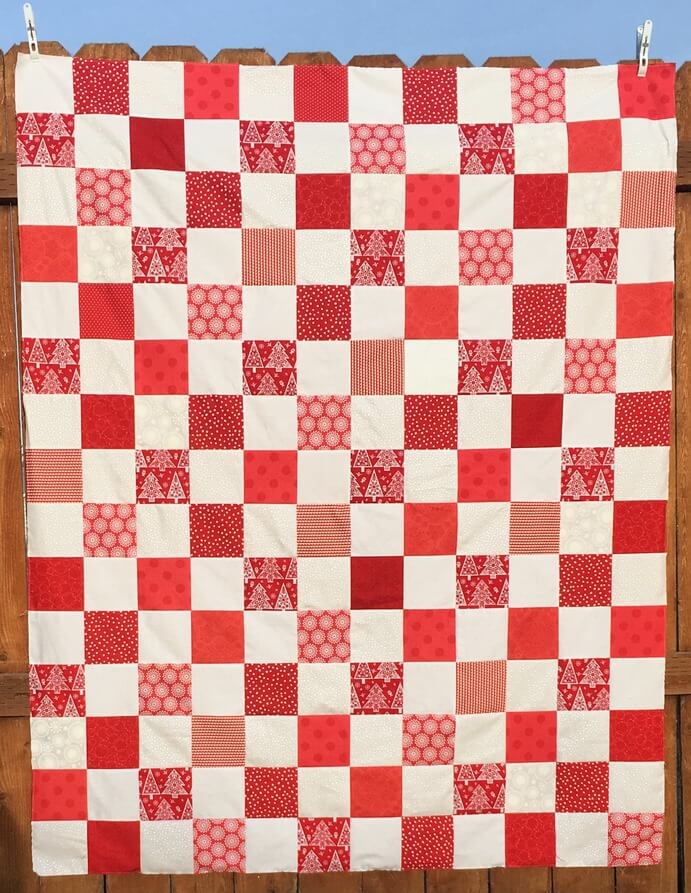 And…”TA DA!”, I finished the quilt top! Now, I’m *hoping* to baste this (along with another secret Christmas.gif"alignnone size-full wp-image-6361" src="https://laurelpoppyandpine.com/img/2016/12/file_0071.jpg" alt="file_007" />
I hope you enjoy the rest of your holiday season, and Happy Sewing! ~L
Love the aprons and the quilt top – well done with them all!
LikeLike
Thanks!
LikeLike
I really like the red and white quilt top! Good luck getting it all done. 🙂
LikeLike