It’s time to show you this month’s blocks for the Bonfire Sampler Sister swap. I’ve been making three blocks each month and swapping with my friends Trina and Mindy. You can see the last two months here and here.
Let me just put this out there right away- these blocks are appropriately named. With double the curve piecing units than the last two blocks, I really needed to give myself time and mental energy to get them done.
That being said, I can tell that my skill with curves has improved over the last several months. Getting a consistent seam and lining up those curves was much easier this month. I’m very thankful for that considering how many I had to do.
One reason I’m super thankful for this swap is that it’s showing me areas I need to improve. Making something all by yourself is very different than collaborating. I don’t want to give my partners anything less than a gorgeous block they can use, so I’m finding things as I go along that I could definitely do better.
One thing I noticed in the first two months was that some of my blocks were slightly smaller than they should have been. I thought that I was doing a proper quarter inch seam, and couldn’t quite figure out what was going on. After doing a little research and meticulously measuring my seams, I realized that I was making them slightly larger than a quarter inch- when they really should have been a SCANT quarter inch. I also started pressing my seams with steam in order to help my blocks sit flatter.
Both those improvements gave me the results I was looking for- these blocks are consistently the 9.5″ they should be.
Life lesson: Sometimes in order to get better we have to go back to the basics, relearn what we think we know and humble ourselves enough to correct our mistakes.
Along those lines, I started thinking about how on our blogs, Instagram (and now Ello!), we show a lot of finished projects and beautiful blocks, but neglect to show what went into making them. So, it is my goal to show more of the process. The mistakes, bumps on the road and wonderful tedium of day-to-day quilting.
So let’s take a look! By the time I started taking process photos, my HST units were already done, but here is the method I used.
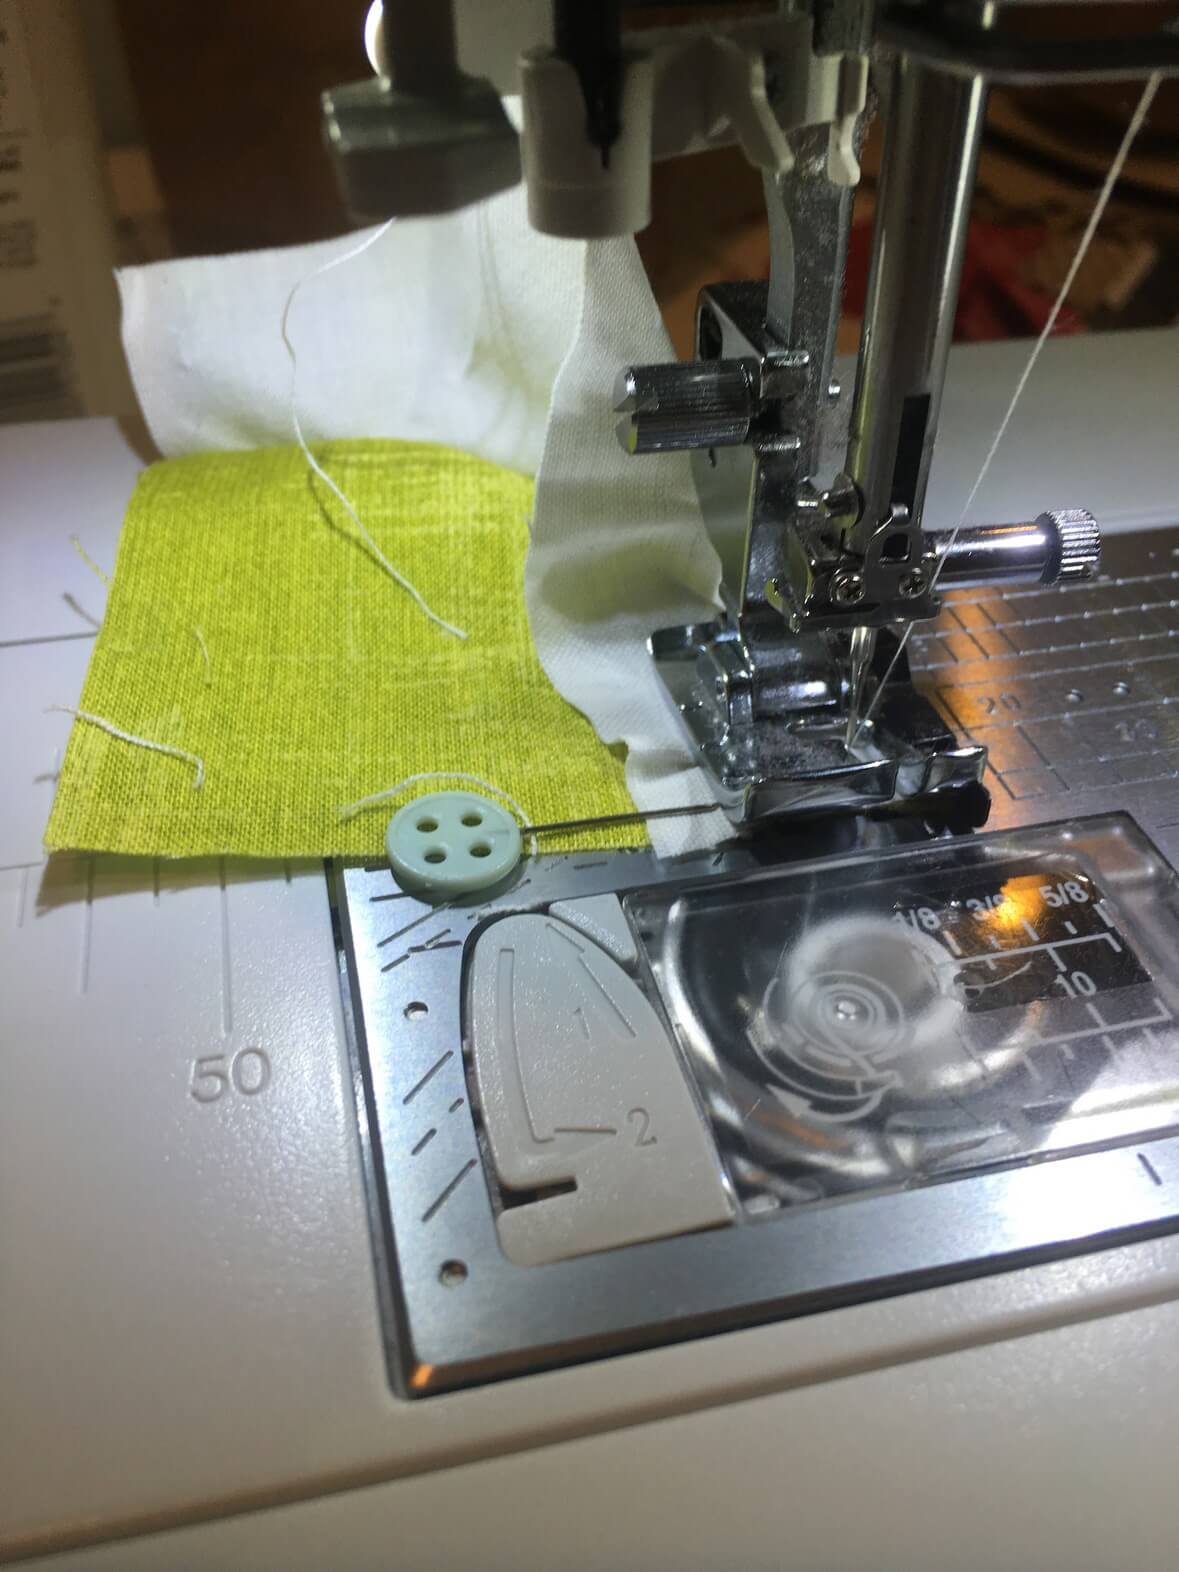
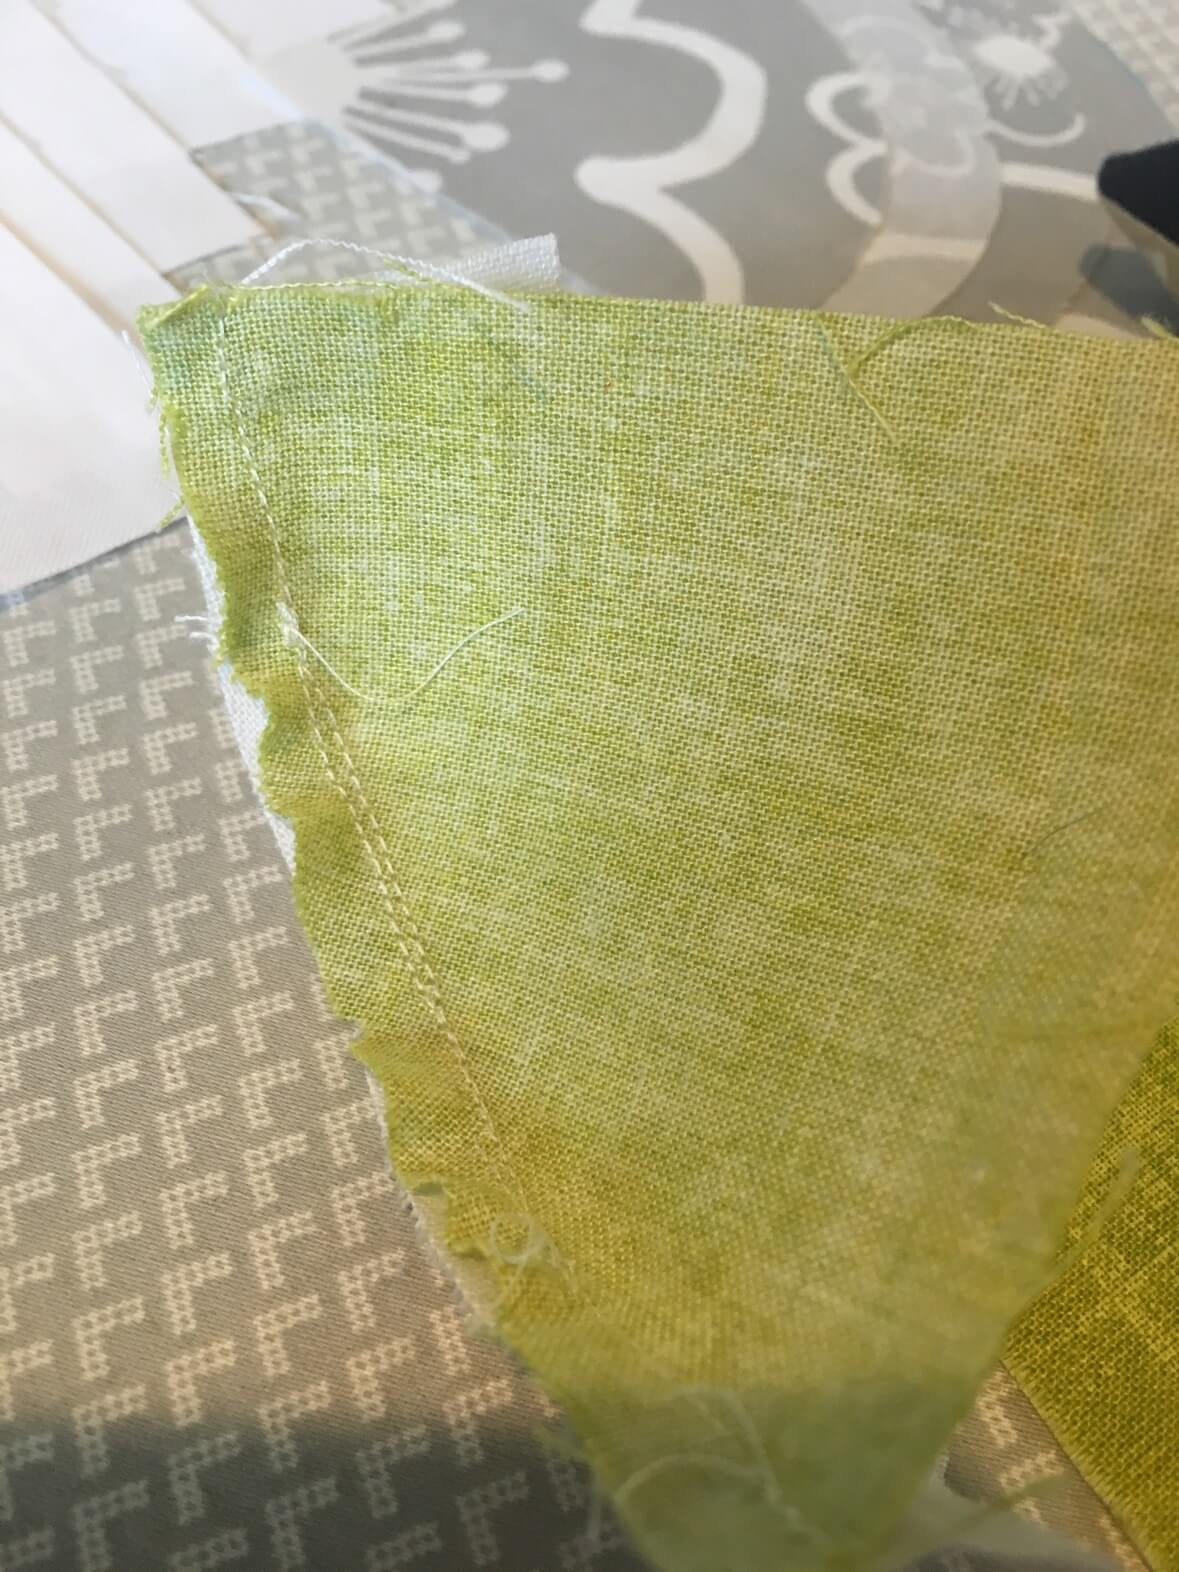
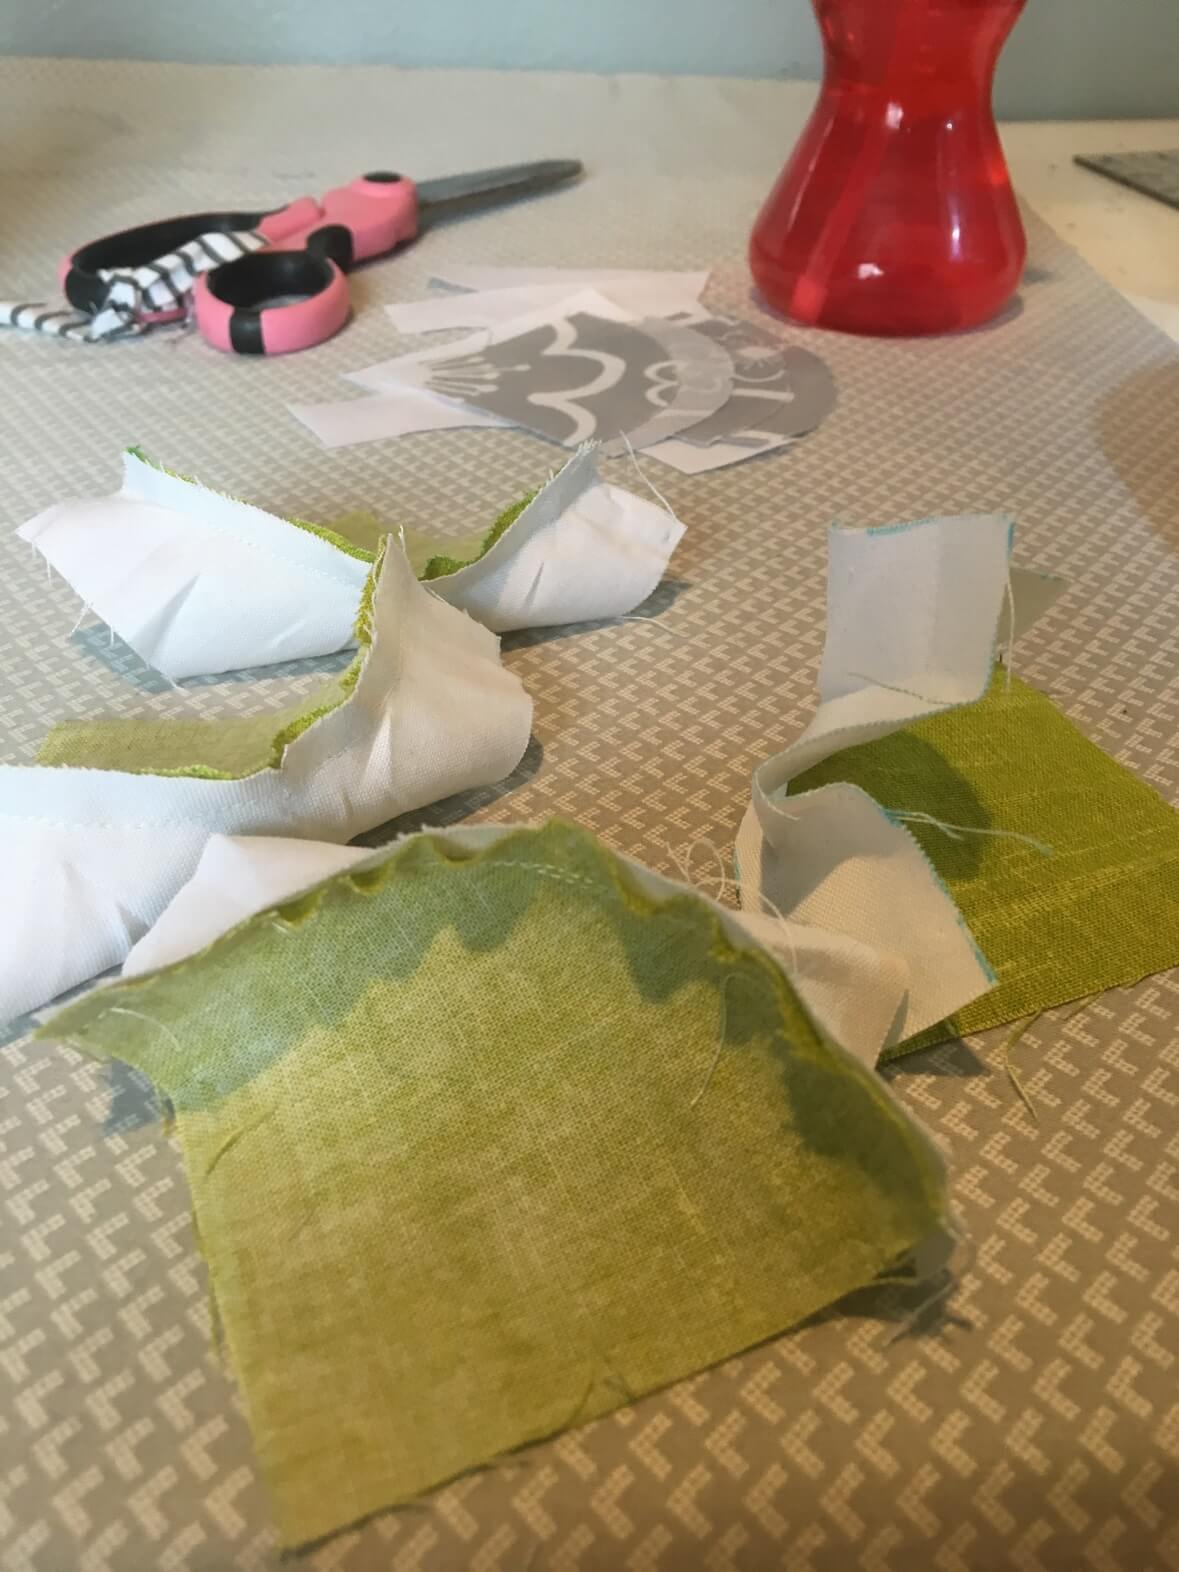
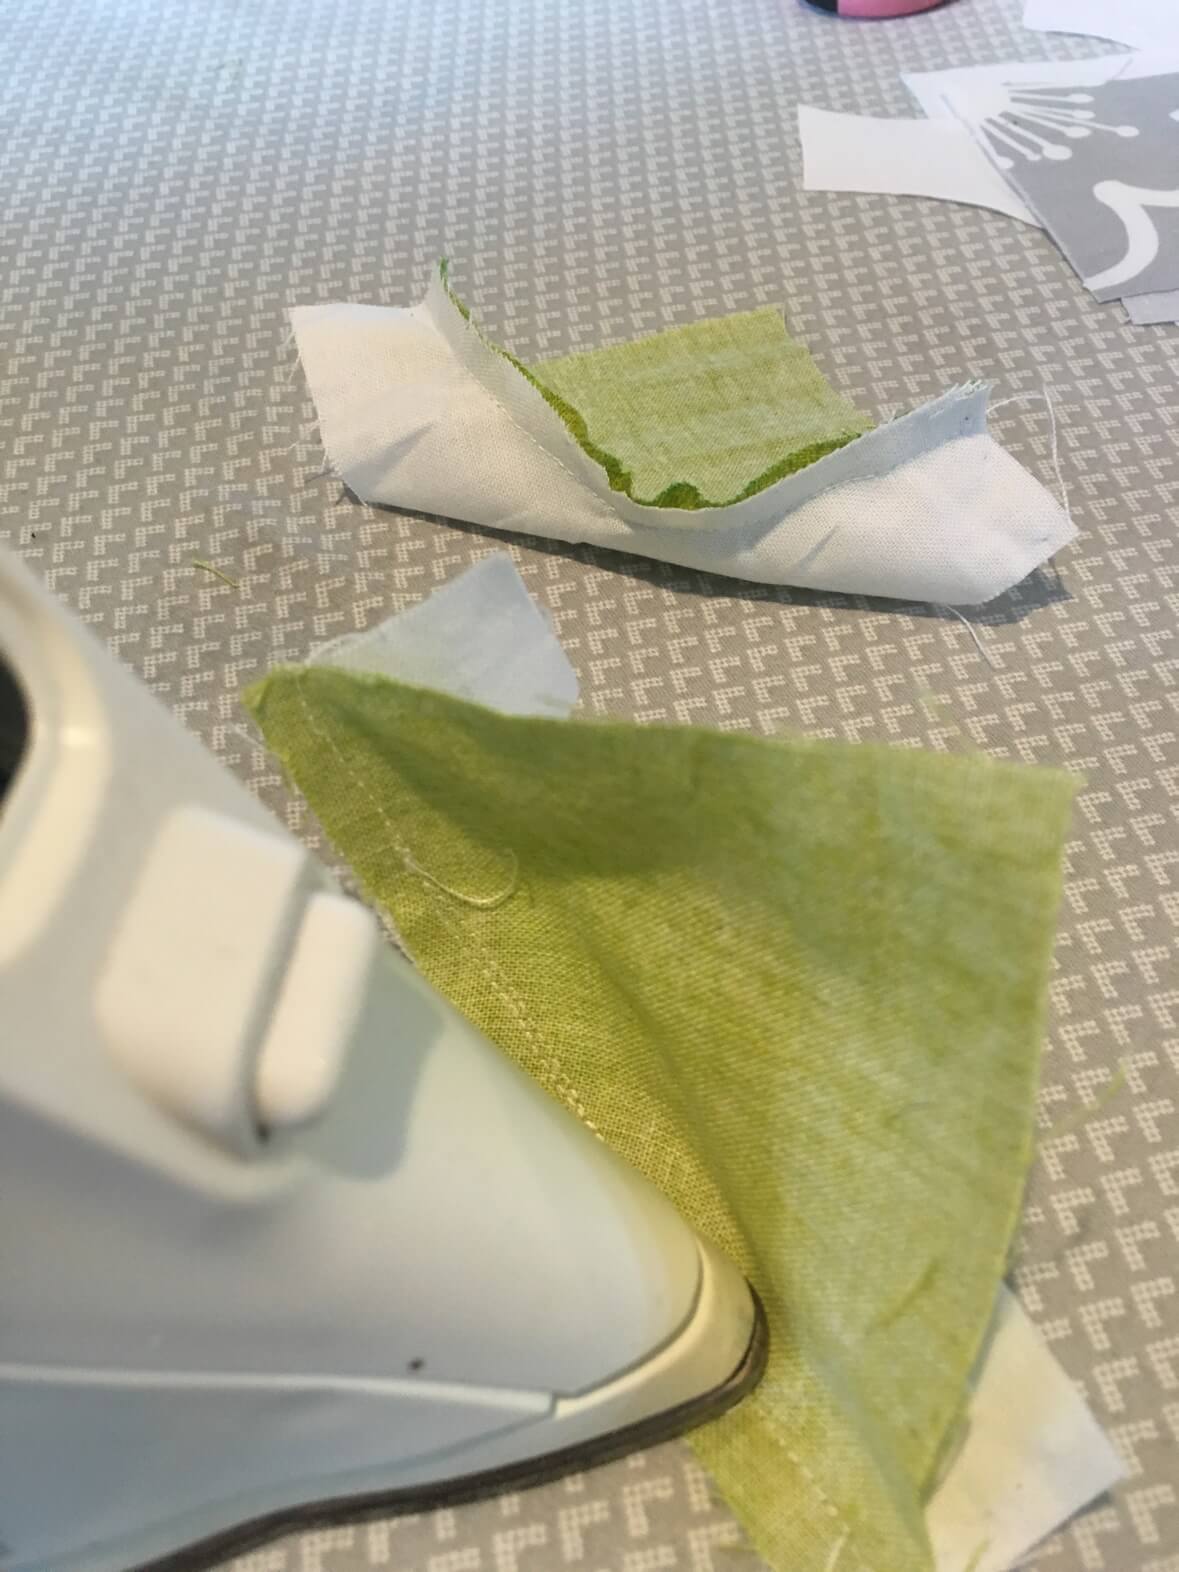
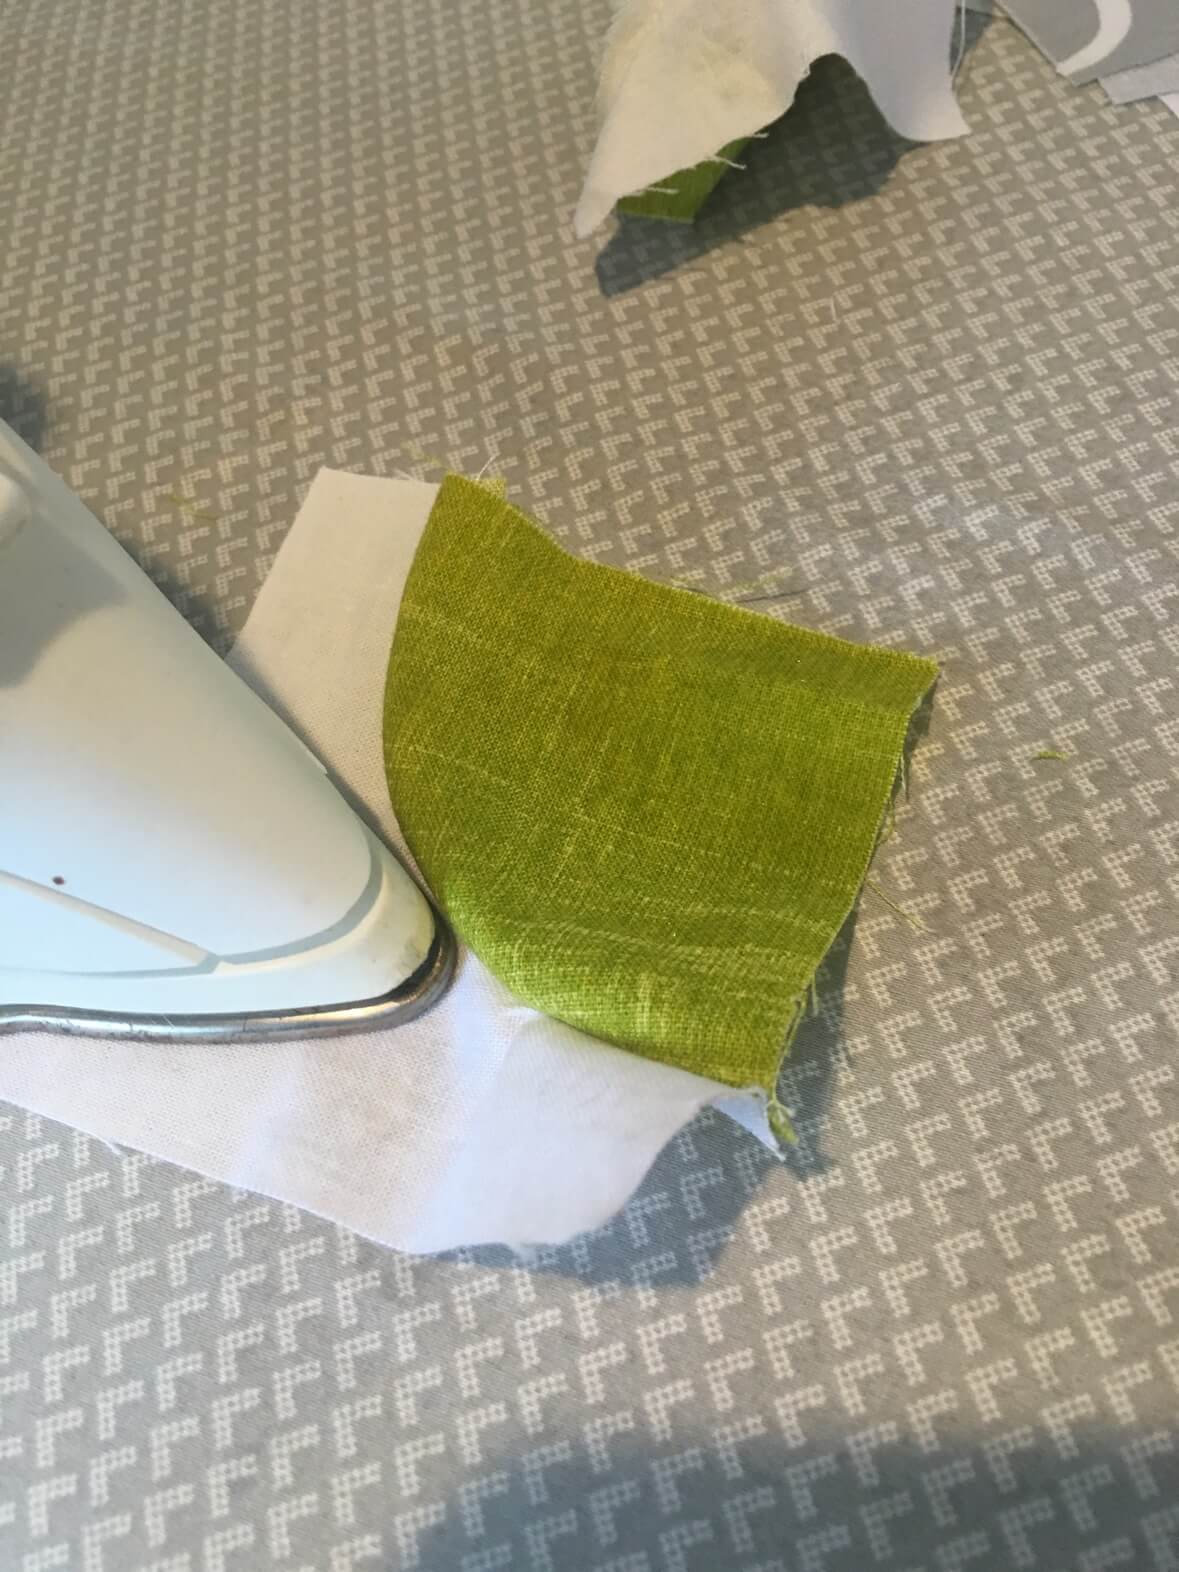
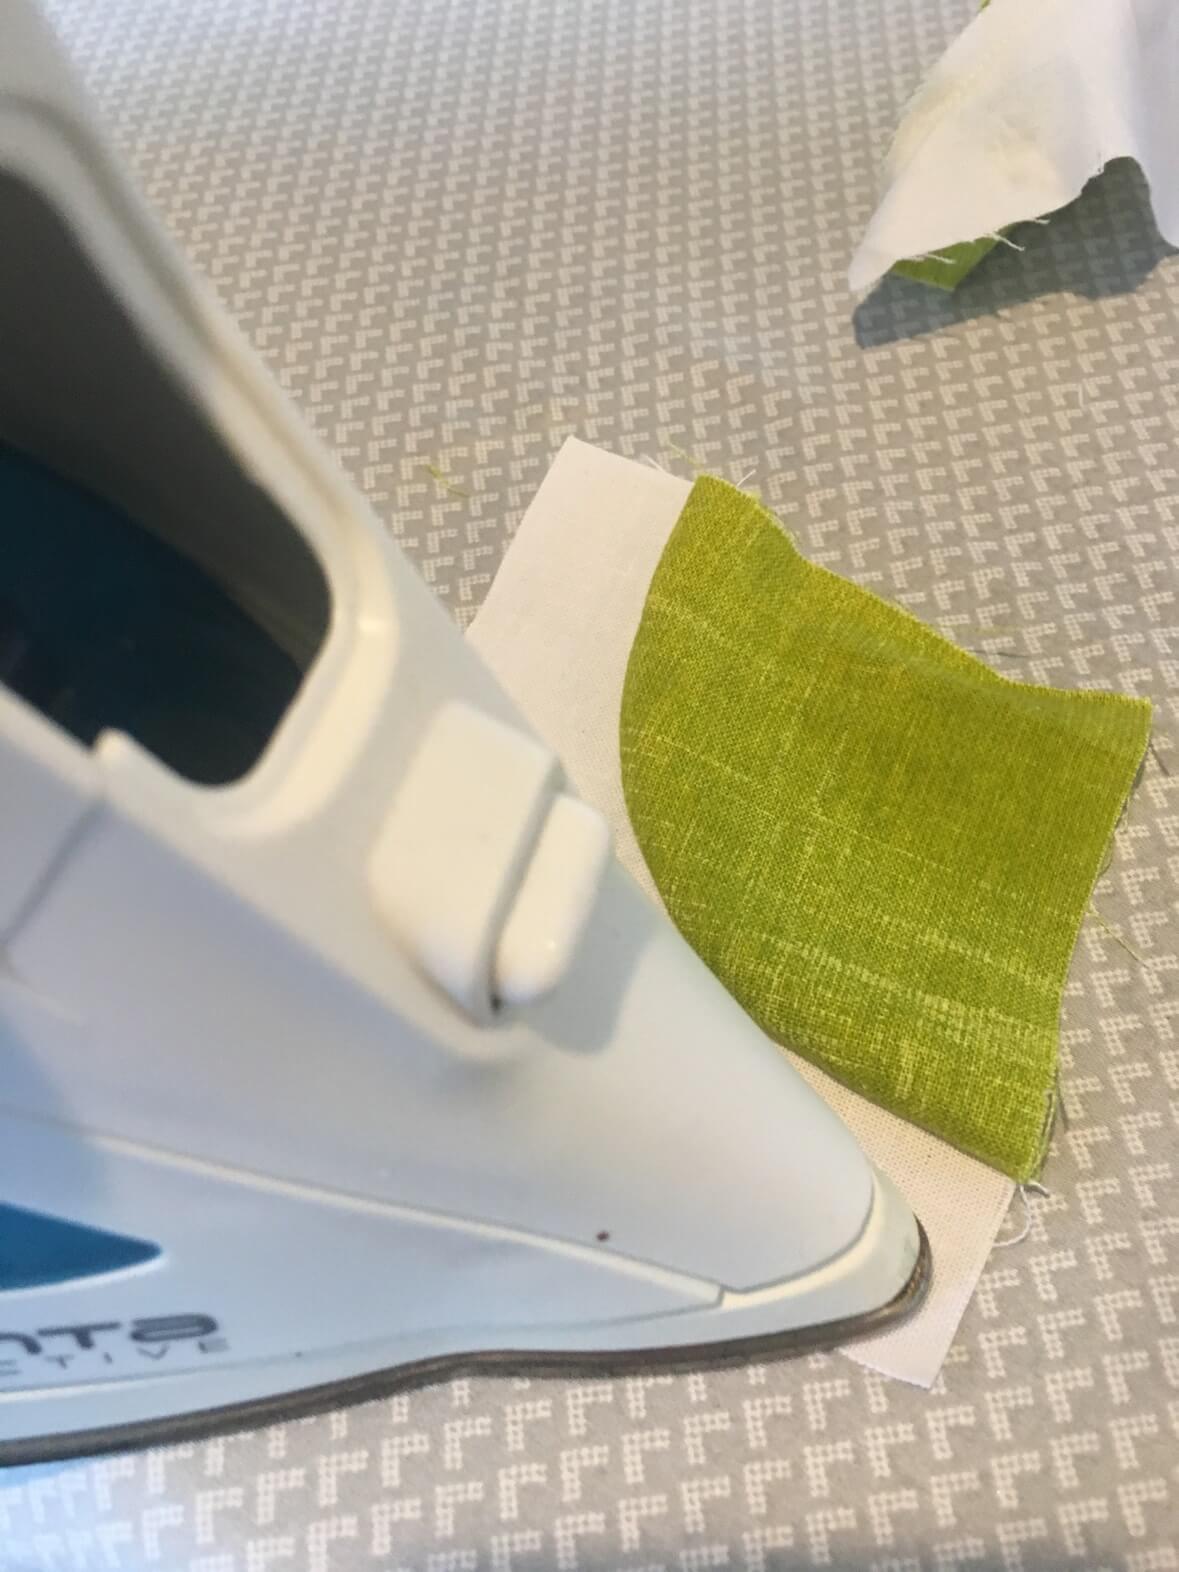
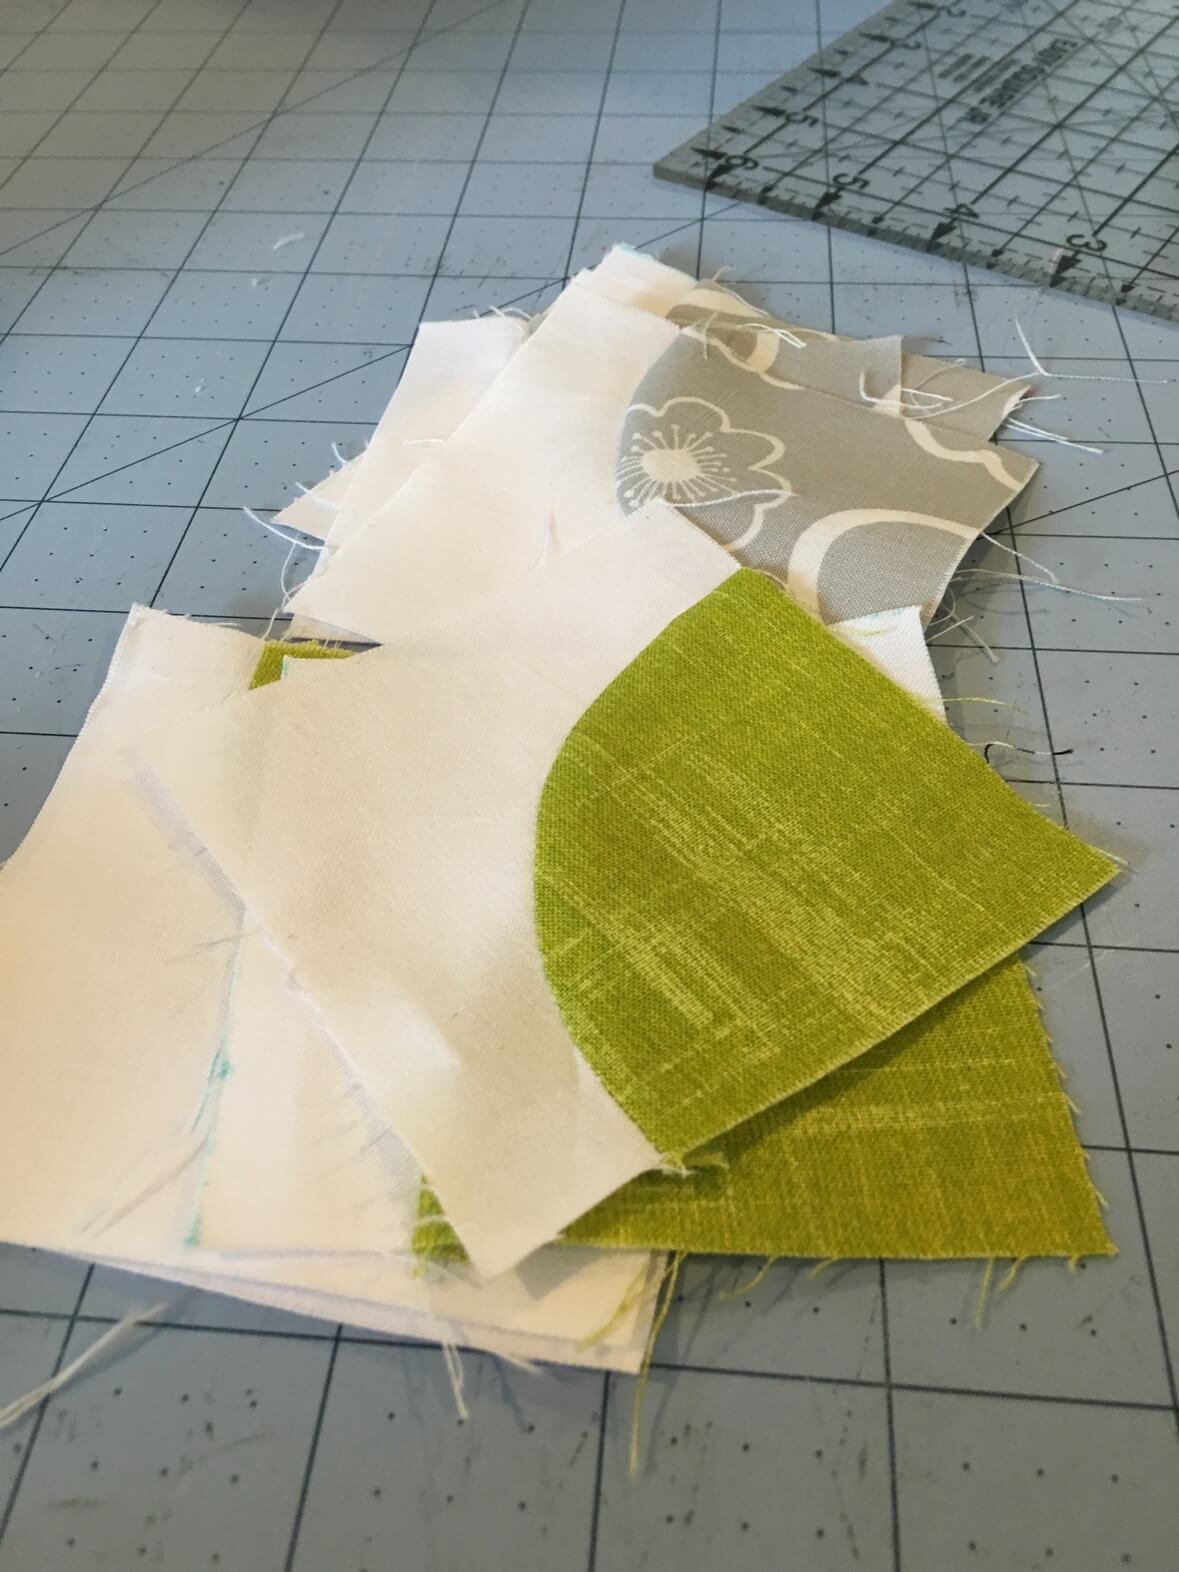
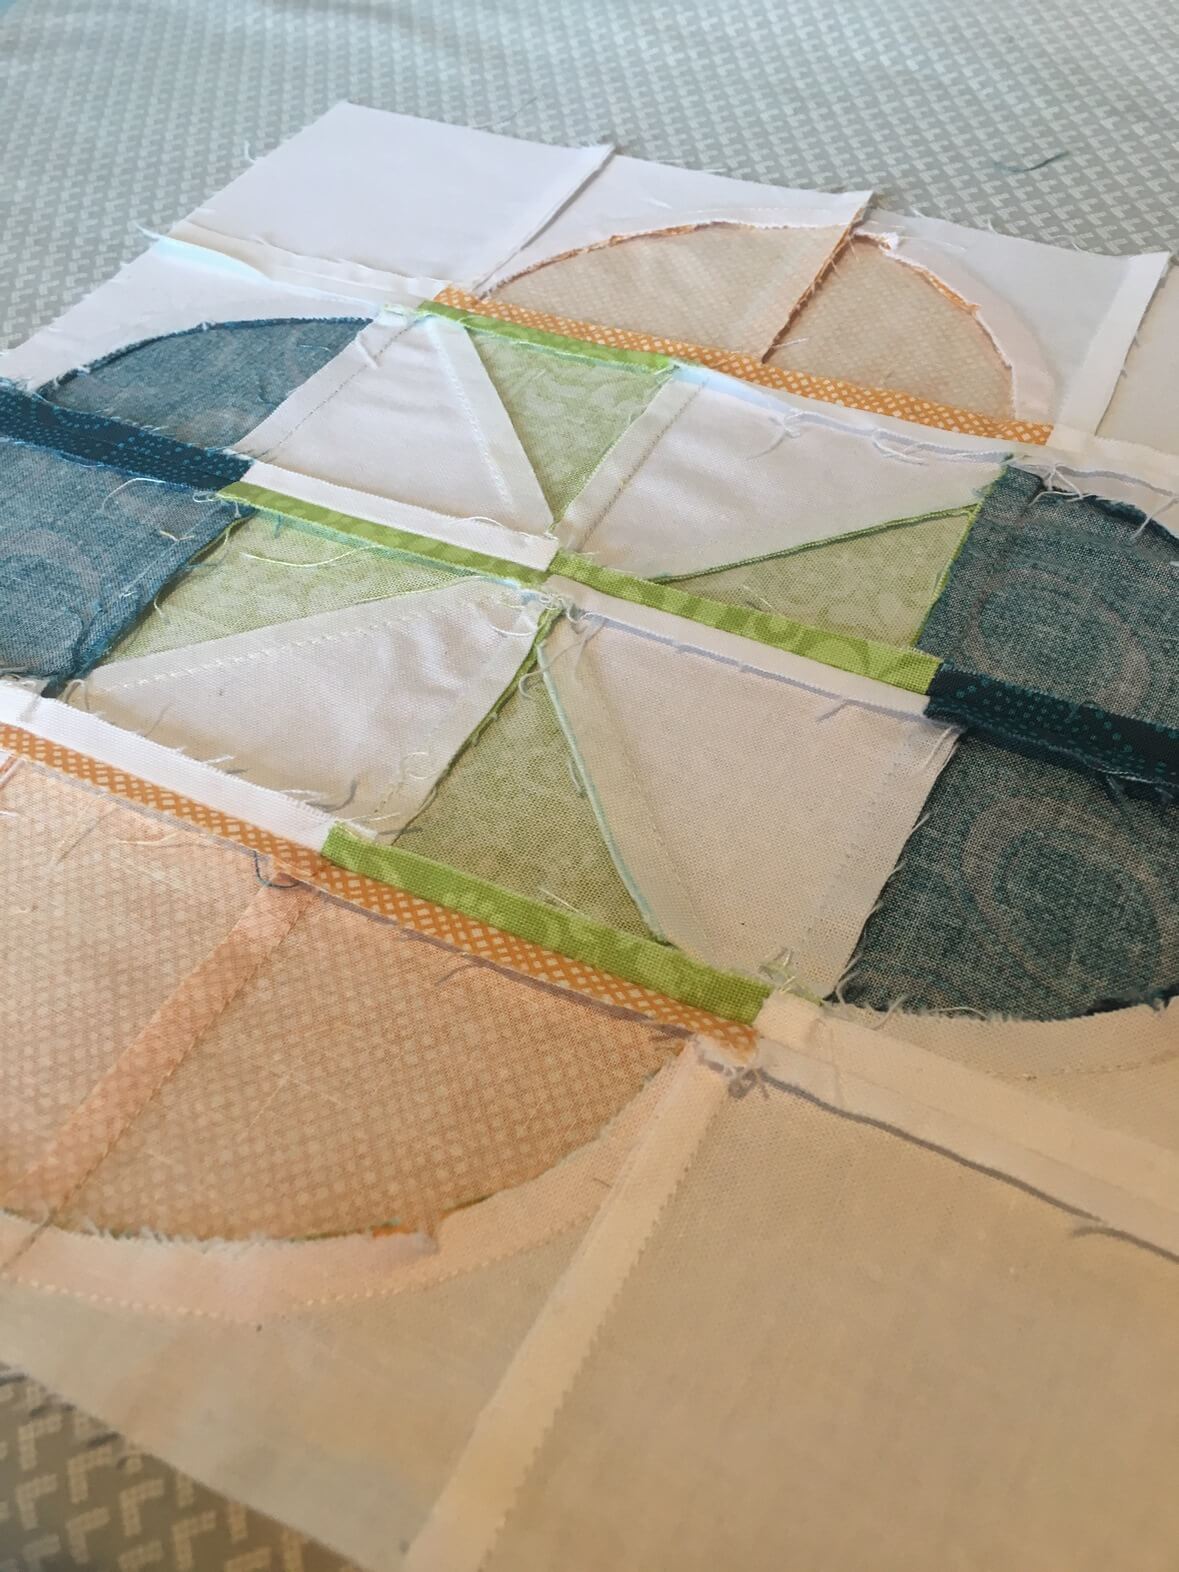
The first shots we have are the curved units. This by far took up most of the time making these blocks. Once the pieces are cut, you notch the centers then pin them. While sewing, I kept reminding myself; “Slowly, Slowly, Slowly said the Sloth”. Sometimes my seam would wobble too close to the fabric edge and I’d have to go back over it. But taking time to do it right was worth it! It helped me get better. I set the seams, then pressed from the front. By starting my pressing on the outer part of the curve (white portion) first and then doing the inside (green part), I was able to reduce the chances on making the unit wonky with my iron. There are great instruction in the Sister Sampler book for trimming and squaring up these units.
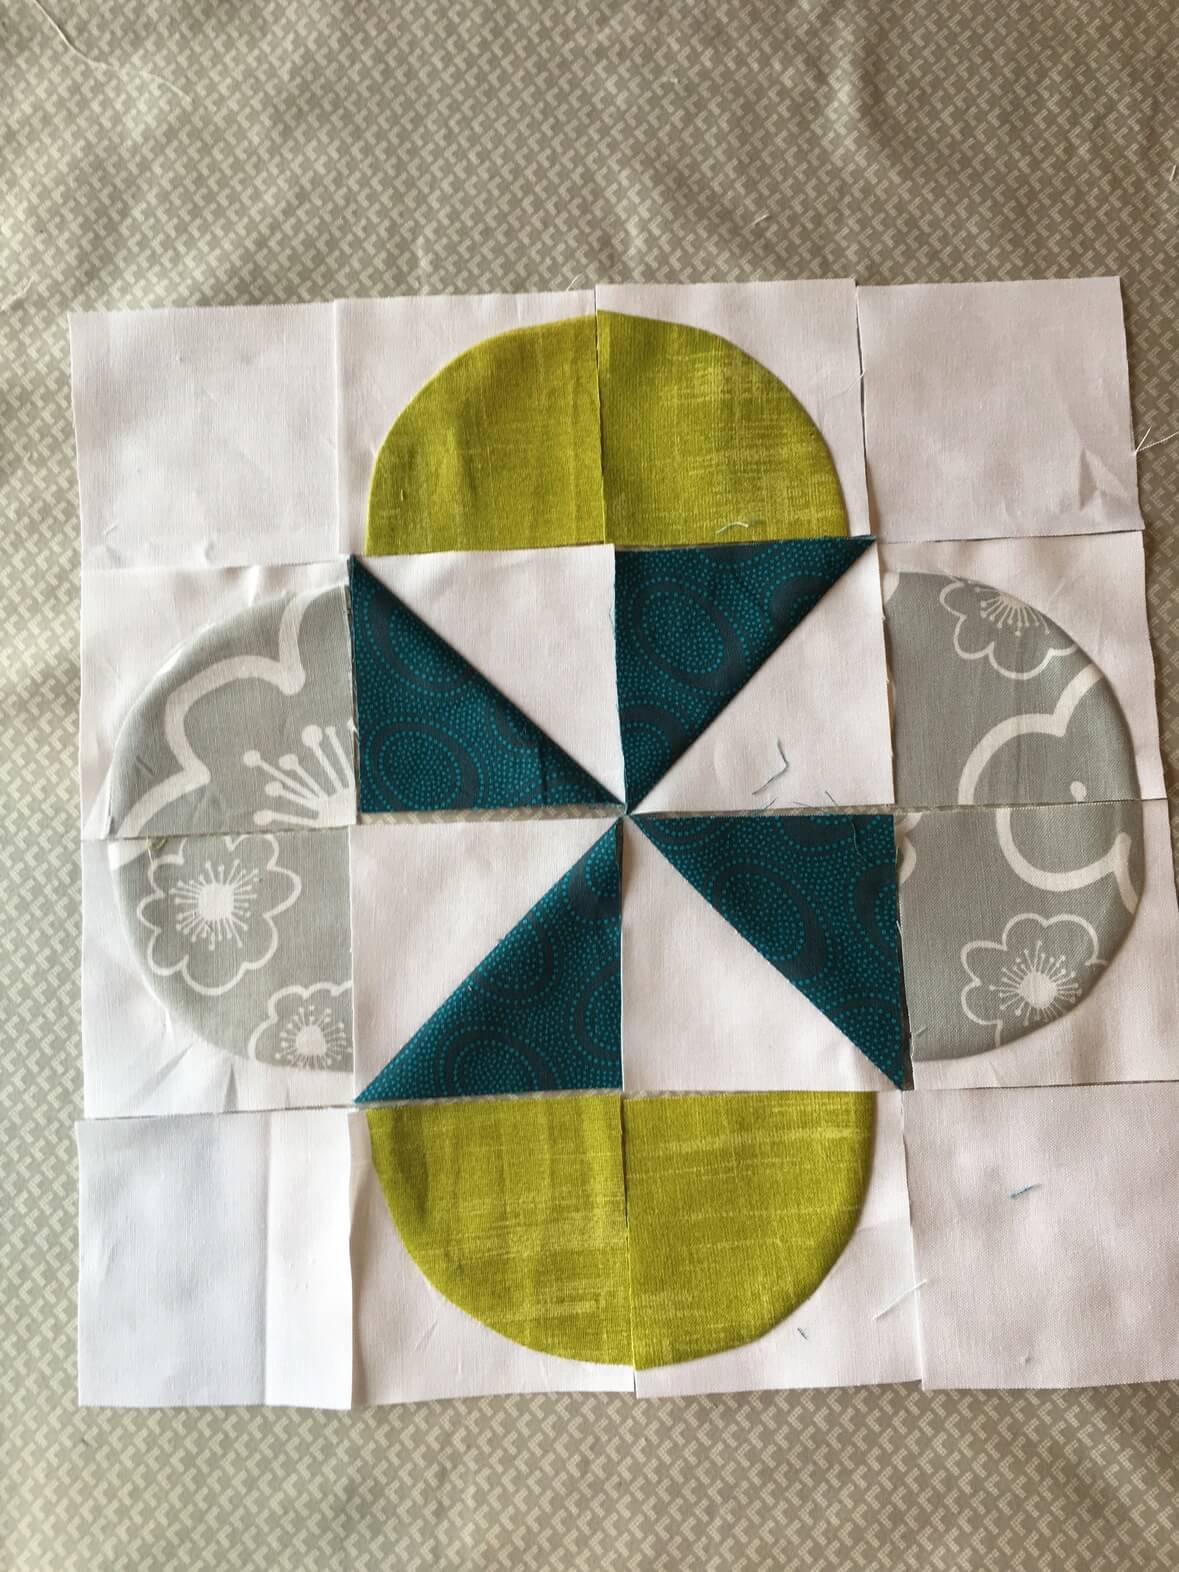
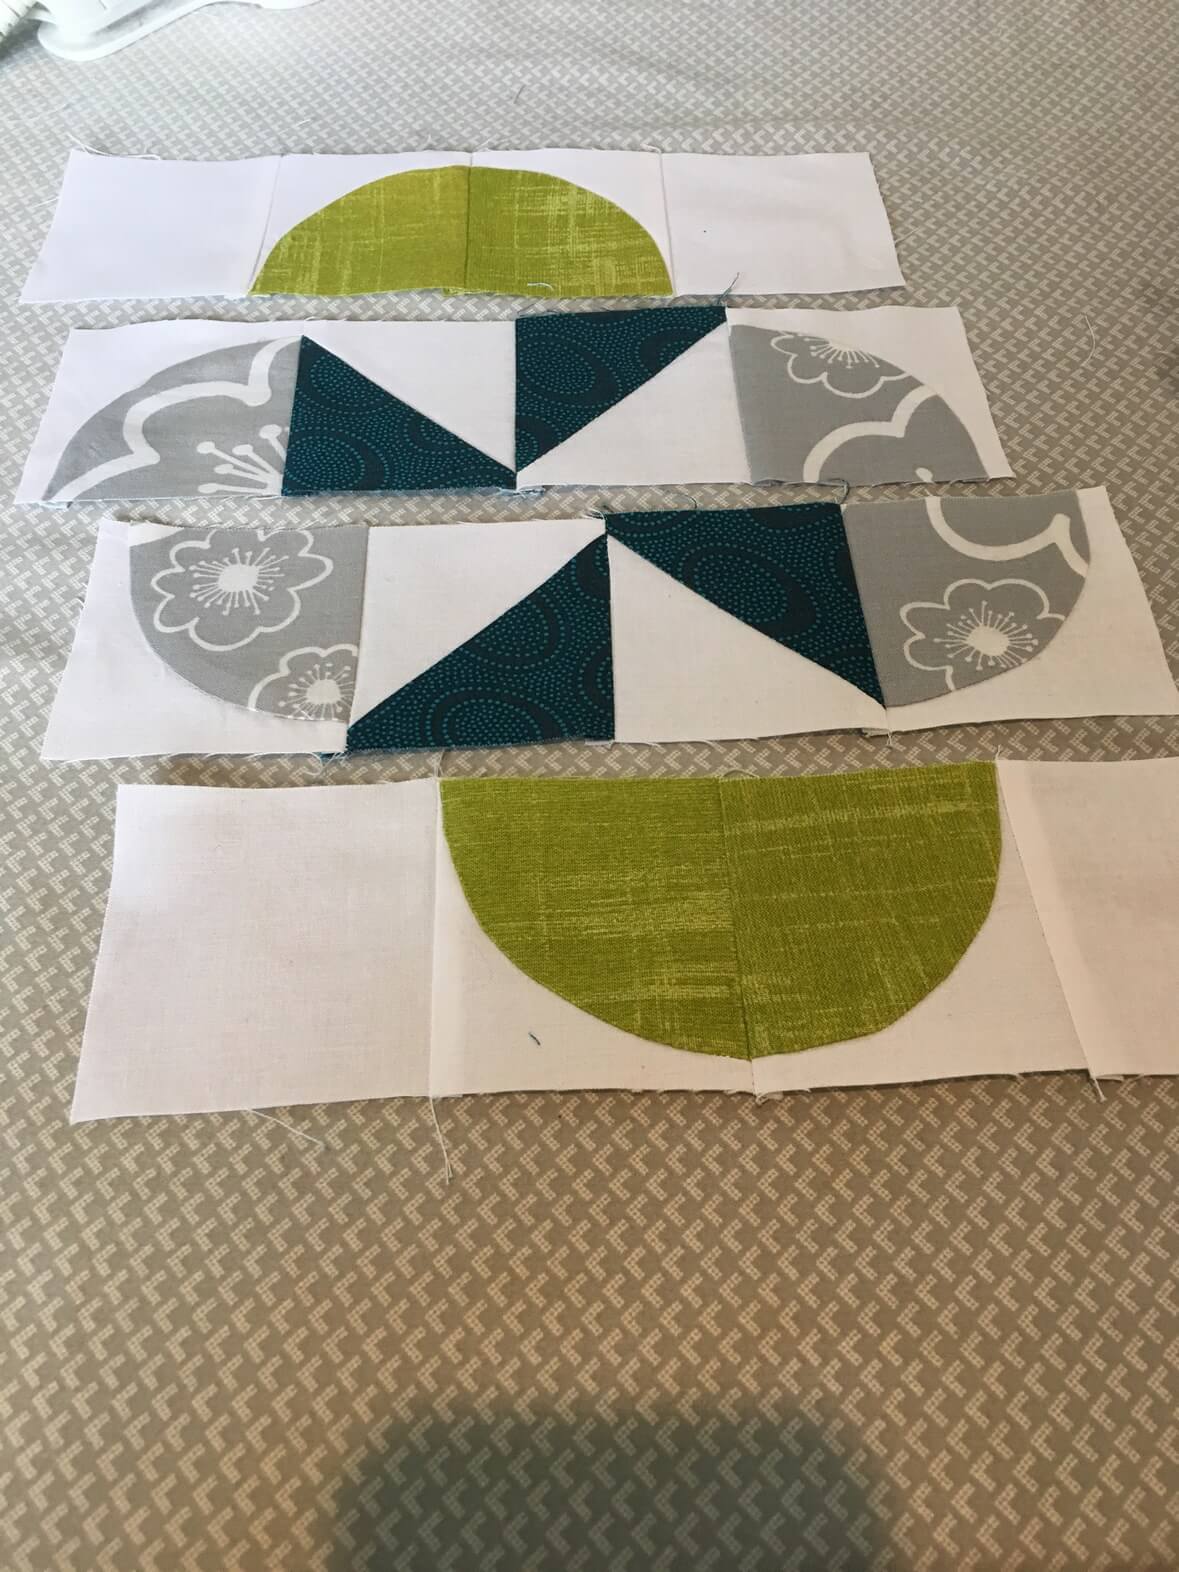
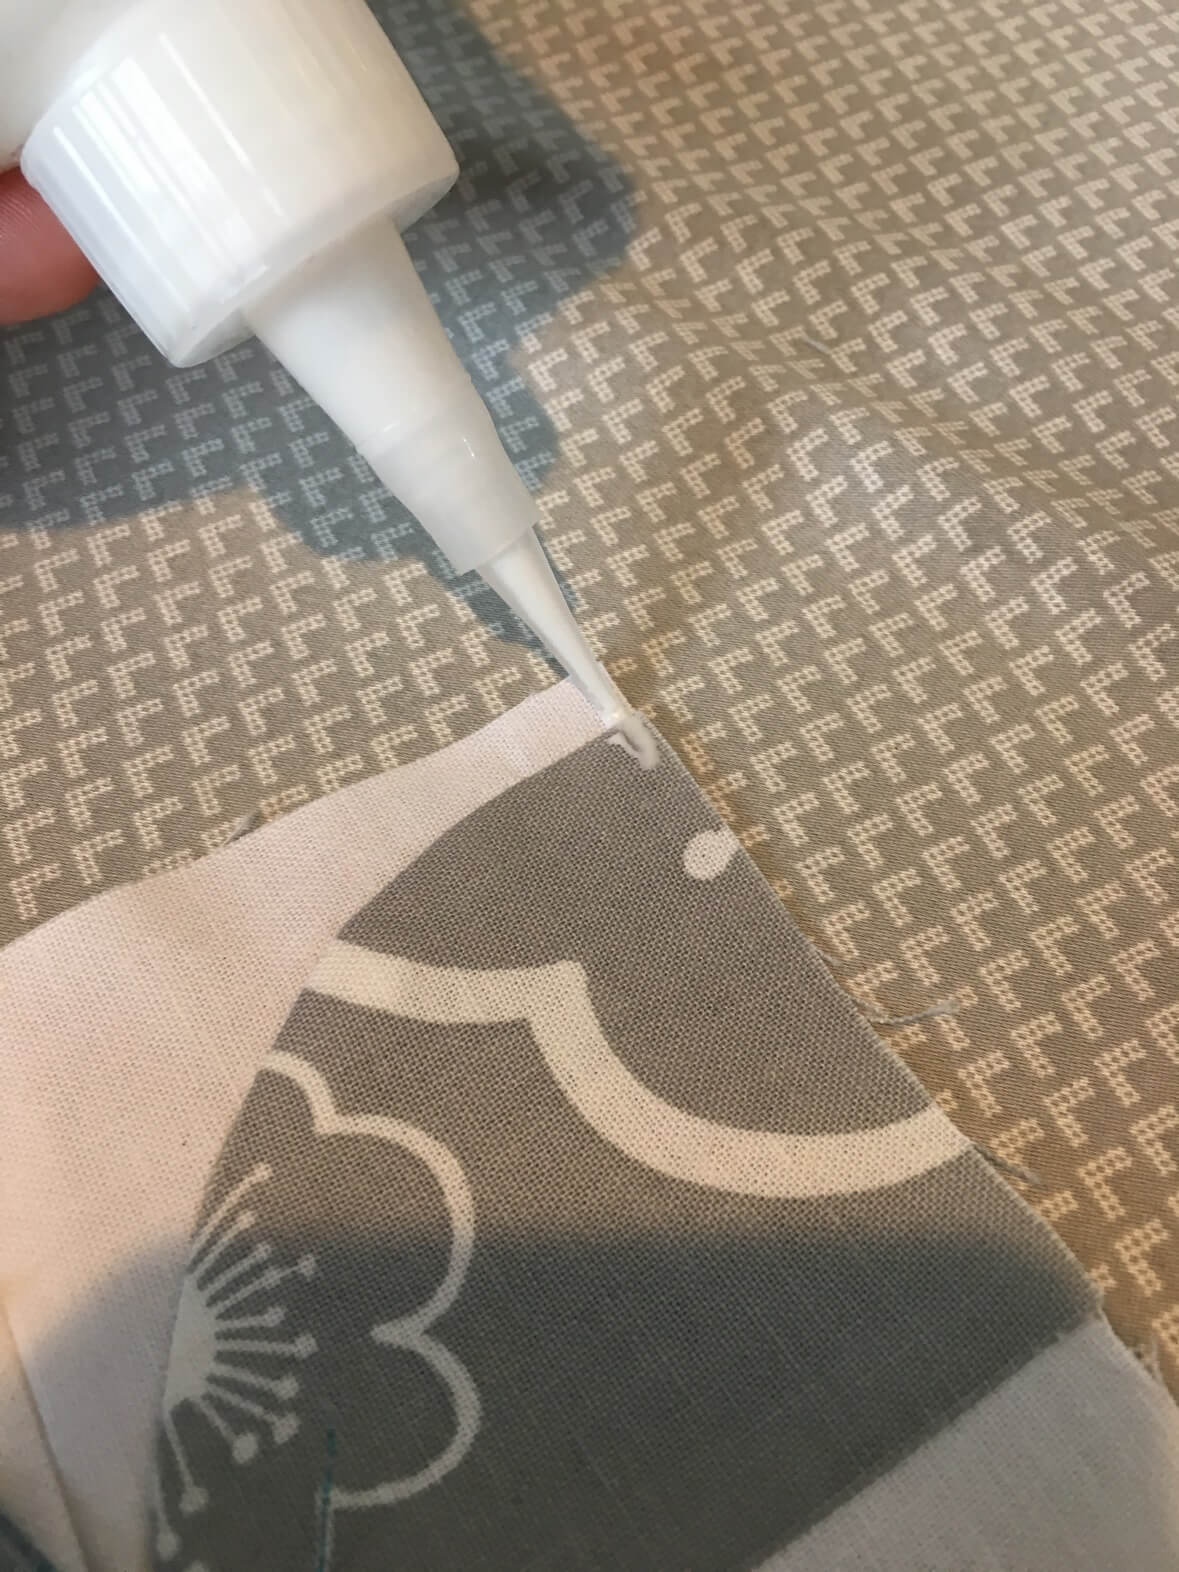
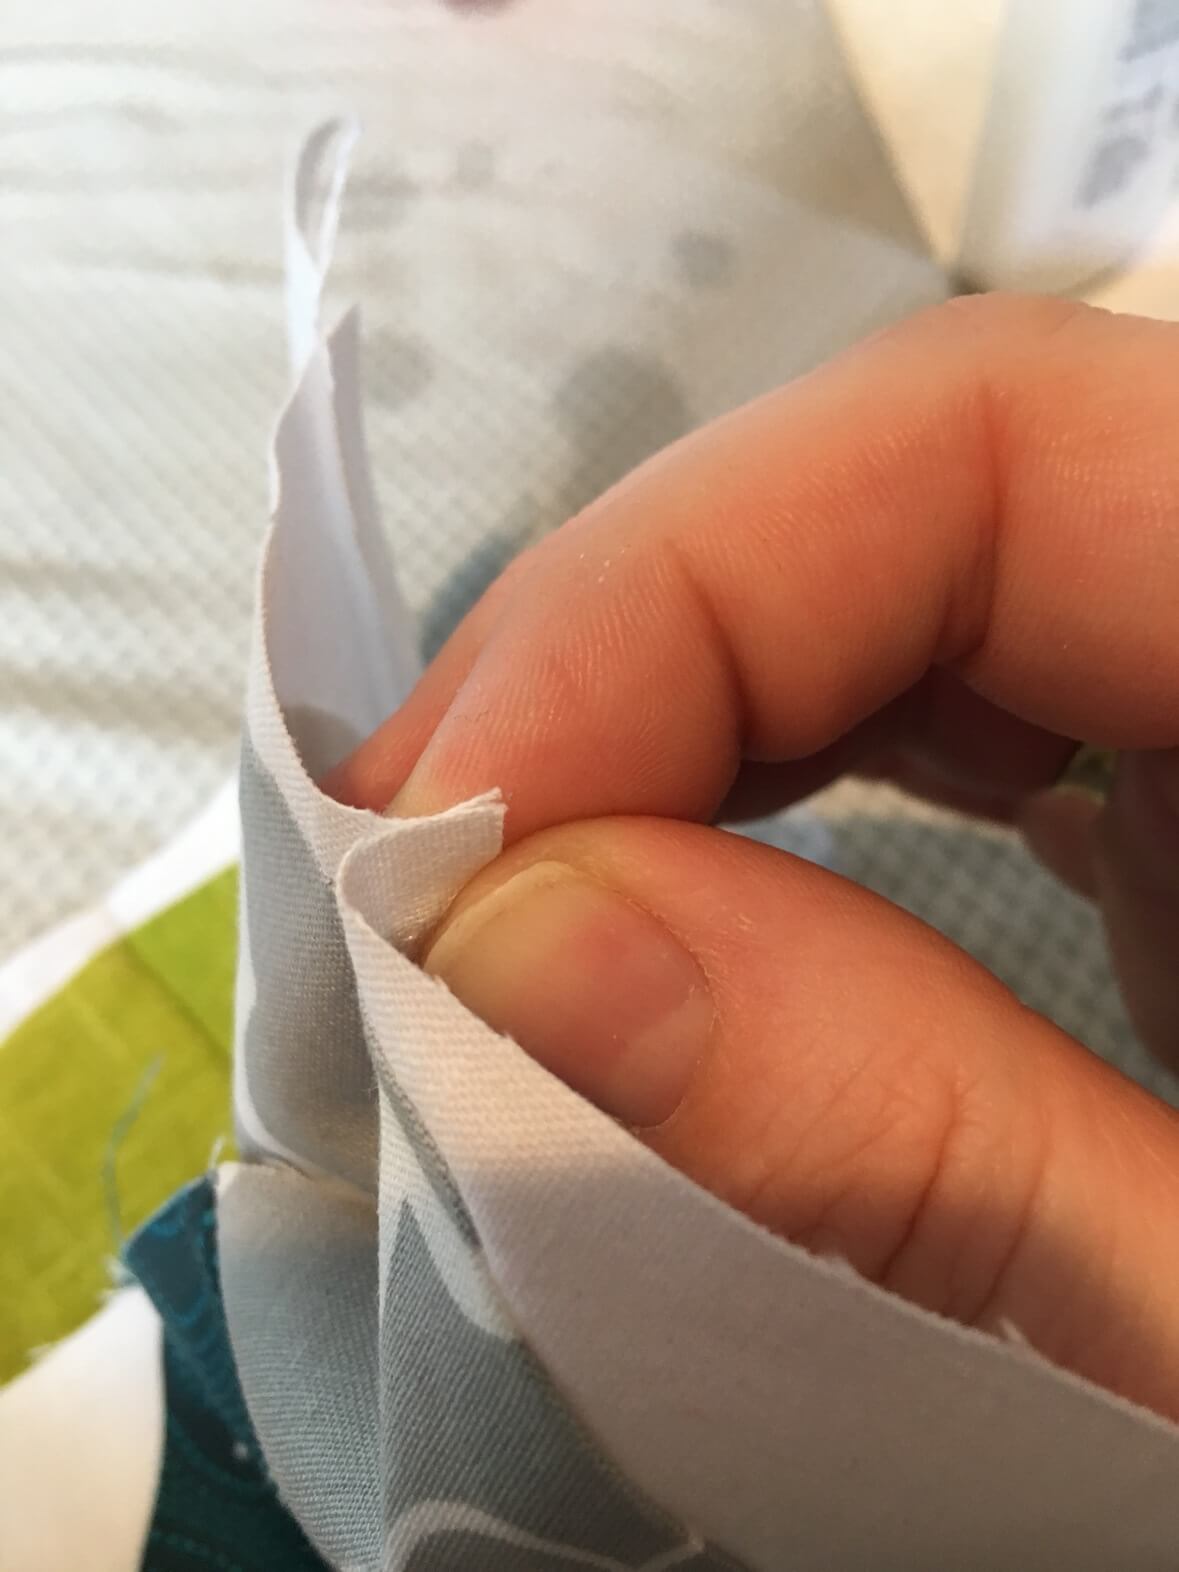
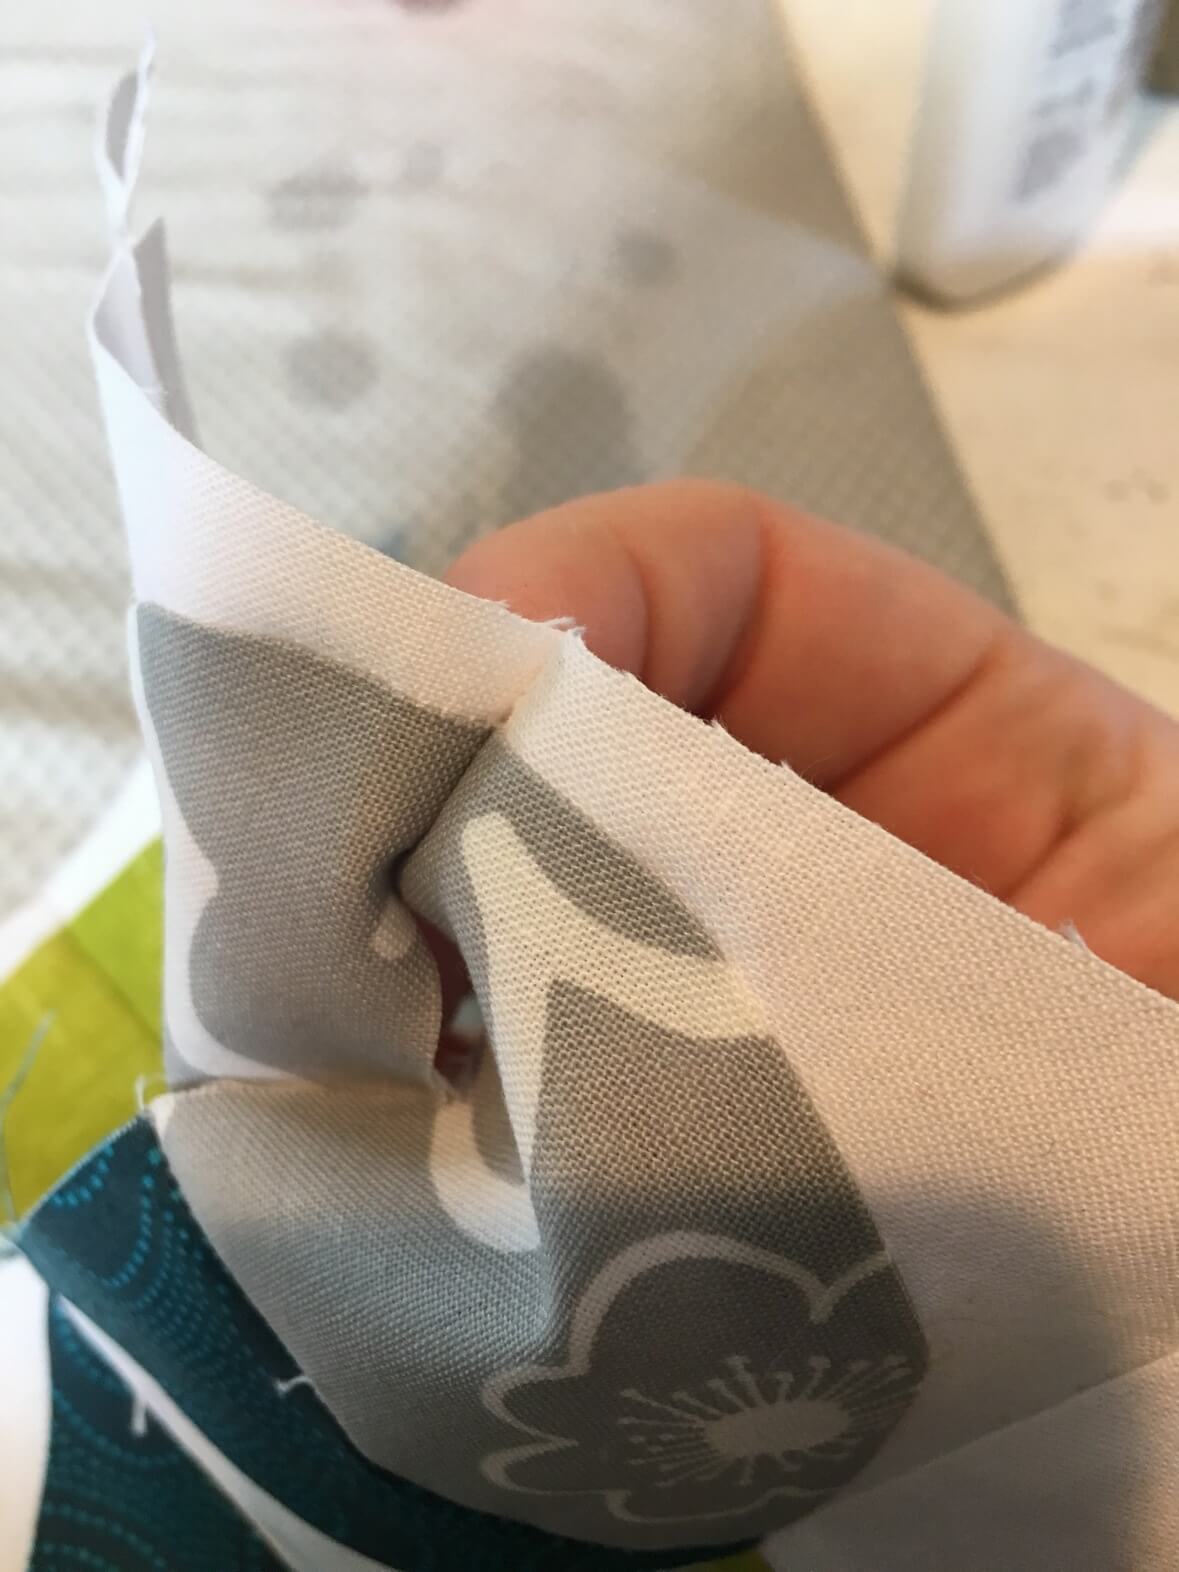
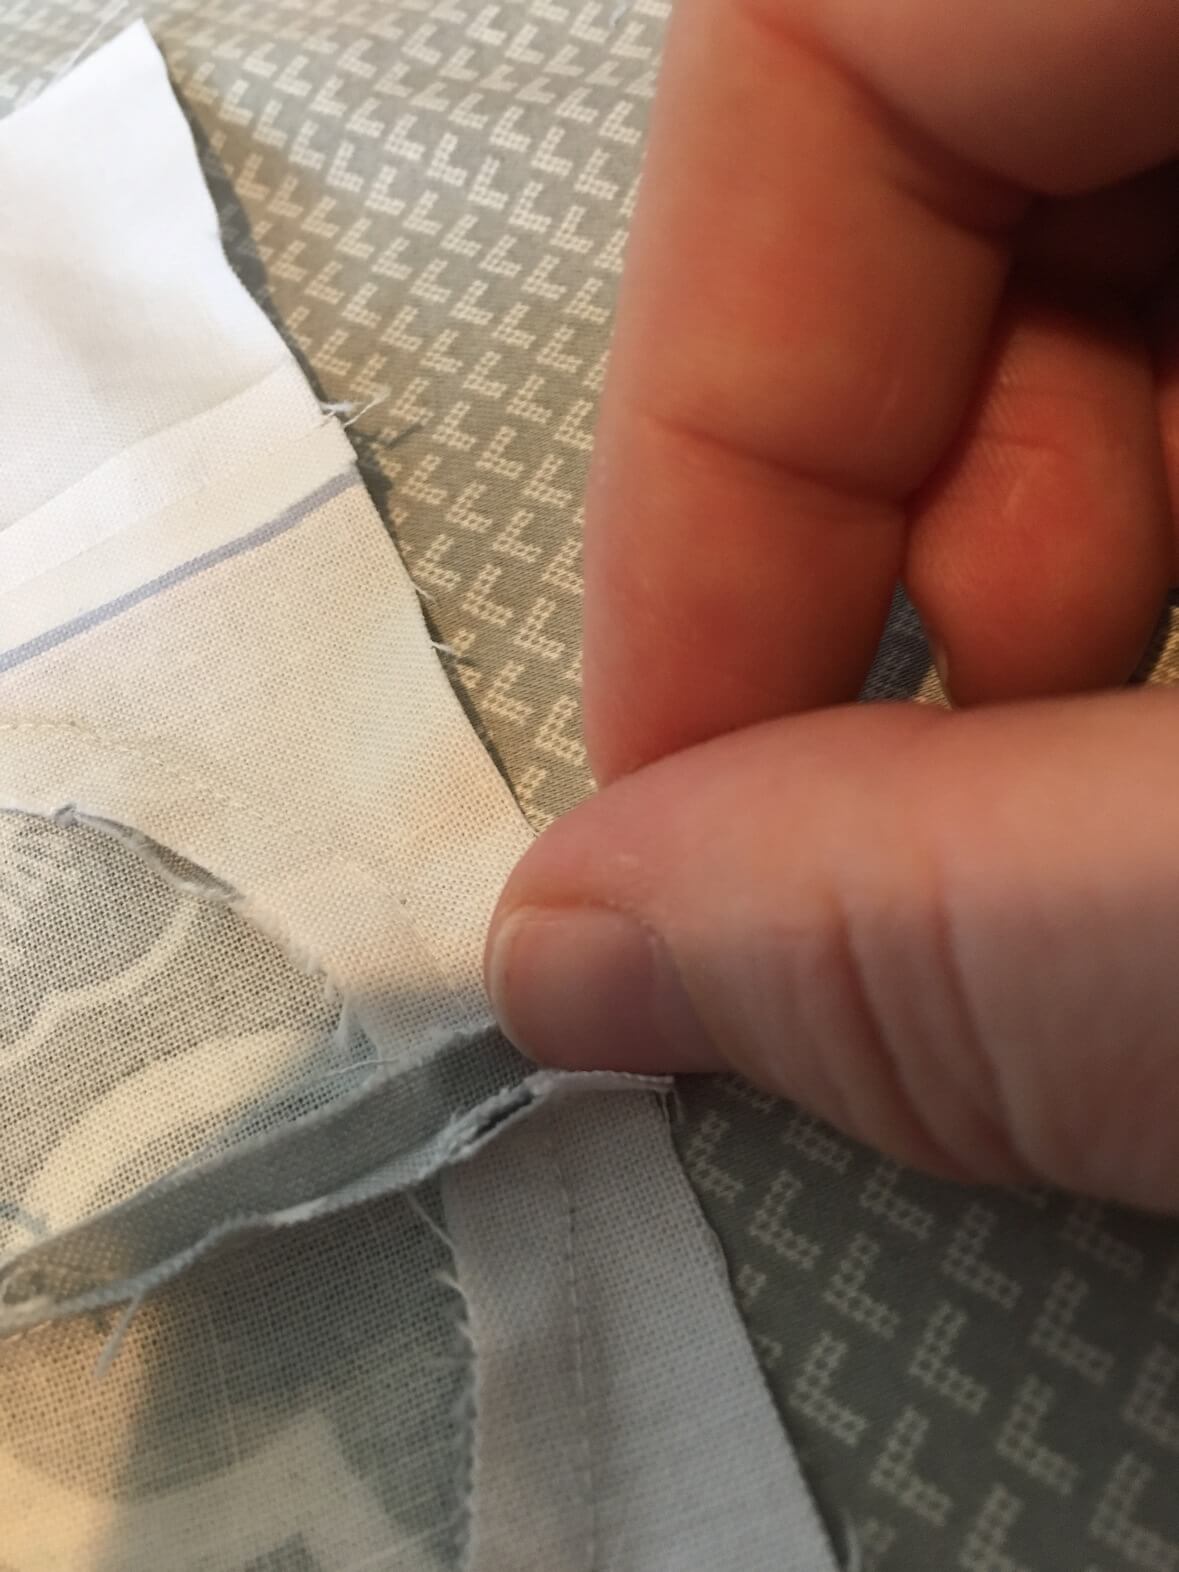
Once all the units are done, it’s time to line them up and sew! Getting the curve edges to line up well is the biggest challenge of this block. As you can see, I used glue basting to help keep things in line. Before setting the glue with the iron, I pinched the seam on the wrong side of the fabrics to the scant quarter inch point then turned to the right side to check that the curves lined up. Once the glue basting was set, it was only a matter of keeping my seam allowance in check while I stitched. I opened up the final seams on this block to reduce bulkiness. Take care when separating the area where you glue basted. One final press from the front, and this block was ready to be trimmed up and photographed!
Here are the final finished pictures of the blocks. 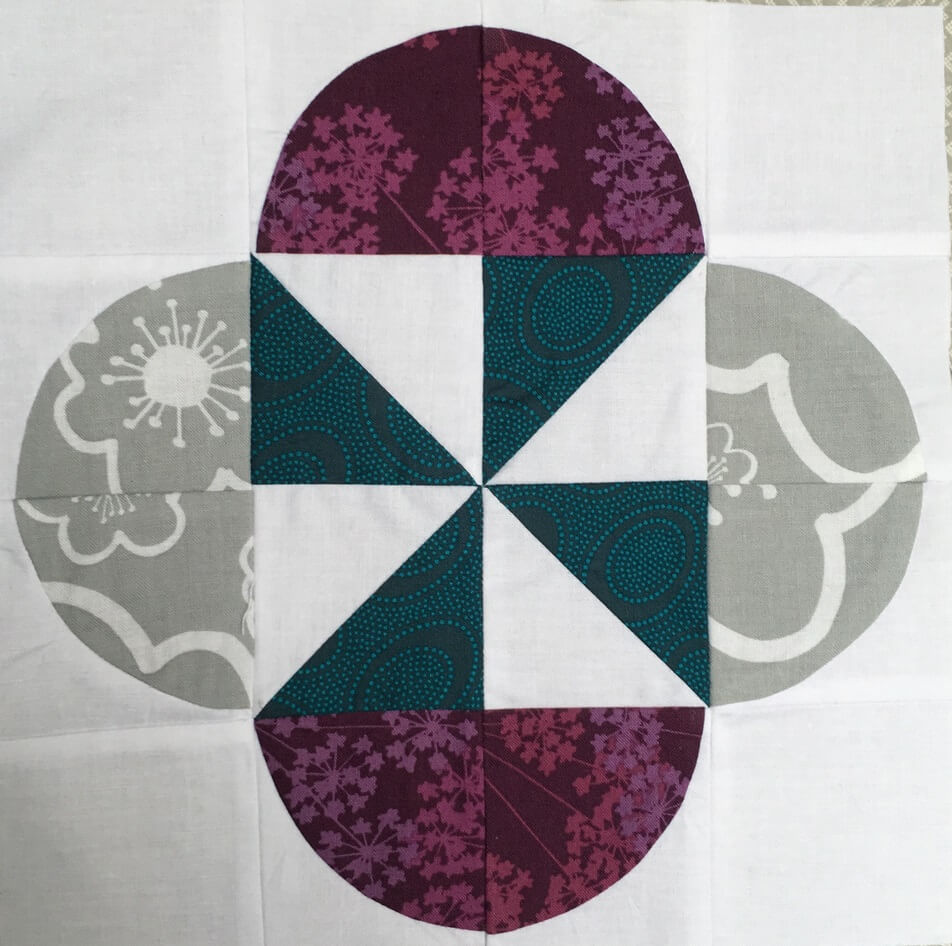
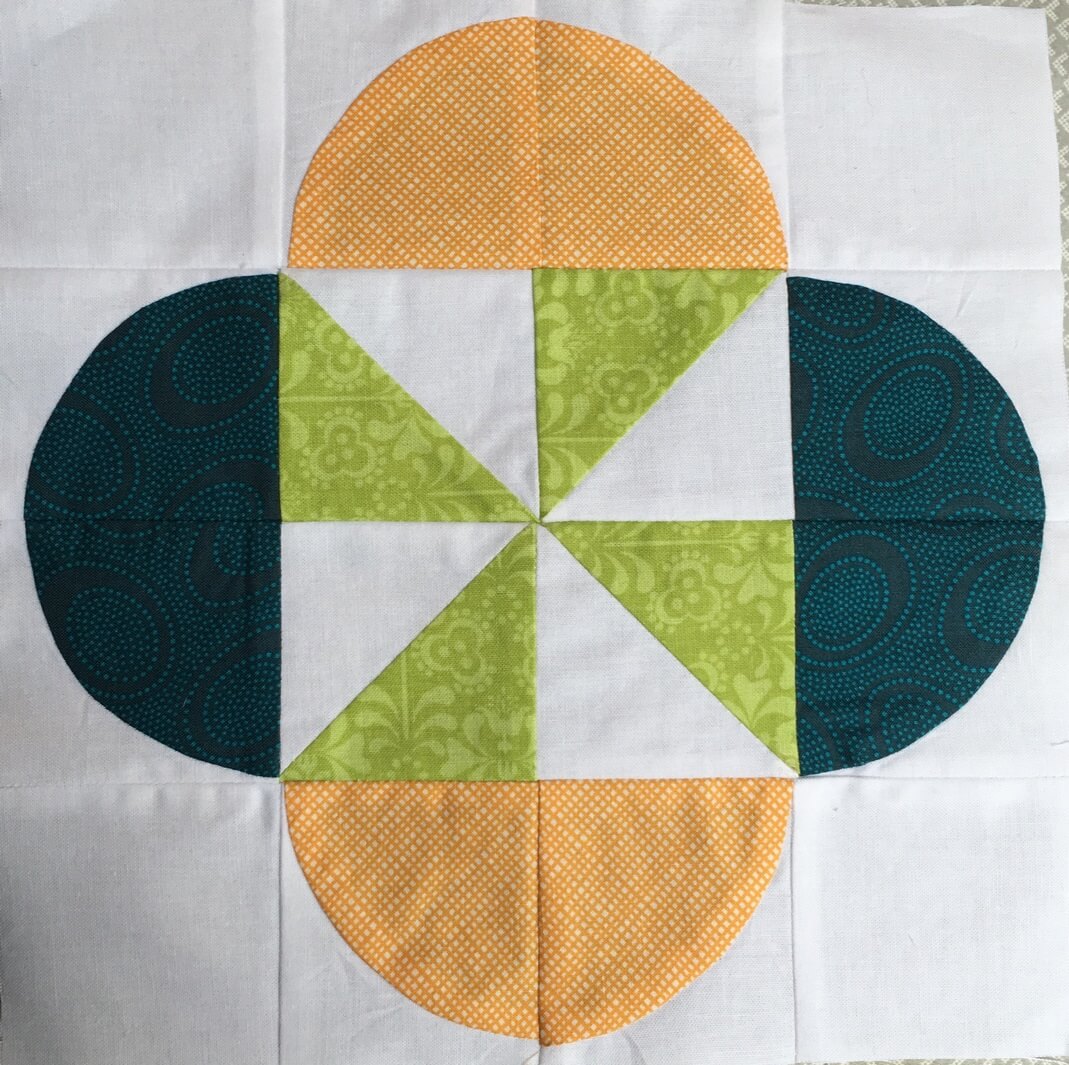
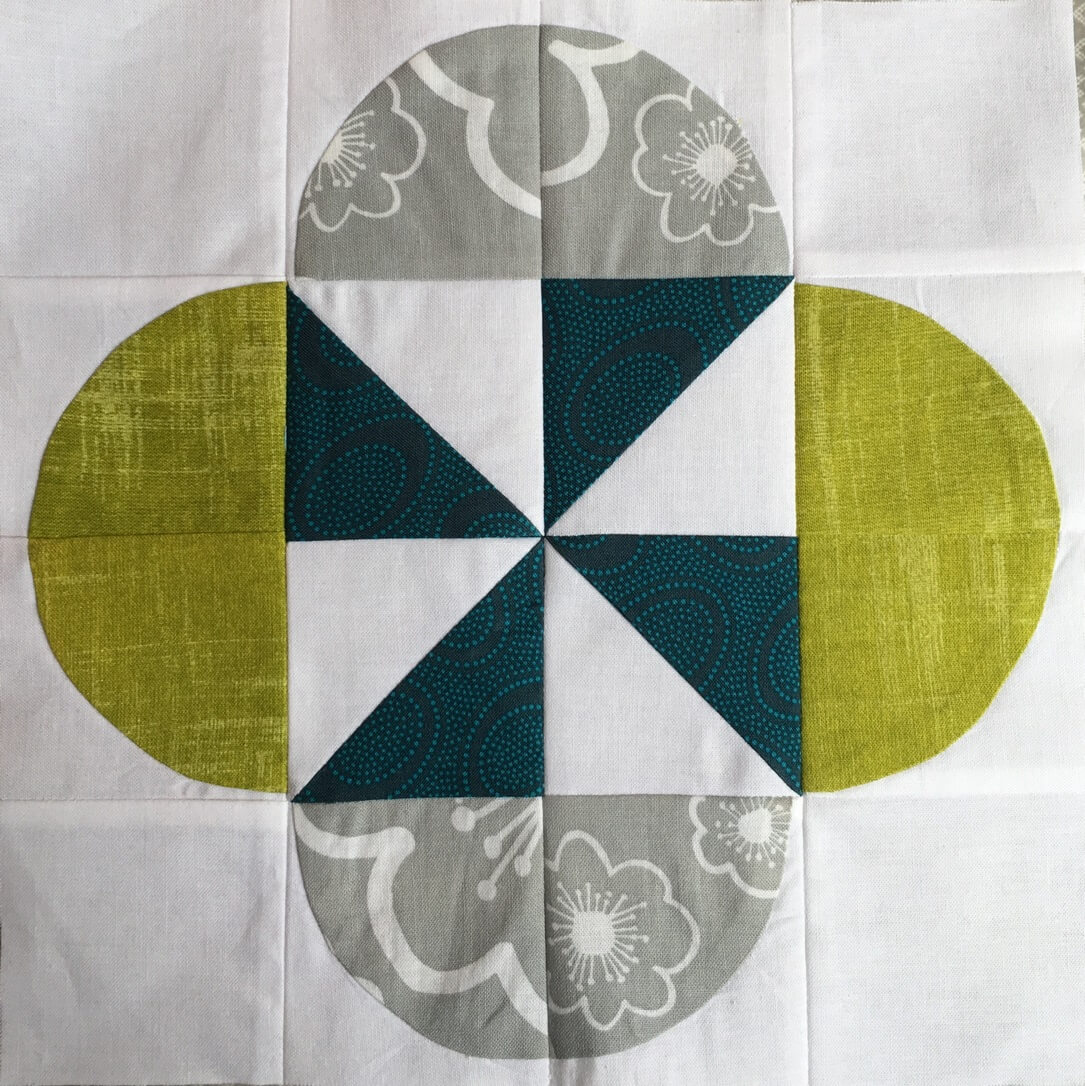
Happy Sewing! ~L
This week, I’m linking up to:

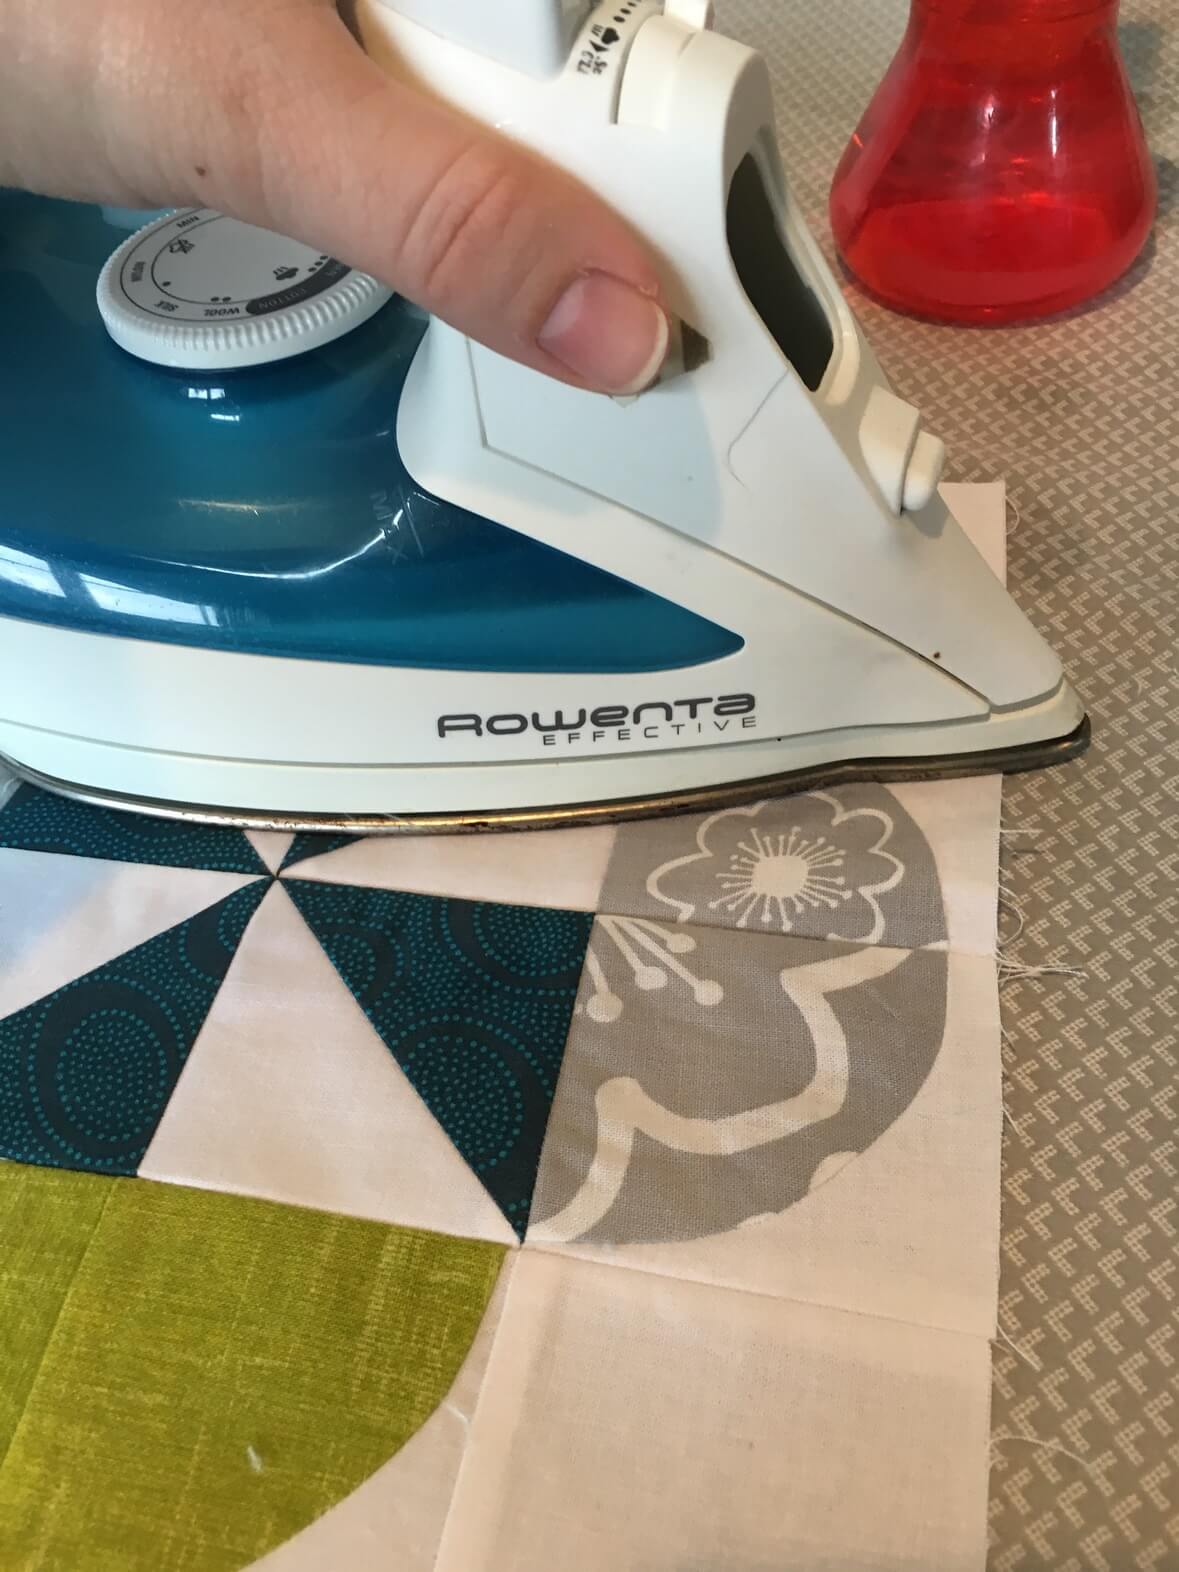


For me there’s nothing else better than a super hot iron with lots of steam! My aunt shared a great tip for “setting the seams”, which is essentailly pressing the seam that you stitched before you press it open. You wouldn’t think it, but it too makes a world of difference!
I think that curved piecing has a bad rap, but as you said, if you take it slow then the blocks come out better. Your blocks turned out great!
Greetings from Germany!
LikeLike
I set my seams as well- and it really does make quite a difference! Thanks for ‘stopping by’ all the way from Germany!
LikeLike