Hello friends! I’ve been sewing up a storm lately, and am really excited to show you some things in the next couple of weeks, but first I really need to catch up!
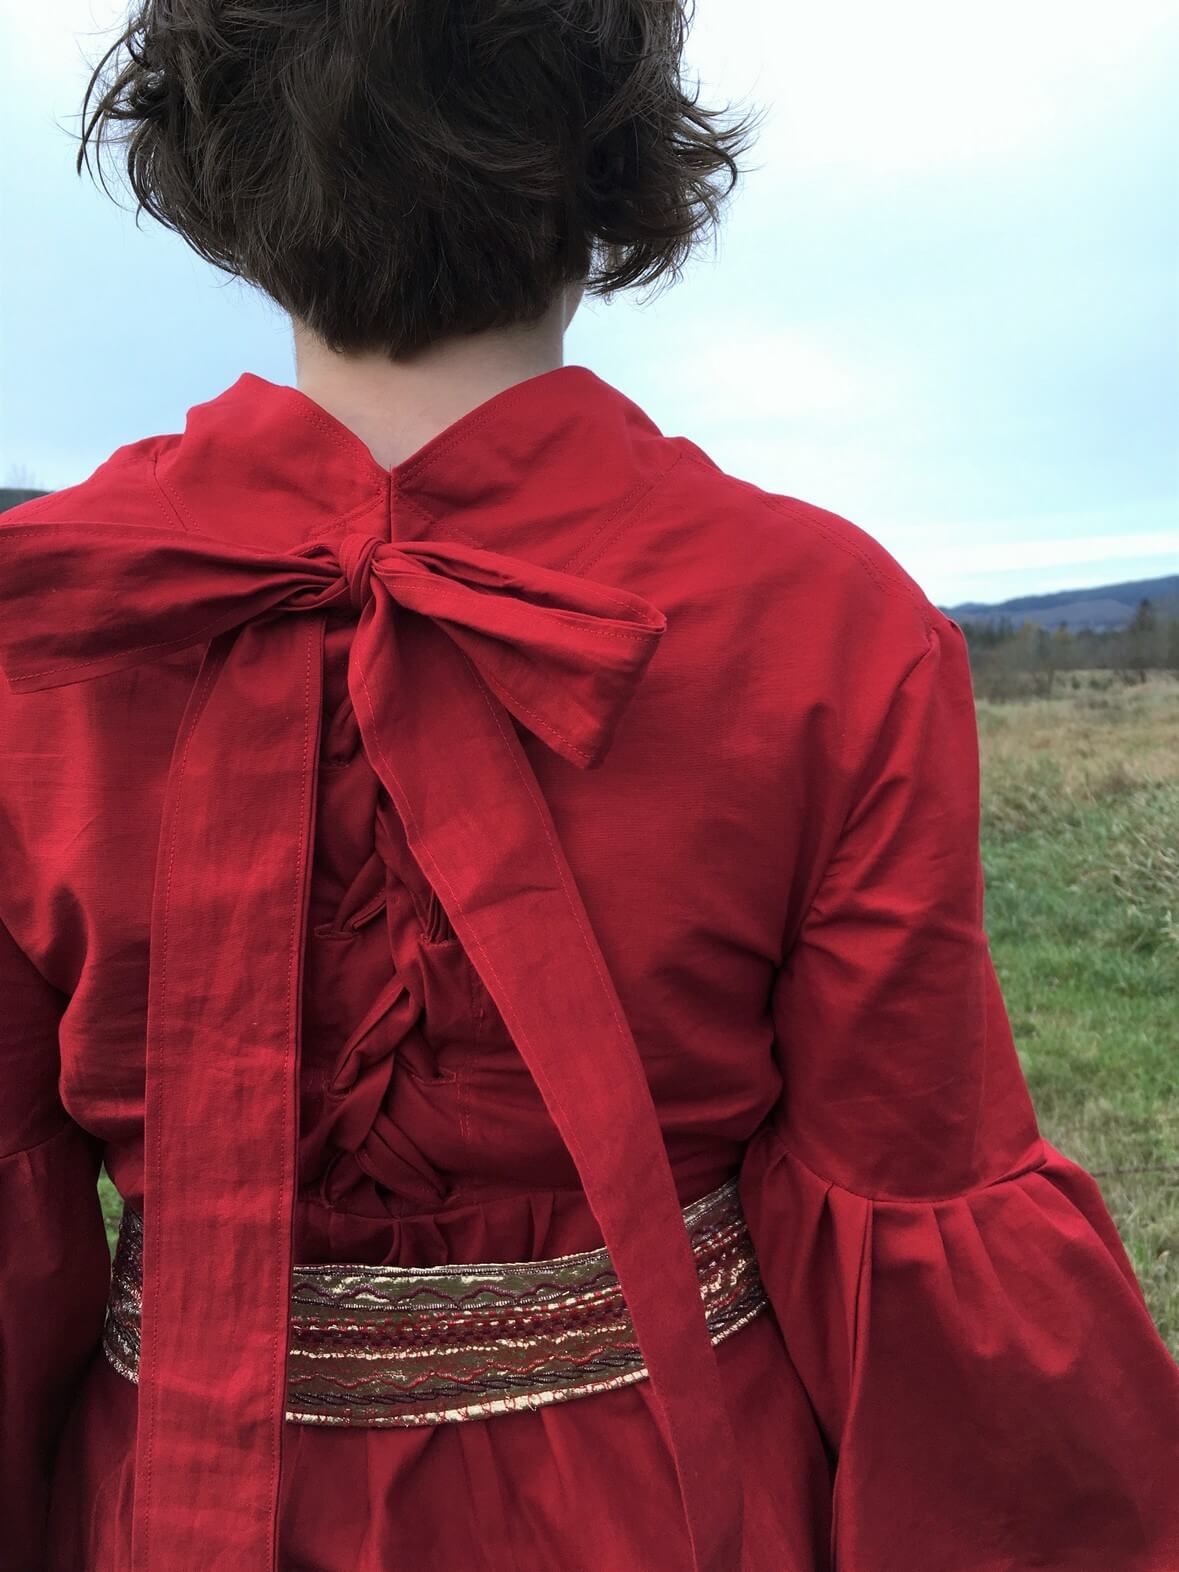
If you follow me in Instagram, you’ve seen some pictures of this already, but I wanted to do a blog post to show some final pictures and share a bit about my experience of making it.
My two older kids are just one grade apart and are part of the same ‘squad’. (For my fellow non-teenagers, your ‘squad’ is your closest group of friends). Sometime in late September, they all decided that a group Princess Bride costume would be a ton of fun. Since my daughter is the only girl in the group (and given the fact that the boy dressing as Wesley was her Homecoming date), it was quickly decided that she would be Buttercup.
(Incidentally, my son was the six-fingered man. I made a tunic and gloves for him which I may share later… It was not nearly as fun as this dress, though!)
I love designing costumes, and had made a few things along those lines, but up until I did this dress, didn’t consider myself a garment sewist. I suppose I figured since I had never made sleeves, I couldn’t say I could sew a garment. So I chose to see this as an opportunity to stretch my garment-sewing skills. Because if I could figure out those Buttercup sleeves, I could do anything!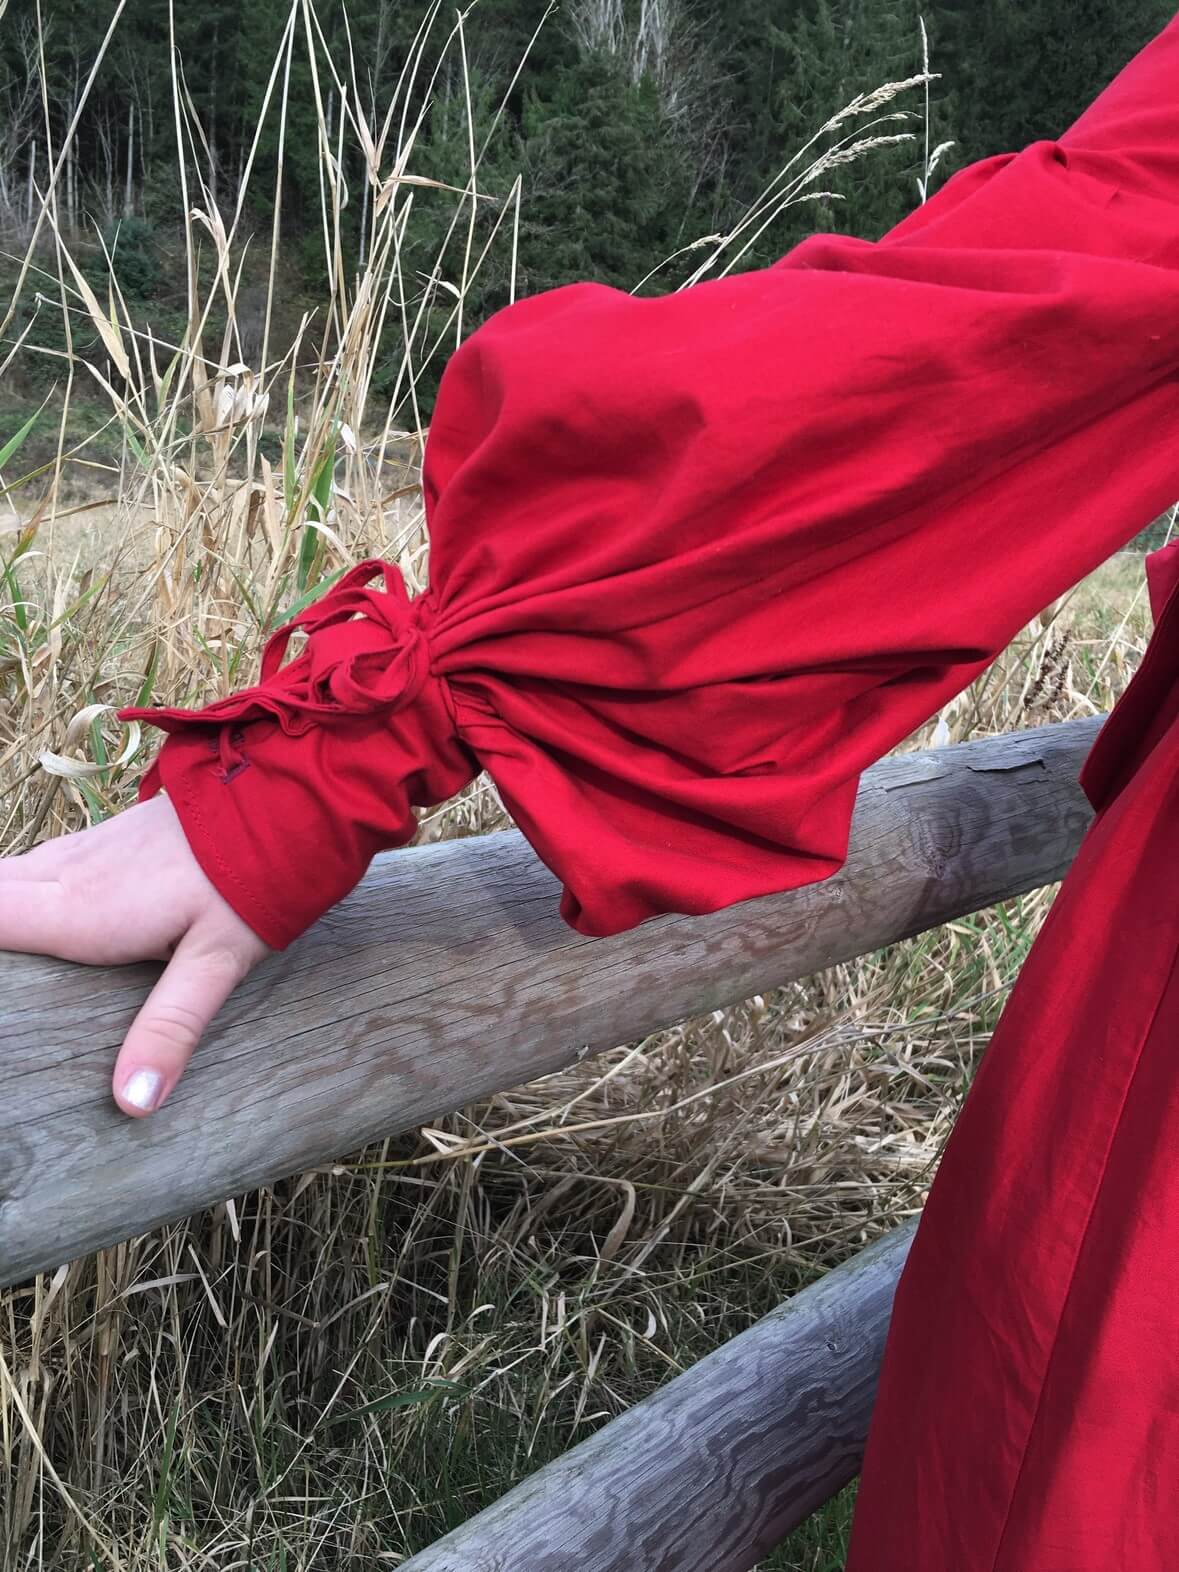
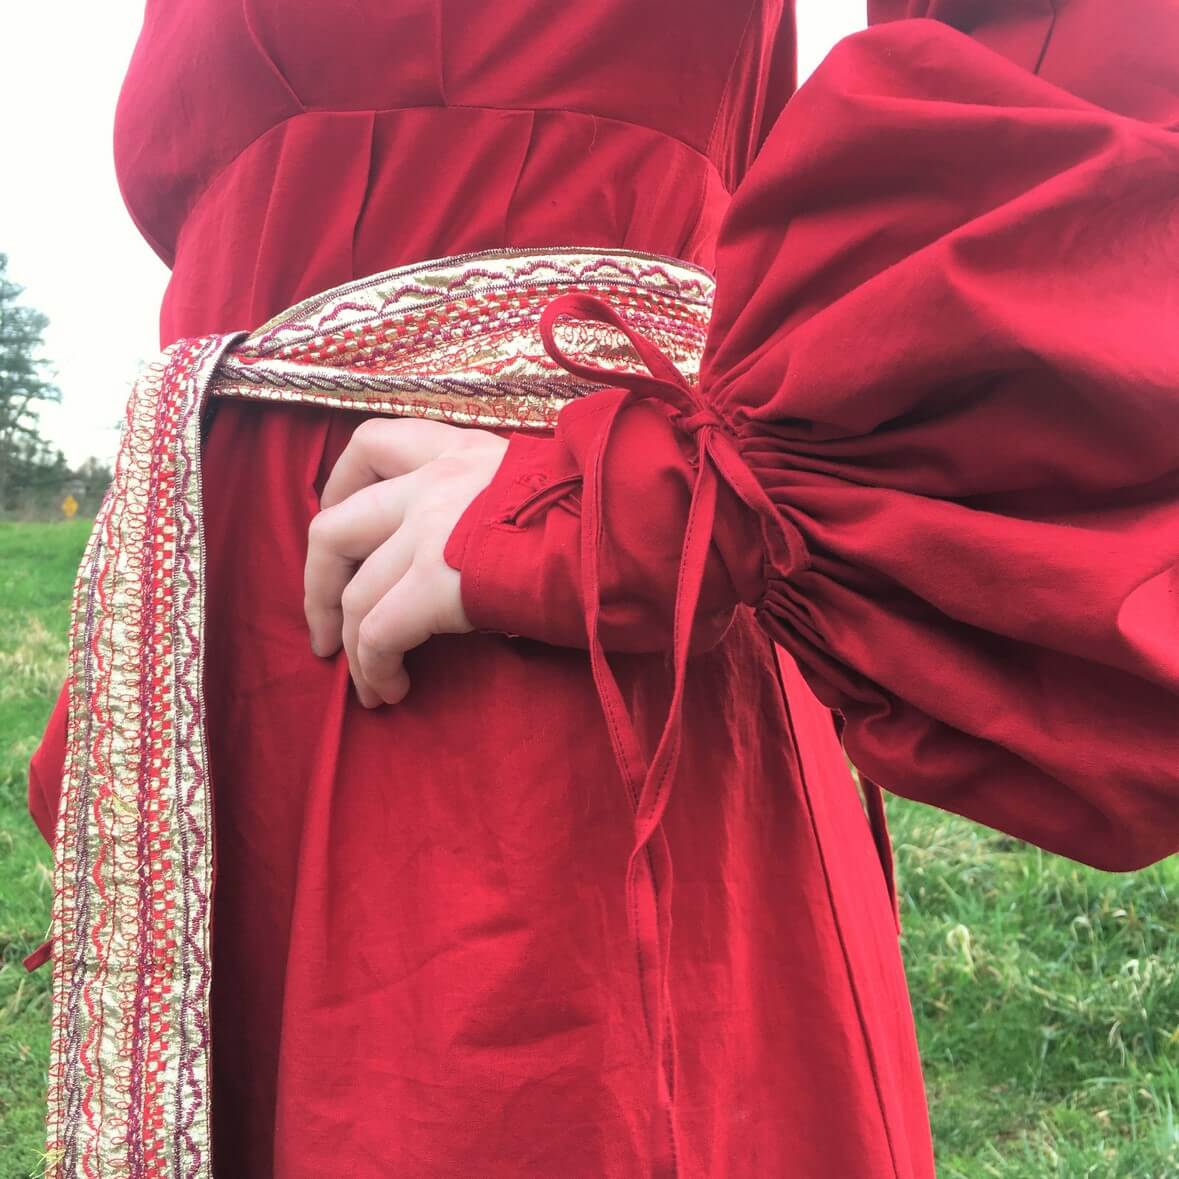
My first step was to check just in case someone had done the hard work for me and made a pattern for this dress…. no luck. I didn’t figure there was a pattern out there, but I was hoping!
Next step- start figuring out how in the world I was going to reverse-engineer the thing. I found The Costumer’s Guide to Movie Costumes to be VERY helpful. I was able to get a good, close look at the dress and start to assemble it in my head.
I chose Kona Solid in Rich Red for this dress. It’s much less expensive than most apparel fabric, and it was readily available at my local box-fabric store (hello, 50% off coupon!).
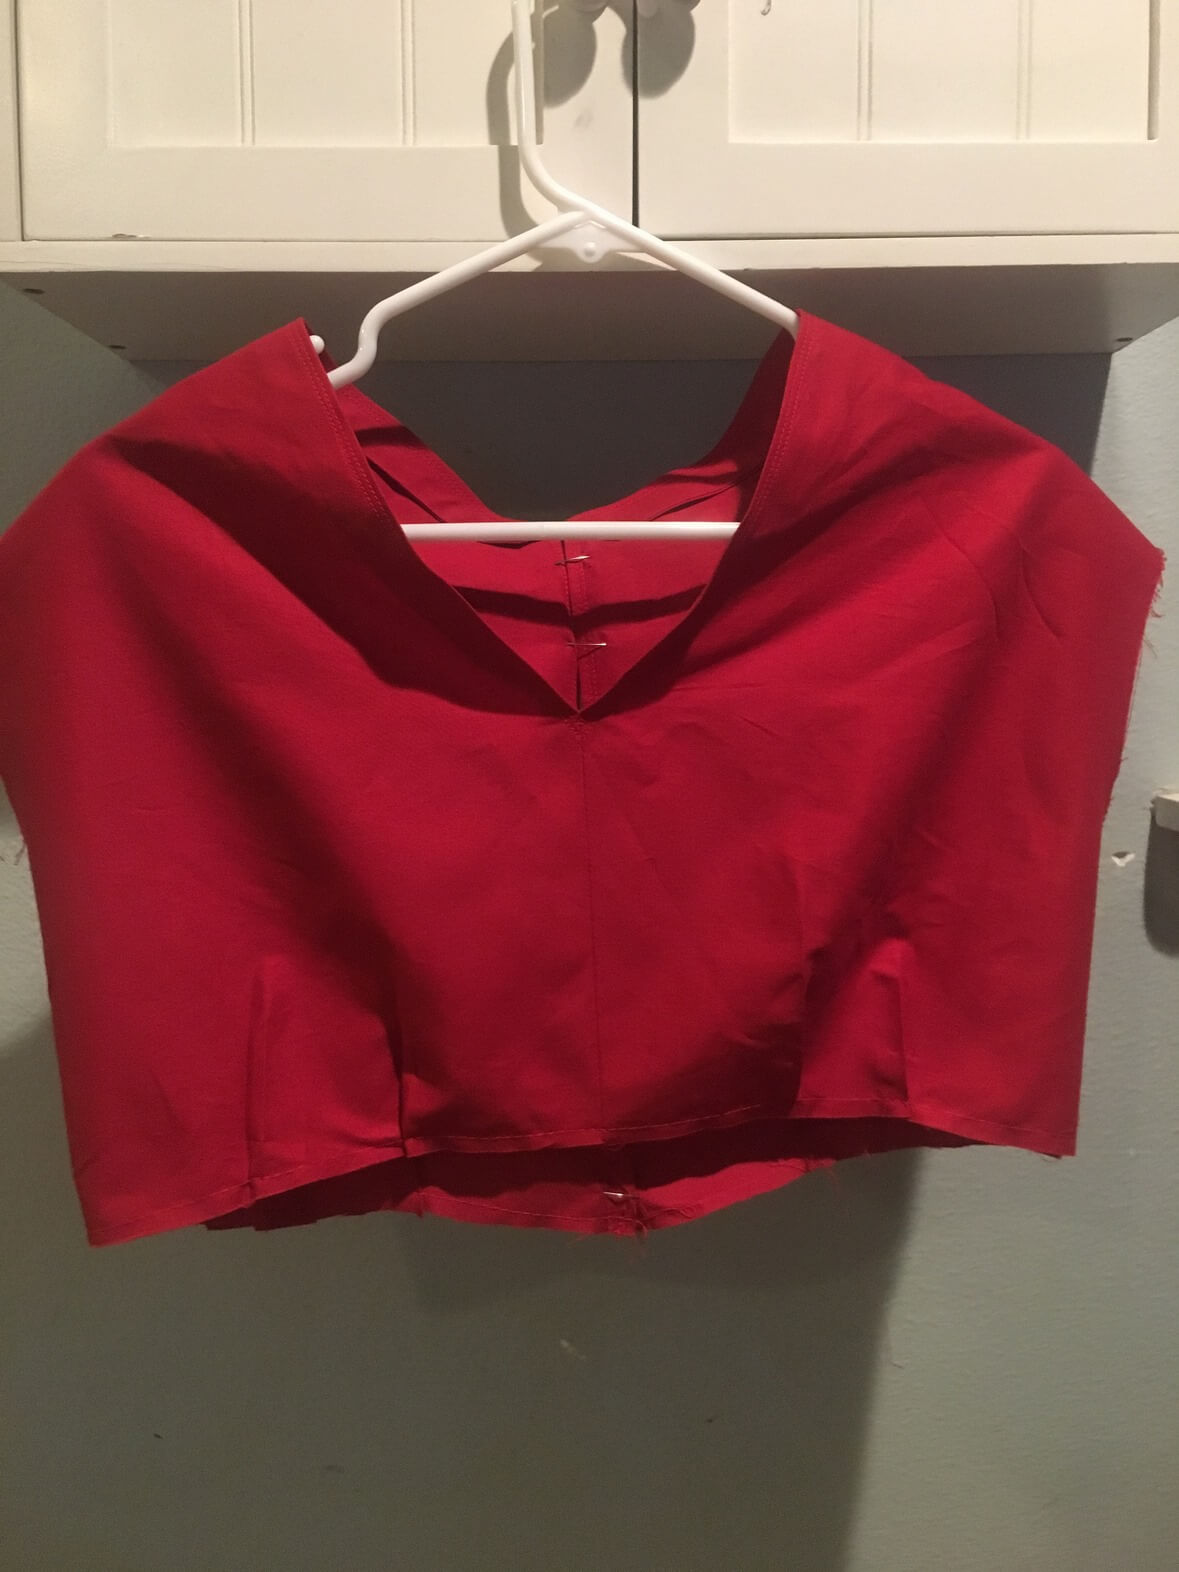
First up was the bodice. Honestly, this was a lot of trial and error with paper and muslin. I’ve done simple bodices before, but on this one I really wanted to stay true to the original, which had really unique neckline. The front part of the v-neck collar line extends around the top of the shoulder and meets in the back in a deep V, forming a good portion of the back of the bodice. I wish I could tell you I was a good blogger and took pictures of this whole trial-and-error process, but I was too focused on the task at hand. My only advice is to use a muslin and start big. That way, you can continue to make adjustments to the muslin as needed and use that as your pattern.
One more bit of advice when reverse-engineering a costume: pay attention to the details. On the bodice for this dress, it was the height of the collar, the depth of the neckline, the dropped shoulder sleeve, and the waistline being higher in the front than in the back. Those little details really add up!
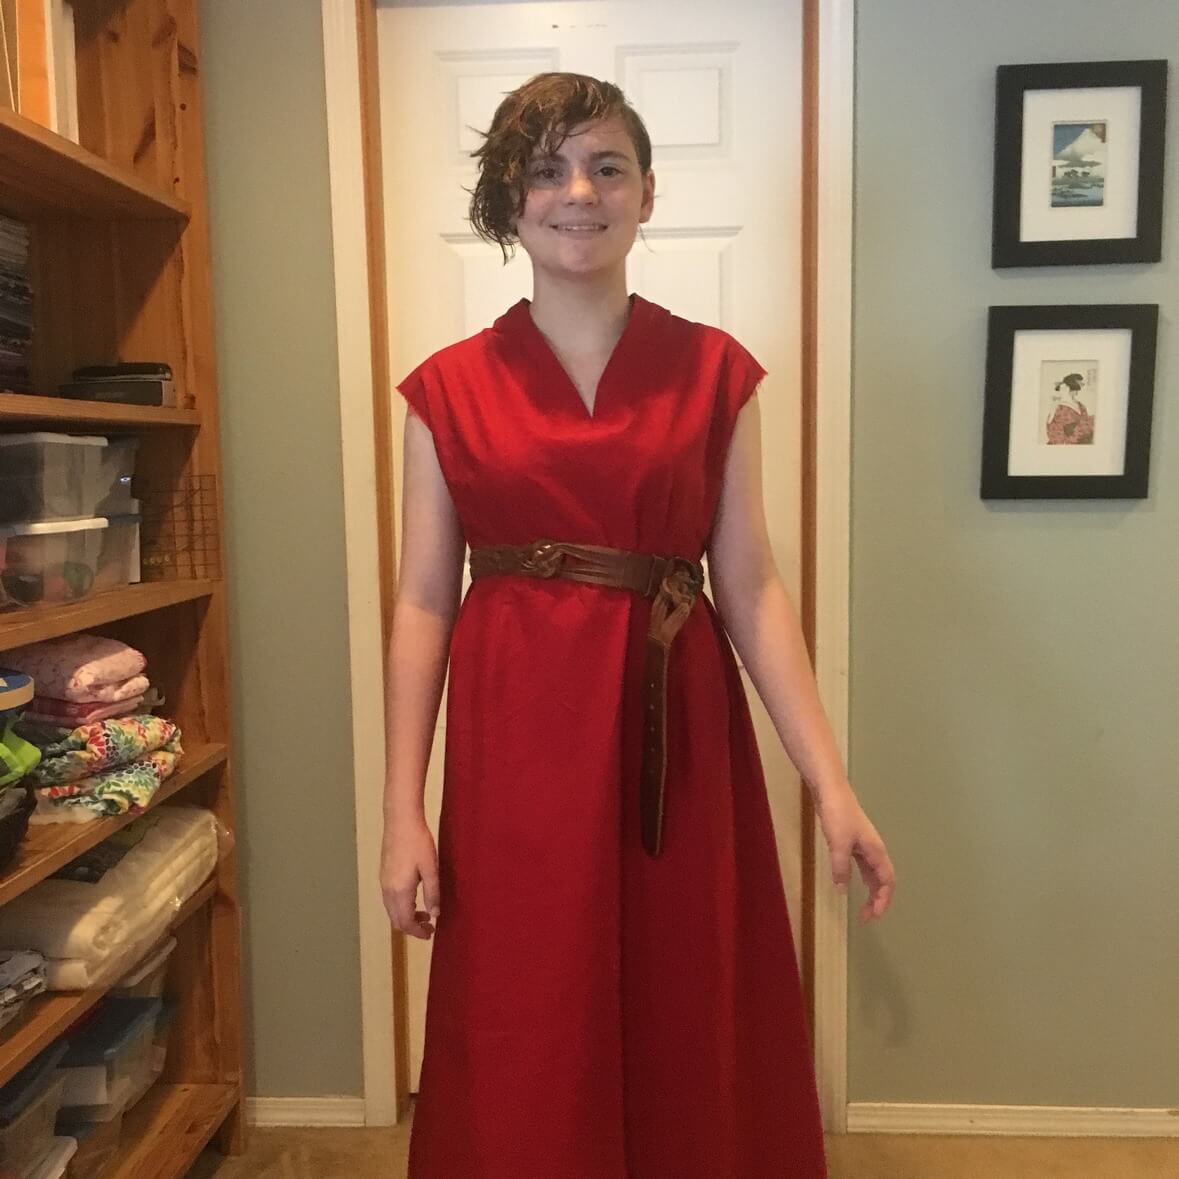
Once the bodice was done, adding the skirt was quite simple. I started with giving her enough room along the hemline to comfortably walk, and then calculated a measurement for the waistline that would give her some pleating without adding too much bulk. I divided by two and cut two wedges from my yardage to make the skirt front and back. Sewing those together down each side, I had my skirt! Note that the front pleats are closer to the sides of the dress, further out than the bust pleats. This is part of the original design and helps keep the front of the dress fairly flat. 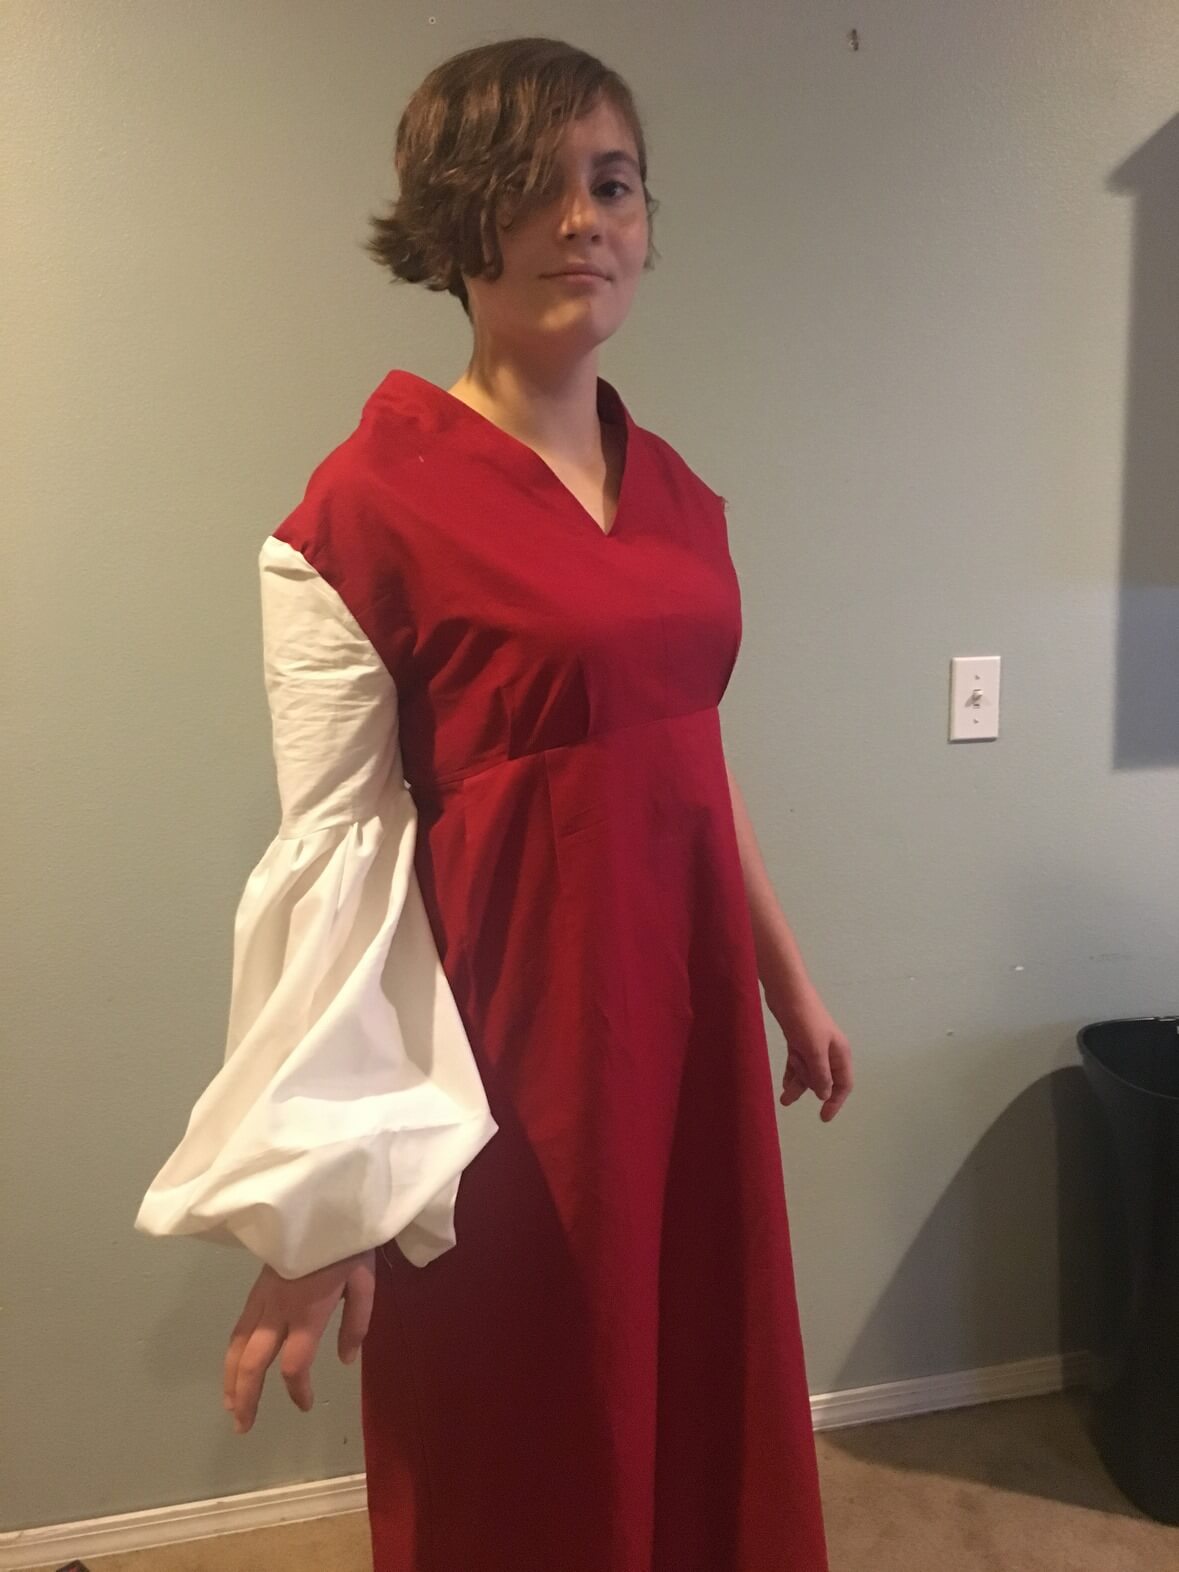
Next up were those fabulous sleeves. At this point, I took a pause from this costume to focus on learning how to draft inset sleeves and practicing my skills on my son’s Six-Fingered Man tunic. I also needed to finish up some work on the Wesley costume (oh, did I not mention that I was doing that too?!).
There are three portions to these sleeves: The upper part which is fitted, the lower portion that billows out and has lots of bulk, and then the cuff. The upper portion was easy, but the lower section took a bit more trial and error. Again, the muslin was helpful for this step.
First, I created bulk at the hem of the upper and lower sleeves by making the lower sleeve top twice and wide as the upper sleeve bottom and working that bulk into the seam using pleats. Second, I made those lower sleeves the same way I did the skirt, with two wedges that were wider along the bottom (in this case, the wrists) than the top (mid-arm). This created those gorgeously huge sleeves. Once I was happy with the muslin, I felt comfortable cutting into my remaining red yardage.
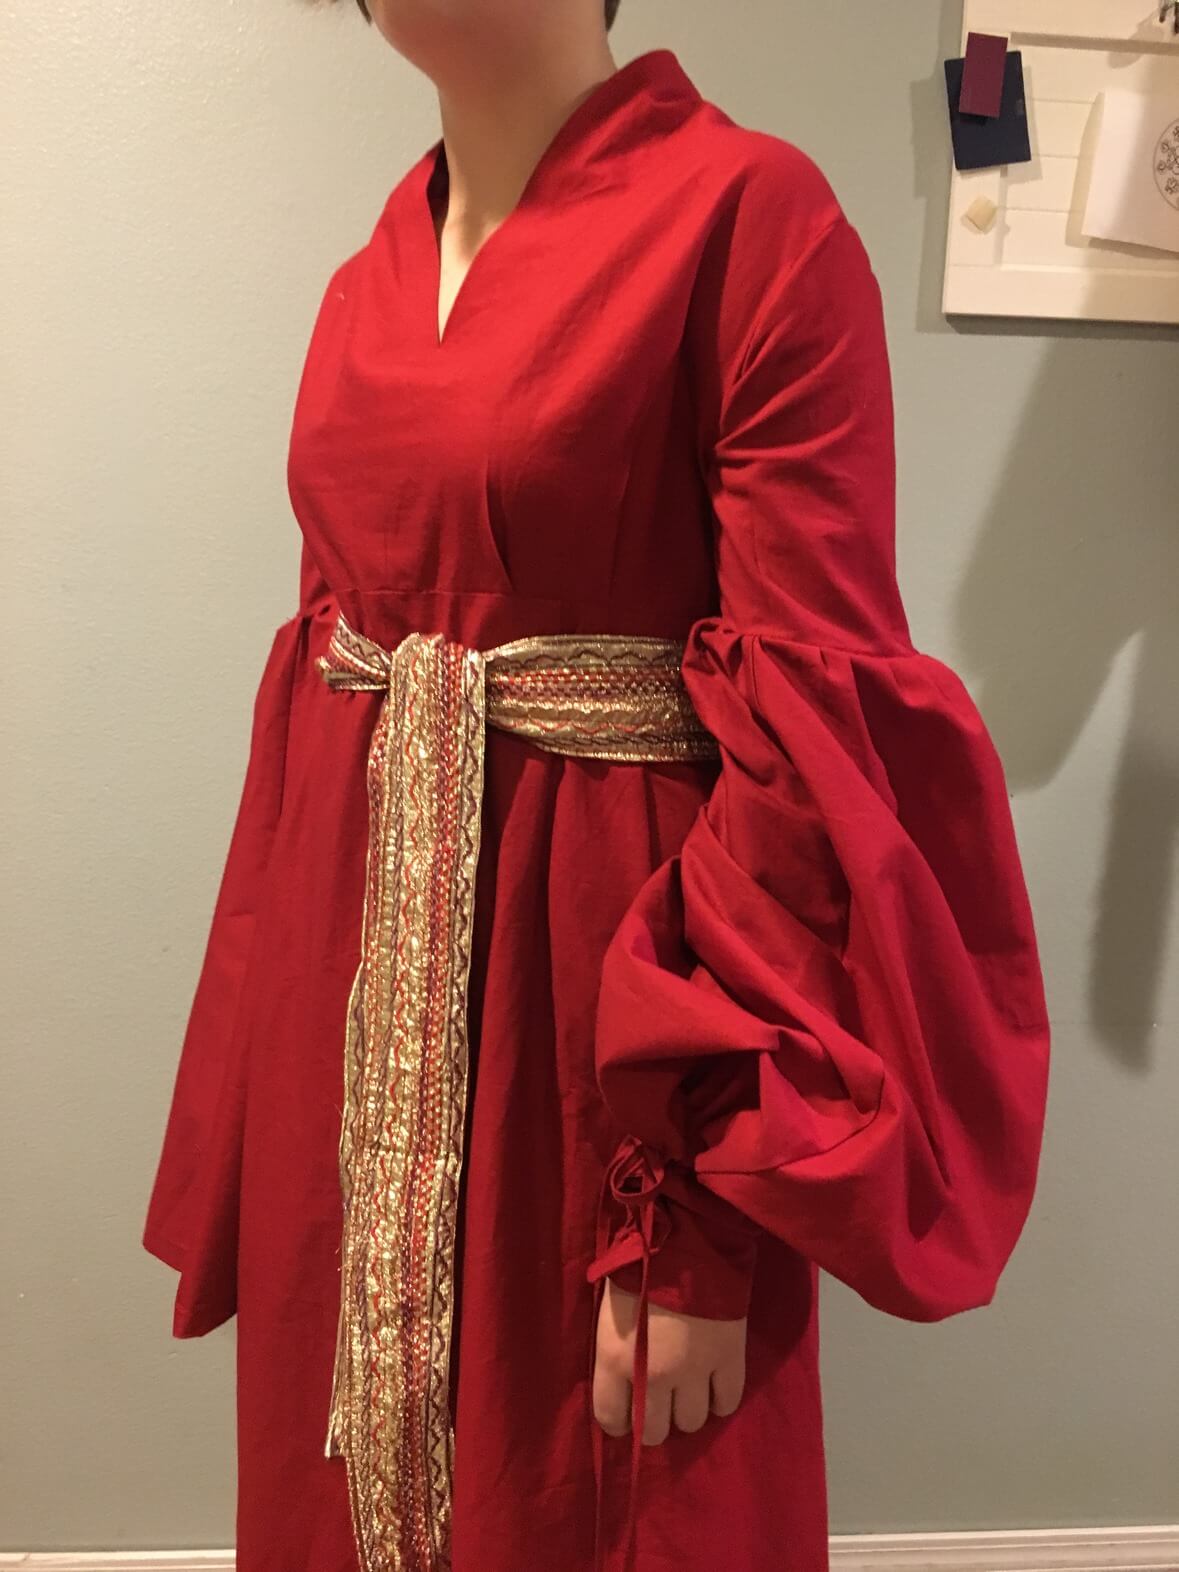
Here you can see the lower sleeve portion sewn to the cuff on the left arm.
At the point the above picture was taken, I started to feel a little unhappy with the way the sleeves were looking. As you can see, I had the pleating of one sleeve done, and the other sleeve is still ungathered. I noticed on the gathered sleeve that there was a bit too much fabric hanging over the front part of the wrist hiding the pleating detail and creating a strange twisting in the fabric. There was just so much bulk that the fabric didn’t know where to go.
At this point, I had to make a choice: Take out my work and course-correct, or go ahead with what I was doing. Knowing that I would never be happy if I didn’t at least TRY to correct the sleeves, I started the unhappy task of picking out the pleat stitches.
It really didn’t take all that long, and I’m glad I did it.
Because the problem was too much length in the front, I folded and pressed (because I was too scared to cut anything at this point) the fabric to the inside of the sleeve, starting at a high point at the sleeve front down to the original sleeve length in the back. Essentially, I made the front of the sleeve about a foot shorter than the back. I was thrilled to pin the sleeves to the cuff and realize that my plan worked!
My final task on this dress was a big one- I had to take those giant sleeves and pleat them WAY down to fit on the wrist cuffs.
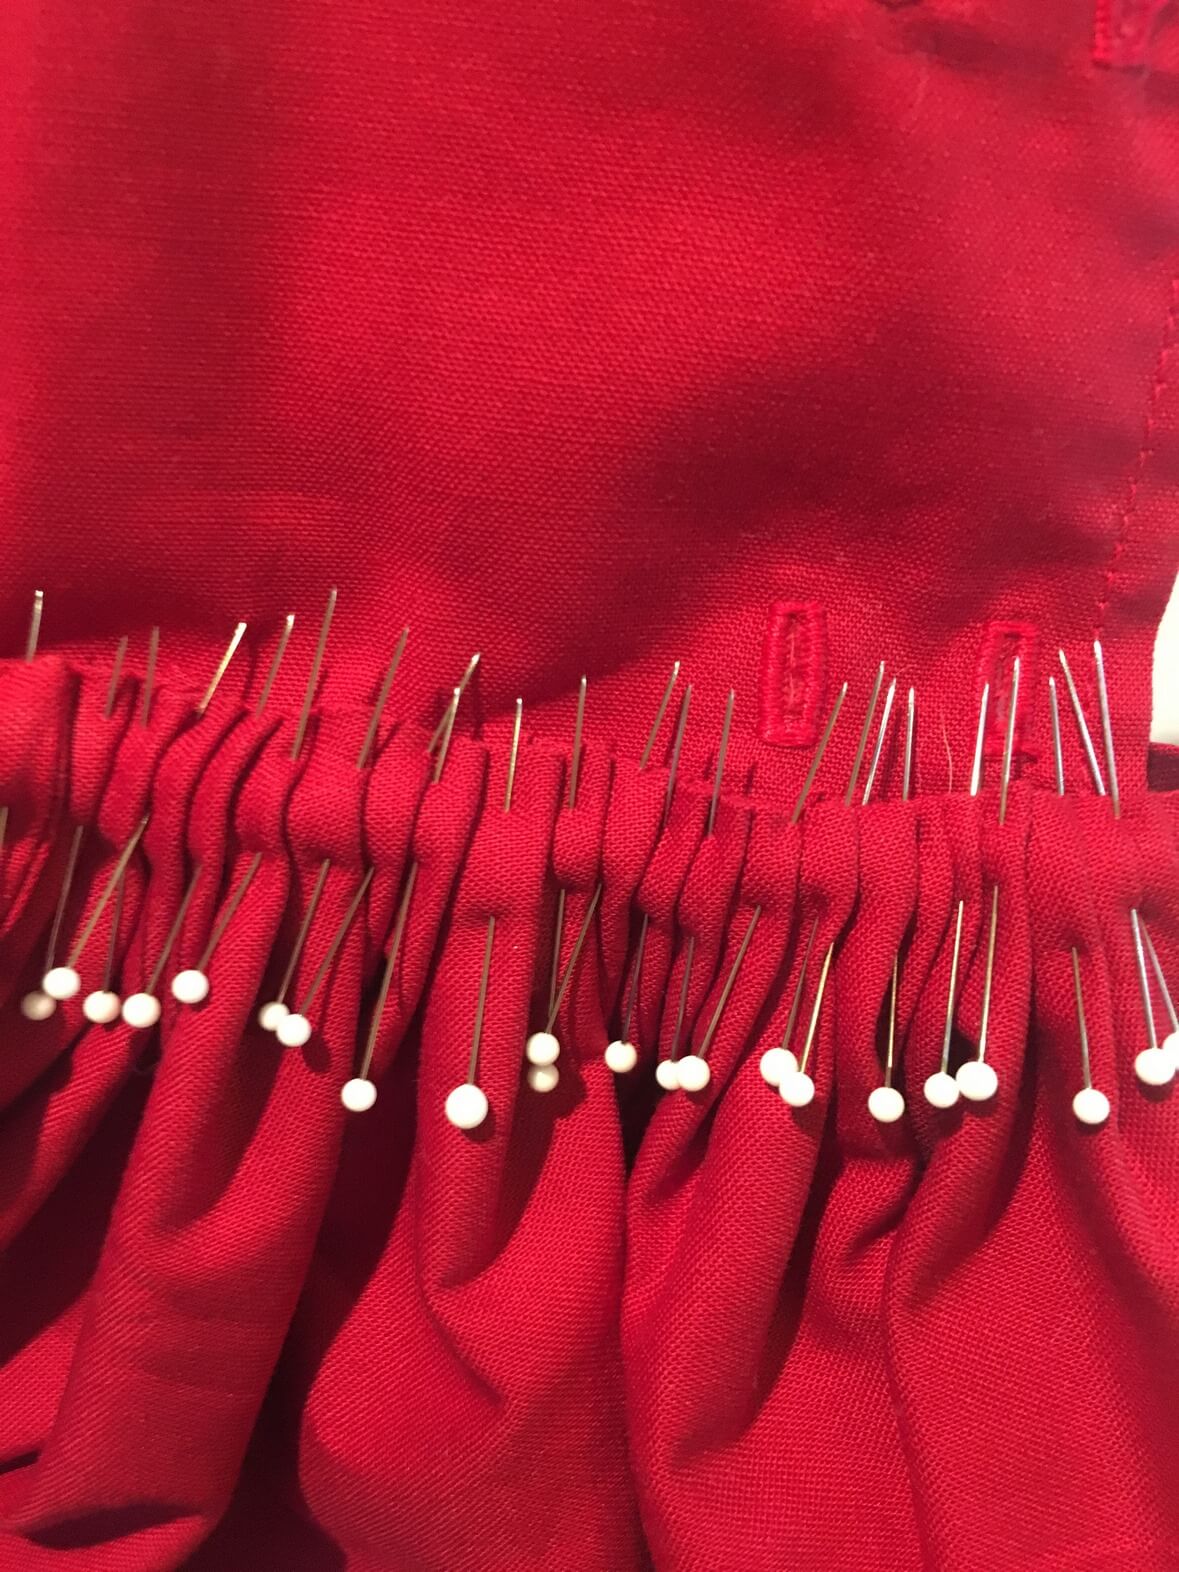
PINSANITY!
There was a lot of finger stabbing happening that afternoon. Mind you, this was also only a few hours before my daughter was scheduled to wear this costume for a party in which they were entering a group costume contest. But I just tried to stay calm and focus on the task at hand! The work was going relatively fast, so I took the time for a 20 minute nap between sleeves so I didn’t go crazy.
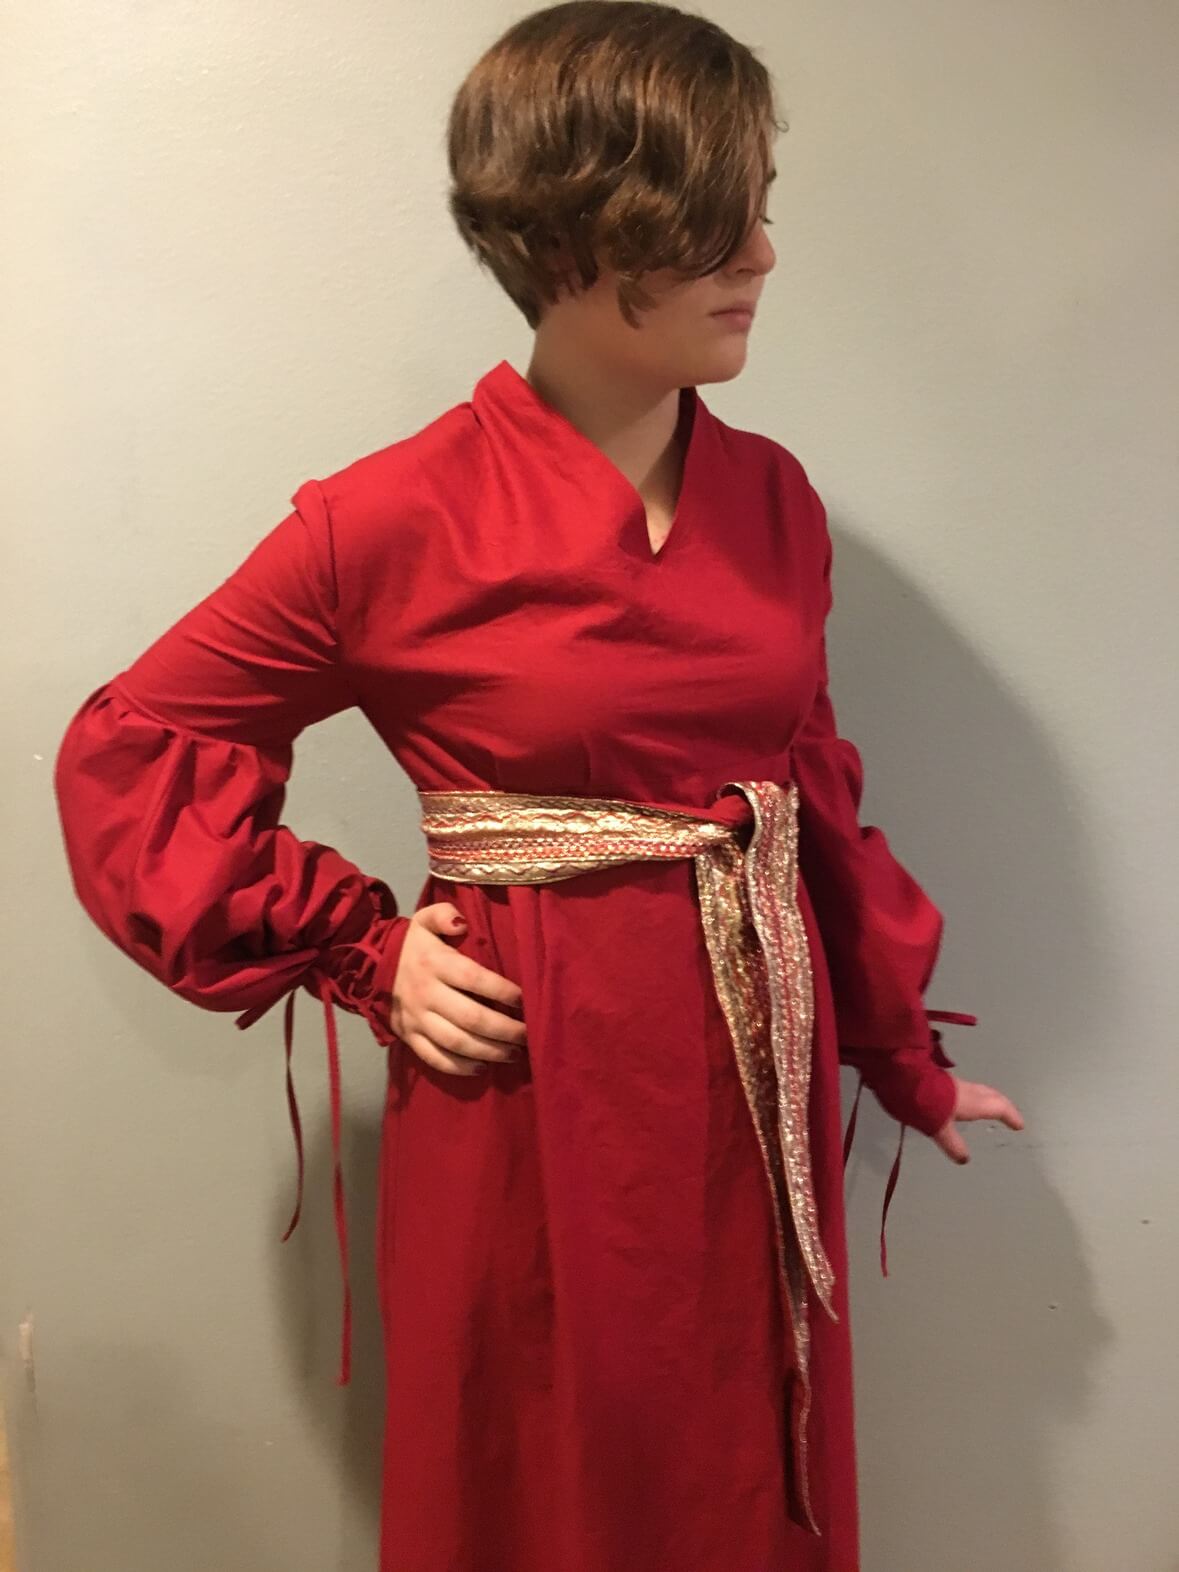
Here she is in the dress shortly after completion. I had to sew stitches at the back neckline, the back waist, and at each wrist to keep everything lined up nicely.
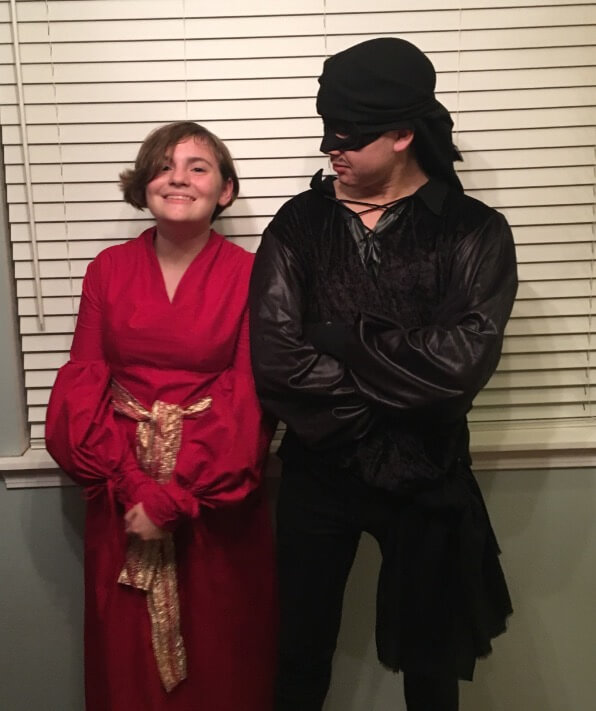
A blurry Buttercup and Wesley picture right before leaving for our party.
At the very end of the day on Halloween, she stretched her arm too far forward and got a tear on the seam line where the inset sleeve met the bodice (not much stretch room with this dress!). It was at the point that I realized in all the rush to finish the sleeve pleats, I forgot to reinforce the stitches around the arms and waist…. oops! Fortunately, it was along the seam and an easy fix.
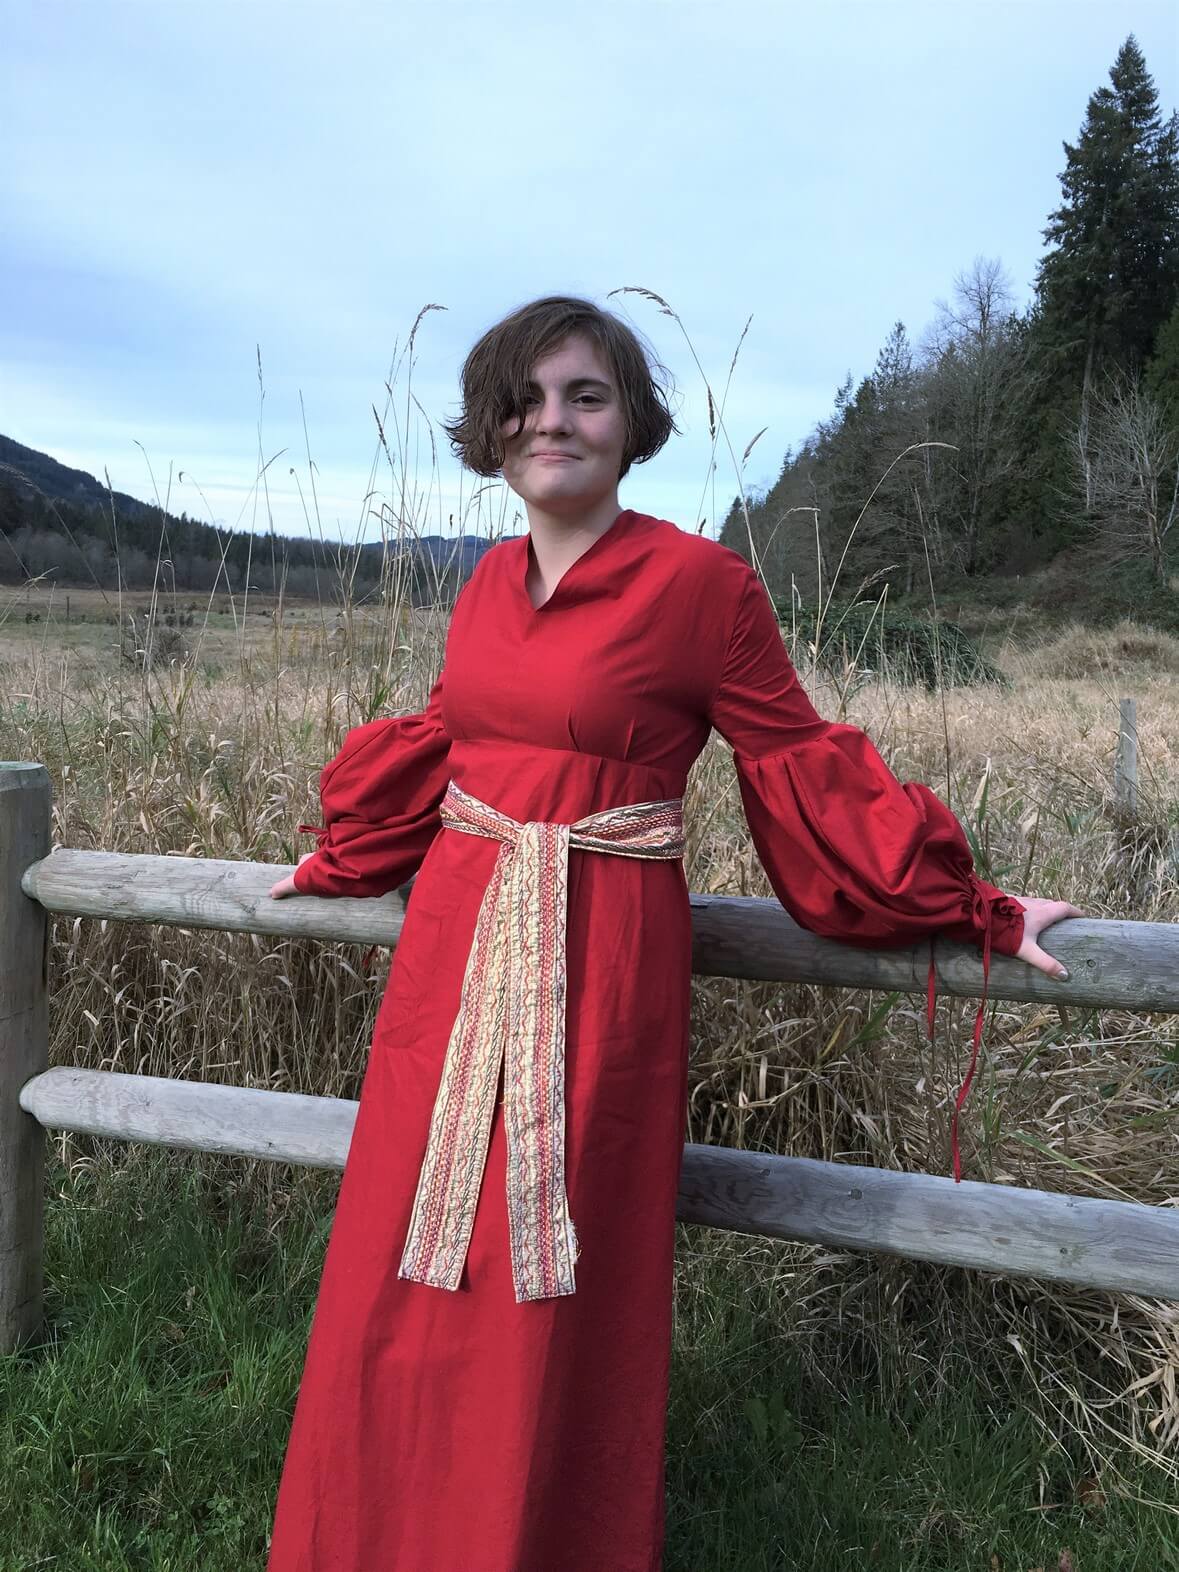
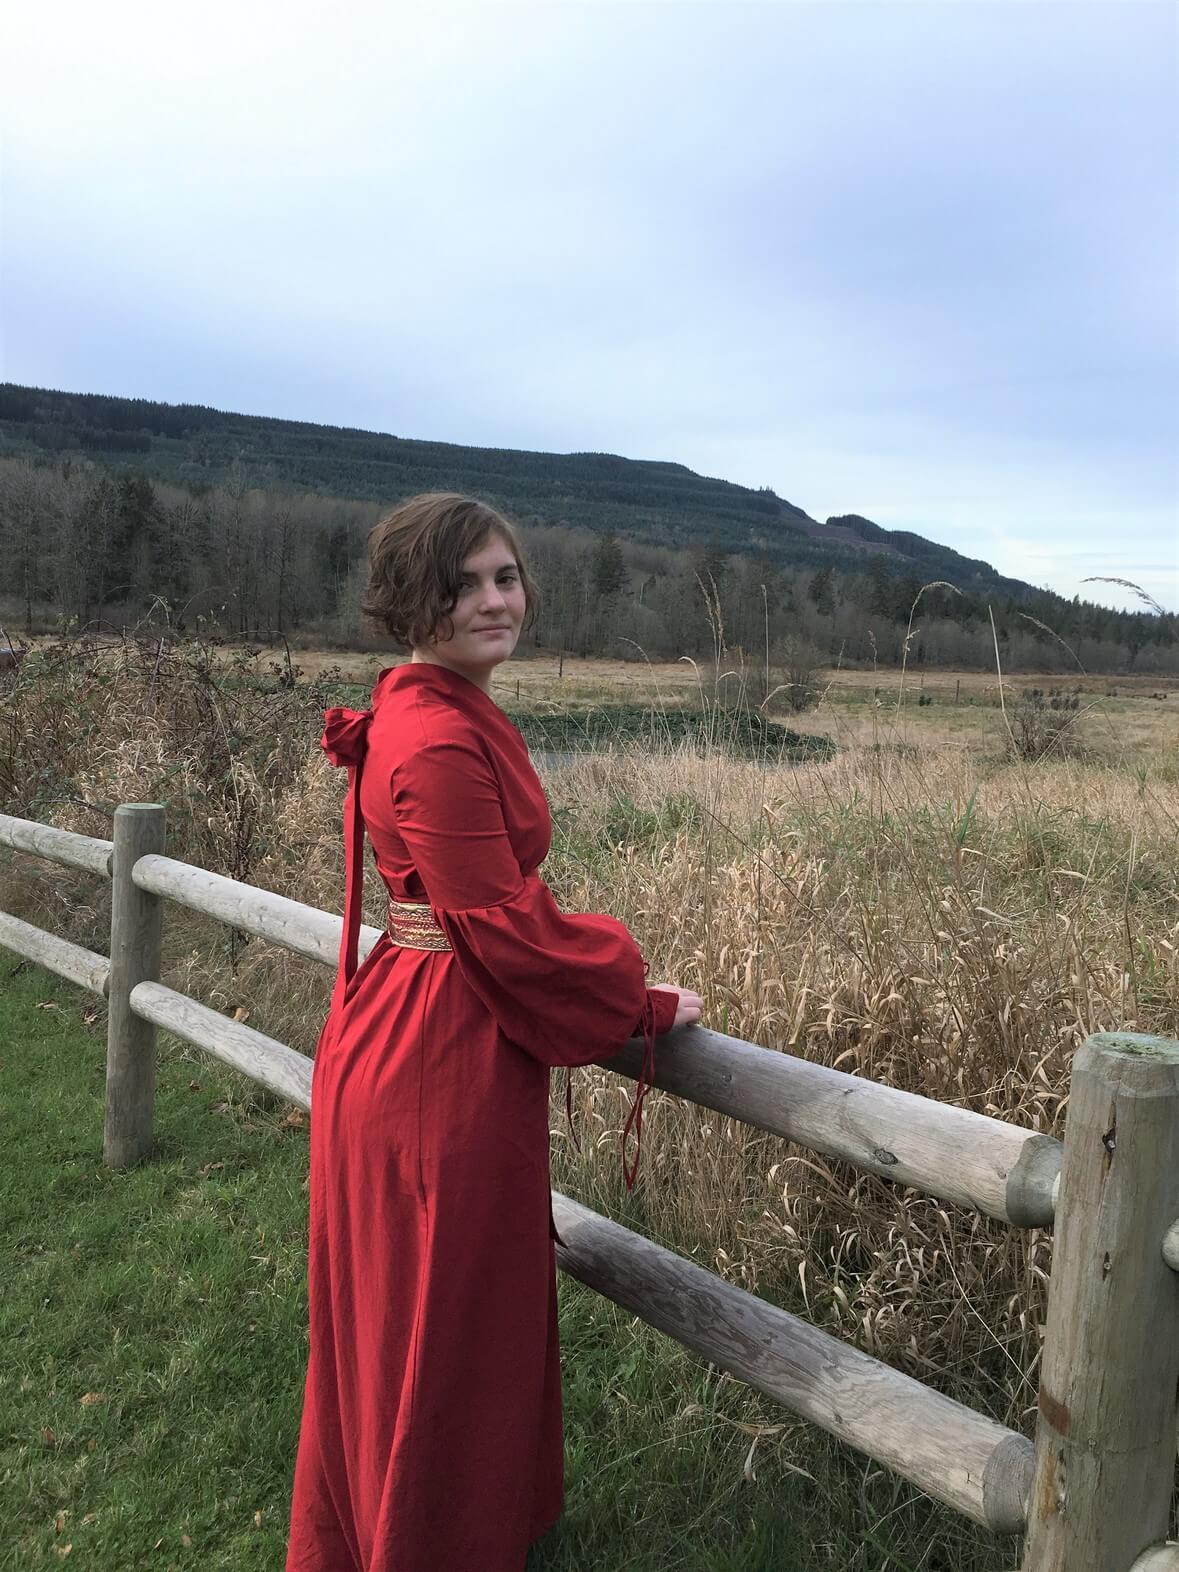
This dress was a lot of work…. and so worth it. Being able to make my daughter a costume that fit her perfectly was nice, but the SKILLS I gained along the way were the real reason behind me wanting to do this.
I’ve always been pretty brave about trying new skills and sewing techniques, but now I really do feel like I can figure out how to make anything I want. Sometimes you just have to jump in and TRY.
Happy Sewing! ~L